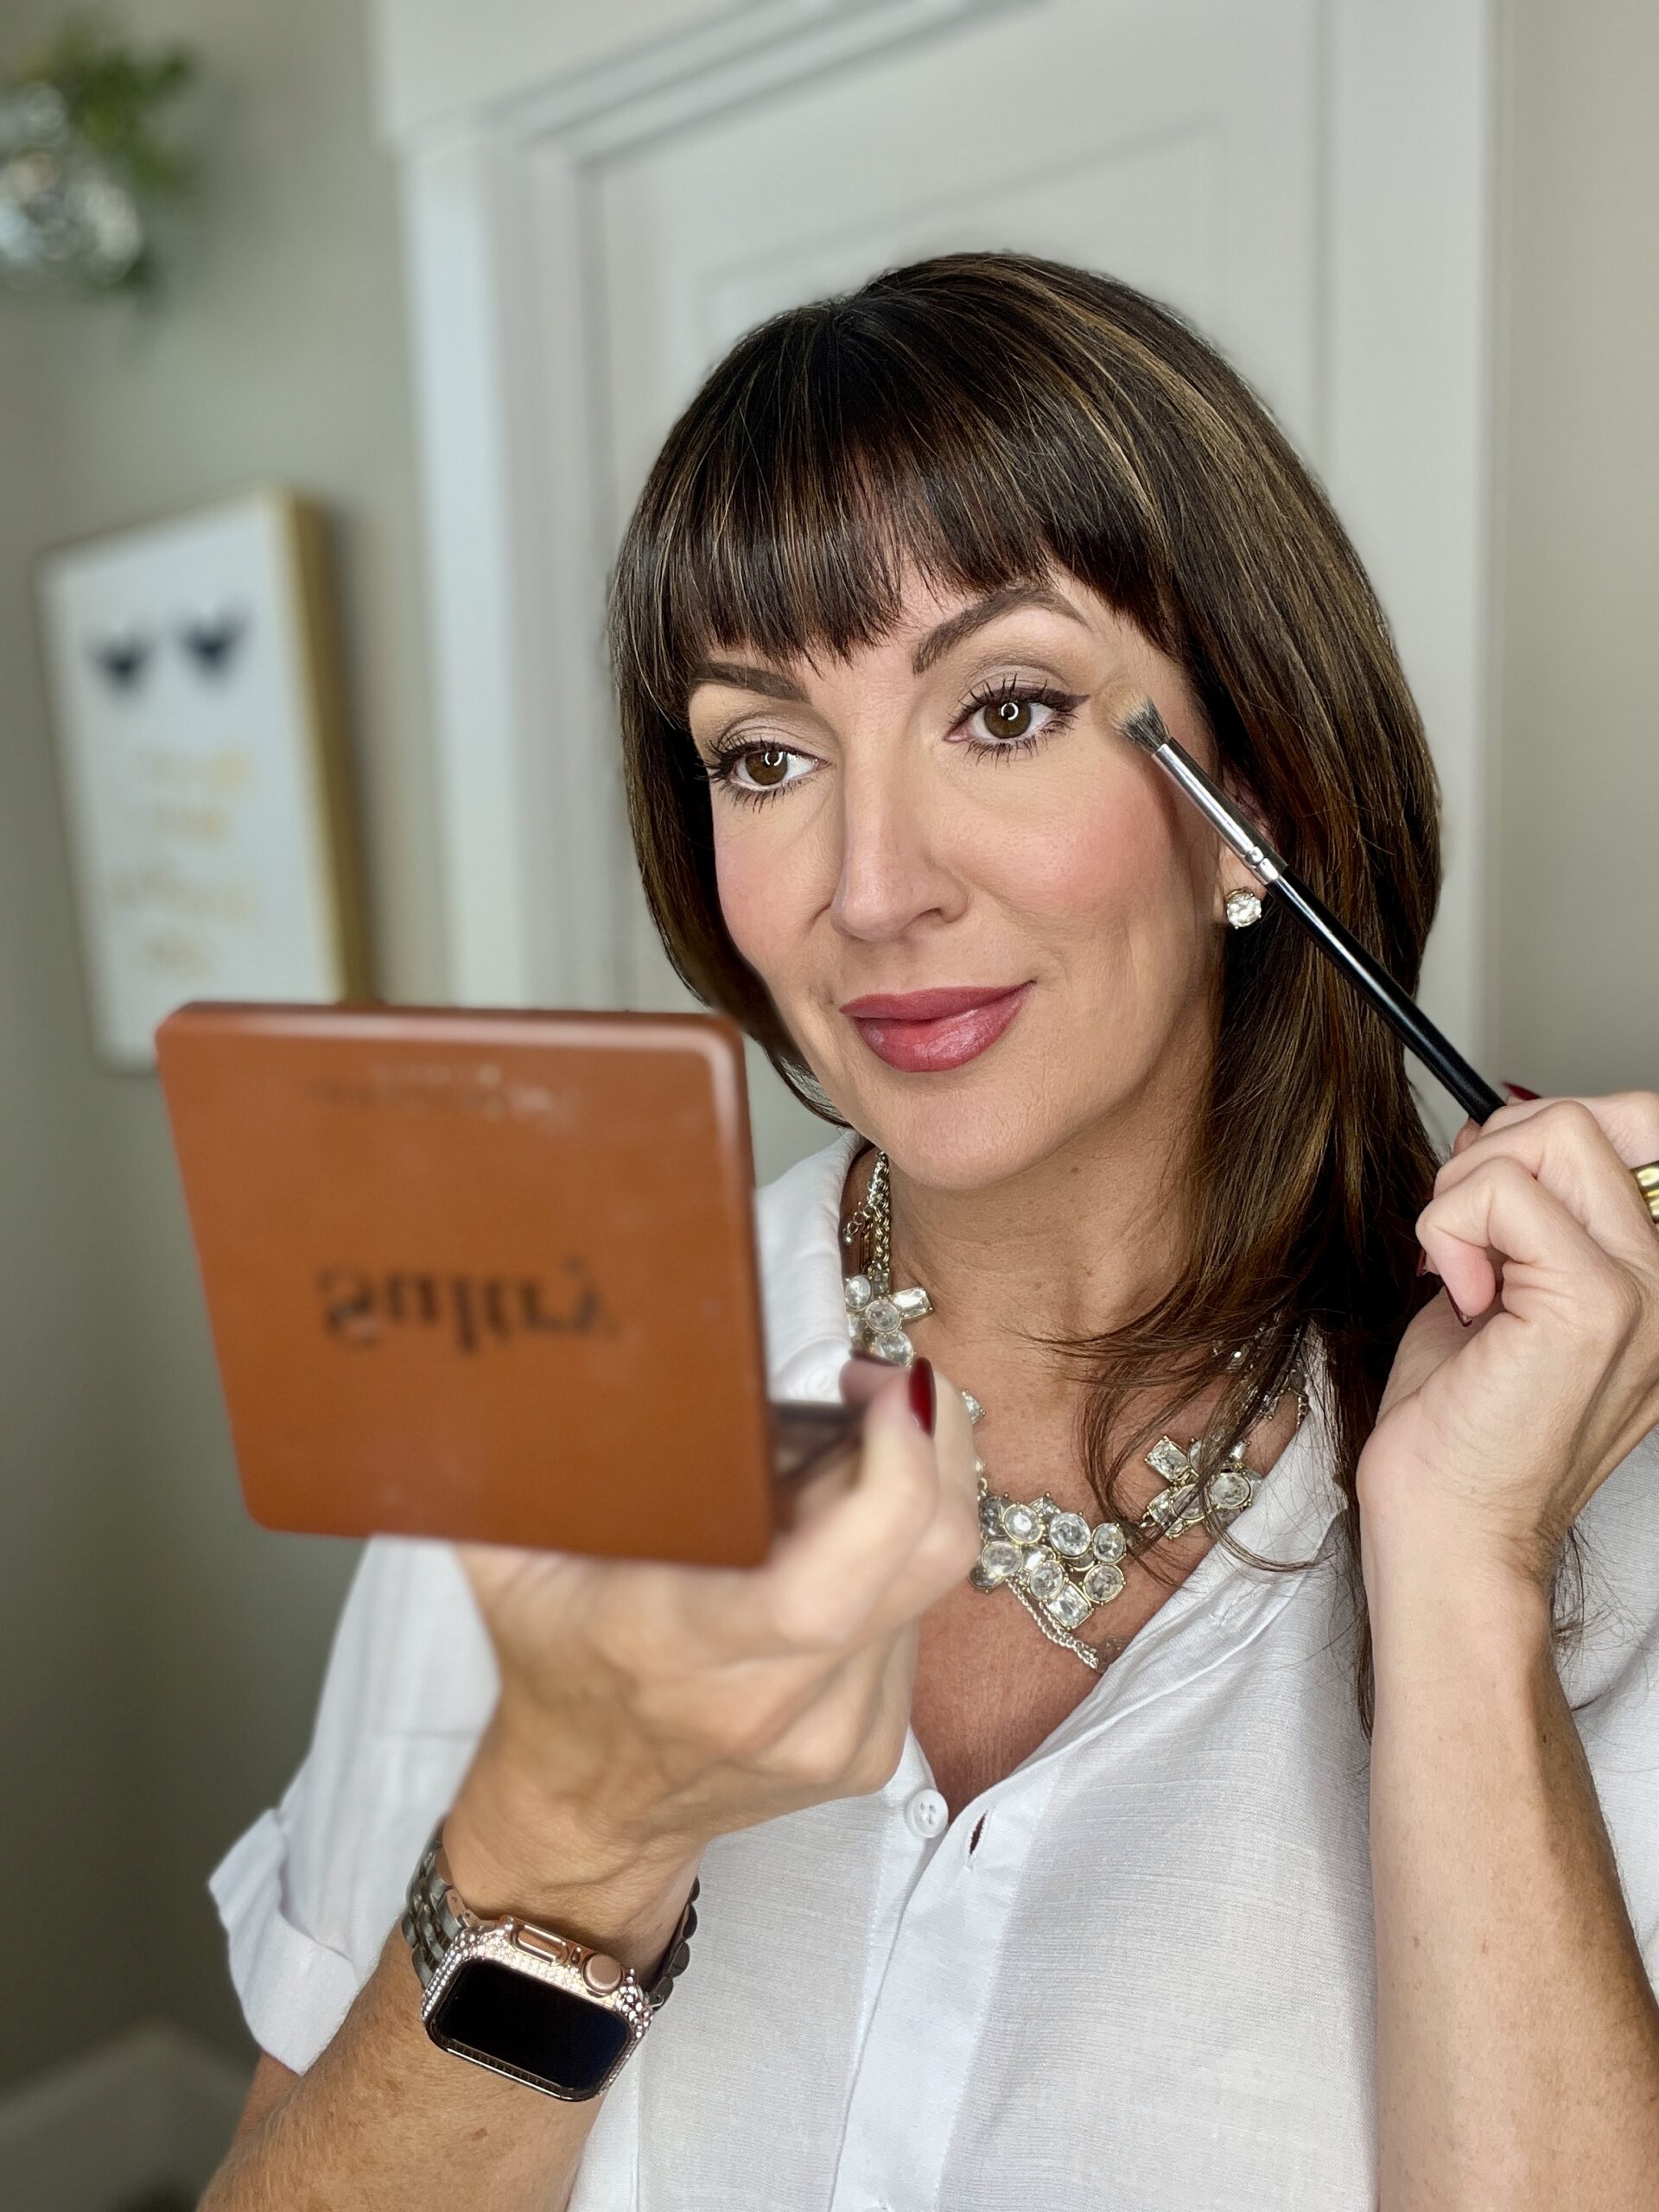
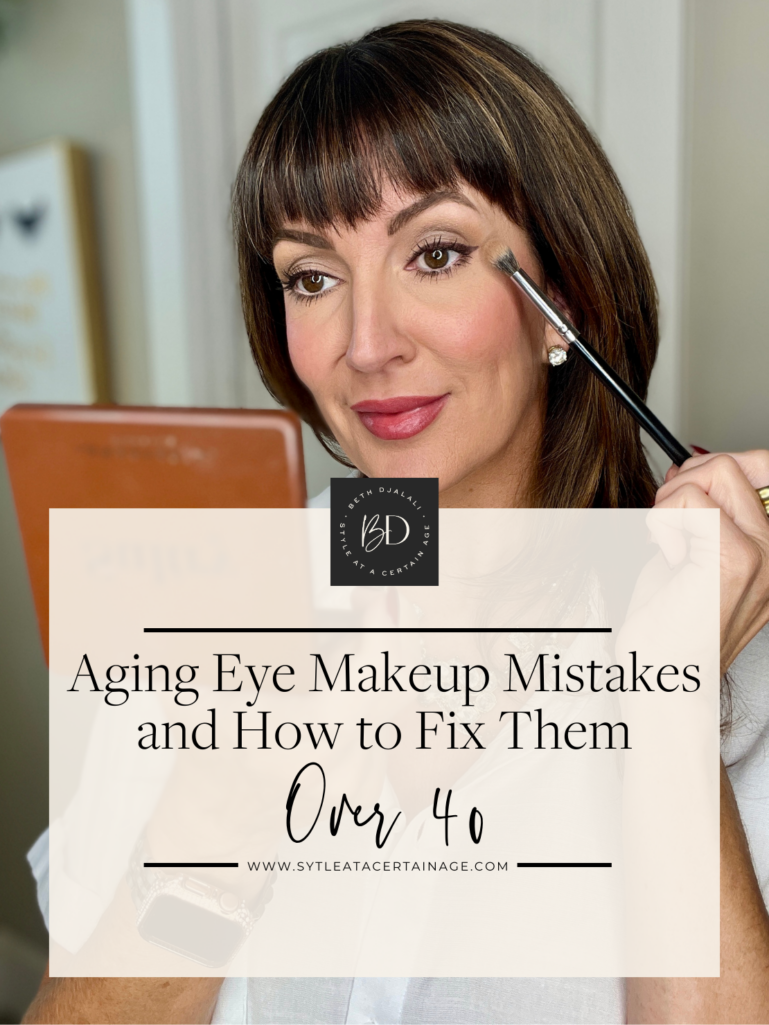
If you’re in your 40s and beyond, it’s no surprise that your facial features are changing with the years you’ve been on this earth. From personal experience, and as a 46-year-old professional makeup artist, I can see the aging happening the fastest in the eye area… in my own eyes, and my clients’. So today, I am sharing Aging Eye Makeup Mistakes and How to Fix Them.
I find that a bare eyelid OR an eye bed that is too heavily decorated actually draws more attention to an aging face.
But there IS a happy medium with certain techniques and products that can be used to carefully and thoughtfully decorate this prominent area. And let’s be honest – if you’re going to wear makeup, bringing attention to your eyes is one of the best places to do so.
Below I’m going to give you my step-by-step roadmap of how to recreate the eye look shown here. These are steps, techniques, and products that any eye color, and any age bracket, can use to benefit their look. If you have tiny eyes, hooded eyes, or drooping lids, these practices will work.
I’ll create the entire eye look on my right eye, leaving the left one bare so you can see the real difference these steps make. Buckle up and pay attention because I’m going deep and descriptive with this post because I want you to feel confident doing this on your own!
TL;DR
Jennifer shares Aging Eye Makeup Mistakes and How to Fix Them
Jennifer’s product recommendations are shoppable via text links and image widgets
Aging Eye Makeup Mistakes and How to Fix Them Over 40
EYELID + EYEBED PREP
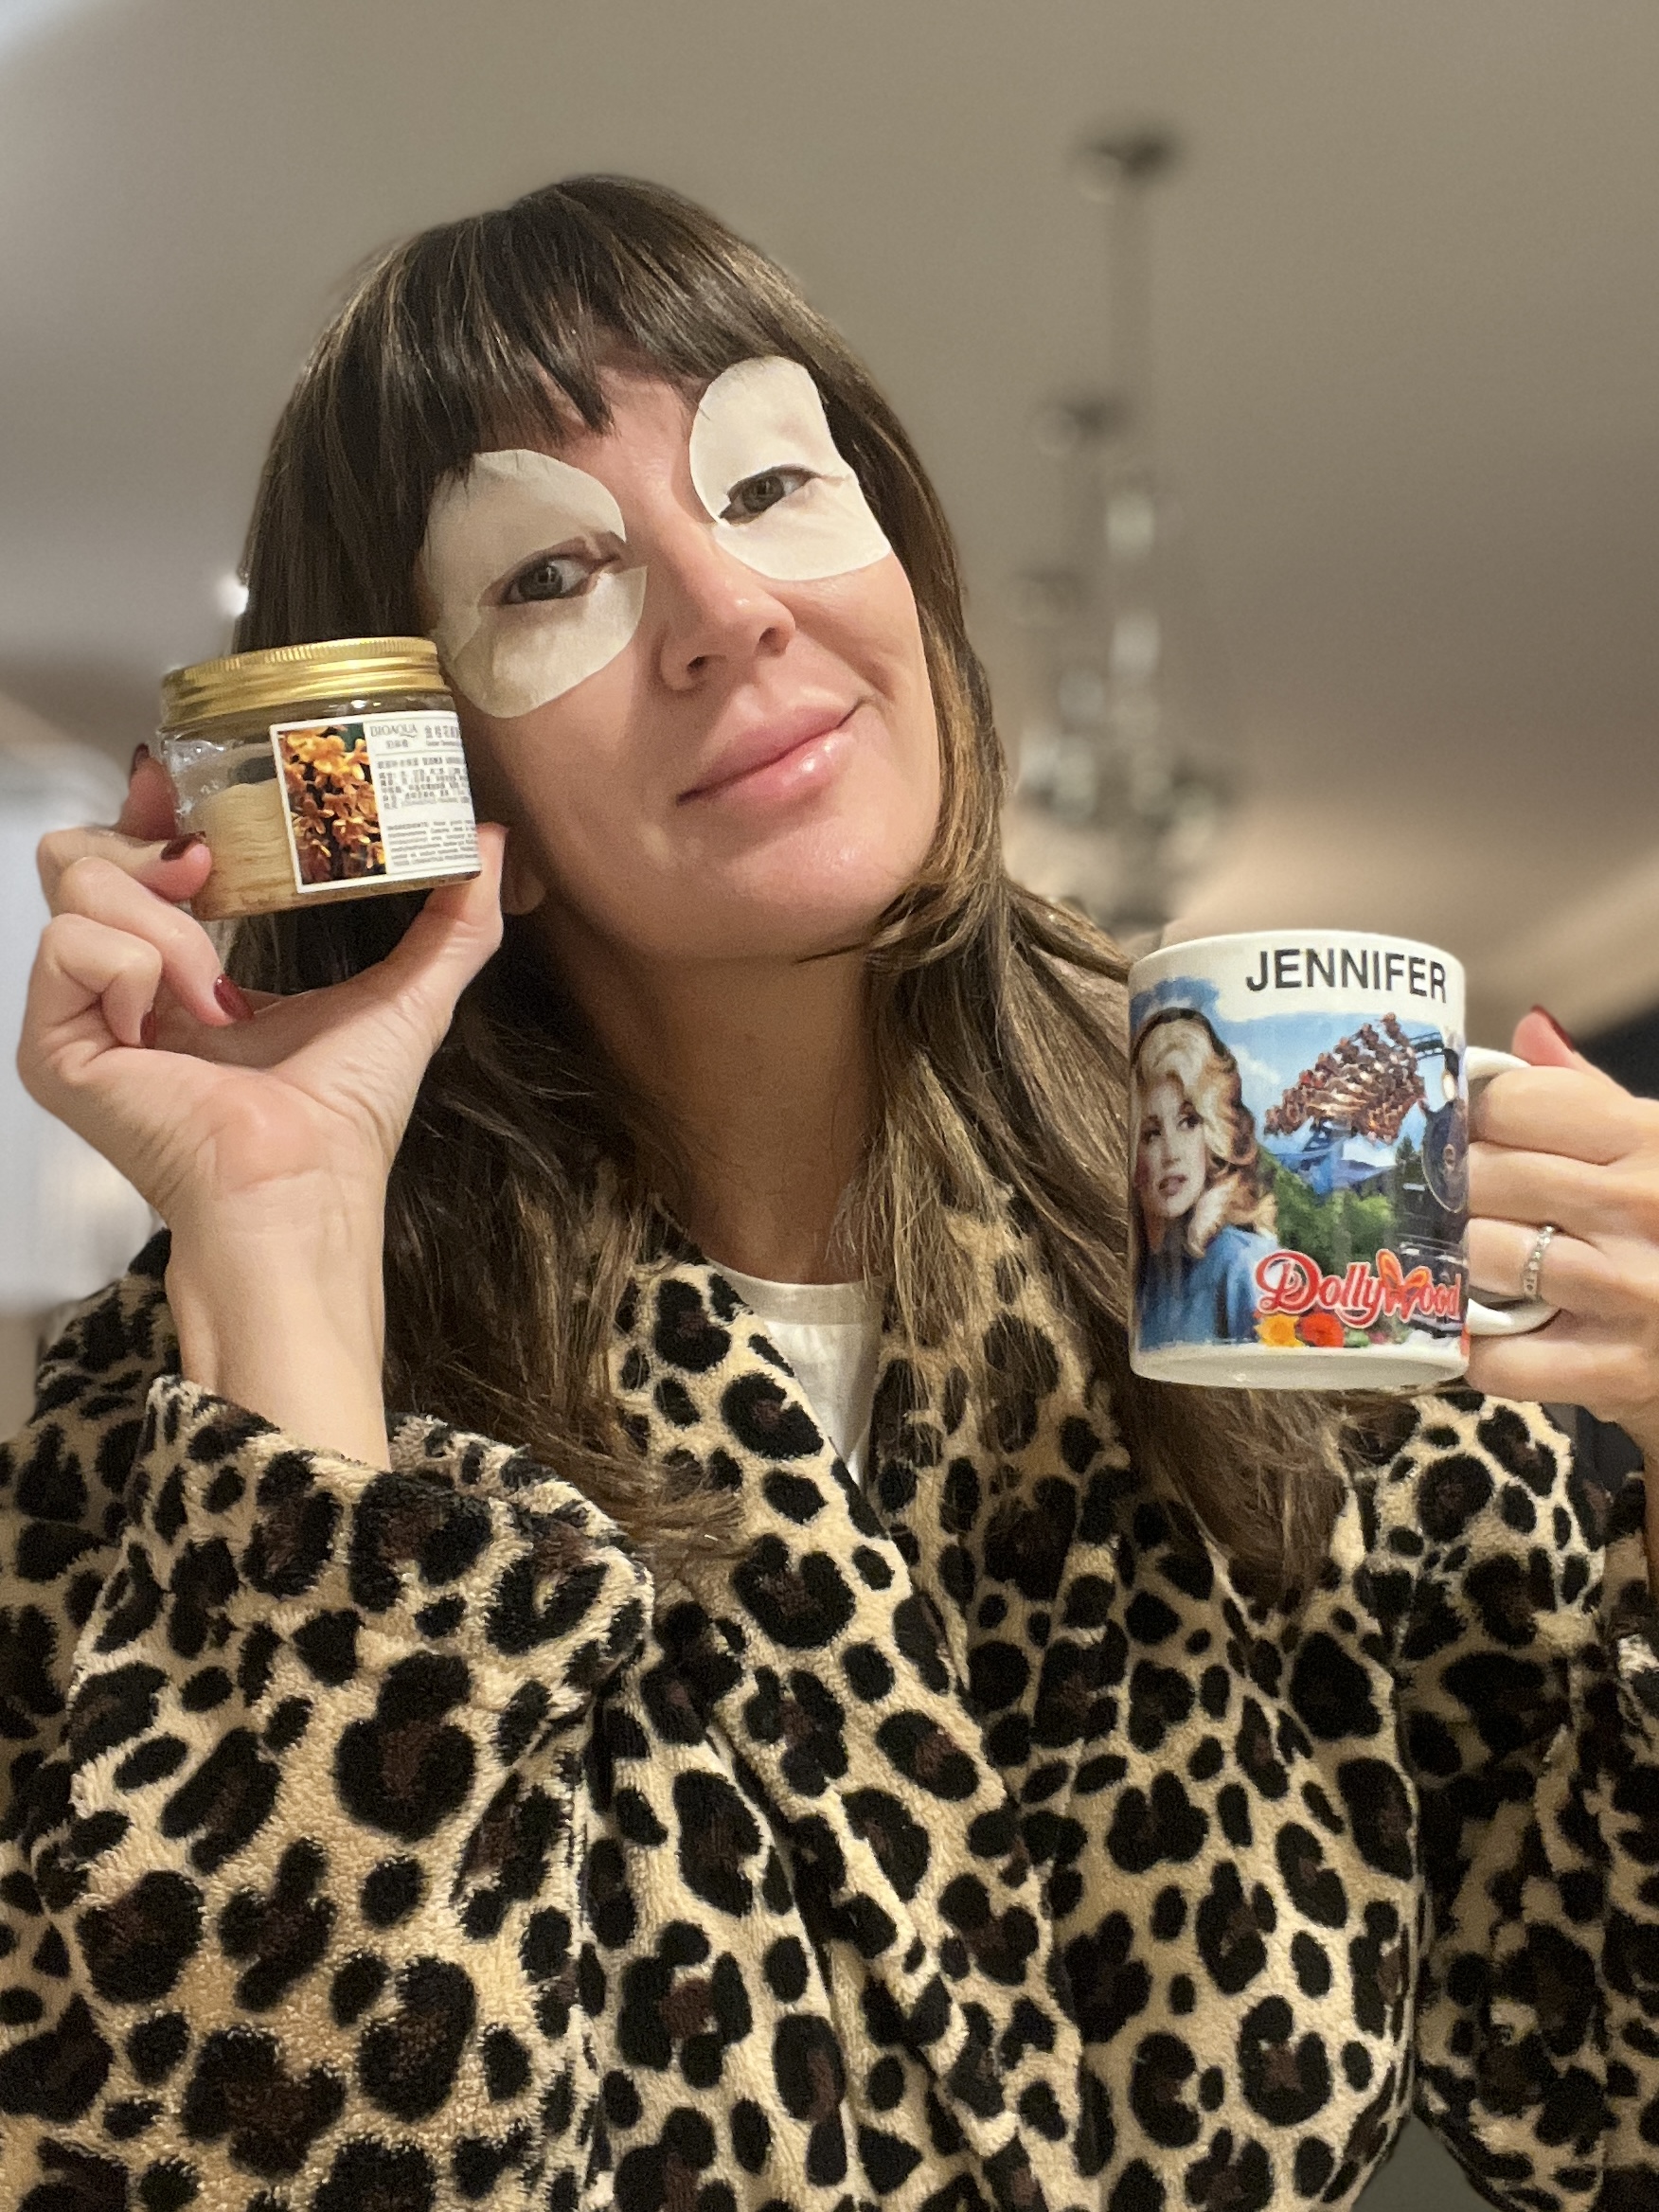
Before all of the eye makeup is applied – start using hydrating eye masks TODAY if you’re not already! I included this scary morning photo of what I look like every single morning while drinking my coffee. These Amazon lemon collagen eye masks are INCREDIBLE and after 3 straight mornings of wearing them, there was a noticeable difference in my eye brightness and hydration – as you can see in my close up after photo below.
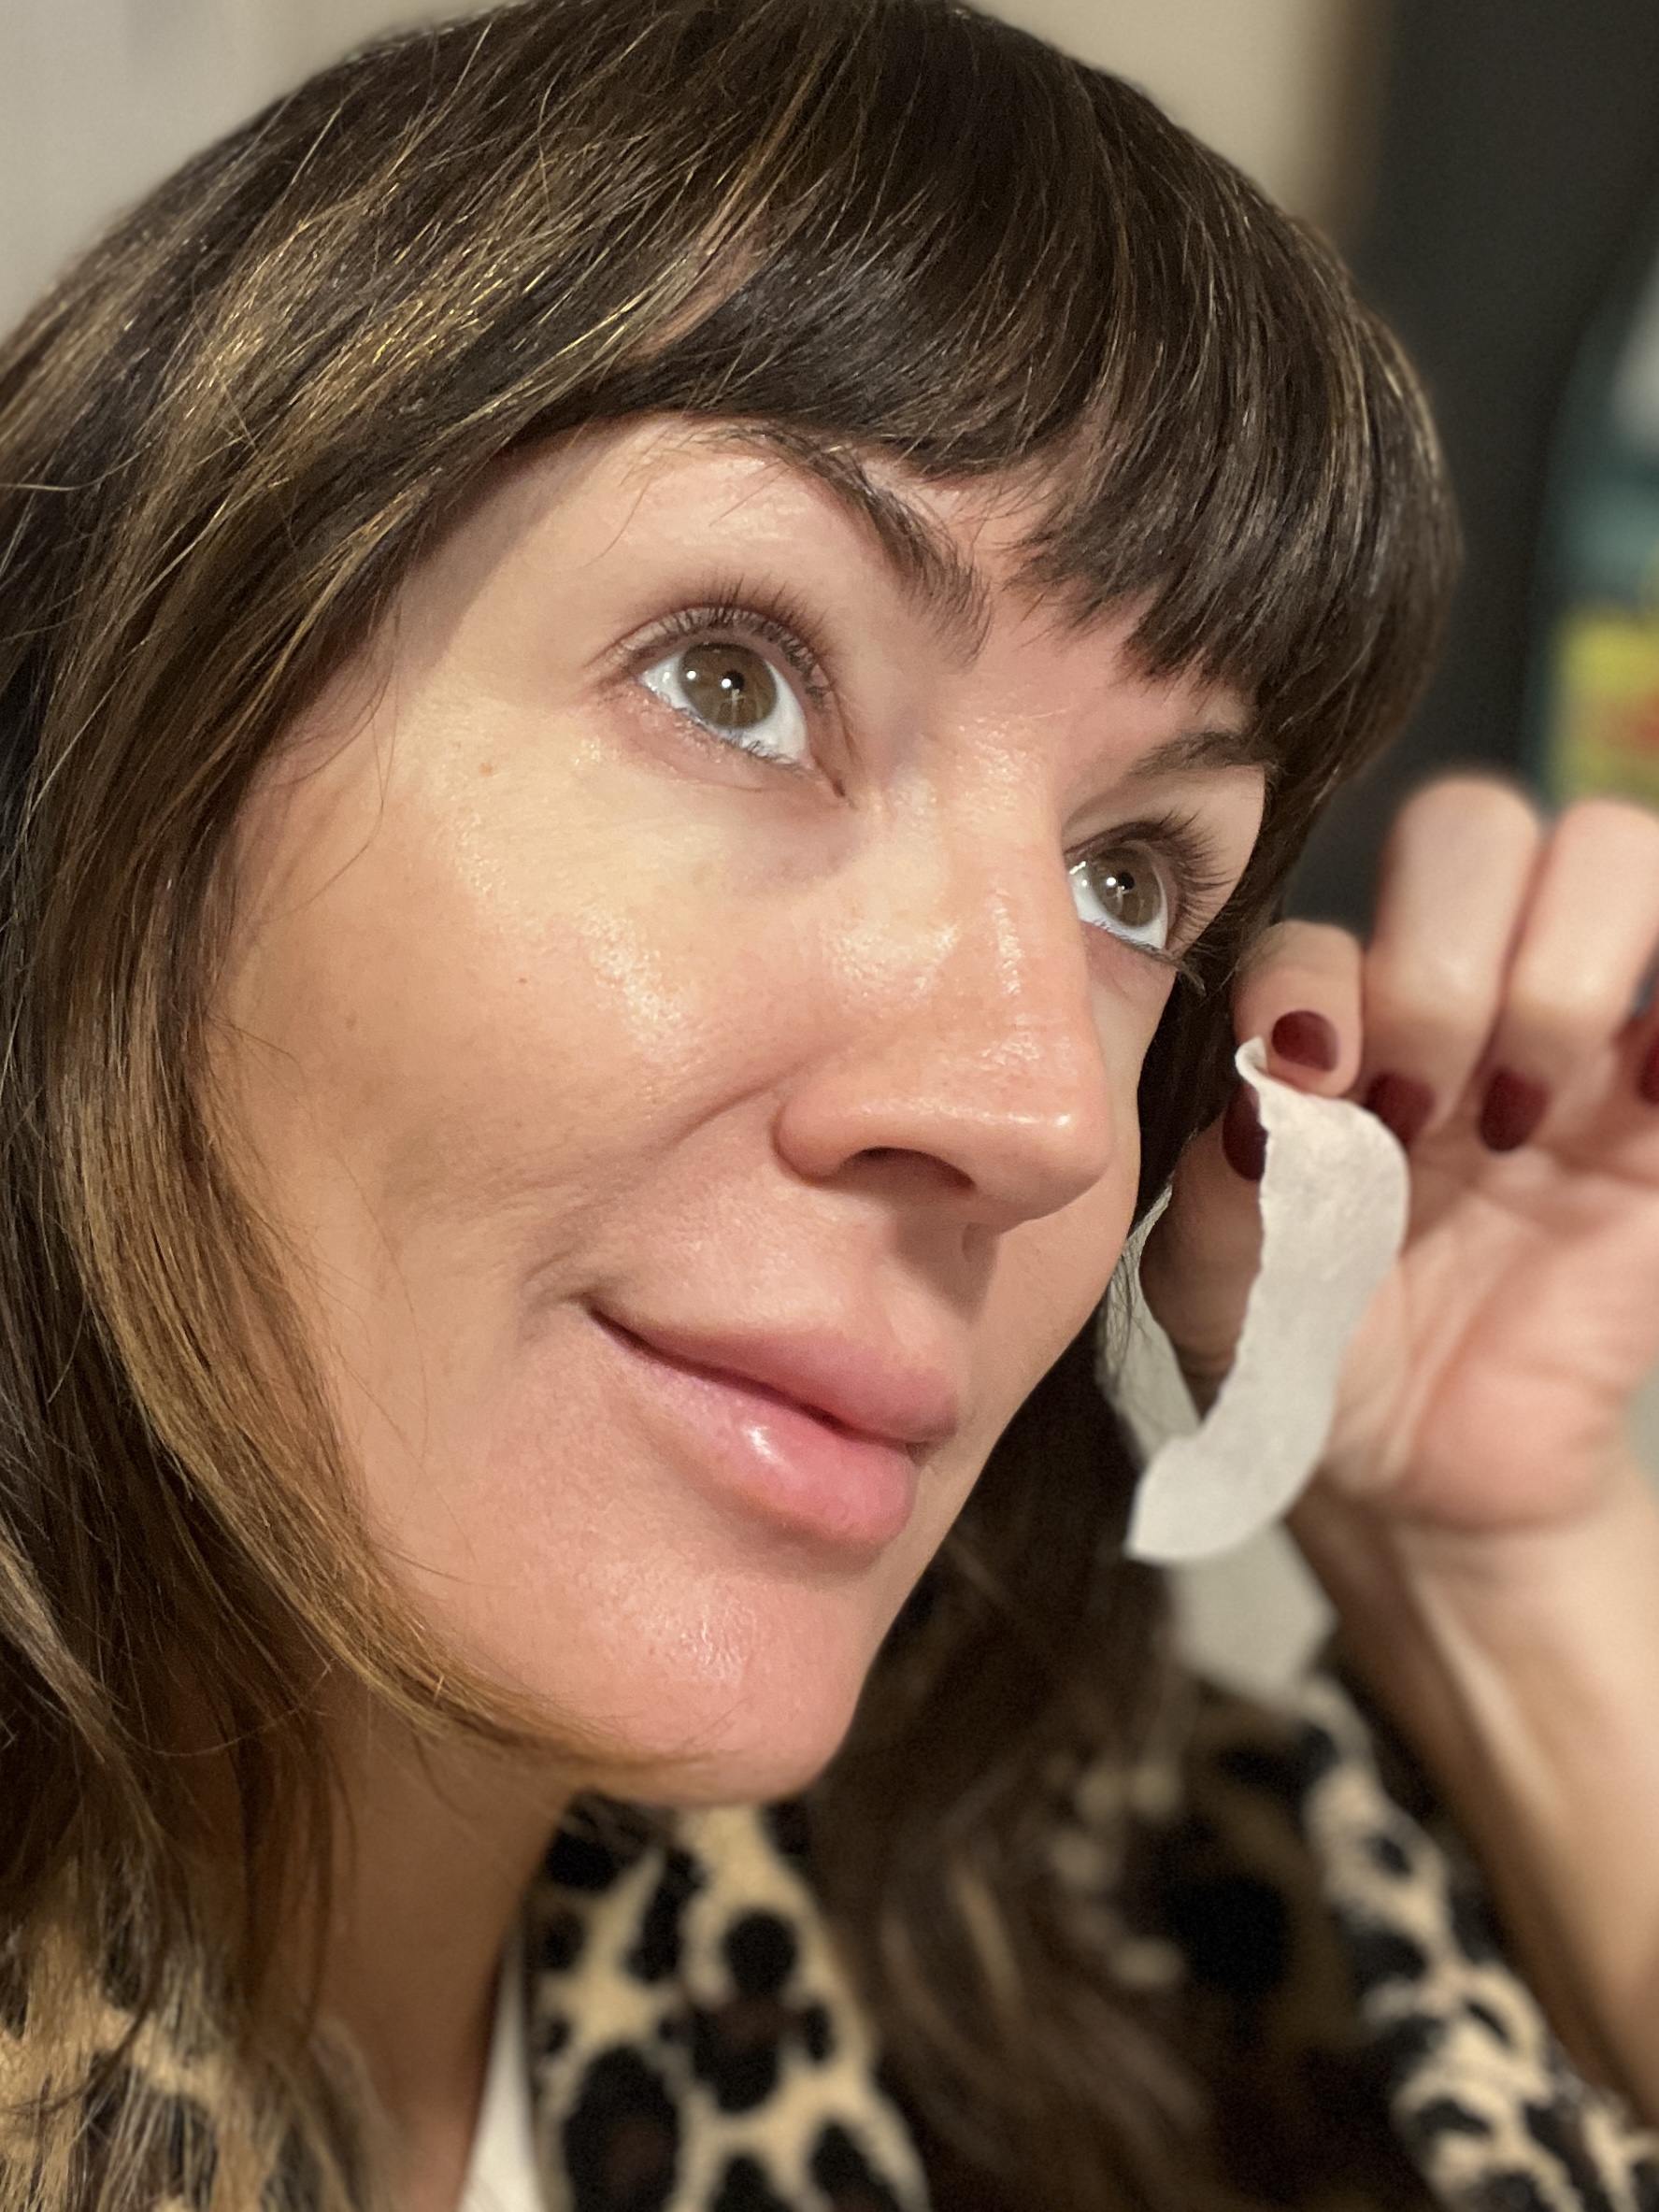
If you buy ONE thing during Amazon Prime Days Oct. 8-9th, buy these. They do go over the entire upper and lower lid which is unique, but makes so much sense. Store them in your refrigerator for additional de-puffing.
Shop the Post
BROWS
MISTAKE: SHORT BROWS LEFT SPLOTCHY OR THIN
CORRECT: ELONGATED BROWS WITH REALISTIC FULLNESS
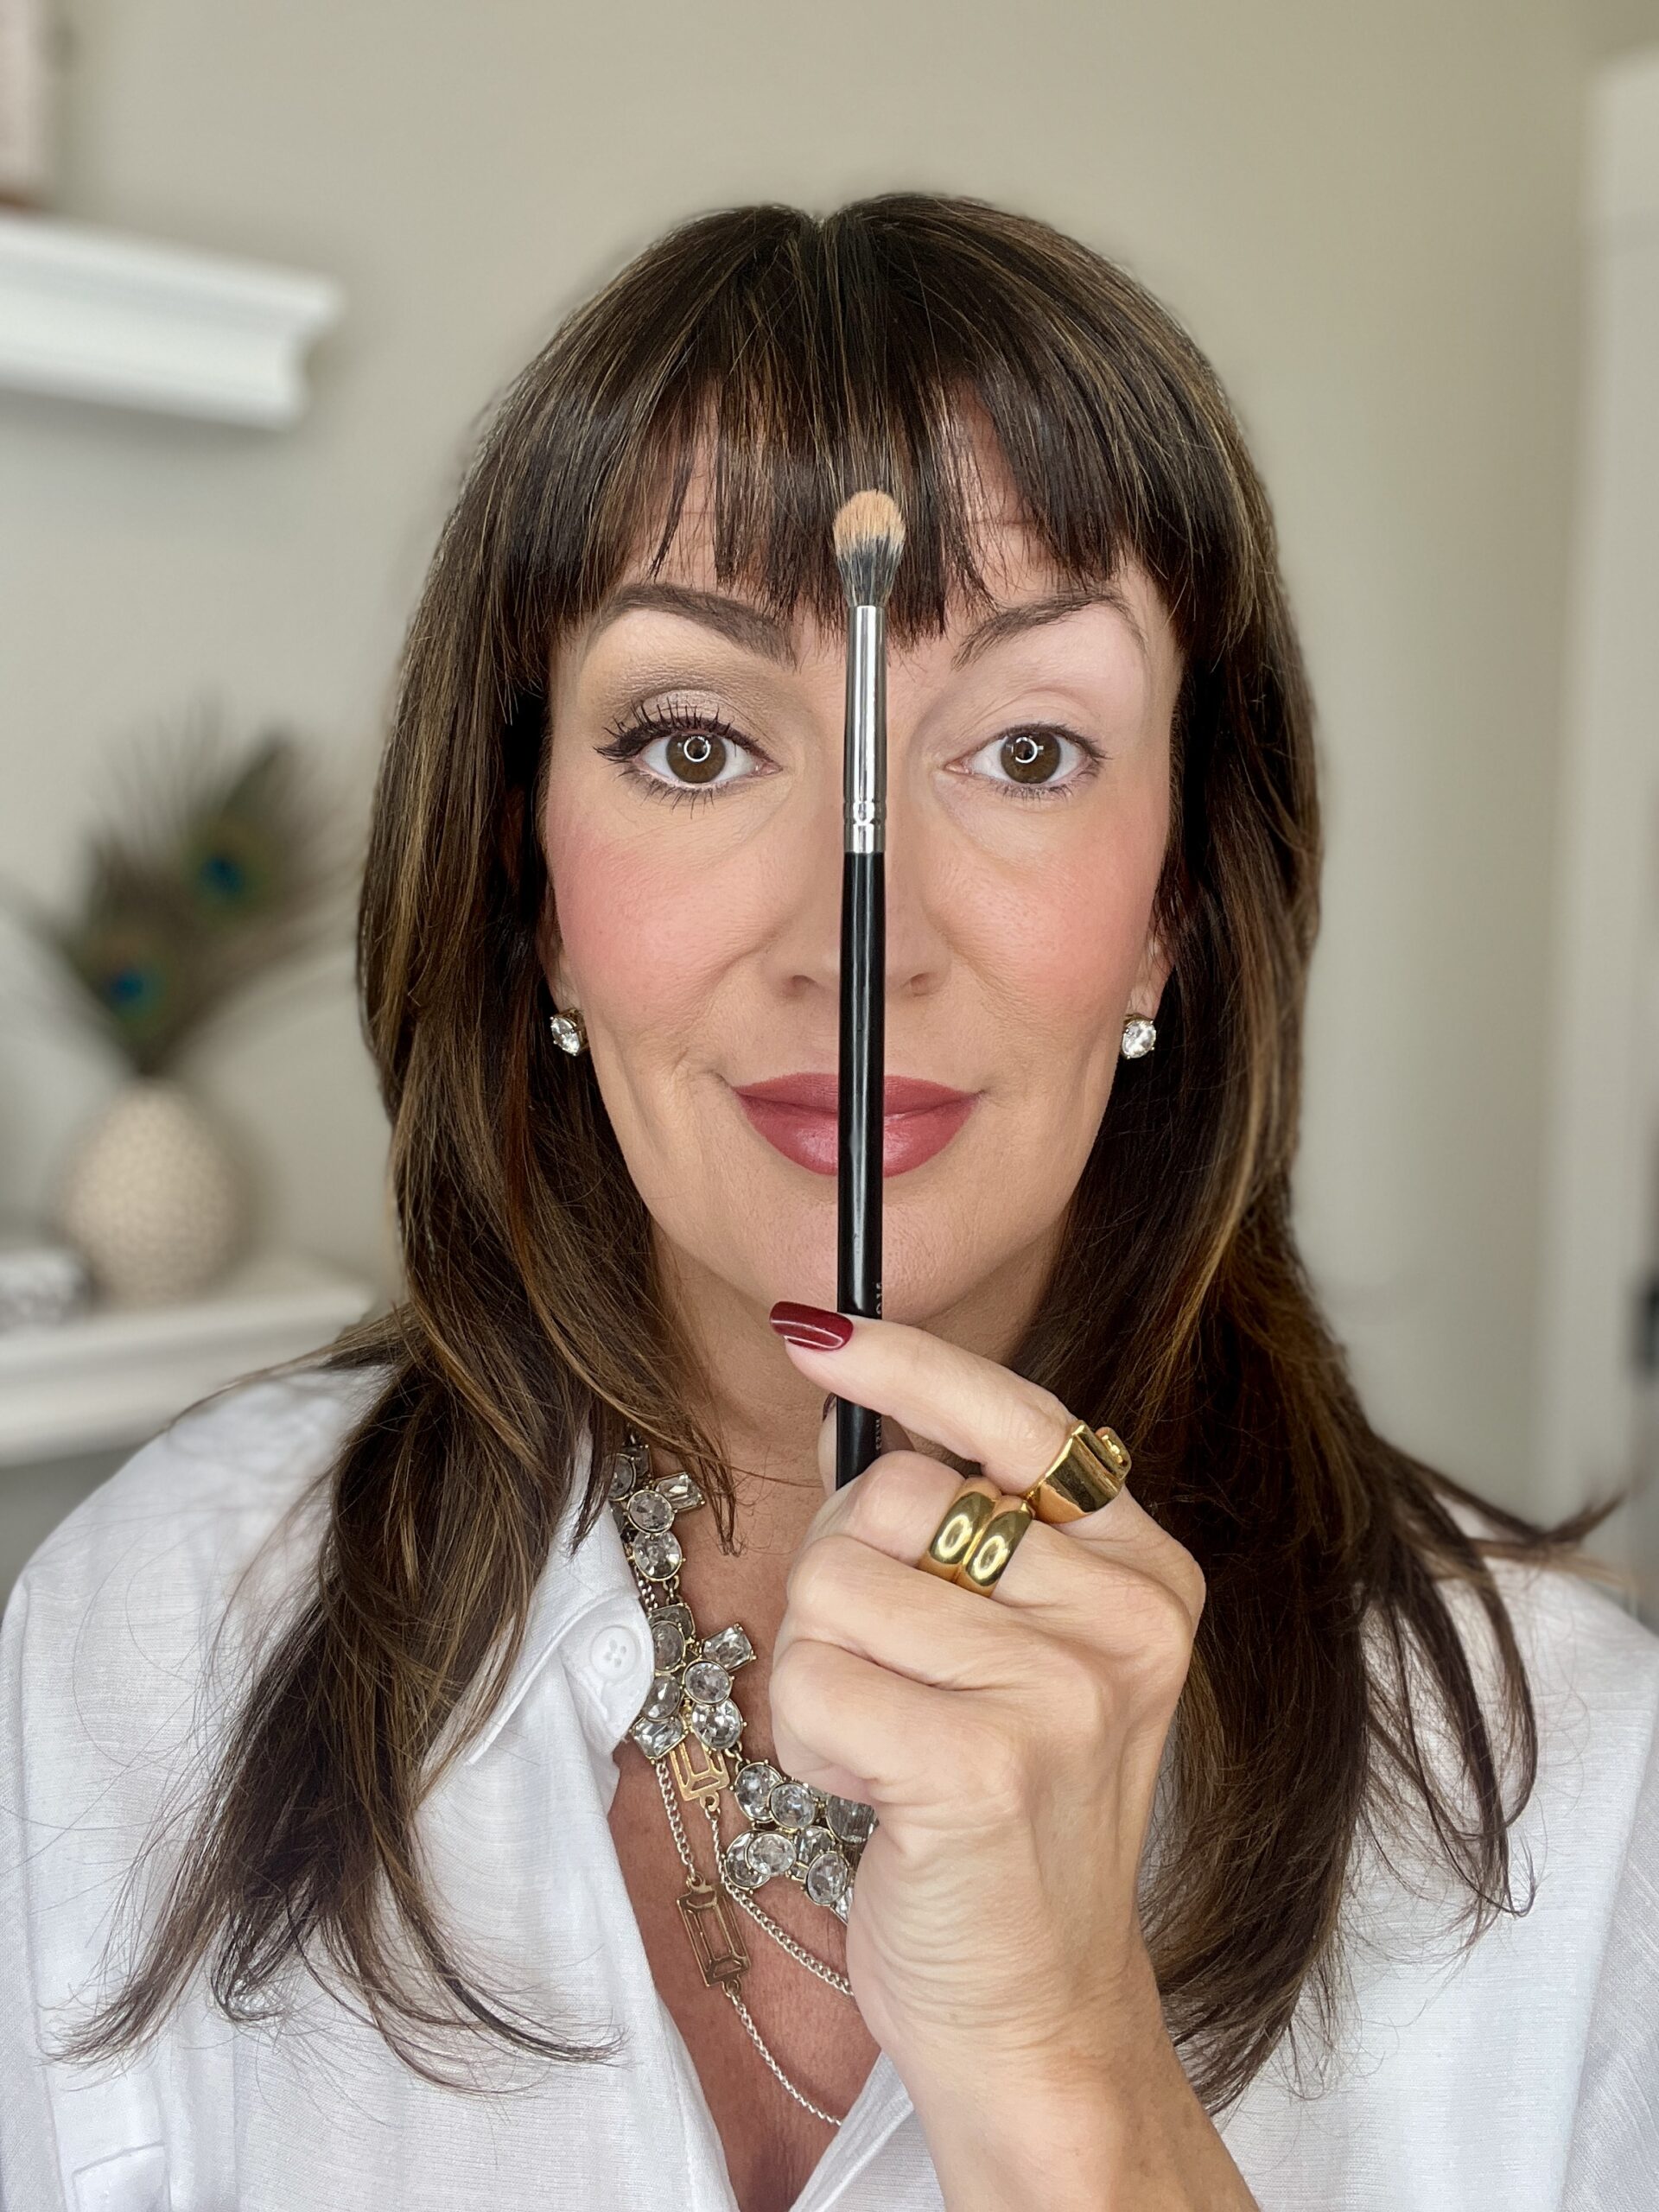
Here’s exactly how to figure out what the ideal length of your brows should be. Take your skinny eyeshadow brush and lay it vertically against the side of your nose so it’s going straight up and down. Looking at the top of the brush, that’s where the front of your brows should start. If they are short of that brush, then you need to fill in towards the front until it touches that brush. If they’re growing on the other side of the brush (towards the nose) that’s where you can pluck them clean.
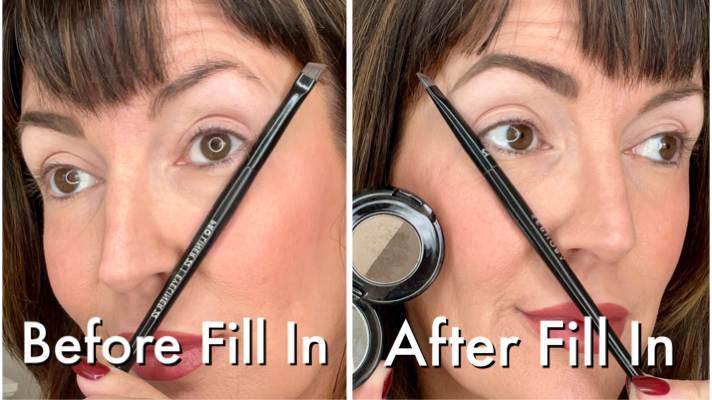
Then keep that brush against the nostril but now angle the brush towards the outside of your eyeball. This is how far out the tail of the brow should be extended. Once you get those brows extended, then use the brush to apply strokes into the parts of the eyebrow that are sparse and skin shows through. Brow powder is the easiest and most realistic-looking product IMO for brow beginners.
Shop the Post
EYESHADOW
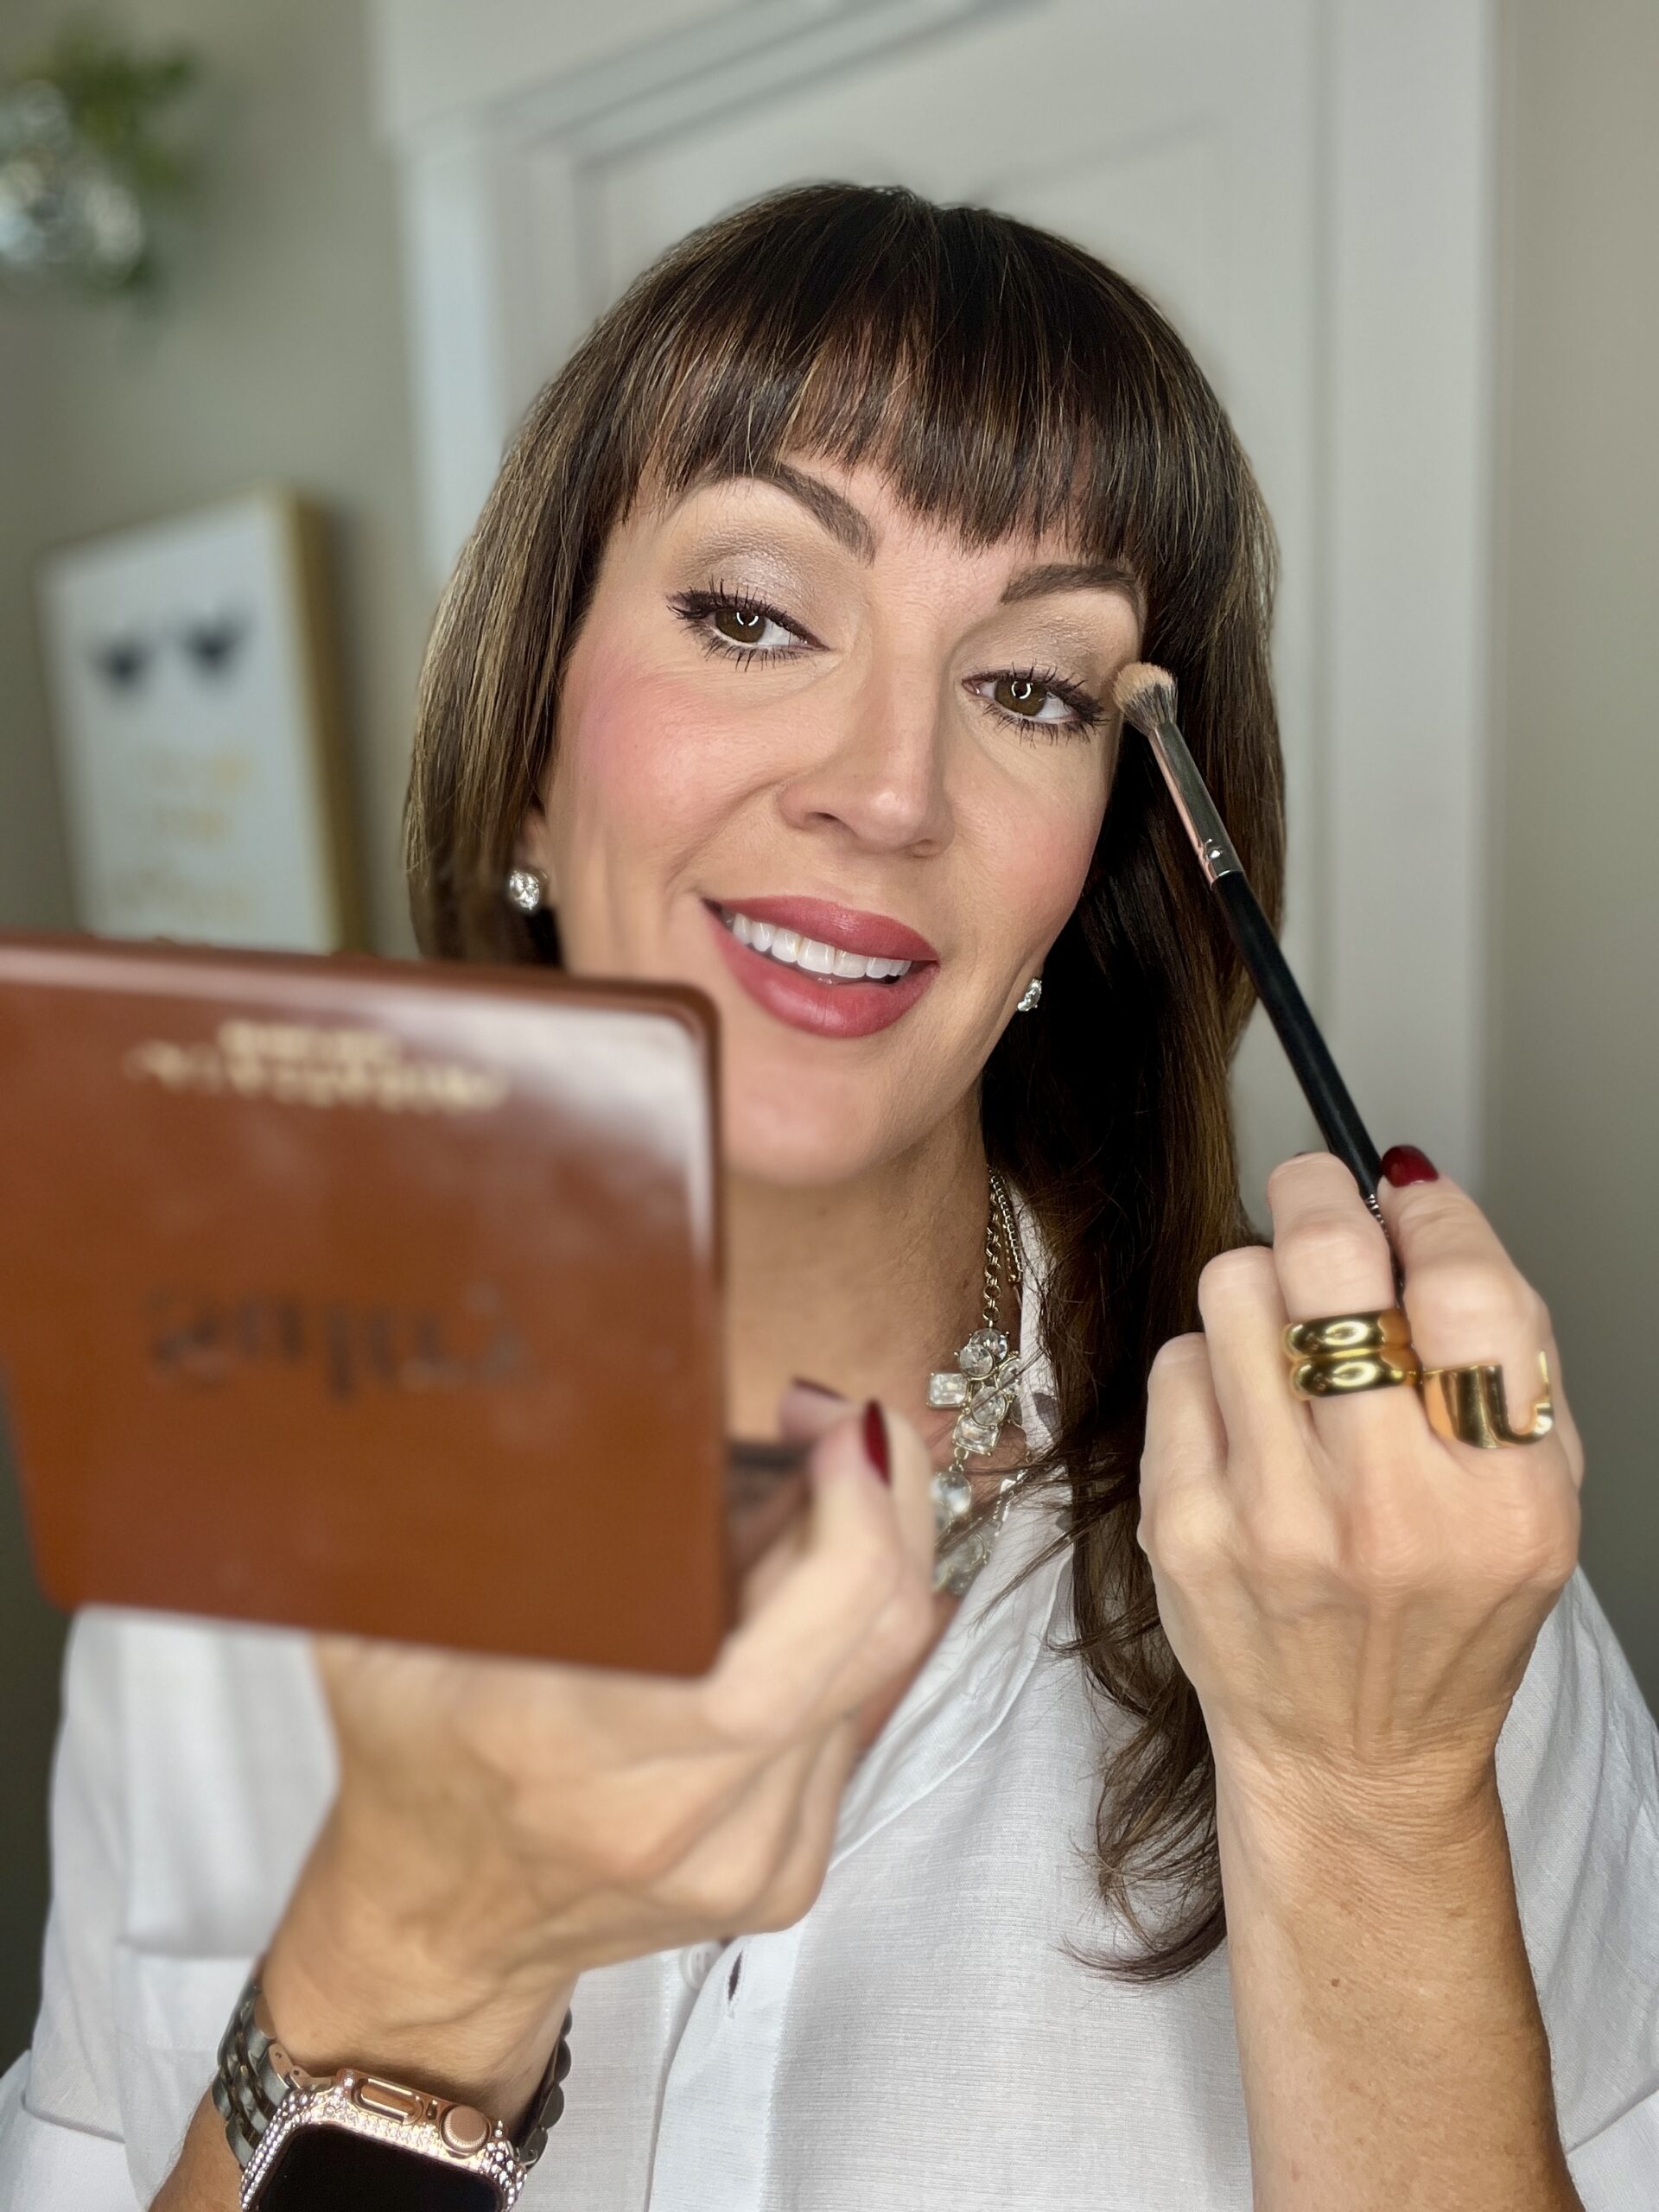
MISTAKE: EYESHADOW ONLY IN THE CREASE
CORRECT: EYESHADOW STRETCHED UP ABOVE THE PHYSICAL CREASE TO FILL IN A HOODED OR PUFFY LID
You always hear of swiping your transition color (a medium shade) right into the crease of the lid. But if you have sagging or puffy/hooded lids, this shade immediately disappears when you apply it there.
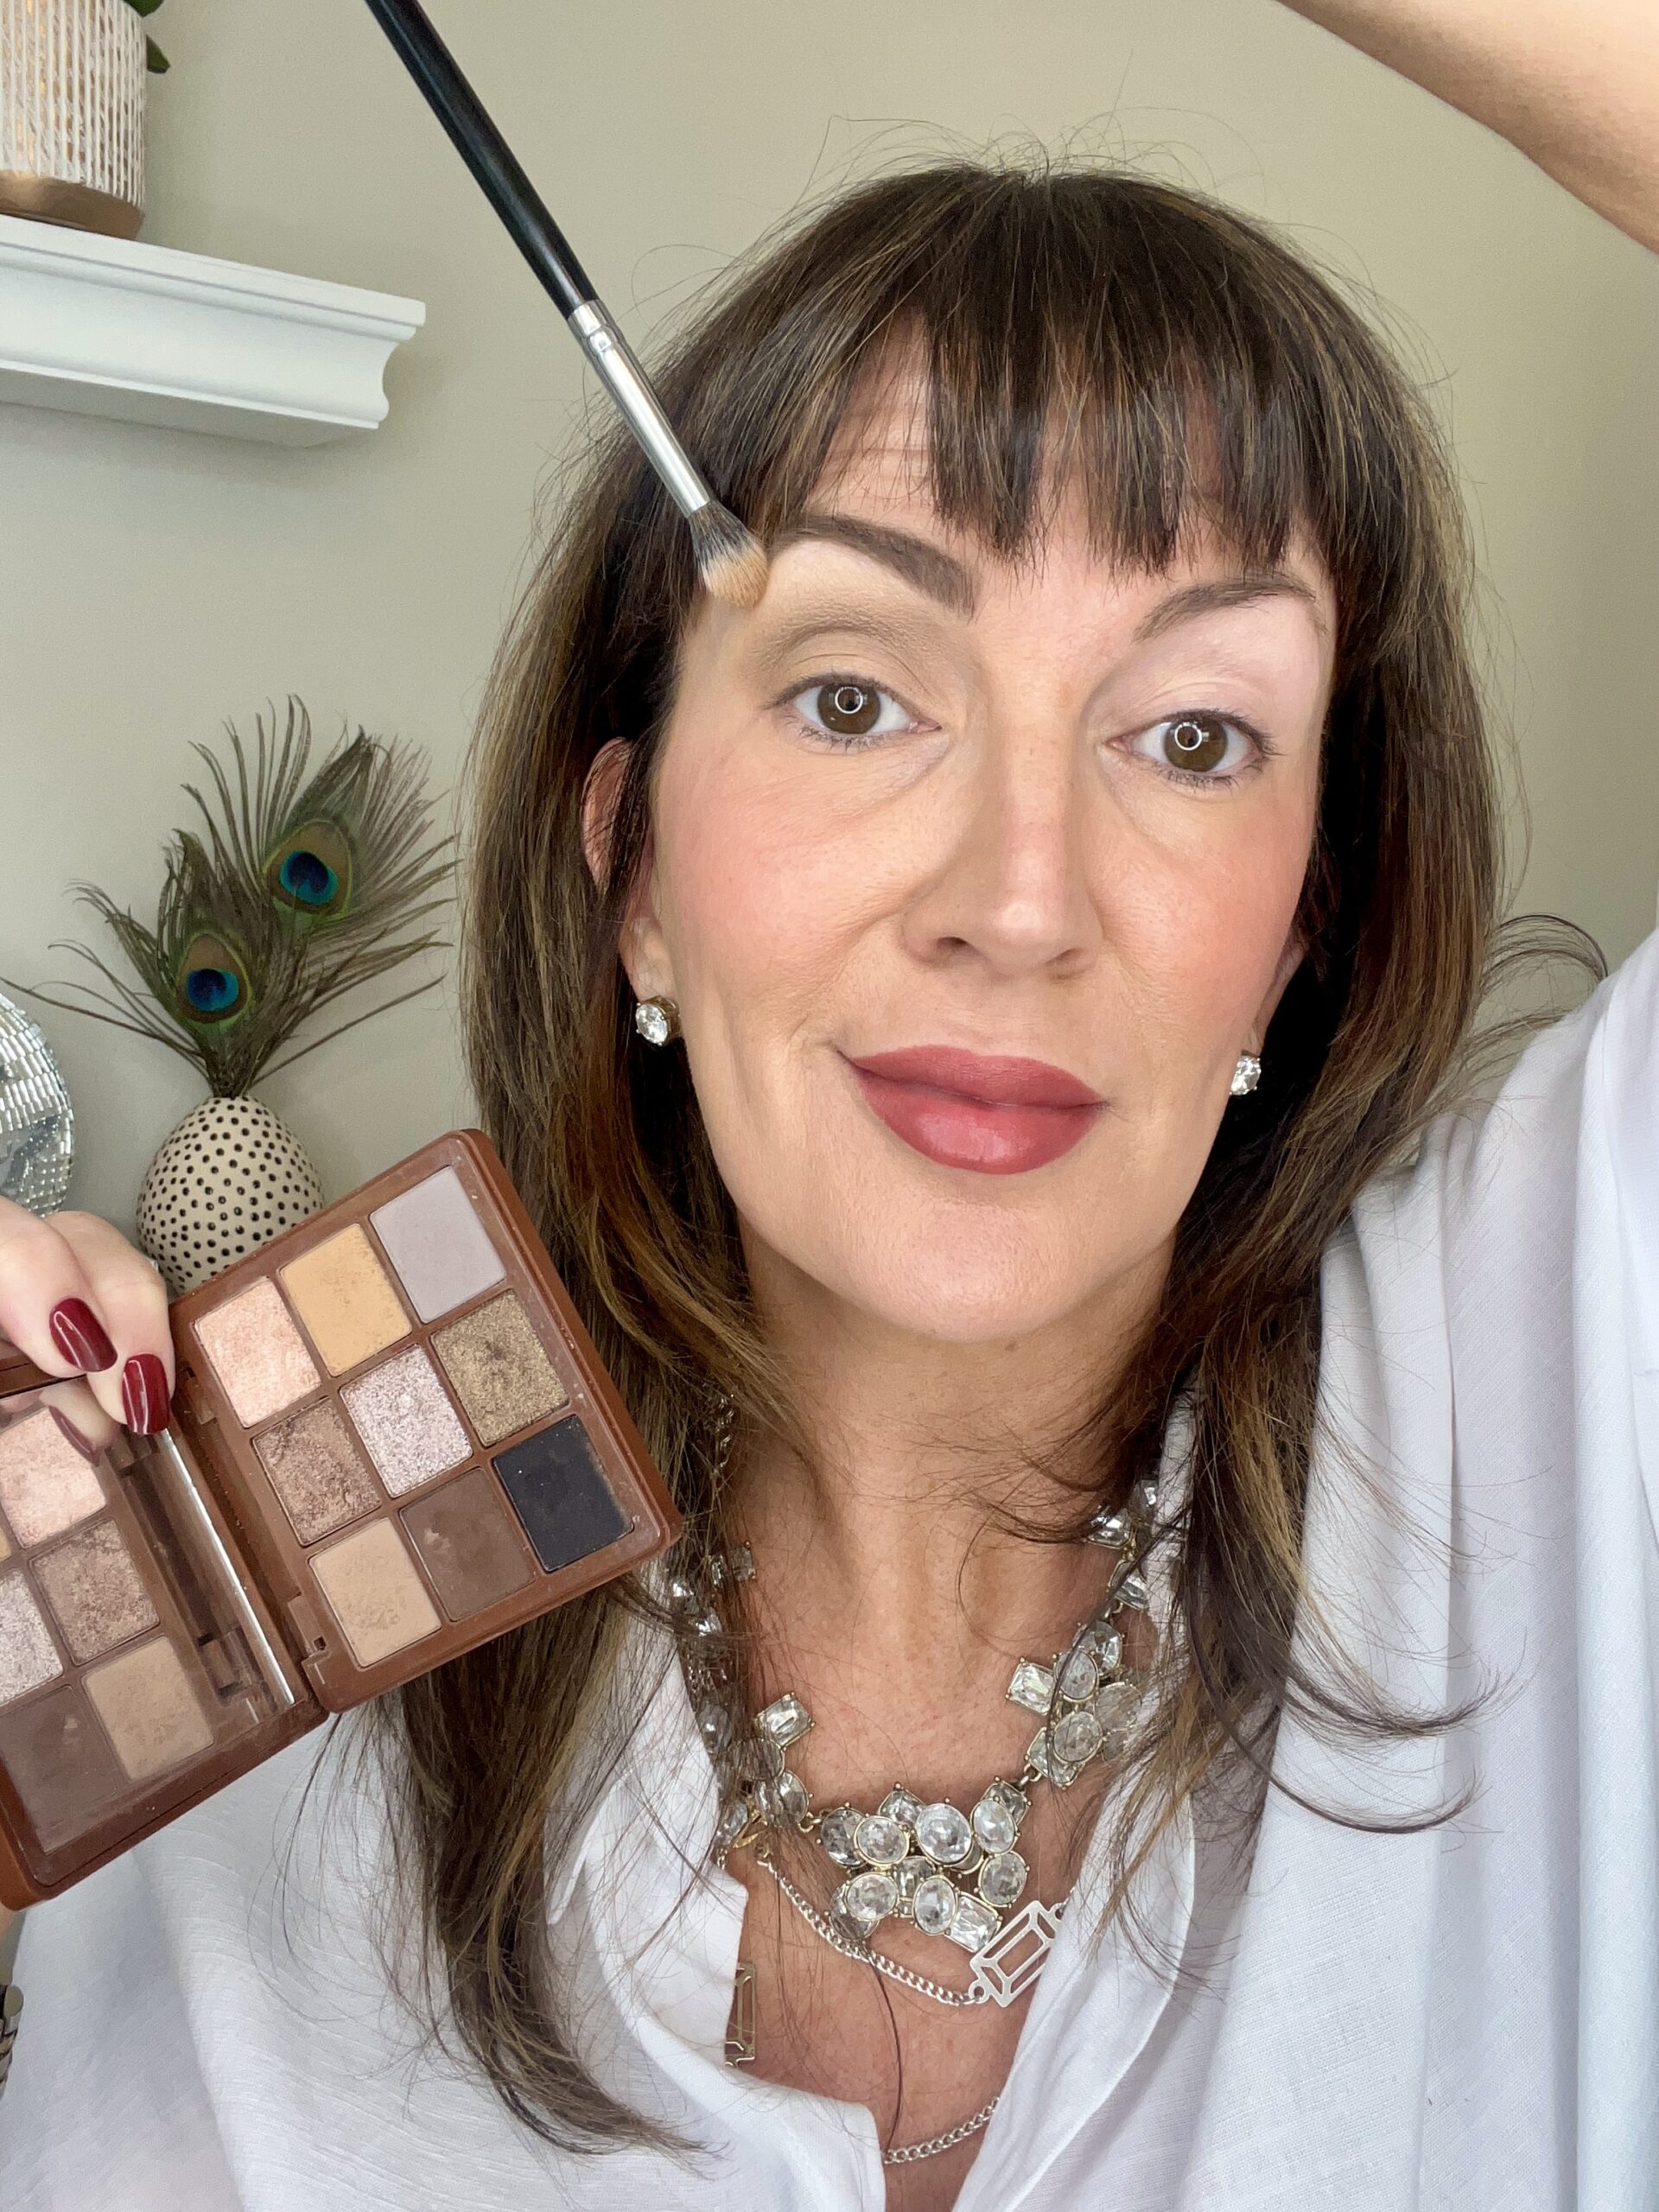
Also a bare no-makeup lid appears heavier than one with a little bit of depth and color to it. So take your medium shade, whatever it may be (I mixed the two lightest matte browns in the Sultry palette), and focus on brushing it right up above that physical crease as well as more onto the outer side of the eyelid. This is so that when the eye is completely open, that shadow helps to draw attention upward. And gives an illusion of a more lifted upper lid.
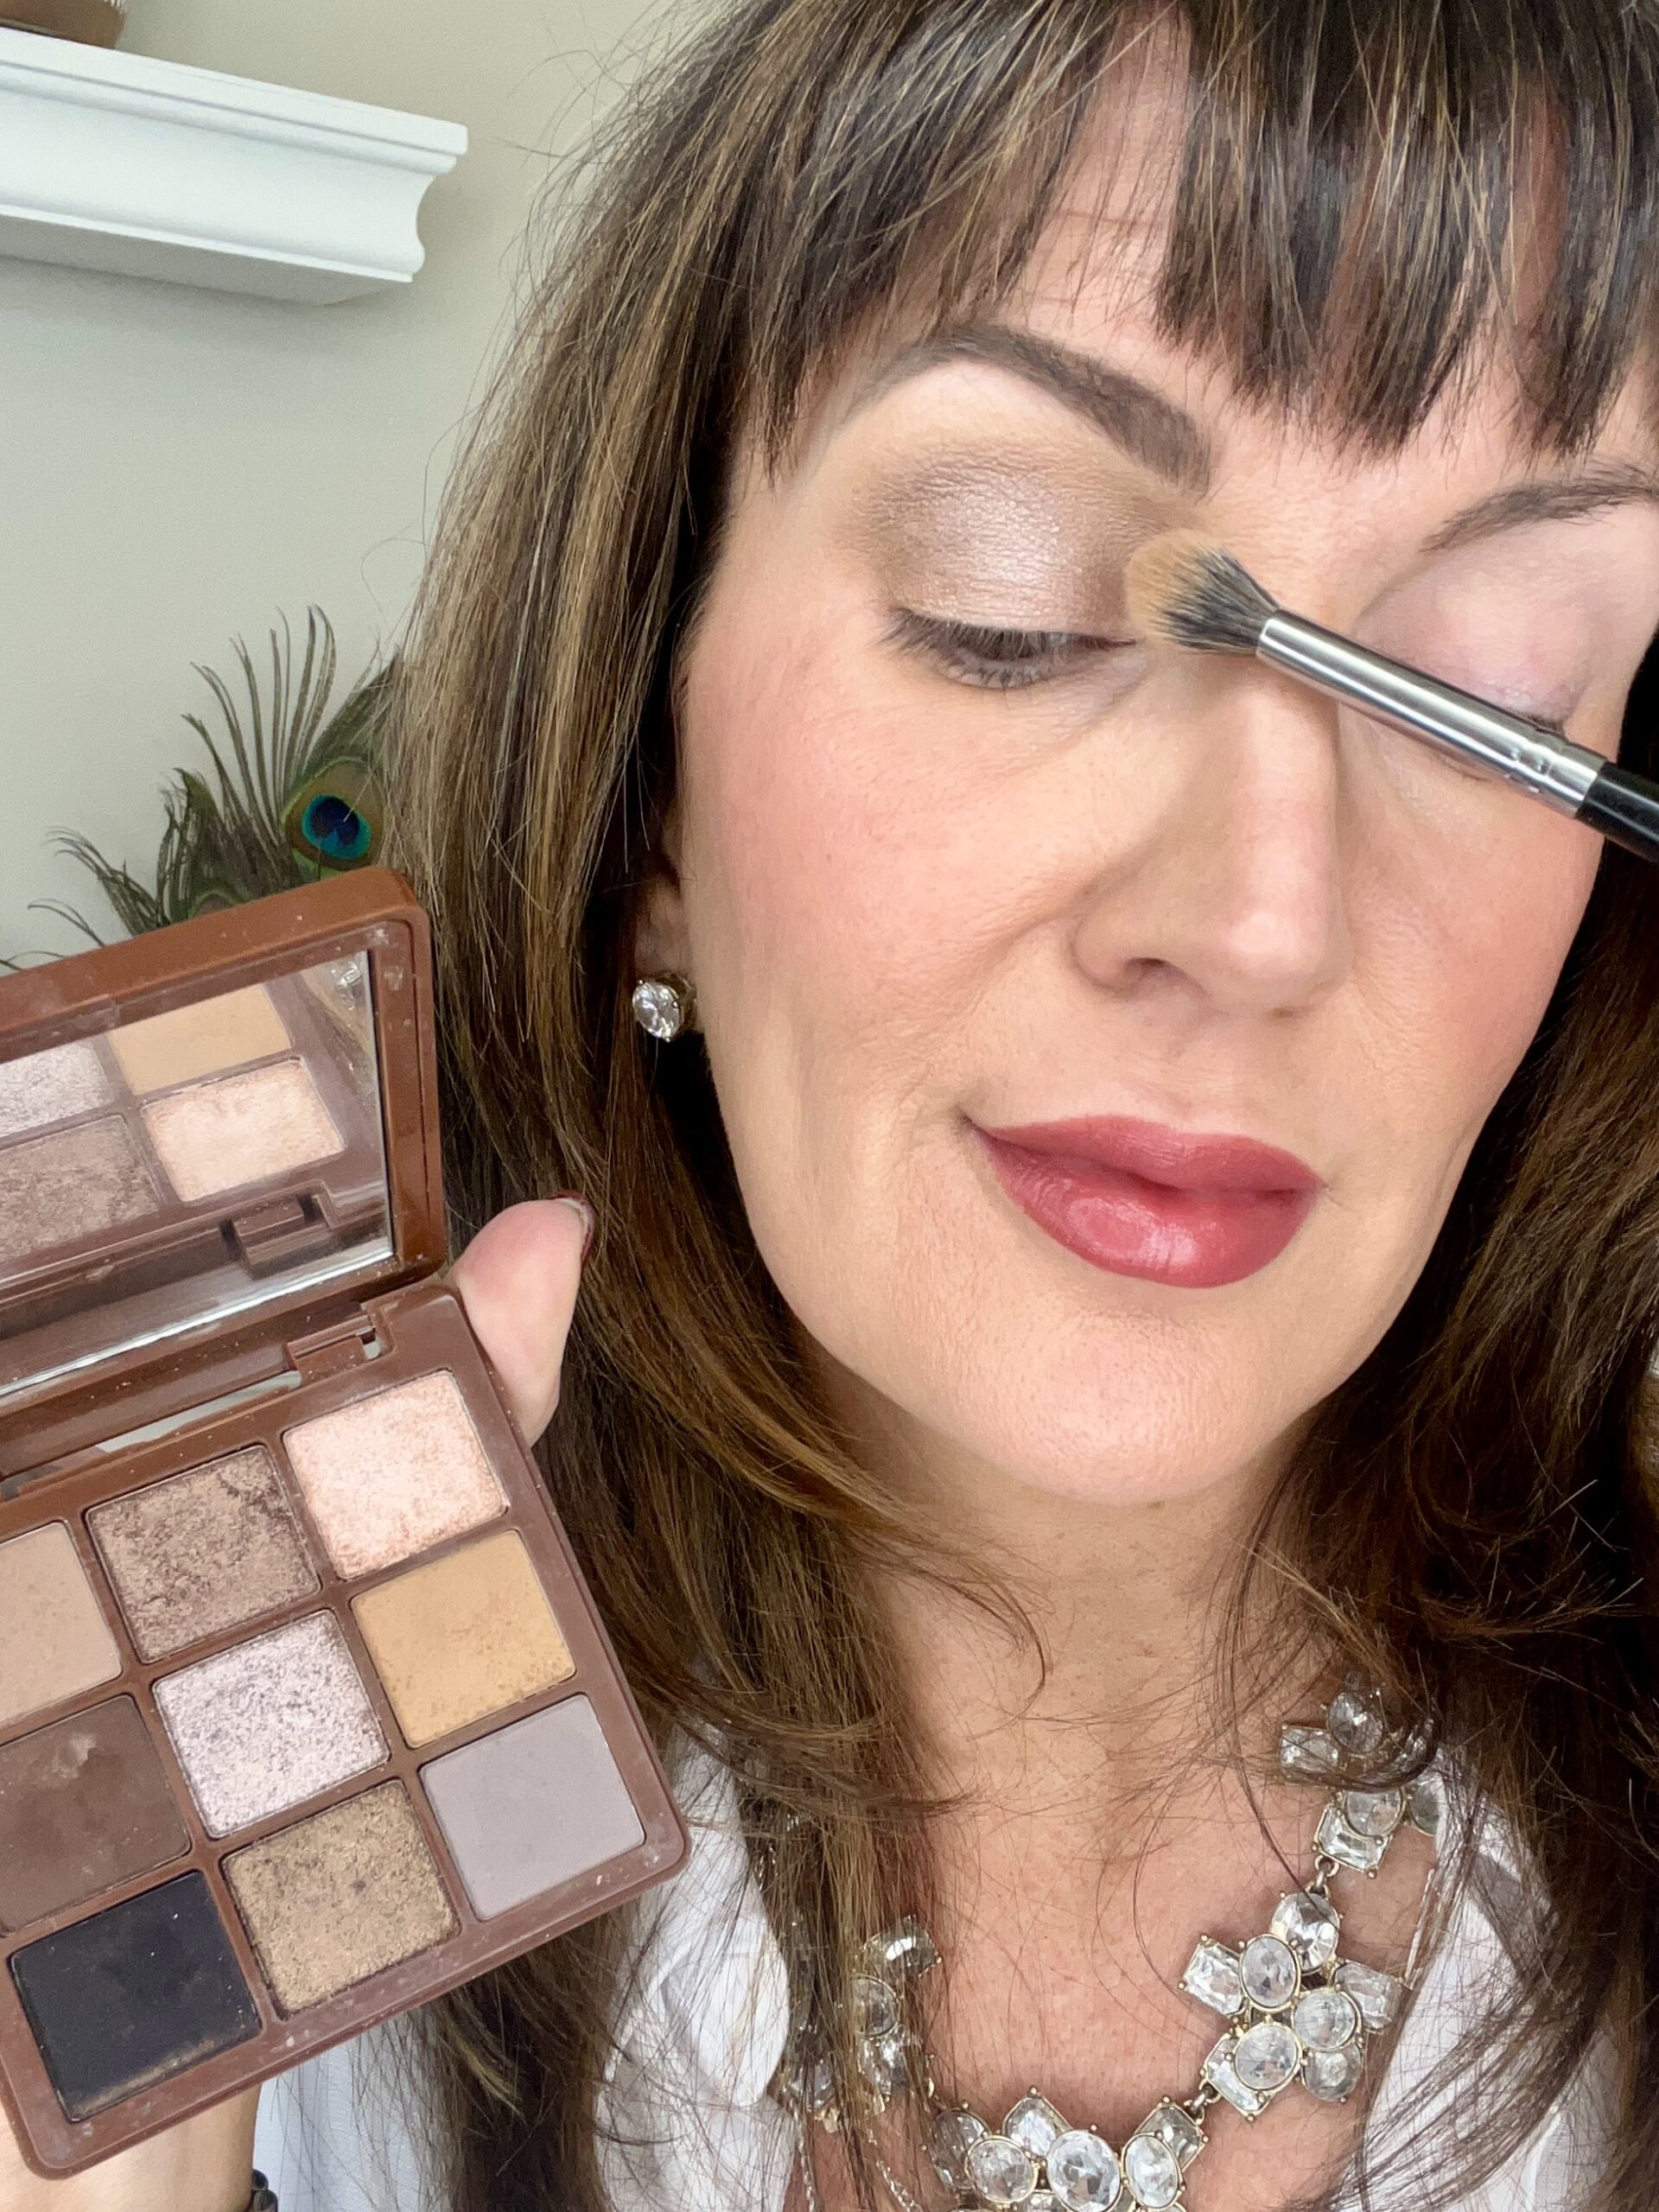
I added a touch of shimmery champagne right into the center of the lid and also pulled it slightly above the physical crease as well to give a pretty pop. And do add a light swipe of that medium transition (matte) shade along ¾ of the lower lash line – you’ll be surprised how it detracts from under-eye wrinkles.
Shop the Post
EyeLiner
MISTAKE: TOO SHORT, THICK CUT OFF LINER OR NONE AT ALL
CORRECT: GRADUAL LINER WITH A SMALL FLICK / WING
I’ve said it before and I’ll say it again – don’t give up on eyeliner. It adds so much youthfulness to the eyelid when done right. And can bring beautiful attention to the lash line.
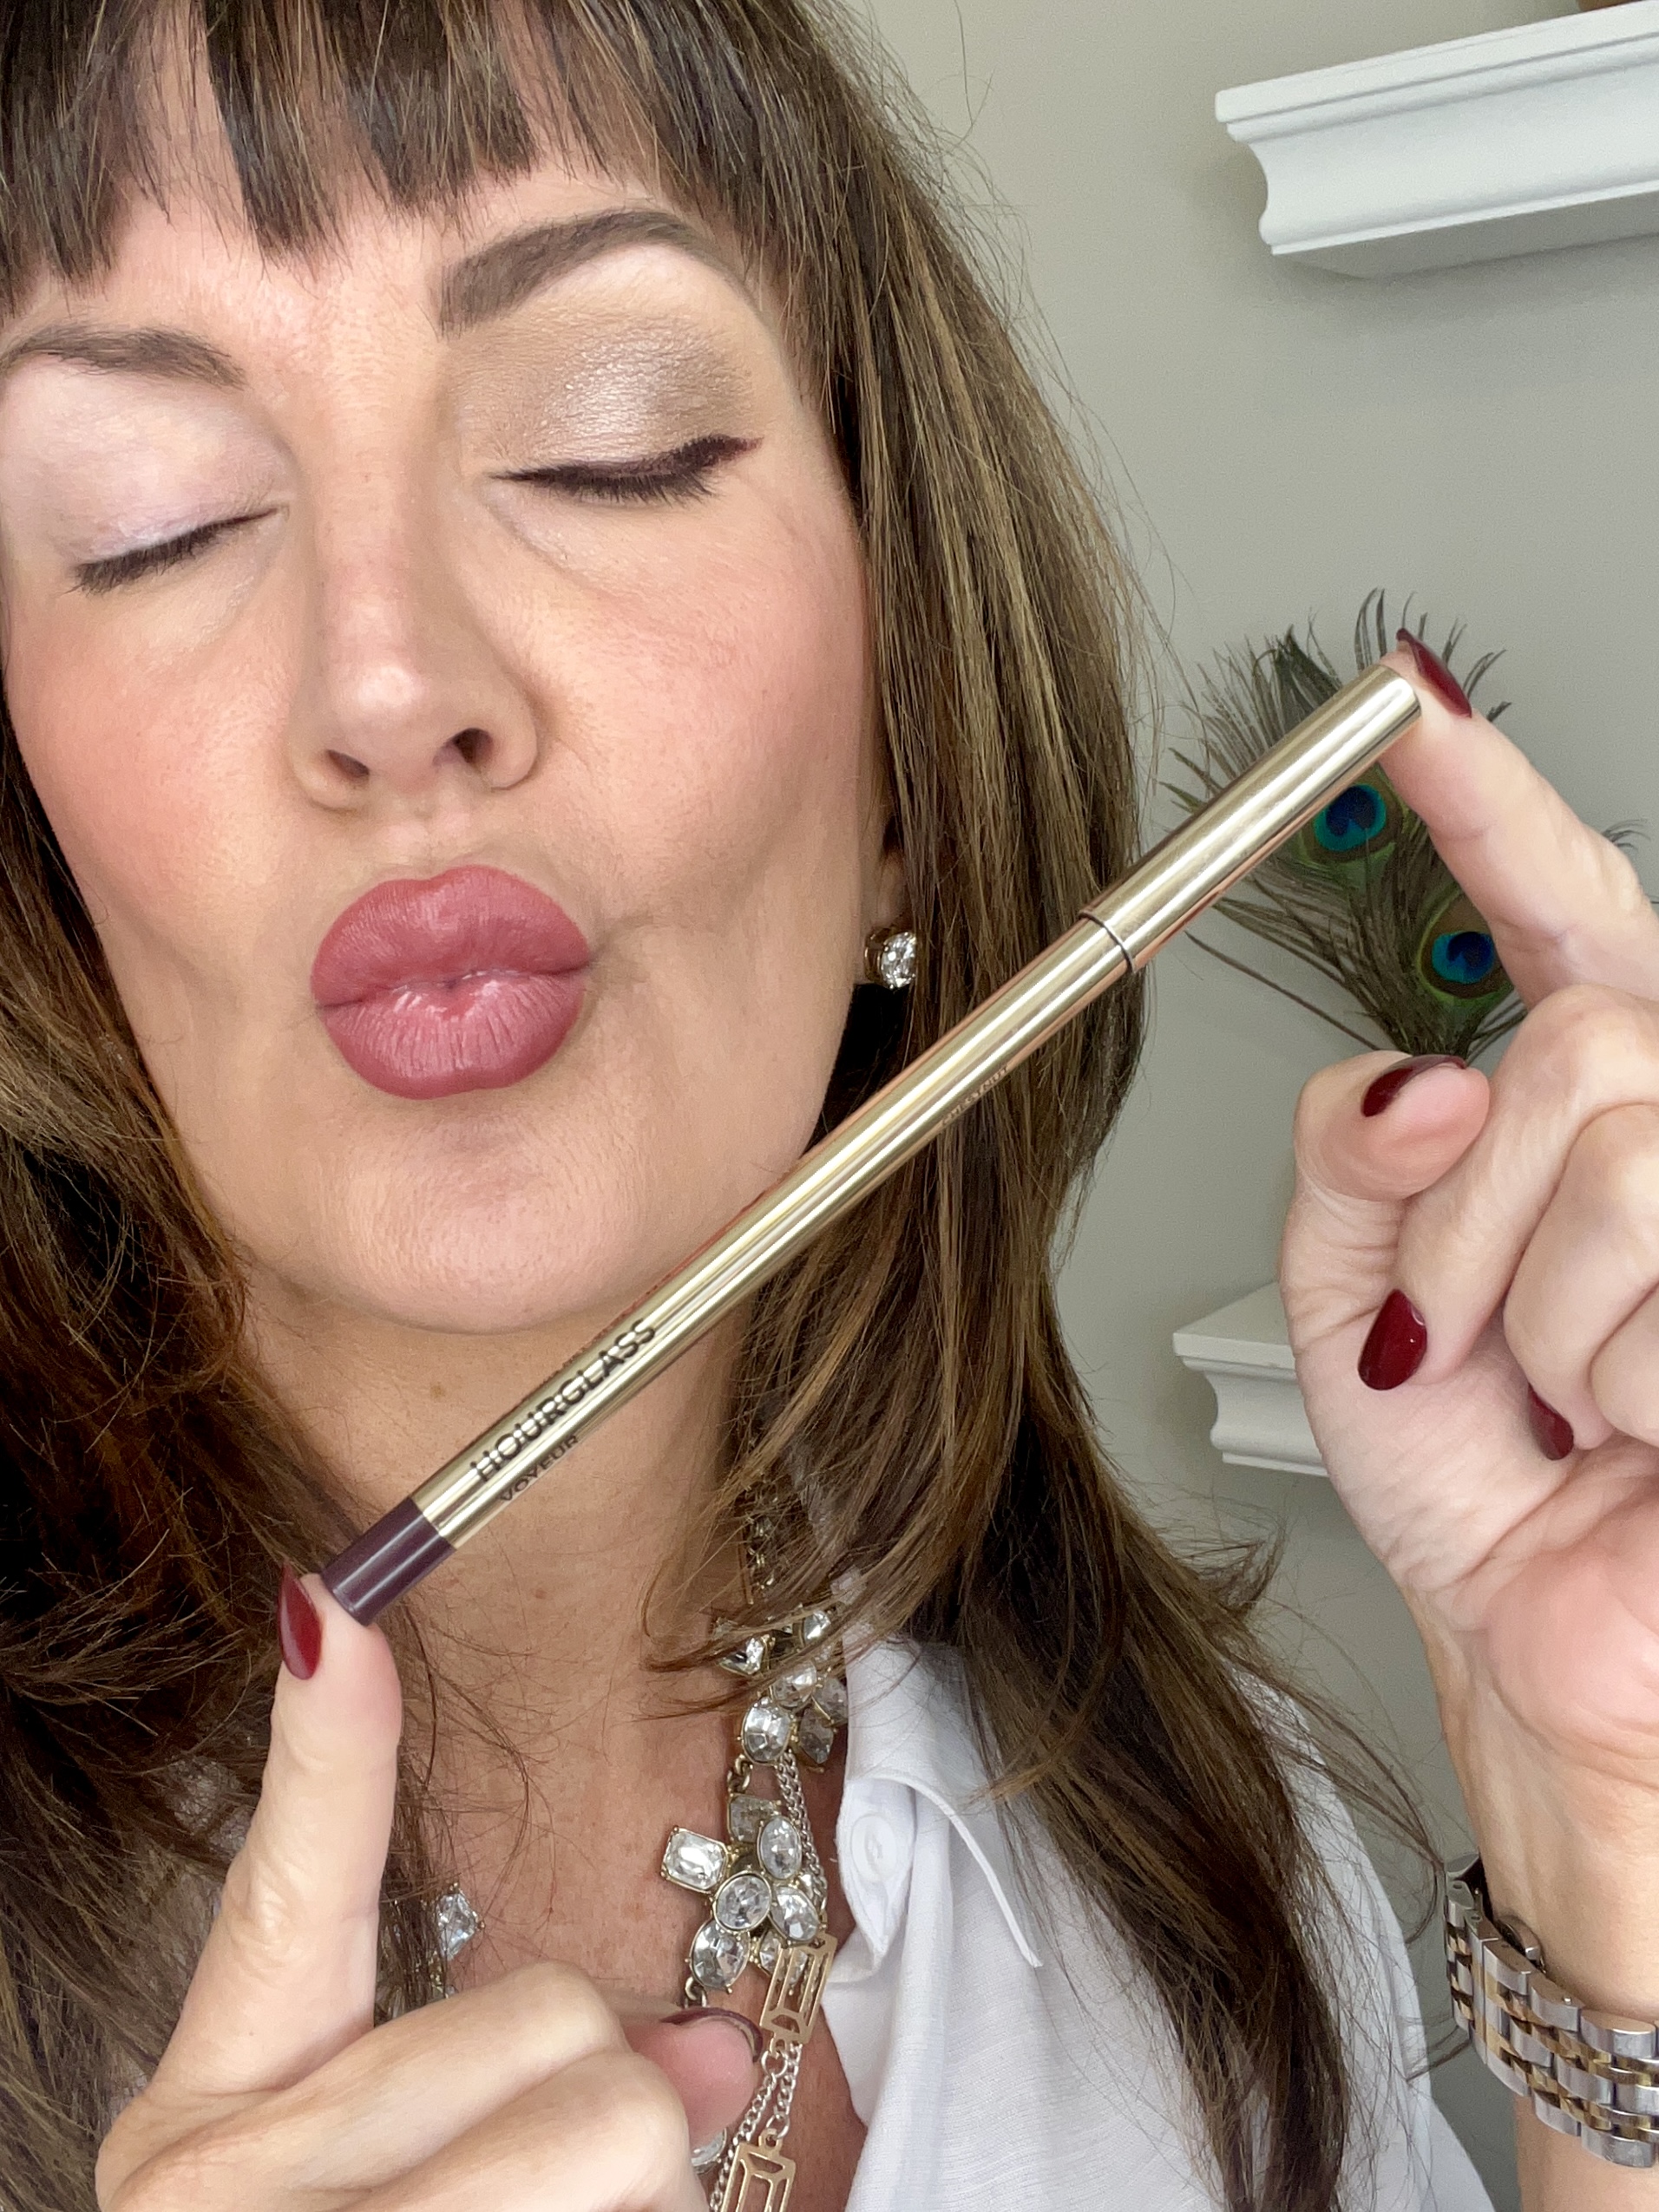
And if you’ve been looking for an eyeliner that is something other than basic black or brown, but don’t want to go too far off the beaten path with a bold shade, this “Chestnut” shade from Hourglass is GORGEOUS. It is the perfect contrast to green, hazel, blue AND brown eyes! It is a combo of reddish chocolate brown with a hint of deep plum – so pretty – and I love that you don’t have to sharpen it because it just twists up. And the longevity of this formula is unmatched – it does not bleed.
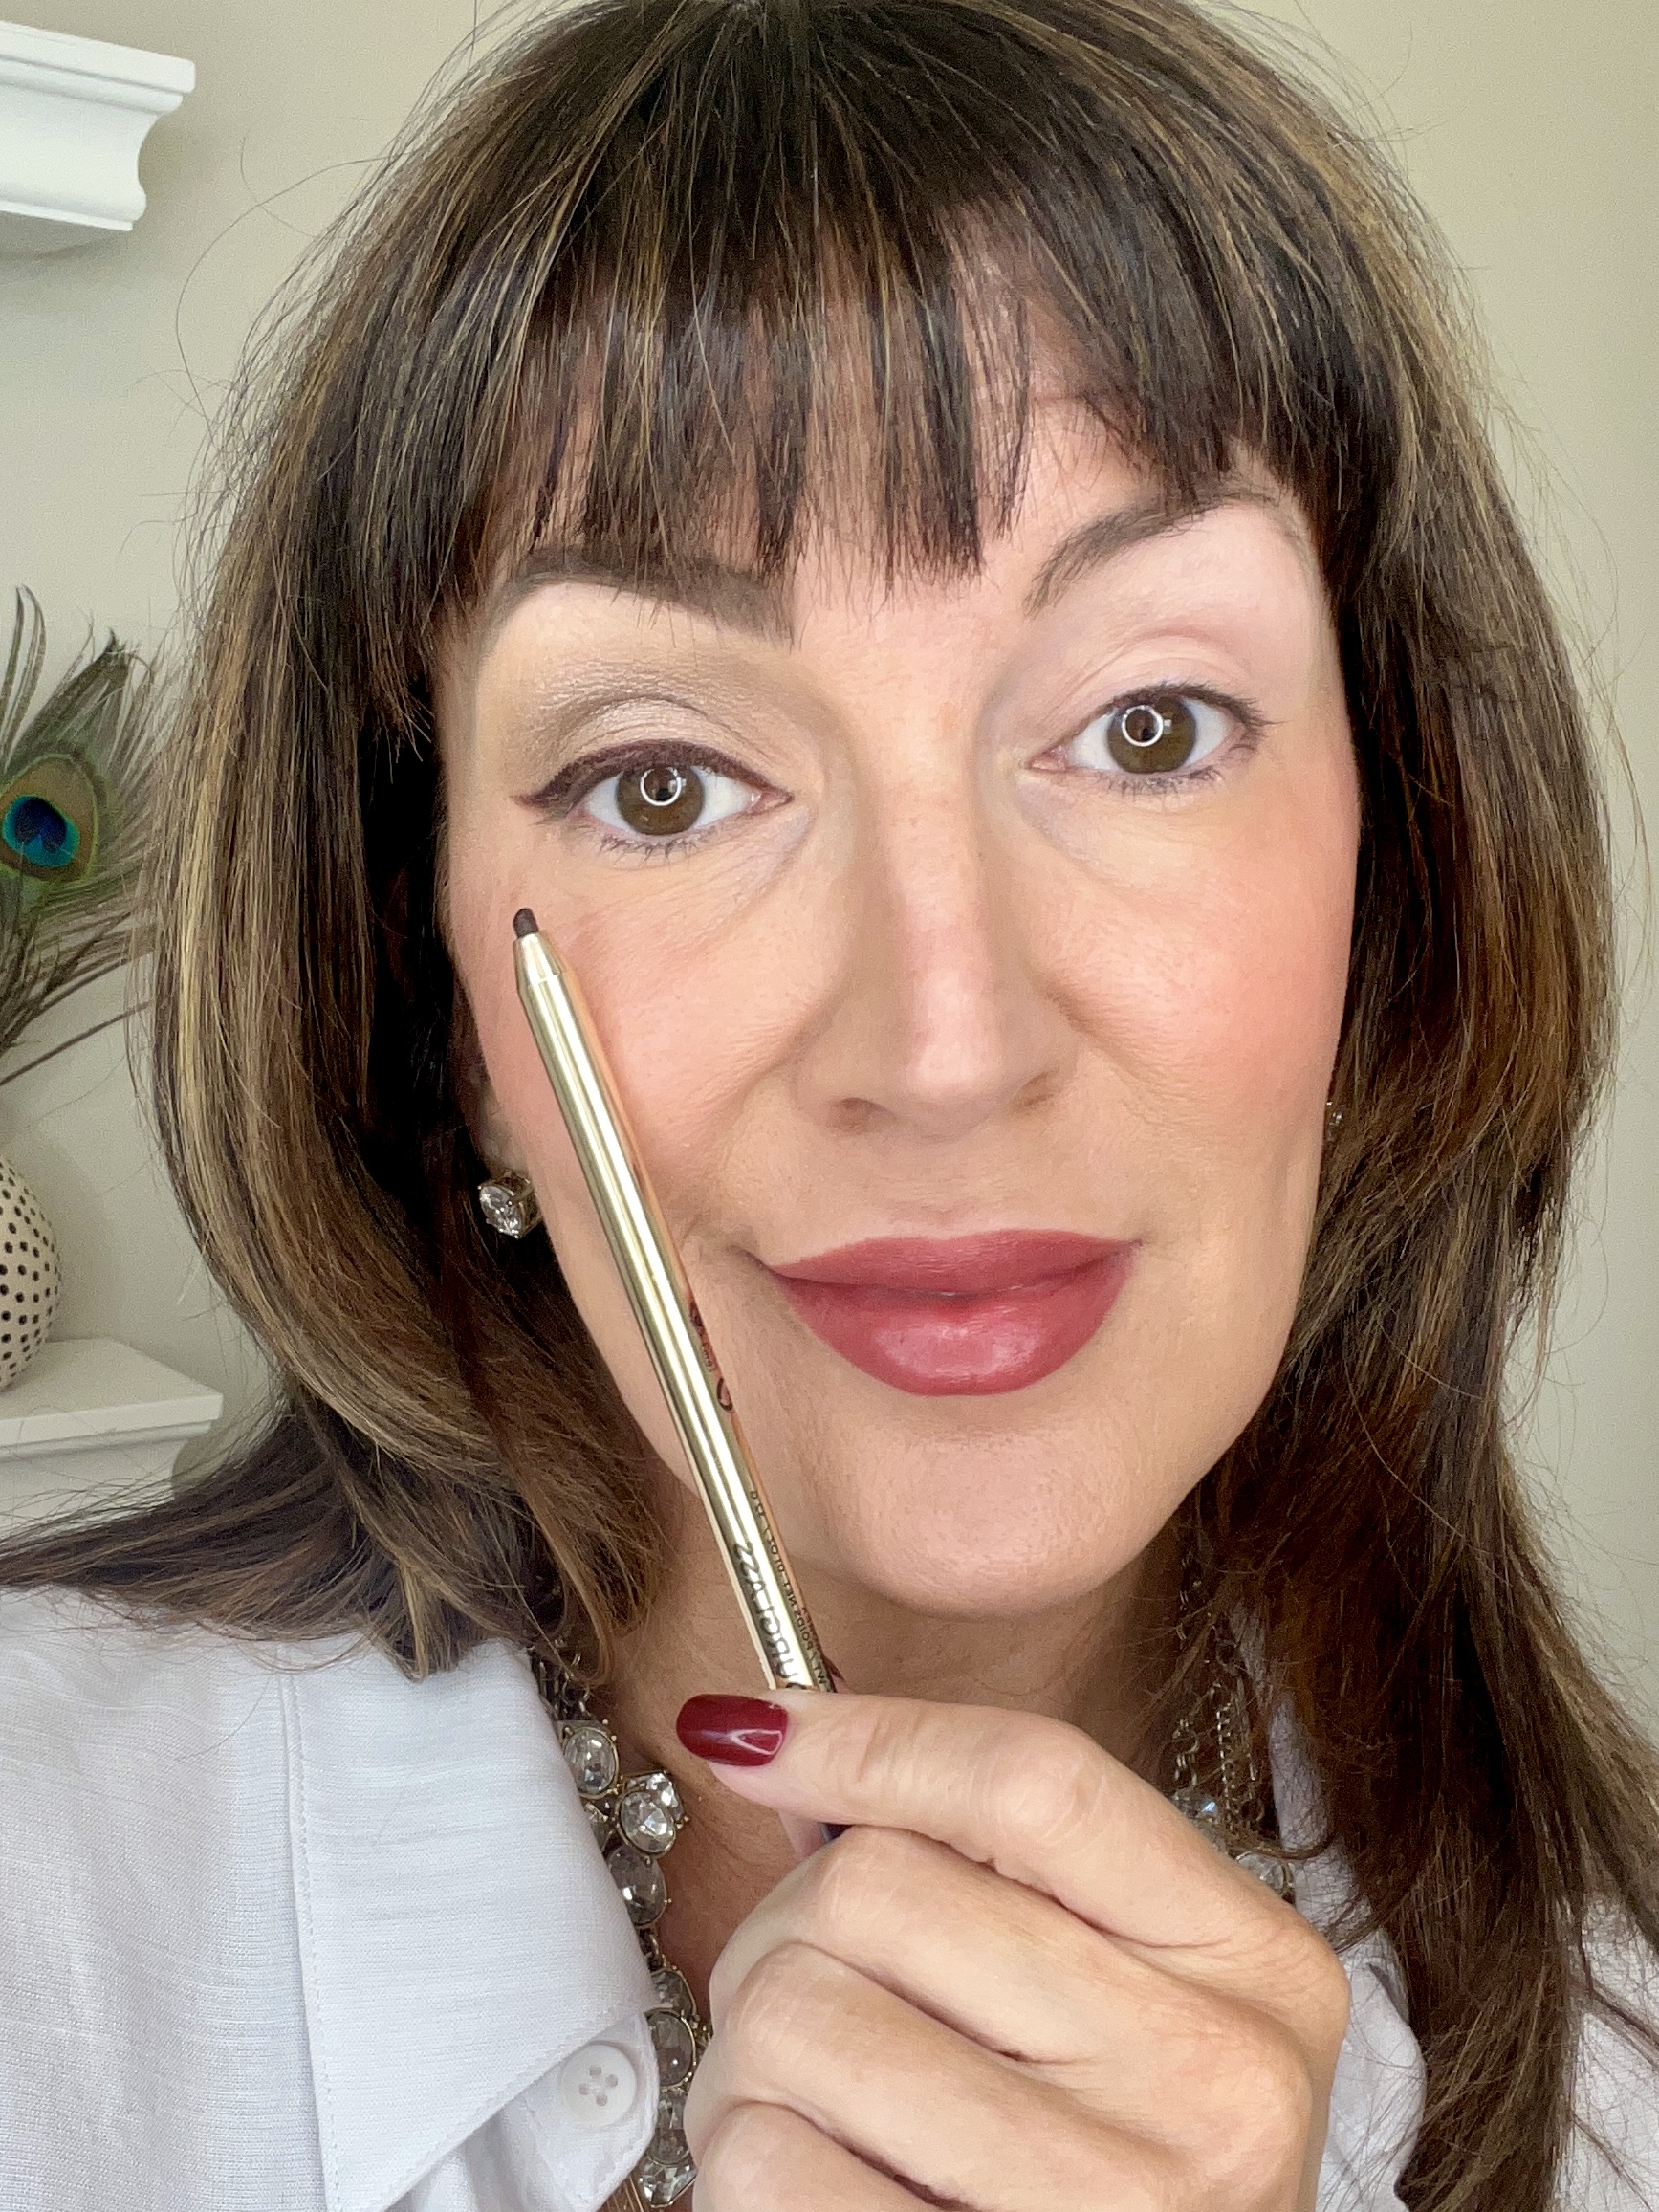
When applying eyeliner, you need to do these 3 things:
- 1st: tightline the underside of the eyelash line on the upper lid to darken in the fleshy part.
- 2nd: start drawing a skinny line as close as possible to the lash line, from the tear duct area towards the end of the lash line, and flick out and up just slightly.
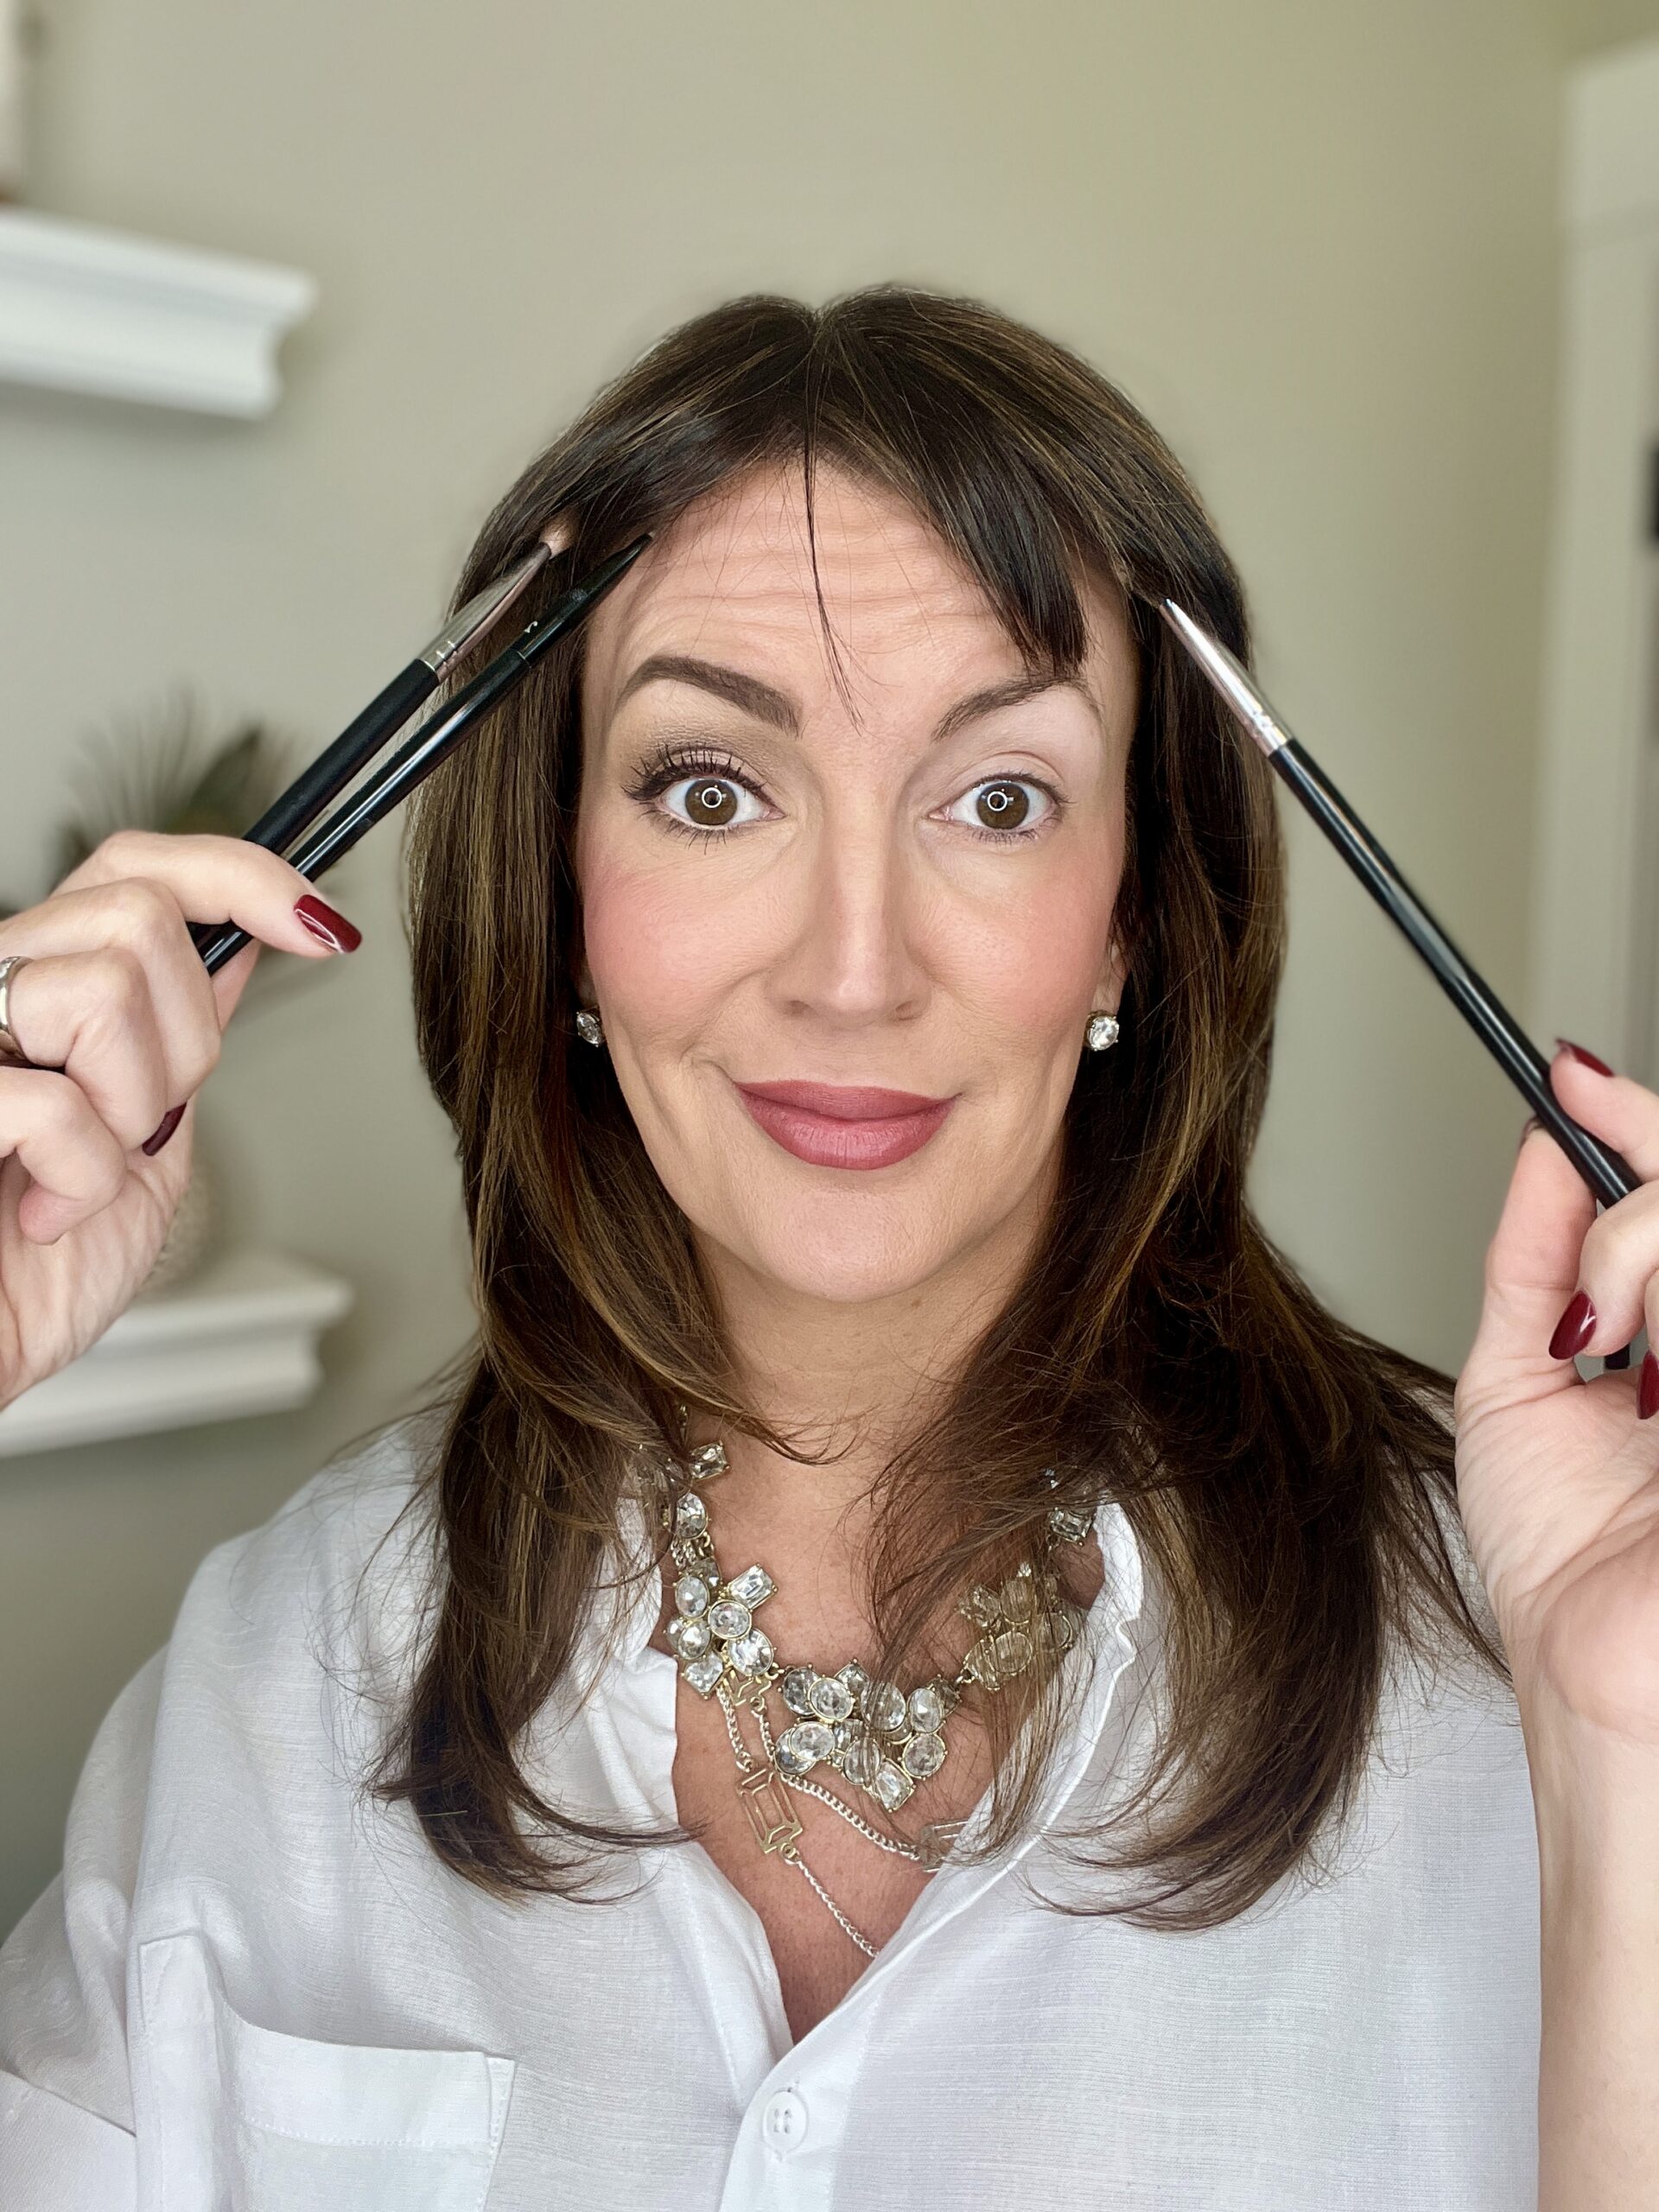
- 3rd: before that pencil dries down, take your skinny pointed liner brush and start buffing it on top of the eyeliner to blur the edges and make it appear smoother. Using this brush can also help you to pull and wing out that liner to where it extends the end of that physical liner and doesn’t just stop abruptly.
With nude eyeliner, just swipe it along the lower inner waterline to help brighten the whites of the eyes. Such a small nuance step that makes a big impact!
Shop the Post
AGING EYE MAKEUP STARTER KIT
Here’s my starter kit of the exact products I used for your reference (all products used are under $30 each):
– Anastasia Beverly Hills Brow Duo powder in “medium brown,” $23 + angled brow brush, $20
– Fenty Beauty Pro Filtering eye primer, $22
– Anastasia Beverly Hills Mini Sultry eye palette, $29
– Hourglass waterproof gel eyeliner, shade “chestnut,” $28
– Essence Lash Princess Sculpted Volume Mascara, $5
– Natasha Denona HyGlam concealer, “P2,” $30
– Anisa Beauty Angled concealer brush, $28
– Laura Mercier mini ultra blur powder, “rose,” $26
– Morphe M443 pointed liner brush, $6
– Morphe M453 blending brush, $8
– Bioaqua Gold Lemon eye masks, 80 count, $17
– Classic Tweezerman eyelash curler, $15
Shop the Post
LASHES
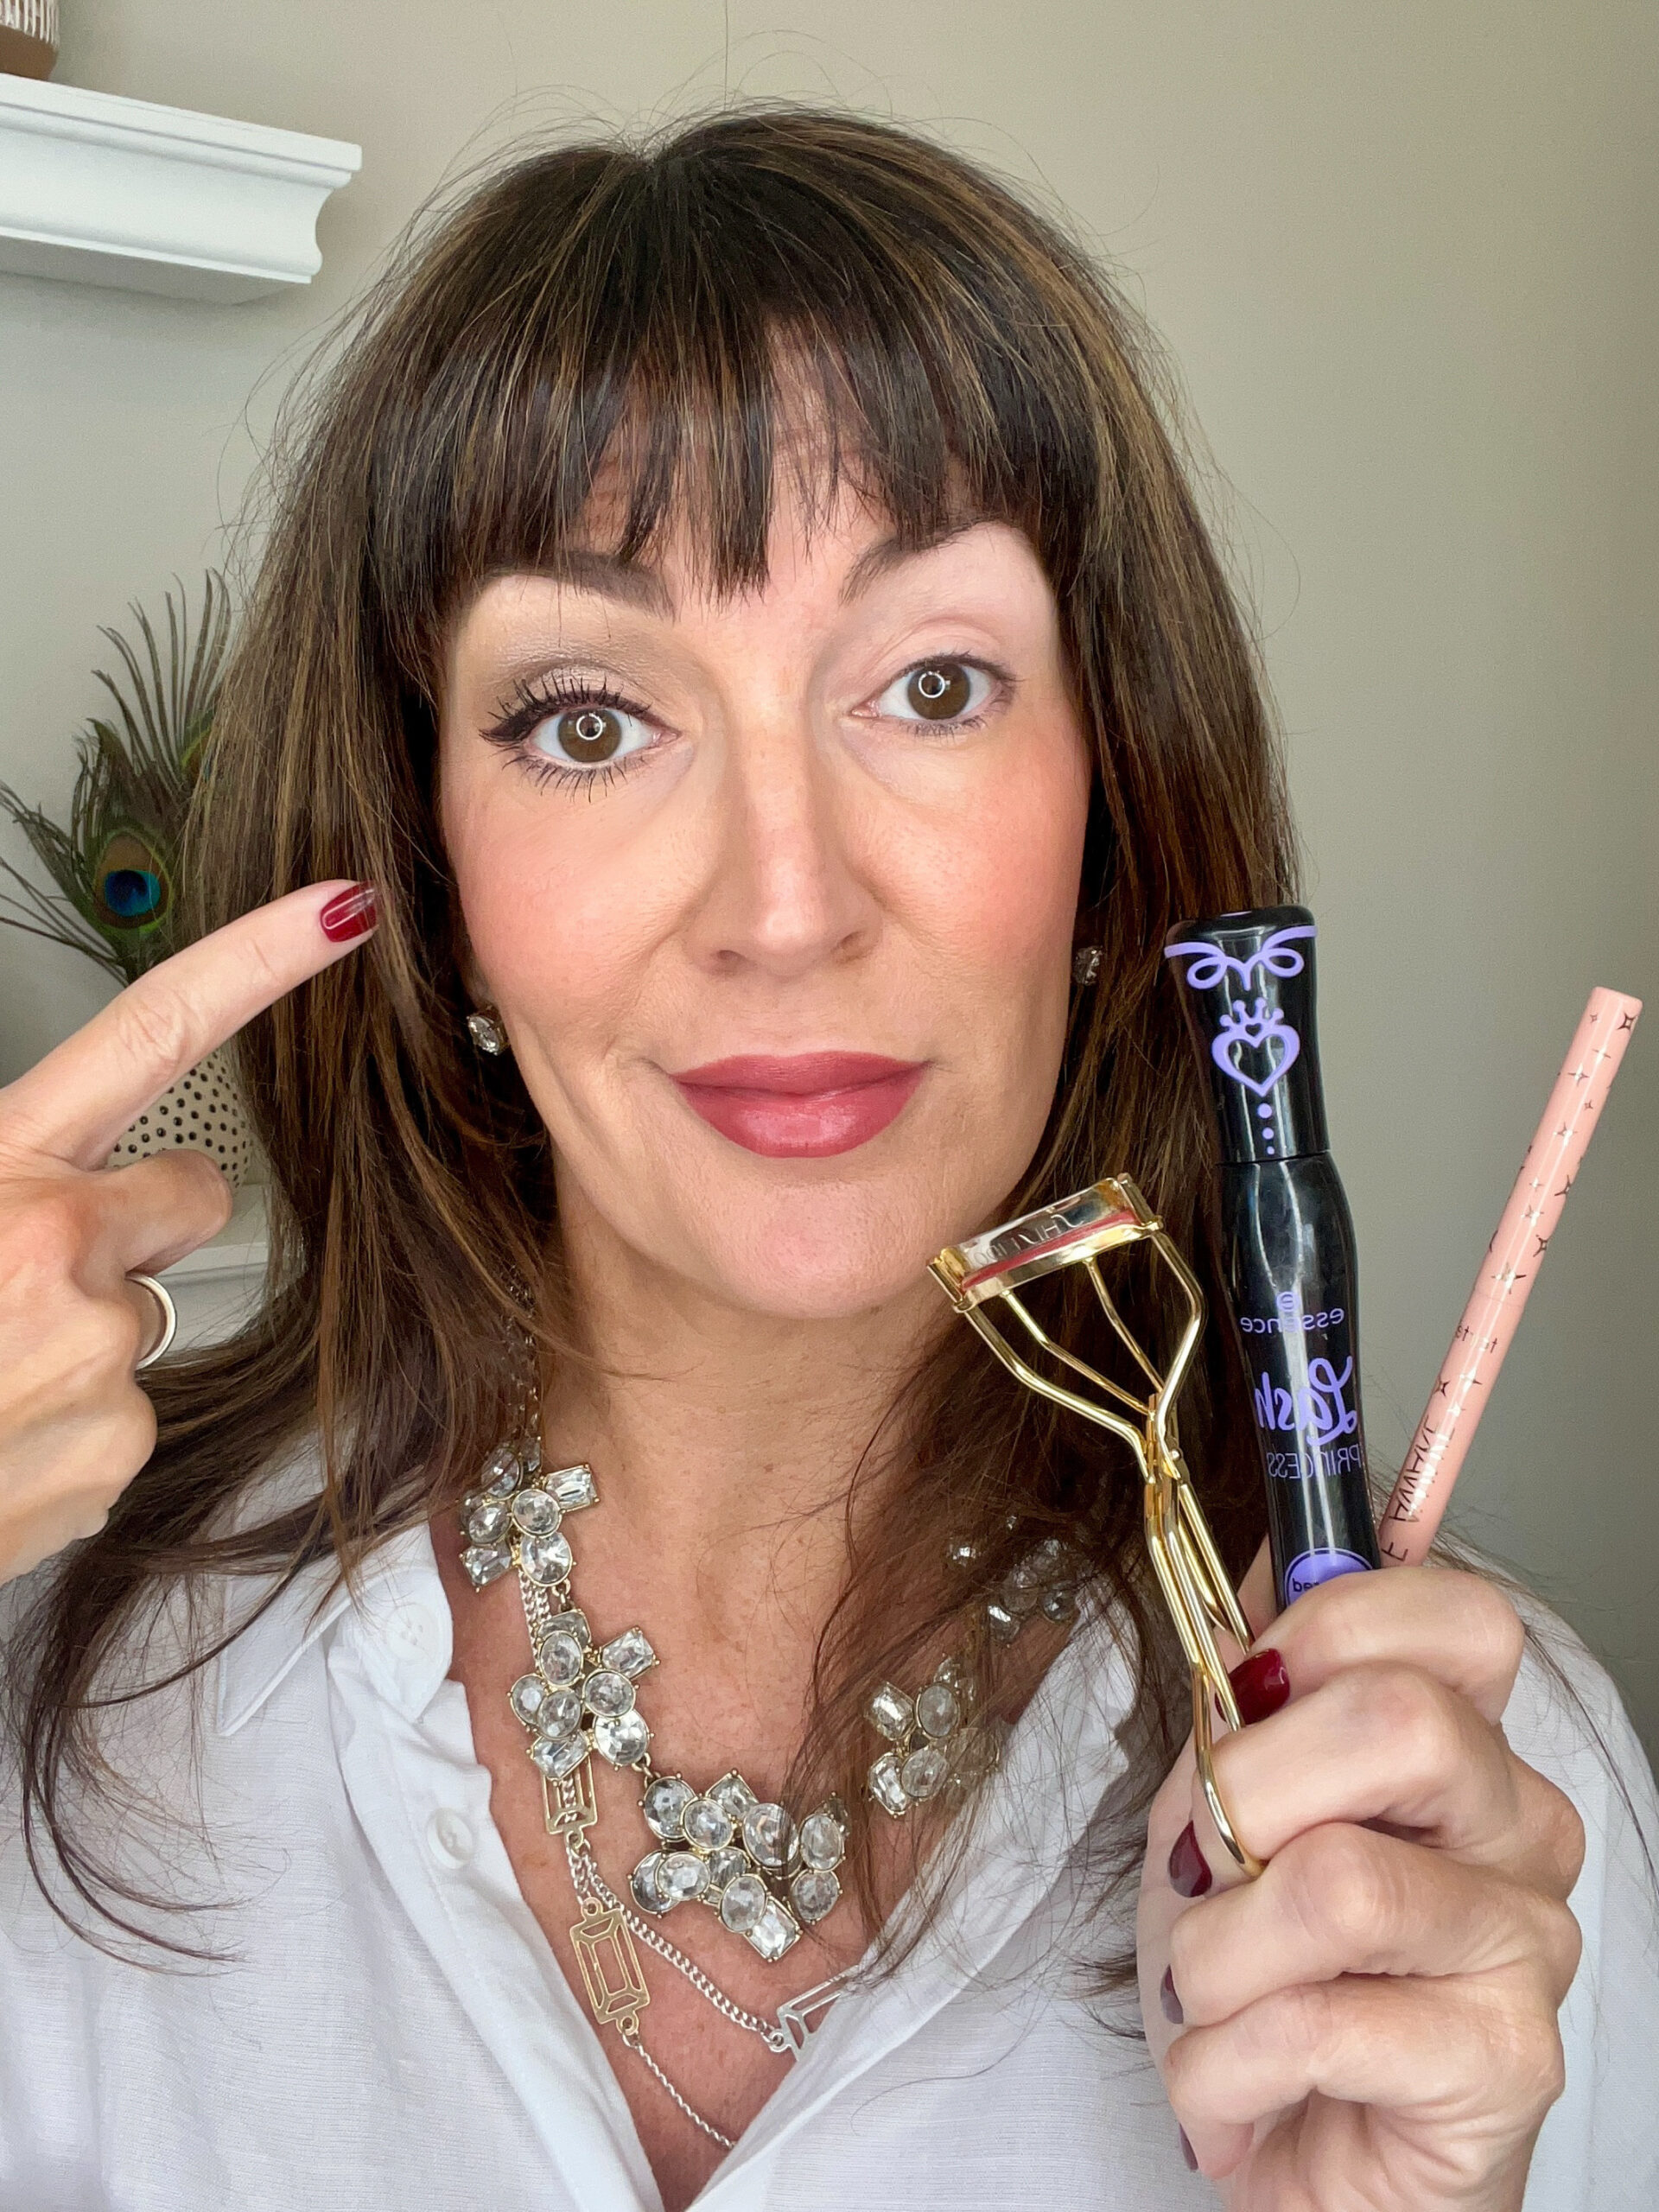
MISTAKE: APPLYING MASCARA WITHOUT CURLING FIRST
CORRECT: CURL LASHES FIRST THEN APPLY MASCARA
This is the most basic, easy, and effective step to opening up the eyes that too many women skip!! Get yourself an eyelash curler (I know most of you definitely used one in the ’70s and ’80s!) and squeeze them gently at the base, middle, and tips of the lash line before you apply mascara. It MAKES A HUGE DIFFERENCE and your lashes will look 50% longer I guarantee.
Shop the Post
CONCEALER
MISTAKE: CONCEALER THAT IS TOO LIGHT
CORRECT: COLOR-CORRECTING CONCEALER THAT HAS A PEACH/PINK TONE AND IS CLOSER TO YOUR FOUNDATION SHADE
Everyone thinks they need to go lighter with their concealer to hide dark circles. Sounds like it makes sense, but think about it this way. Your dark circles are a black bra, and then you put a white shirt on your body. That black bra is still obvious – it just appears like a gray bra showing through!
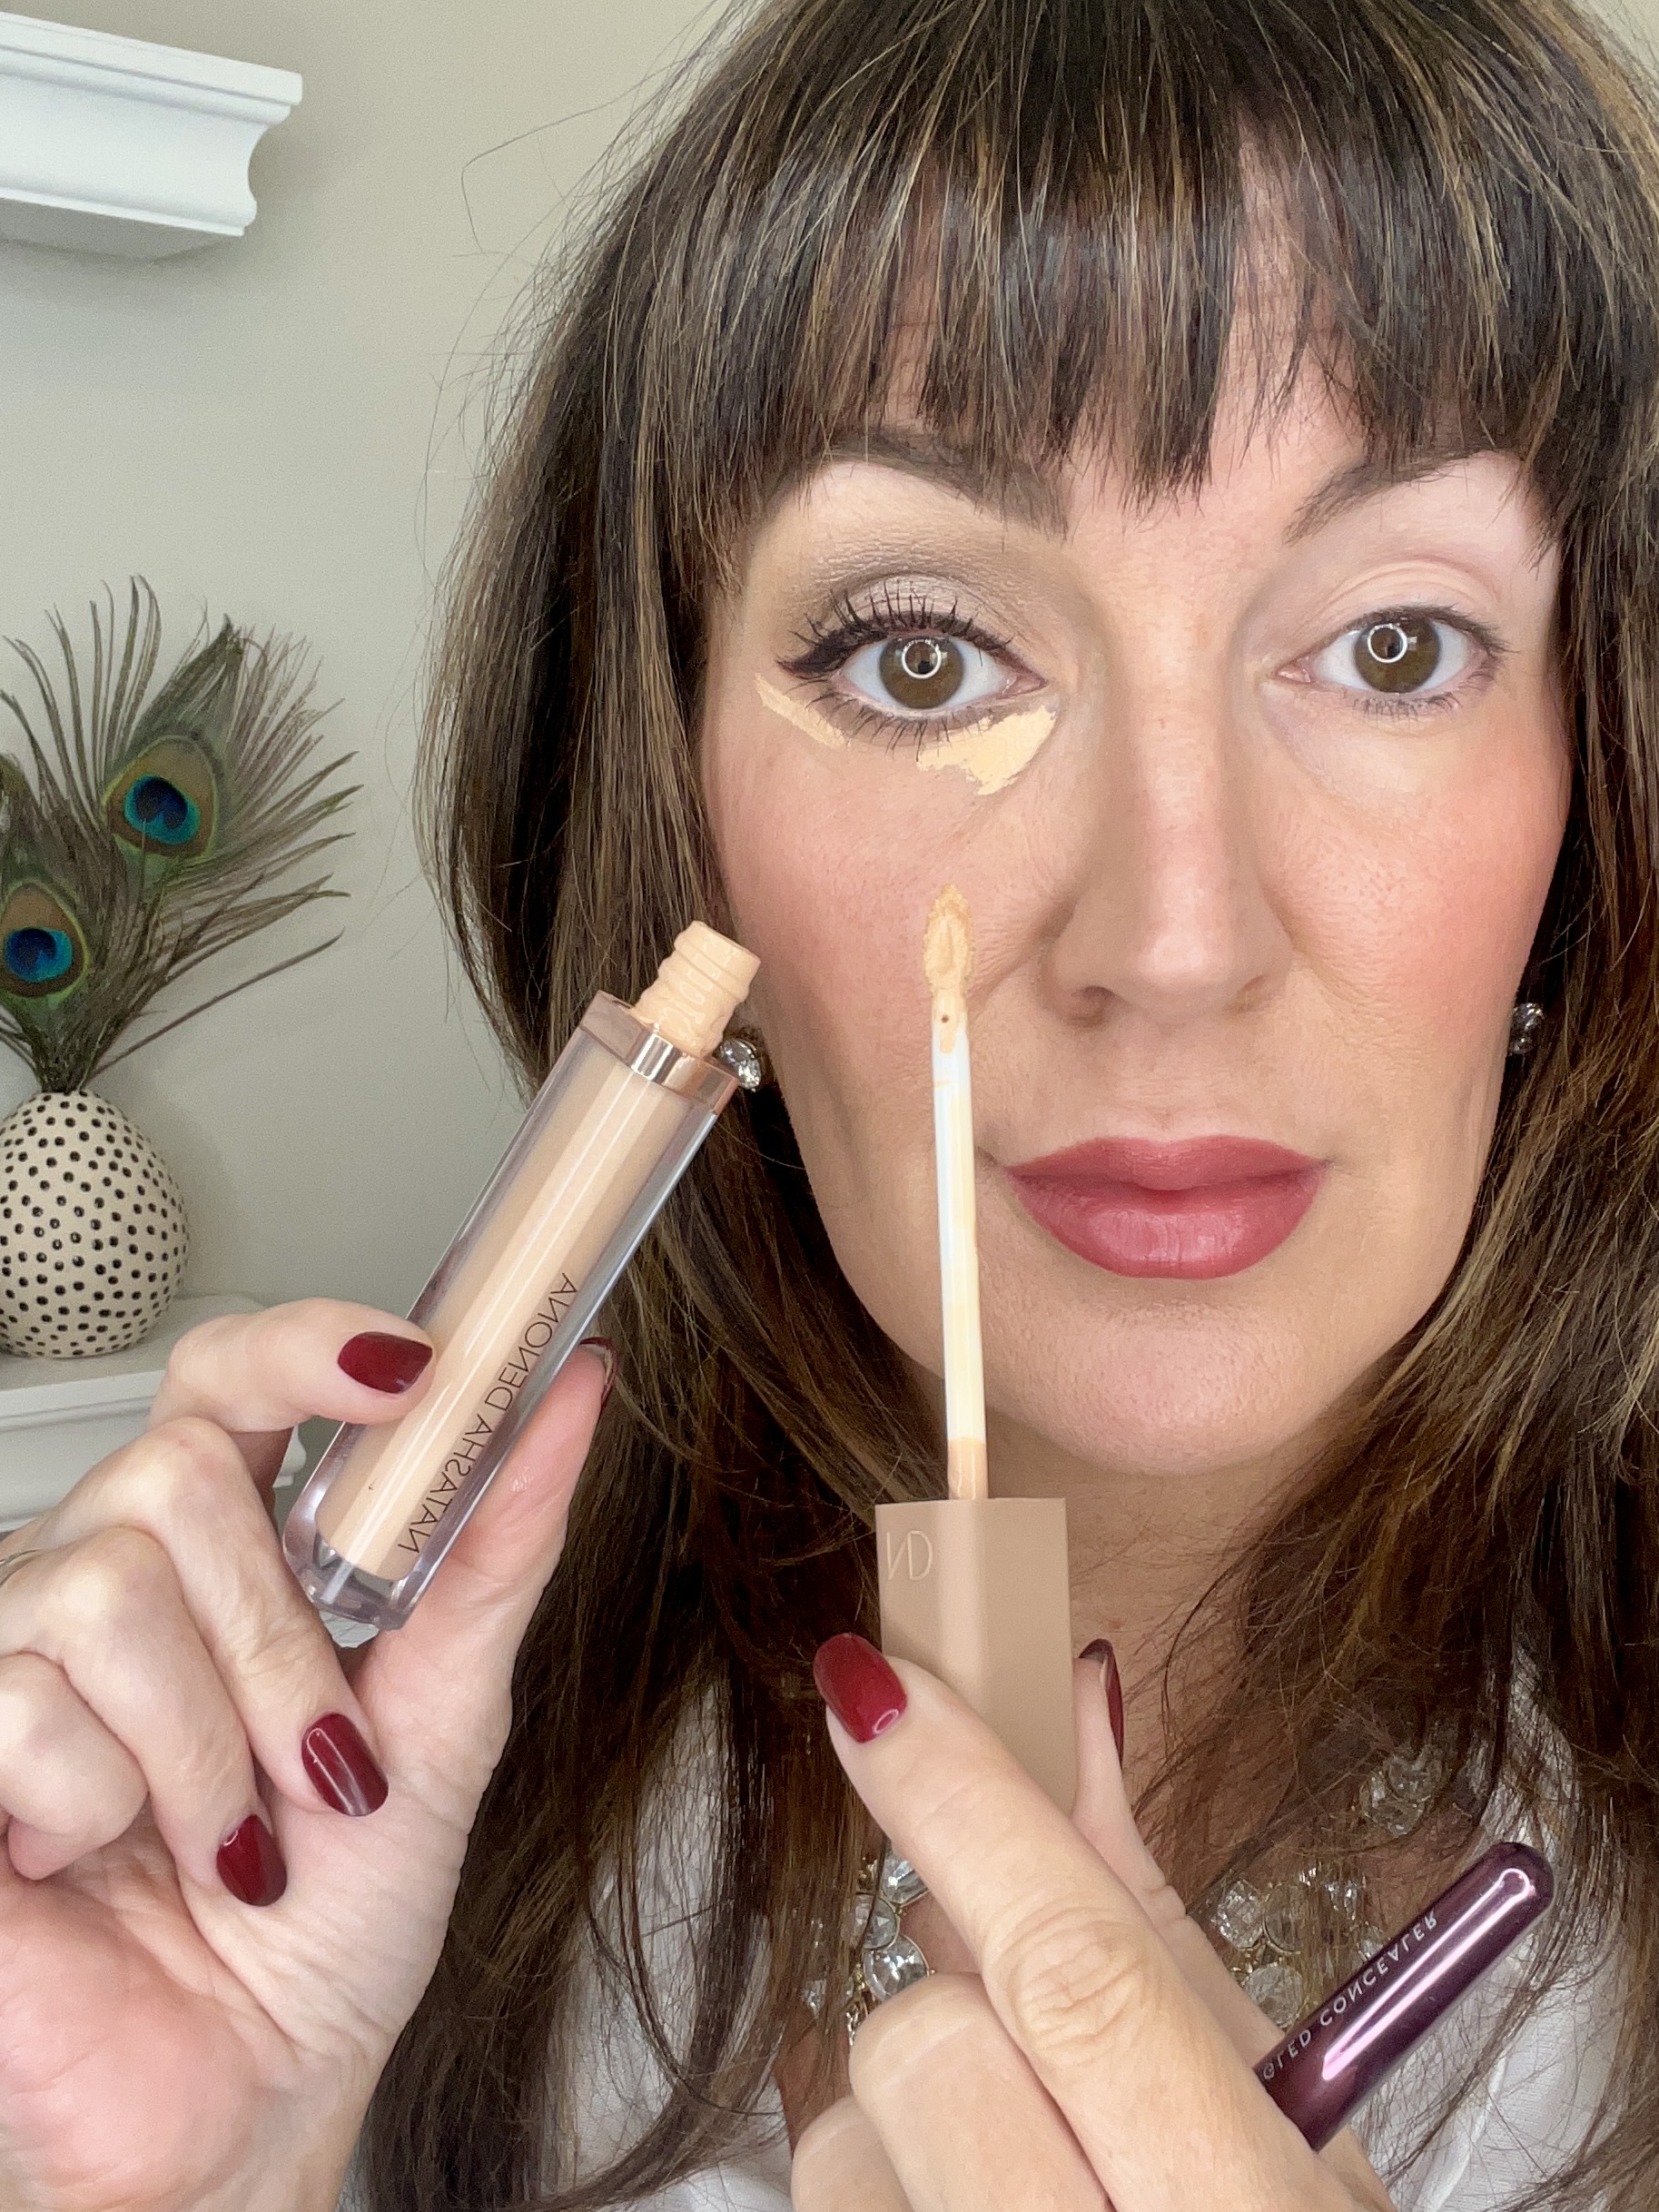
Same goes for wearing too light a concealer. You should be using a concealer that has some sort of color-correcting property in it, while also just being ever so lighter than the foundation you choose. For women with light to medium skin tones, the pinkier and peachier-based concealer helps to brighten. For women with deep and dark skin tones, an orange or yellow-based concealer will do the brightening.
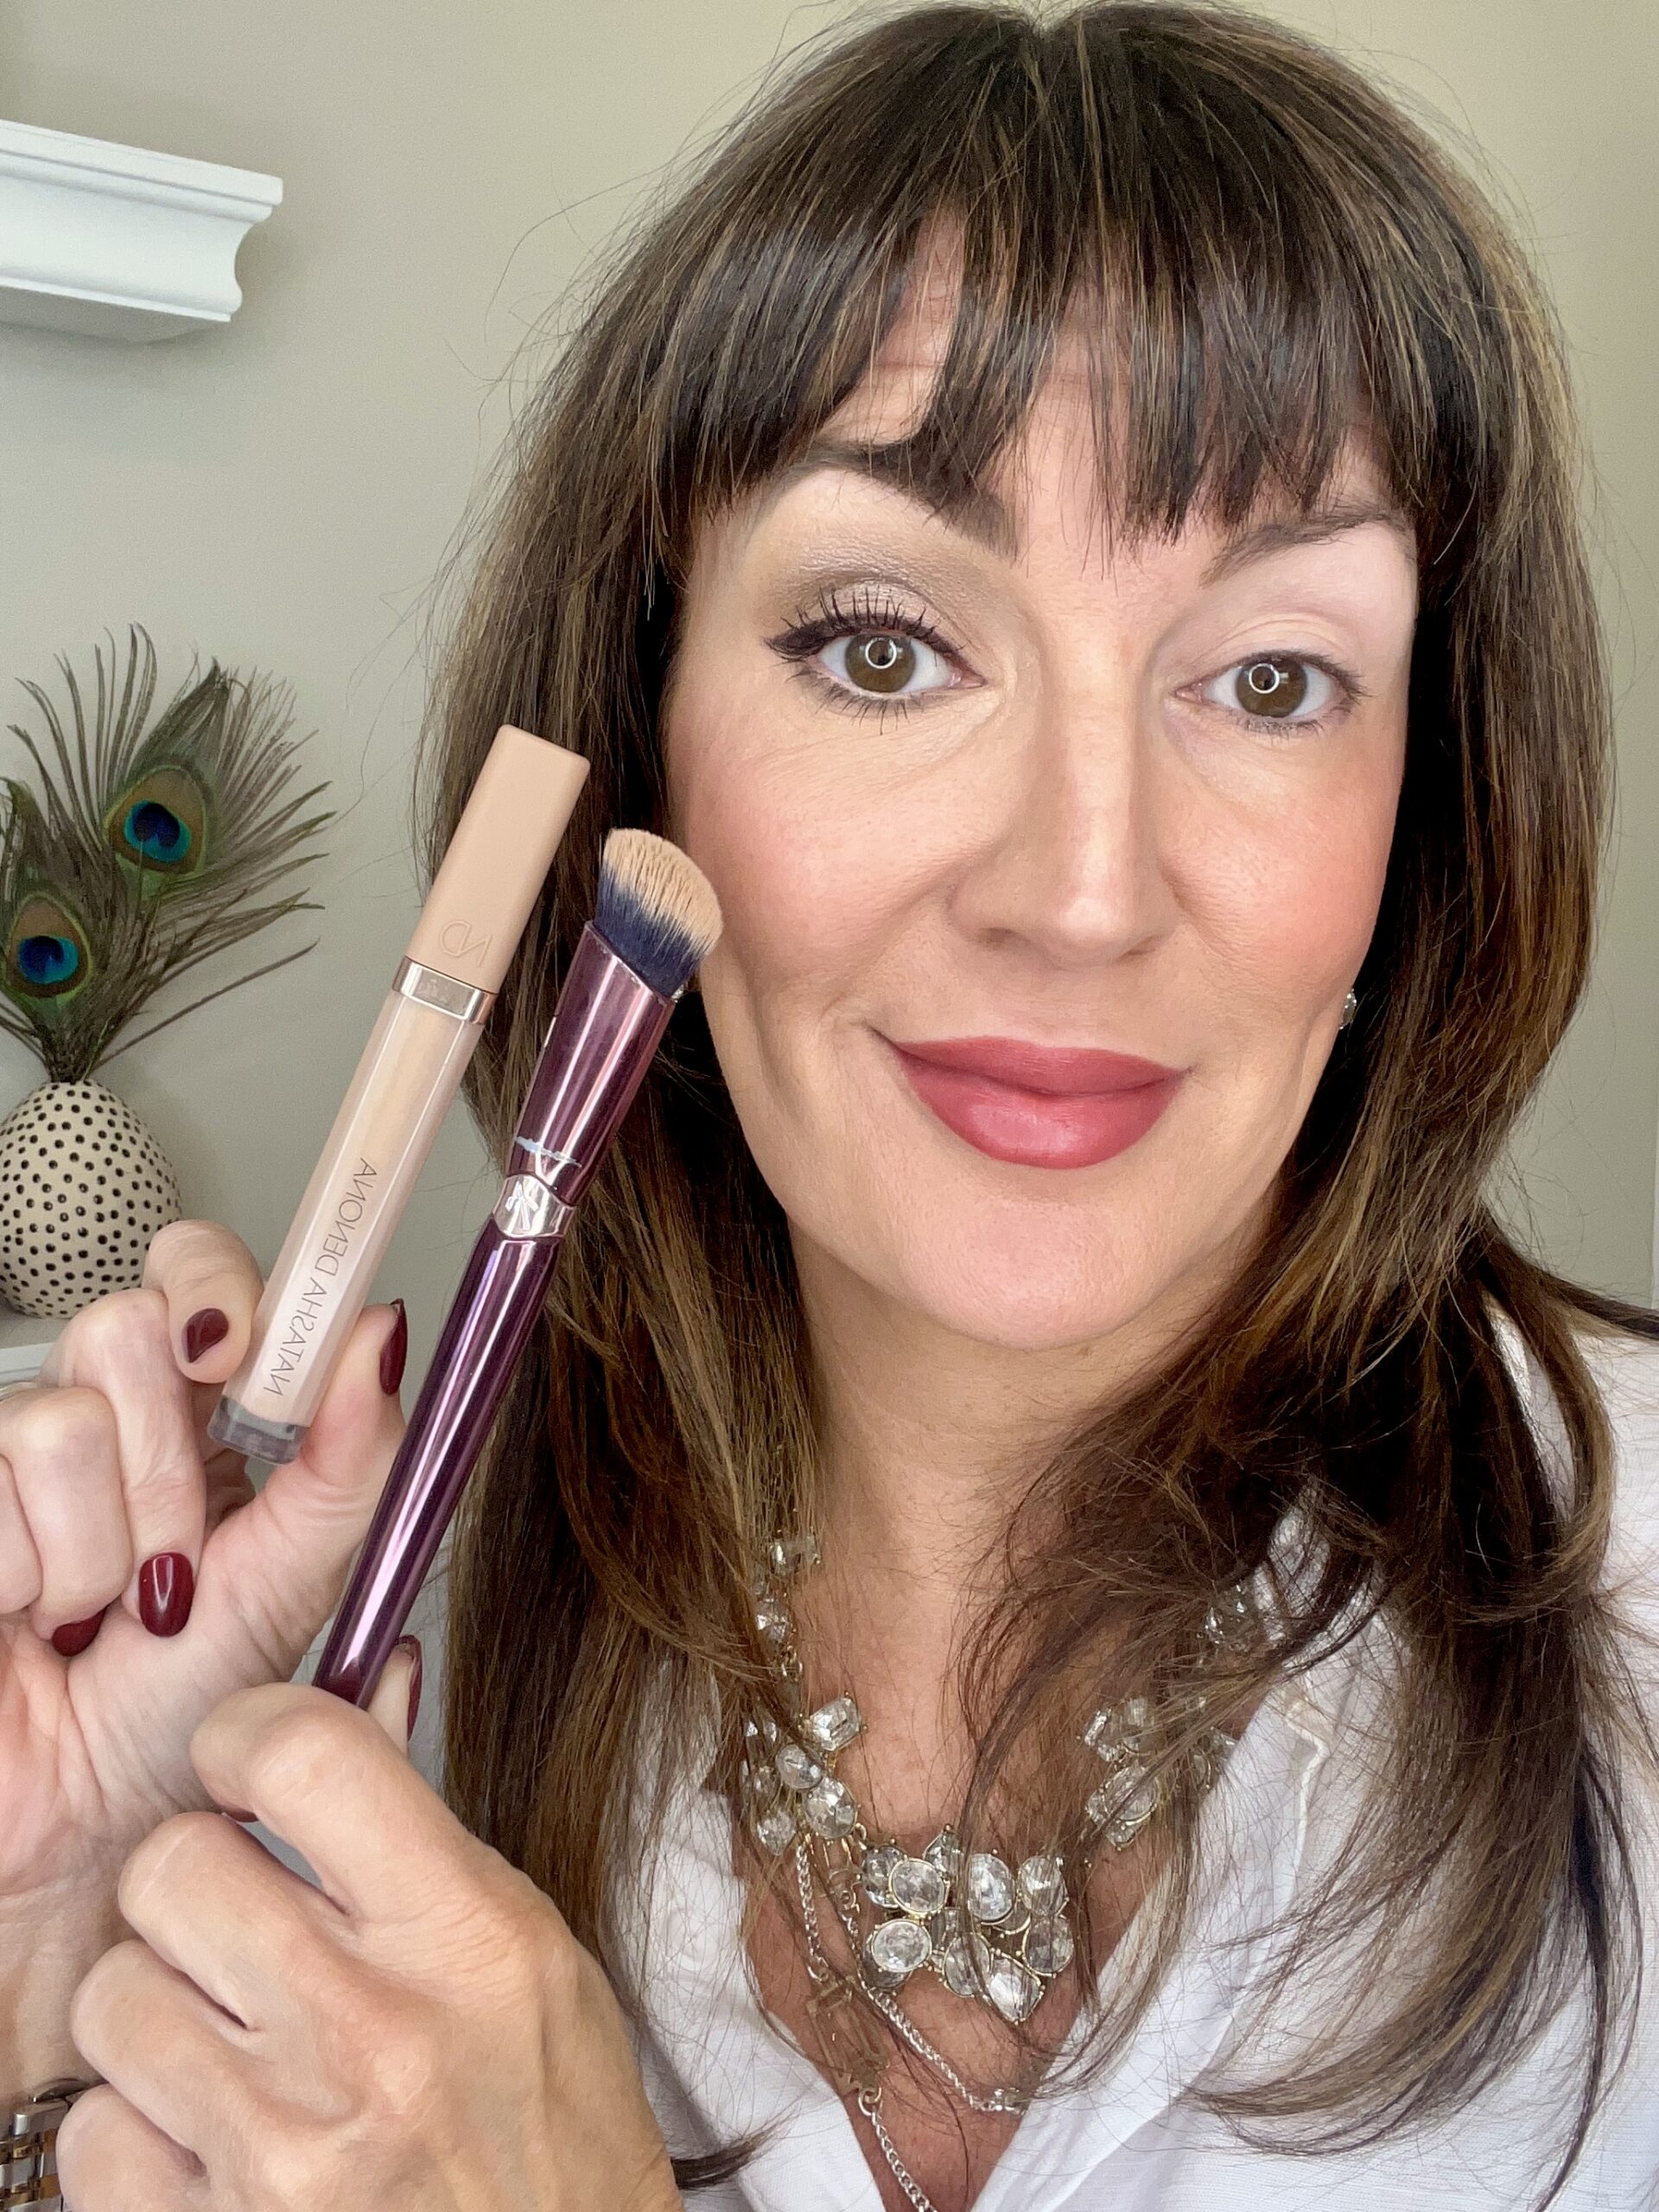
Natasha Denona has done the best job of making these HYGLAM concealers that are all in one in terms of color correcting because she offers shades in rosy (pinks), peaches, neutrals, and yellow. I can’t say enough great things about this formula for my mature gals – it’s the best. I am wearing shade P2 (peach 2 ) here in this post and I buffed it into my undereyes with this 5-star angled concealer brush by Anisa Beauty that will disperse your concealer way better than a human finger!
MISTAKE: LEAVING YOUR CONCEALER BARE
CORRECT: SETTING THAT CONCEALER WITH LOOSE POWDER
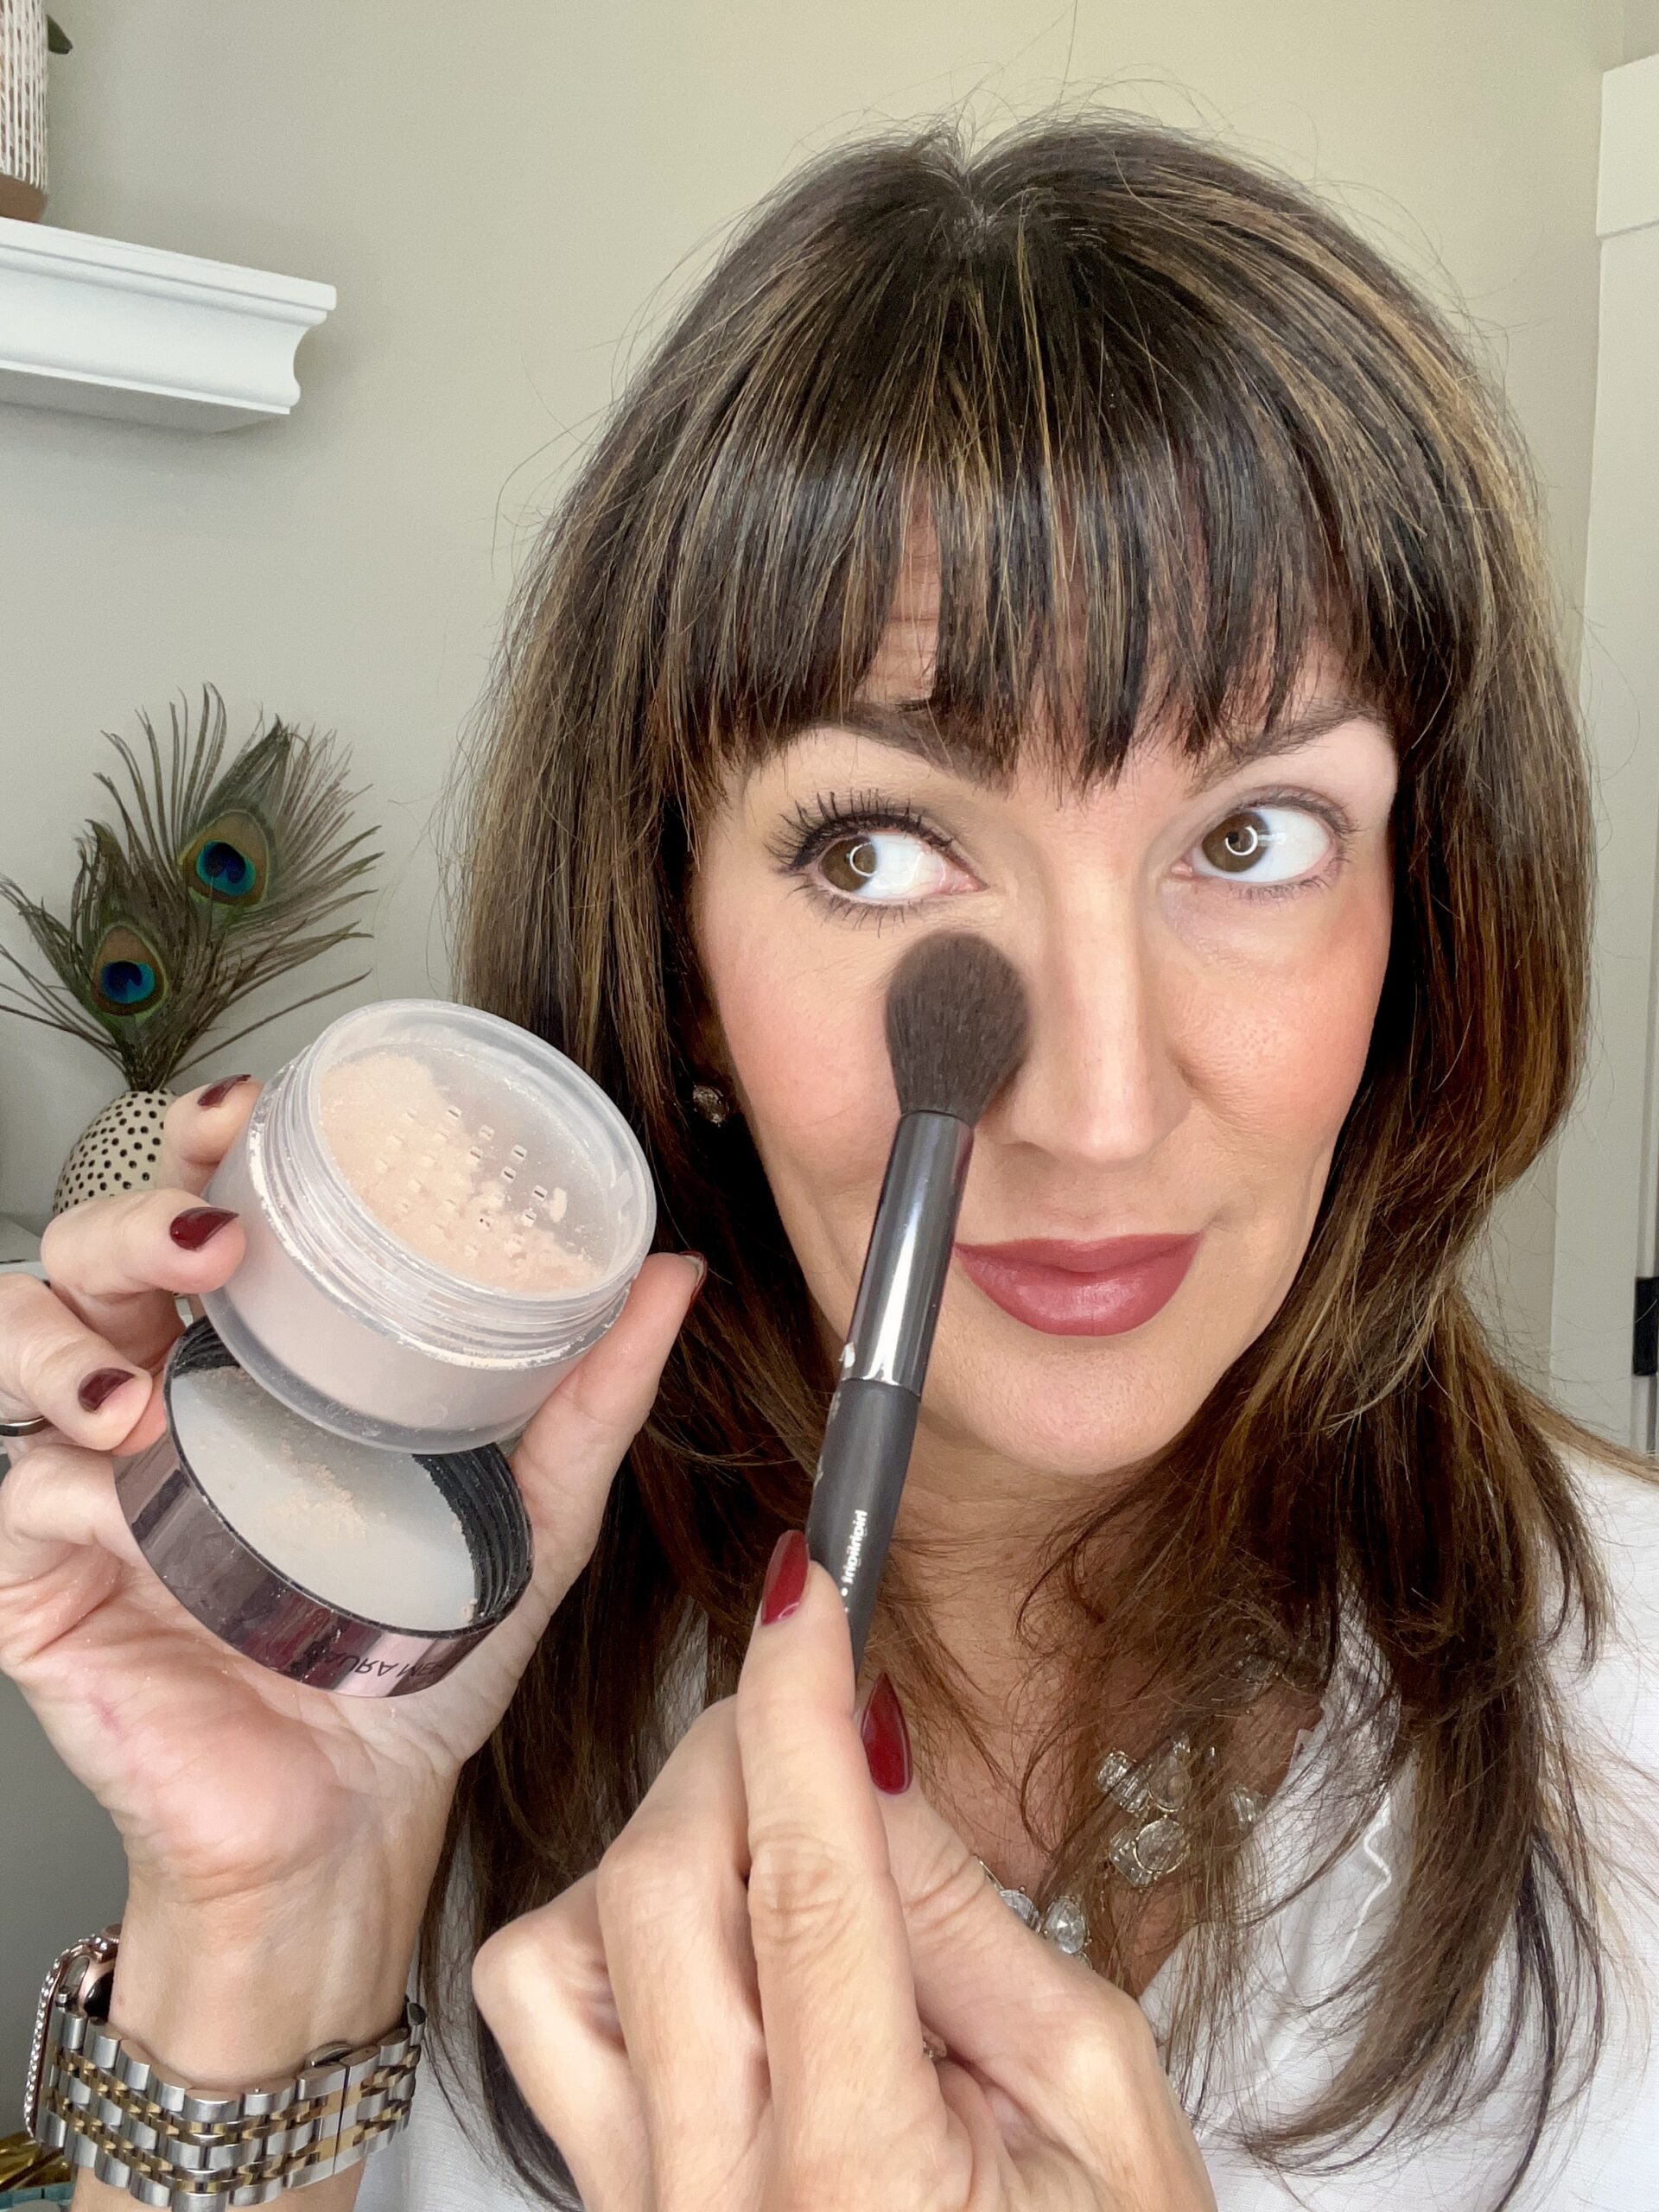
This is a super simple and quick step that will make a big difference – yes even if you have dry skin! You need to get rid of that subtle shine that most concealers make under the eyes to mattify the under eye which gives the illusion of thicker and healthier skin. And setting your concealer with a light dusting of loose powder also helps with longevity.
These mini Laura Mercier Ultra Blur setting powders are the best of the best, and come in those color-correcting shades we all need and want! I’m wearing the “rose” shade here but they come in translucent, honey, and medium deep.
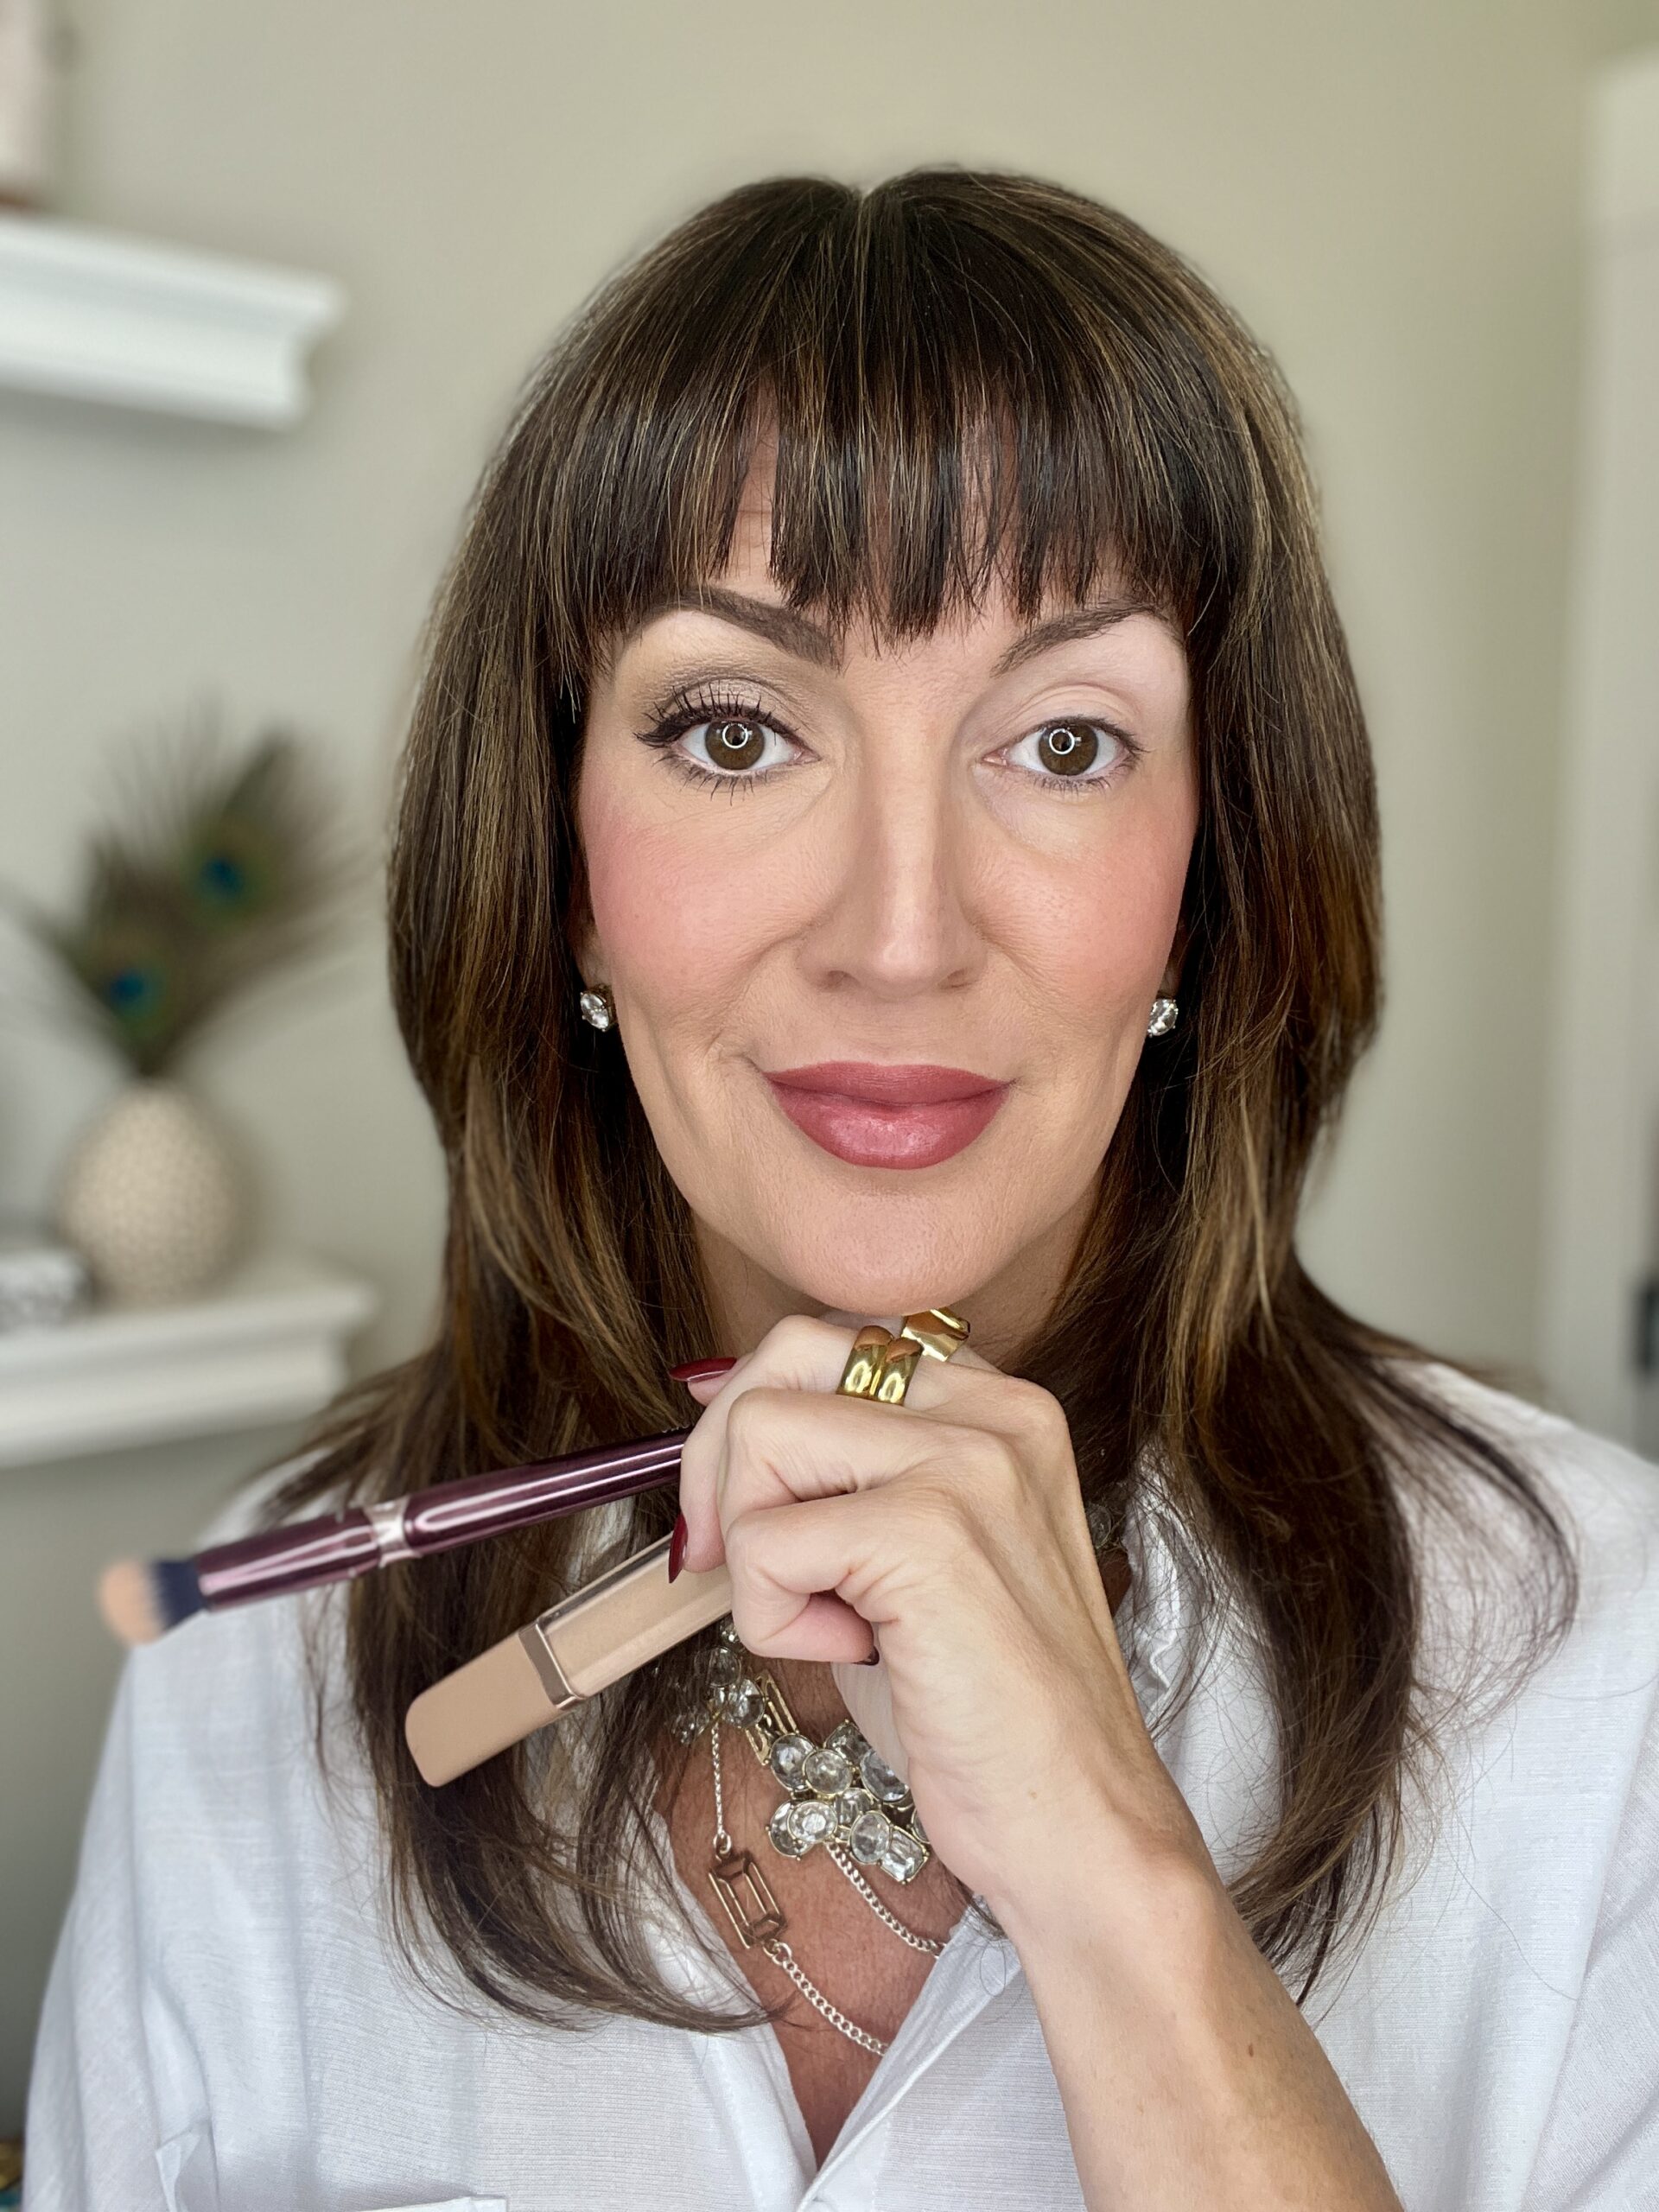
Shop the Post
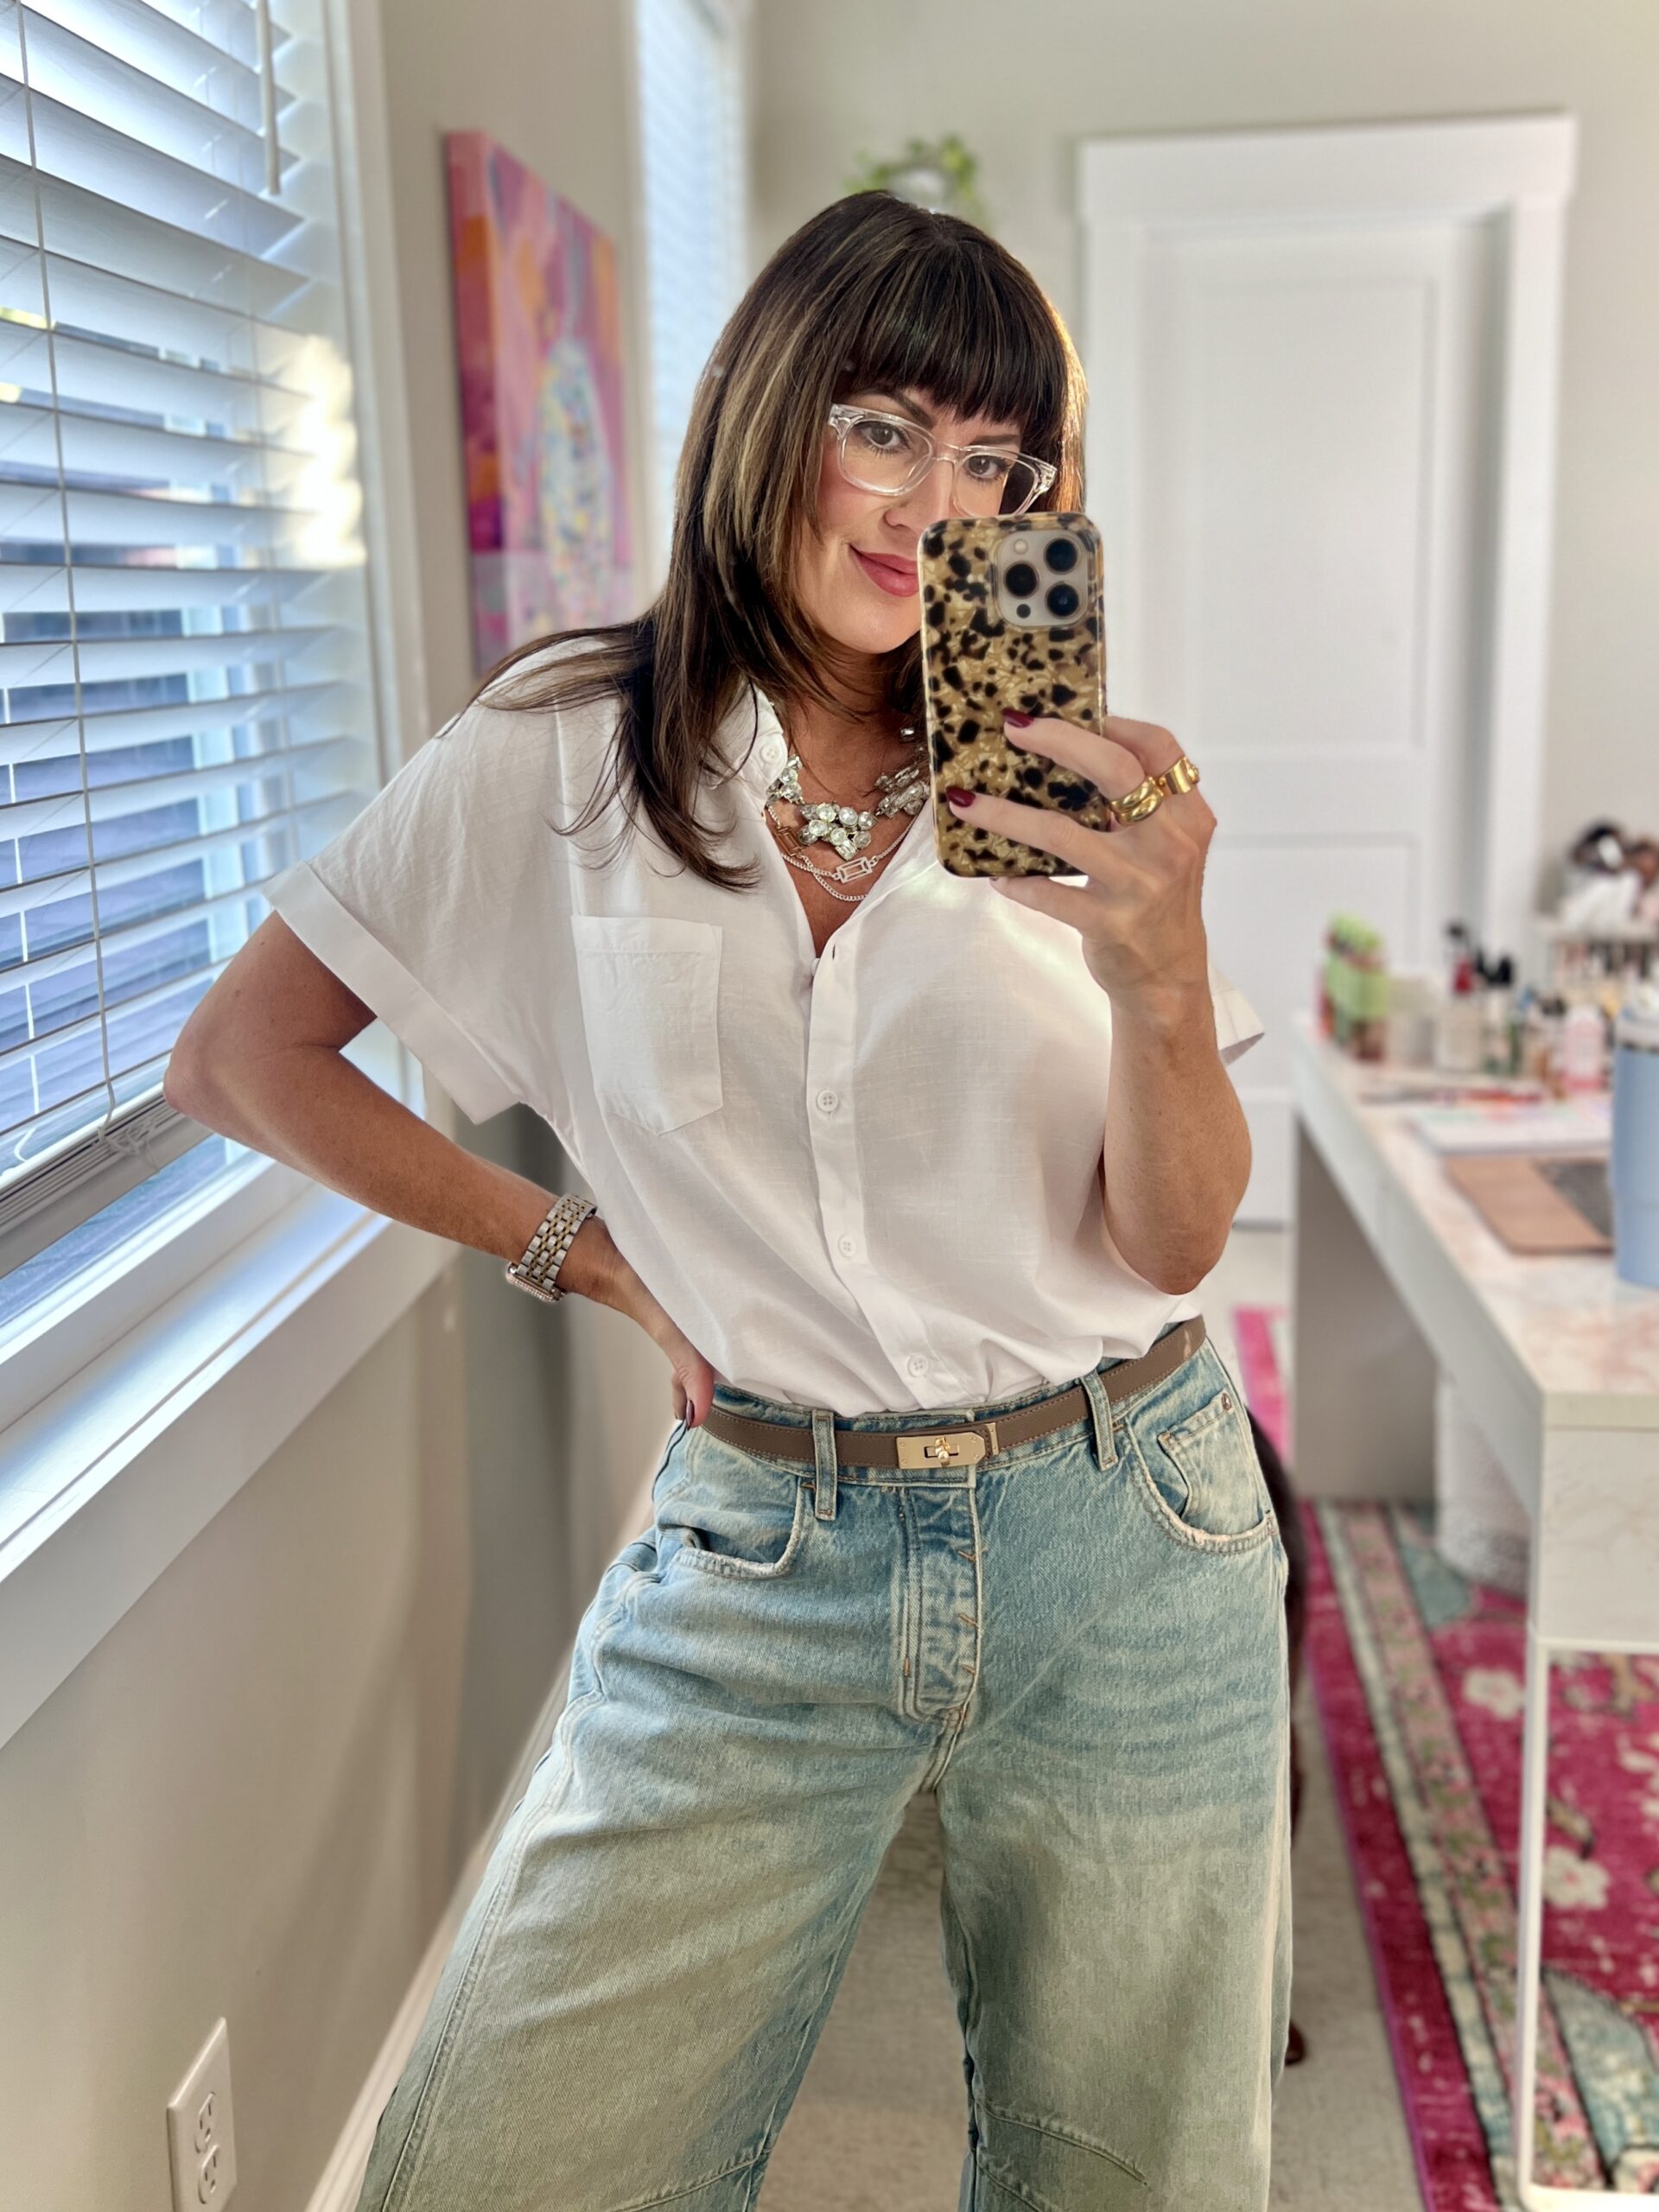
The rest of my outfit details: My white short-sleeved cotton button-down is a great option for these still warmer months and is a must wardrobe staple, $20 // My Hermes “Kelly” knockoff belt from Amazon, is a dead ringer for the real deal (looks super chic) but costs only $20 as compared to the real thing, um $1200!! // You either love them or you hate them, but I love ’em – the Free People barrel jeans, $98 are cute, I’m a size 27 // A chunky statement necklace of any sort will elevate the basic white button-down instantly. J.Crew makes great chunky costume jewelry necklaces >> rhinestone choker, gold chainlink, and pave chain link. // My lip color is “nude rose” in the Jones Road Lip Tint, $26.
If you’ve been wary of wearing eye makeup, you must try a few or all of these steps together and let me know how they work for you! Use what you currently have or treat yourself to a few of the things from my starter kit list that you don’t own so that you can properly do each step! I can’t wait to hear what you think.
Be sure to catch up on my last post, where I shared just 5 Beauty Items you need this fall to stay on trend!
In Case You Missed It
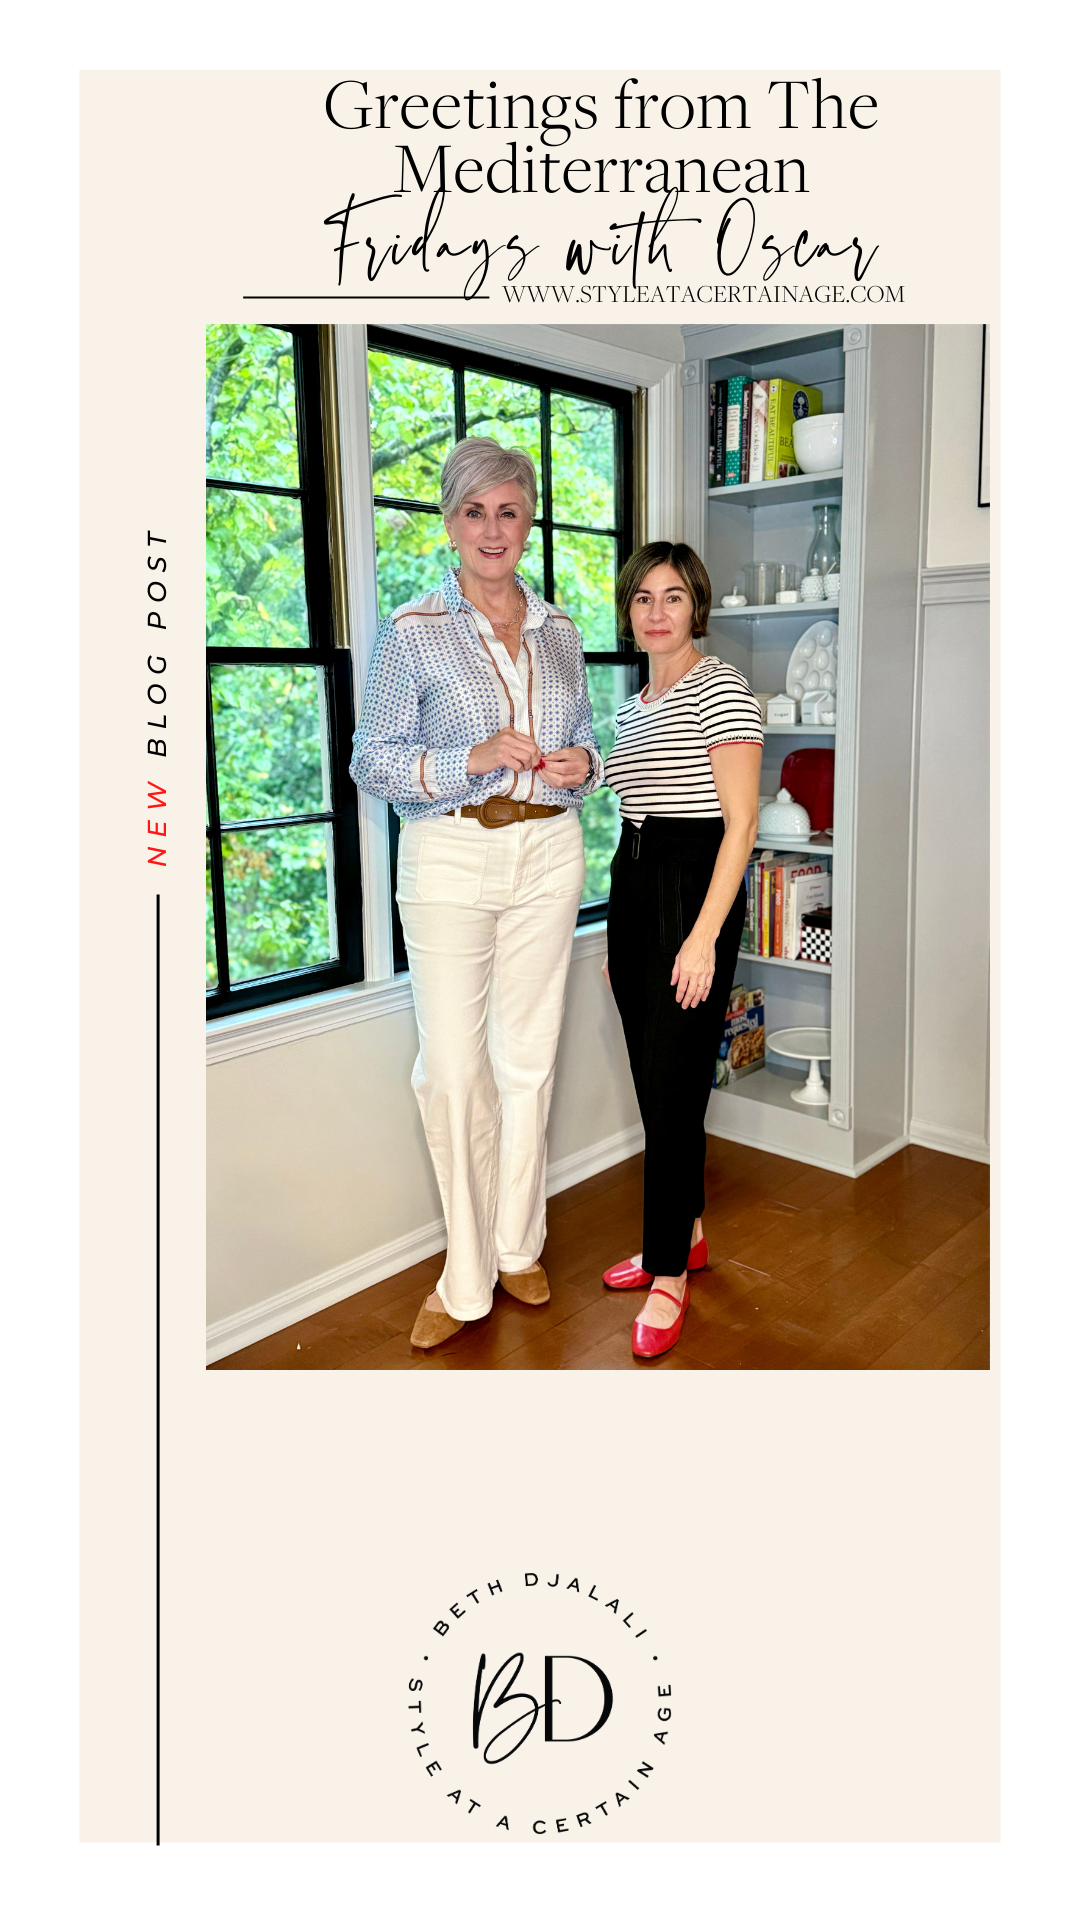
Yesterday, Beth and Kelly shared a Bon Voyage for Beth as she set off on her Mediterranean Cruise on Fridays with Oscar. Click the title or image below to read the article.
Greetings from the Mediterranean!






I look forward to your Saturday posts (and I follow you on Instagram as well.) I don’t wear much makeup (most of the time no makeup), but I am trying some of your tips and products. I am not very good, but you give such detailed instructions that I think I am getting better. I am 70, retired, and I am trying new ideas from you. Thank you.
Thank you Arna for following along on Instagram too! That is wonderful to hear. And I love that you are dabbling in some of my makeup tips and that you appreciate my detailed posts 🙂 Keep on practicing and playing in makeup – it’s fun!
Great make-up post! I have a lot to learn!
I can’t believe the before and afters. I love wearing eye make-up and wear it everyday whether I’m going out or not. This post really pointed out major mistakes I was making, so thank you Jennifer!
Can’t wait to put my make-up on tomorrow…with corrections!
Woo Hoo!! I love to hear that you’re excited to do your makeup with these new ideas! Thanks Nancy for taking time to comment, means a lot!
I thought of a question after I posted a comment.
You usually (always?) show the use of eyeshadow in powder form. Do you ever use the cream eyeshadows that come in stick form? I love the ease of applying them. I usually don’t use a primer, but probably should because they do kind of slide off…just a bit.
Also, I recently saw a reel of a QVC host putting concealer all over her eye lid before applying anything else. I’ve been doing that and have to say, I like the way it hides the skin right under my eyebrows. Smoothes it out and camoflages any hair follicle “holes” that may be apparent. Thanks! 2 questions here I guess!
I love multiple questions Nancy! 1. Using a concealer to double as your lid primer can definitely work. I’d just suggest putting a light dusting of translucent powder on top of it before applying shadow to make sure the concealer isn’t too slippery since sometimes they are more hydrating and creamy than a traditional primer. 2. I do use the sticks occasionally but personally I just gravitate towards my shadow palettes. I can create more dimension and depth when I use palettes, whereas when I use a stick, it’s usually for quick and ease and I just want color on my lid but am not trying to get too intricate – if that makes sense!
I love multiple questions Nancy! 1. Using a concealer to double as your lid primer can definitely work. I’d just suggest putting a light dusting of translucent powder on top of it before applying shadow to make sure the concealer isn’t too slippery since sometimes they are more hydrating and creamy than a traditional primer. 2. I do use the sticks occasionally but personally I just gravitate towards my shadow palettes. I can create more dimension and depth when I use palettes, whereas when I use a stick, it’s usually for quick and ease and I just want color on my lid but am not trying to get too intricate – if that makes sense! Hope this helps 🙂