


When many women hear the words “contour” and “highlight,” they immediately think of an intimidating process! But it doesn’t have to be if you know exactly the “why” + “how “ behind both of them.
As we celebrate more and more birthdays past 40, there is a noticeable shift in our facial appearance as things start to wrinkle (skin), sink in (eye sockets), flatten out (cheeks), and sag (jowls). Yes, these shifts are natural and will happen to all of us, it’s fine. It’s better than the latter…
So if staring at these changes in the mirror doesn’t bother you one bit, then you go girl! But if you feel anything like me, and like to have options to be able to make those changes appear “softer” and “less obvious” then this tutorial is for you!

Being able to confidently use these techniques of contour and highlight, can be to our benefit because they can provide an instant mini-face lift by restoring lost dimension…without invasive surgery, knives, or needles!
Using dark (contour) and light (highlight) are ways to alter the way our natural bone structure appears. Placement of both is important because it’s basically where you want to direct eye traffic. If you’ve been hesitant to try contouring and highlighting, this guide will walk you through it step by step with easy-to-use products.
And I’m going to show you how I did my face makeup WITHOUT the use of a traditional foundation. We will ONLY be using contour + highlight products! It will look a bit like paint by number once until I’m finished, but hang in there with me, Ha!
Shop This Post

Step 1: Prep Your Skin
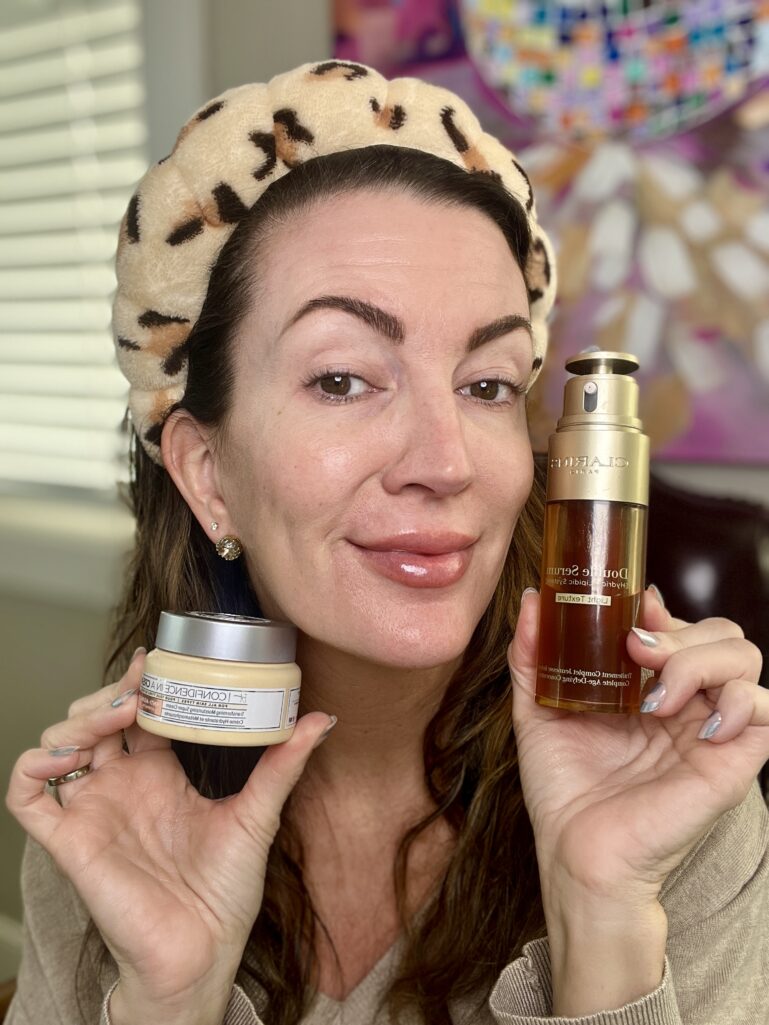
Begin with a hydrated base. I apply my go-to Clarins Double Serum Firming and Smoothing concentrate, $135, first (for that glowy base with anti-aging benefits), then my it Cosmetics confidence in a cream moisturizer, $59, for cushiony hydrated skin and to give my skin a smooth canvas to work on.
You never want to start this process on dry, bare, flaky skin, because the contour and highlight products will grab in all the wrong spots and look patchy! Very unnatural.
Step 2: Choose the Right Contour and Highlight Products
As a rule of thumb, if you want to push back something, you contour, and if you want to accentuate it and bring it forward, you highlight.
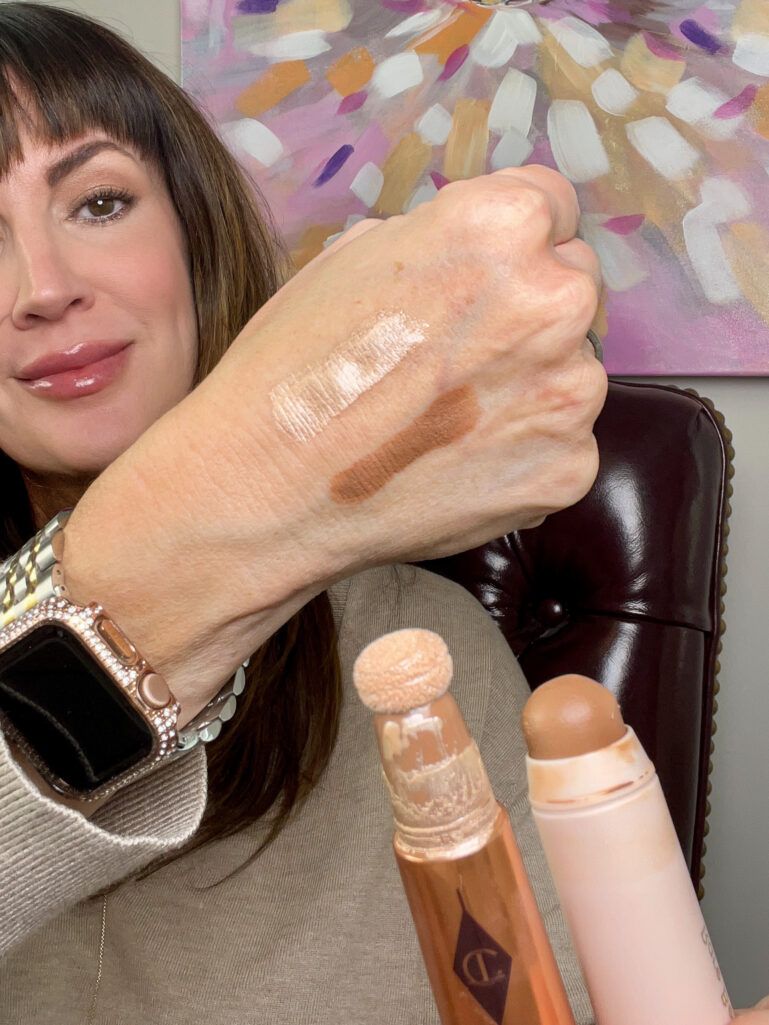
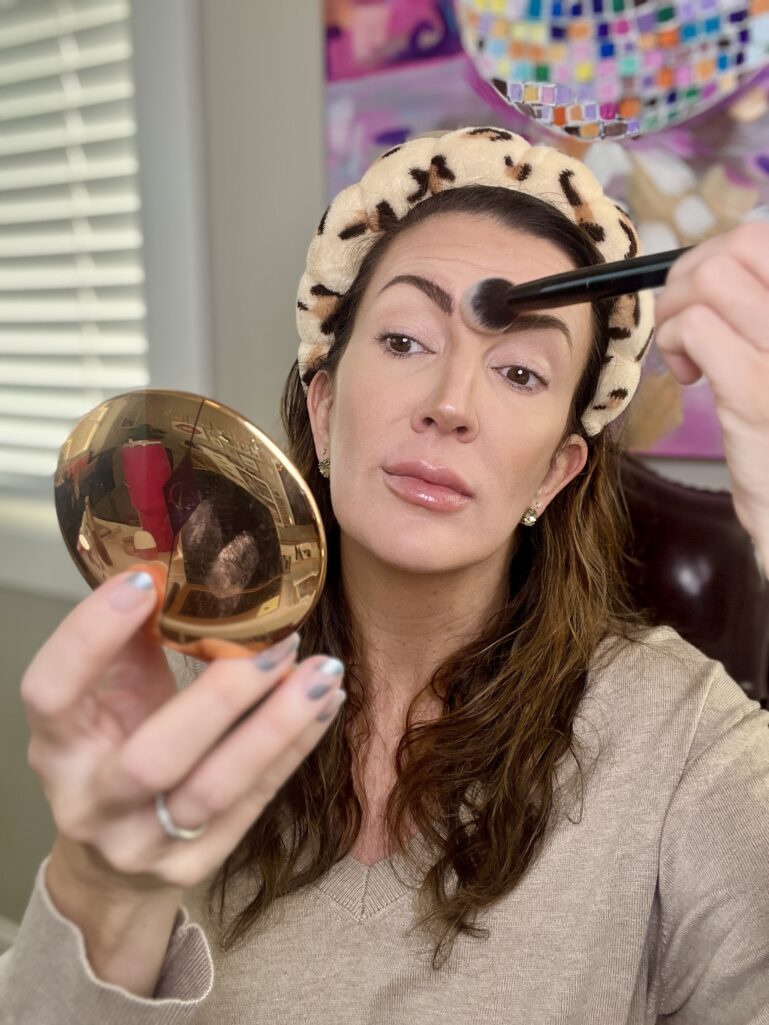
• Contour: Opt for a cream or powder contour 2 shades darker than your skin tone. Creams work well for dry or mature skin, while powders suit oily or combination skin. I highly recommend the super easy Rare Beauty Warm Wishes Effortless Bronzer Stick, $28, if you’re new to contouring. This is one of the better cream sticks I’ve used. I chose the shade “Happy Sol,” which is a light brown with cool tones, so it doesn’t go too orange, which is key when contouring.
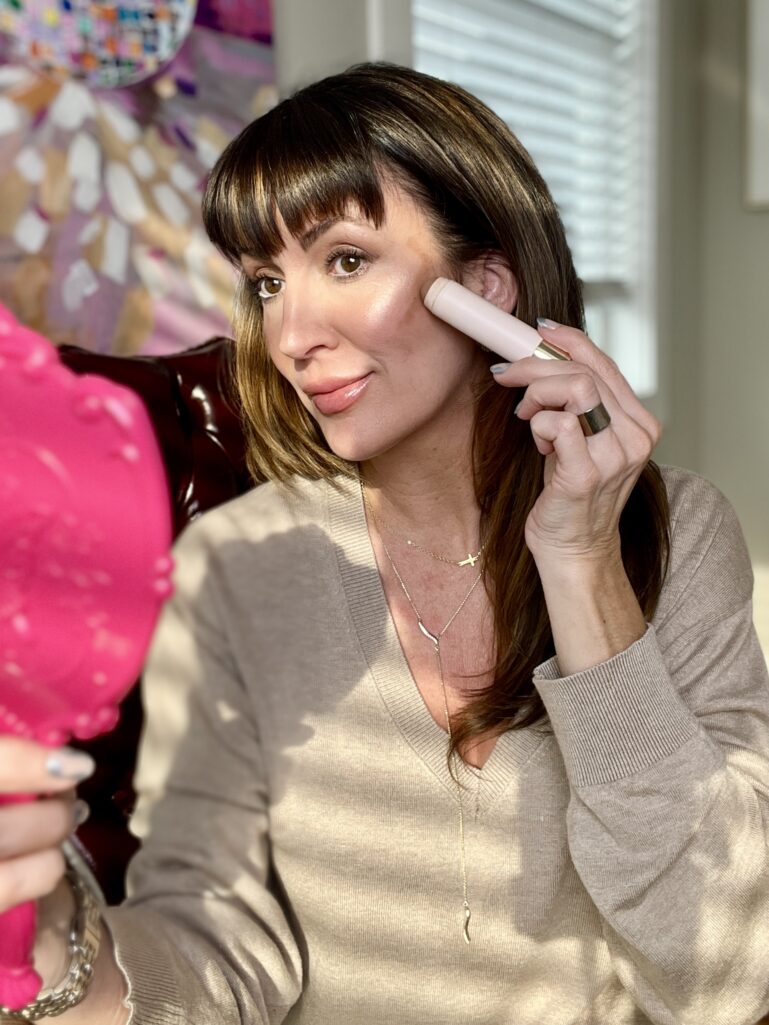
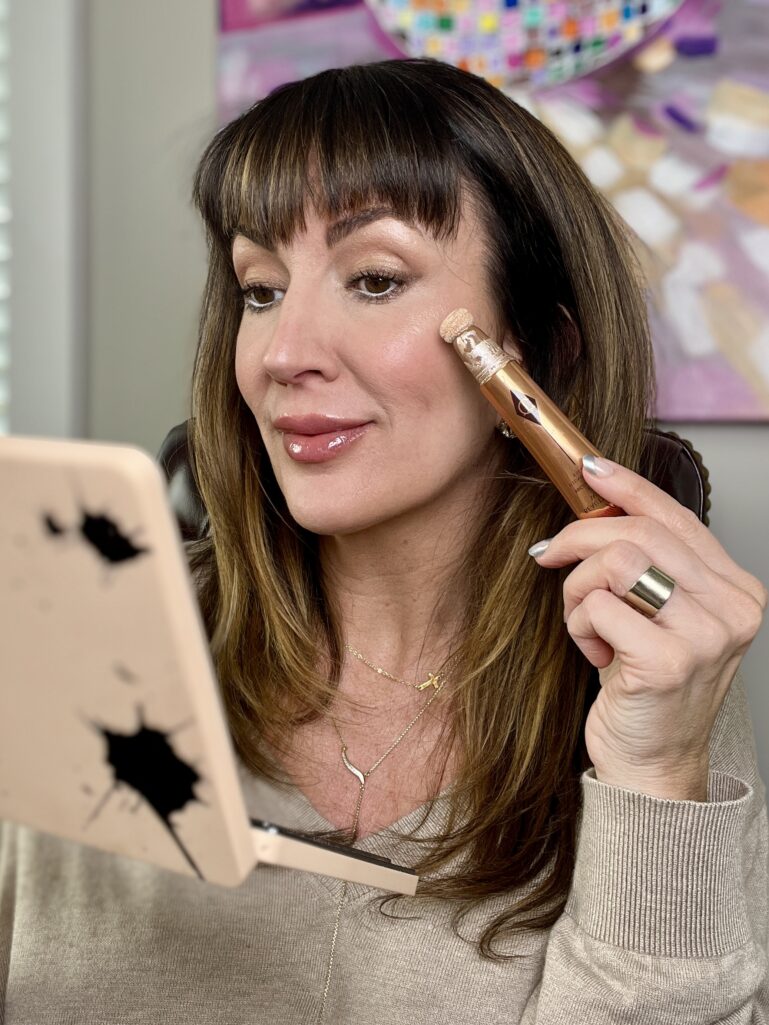
• Highlight: Use a luminous (not glittery) highlighter to brighten specific areas. I love the finish of the Charlotte Tilbury Beauty Light Wands, $42, a little goes a long way! I’m using the shade “Spotlight” today which is a champagne with a hint of rose gold feel to it. These don’t look cheap on the skin if you know what I mean, they look like a true elegant highlight coming through on the skin.
• Concealer: Concealer is to also brighten specific areas but without the use of any shimmer in areas that can’t handle the shimmer (like the under eyes that are sunken in). You know by now I trust the Natasha Denona HyGlam concealers, $30, with my life! I’m wearing shade R2 today.
Shop This Post
Step 3: Map Out Your Contour
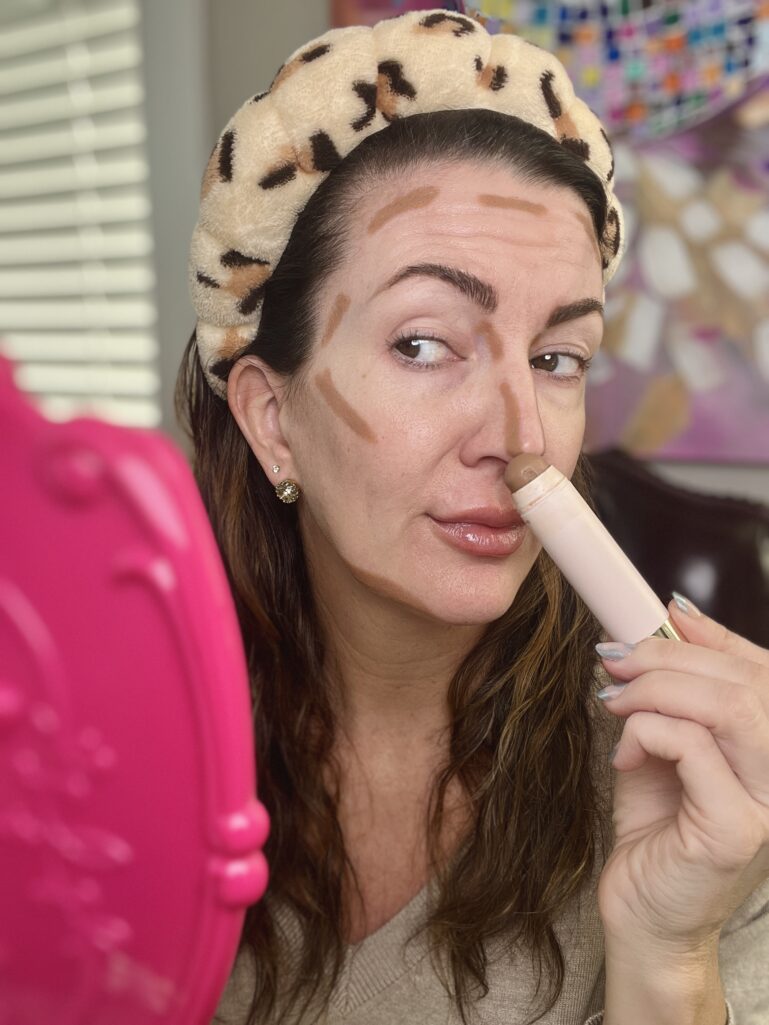
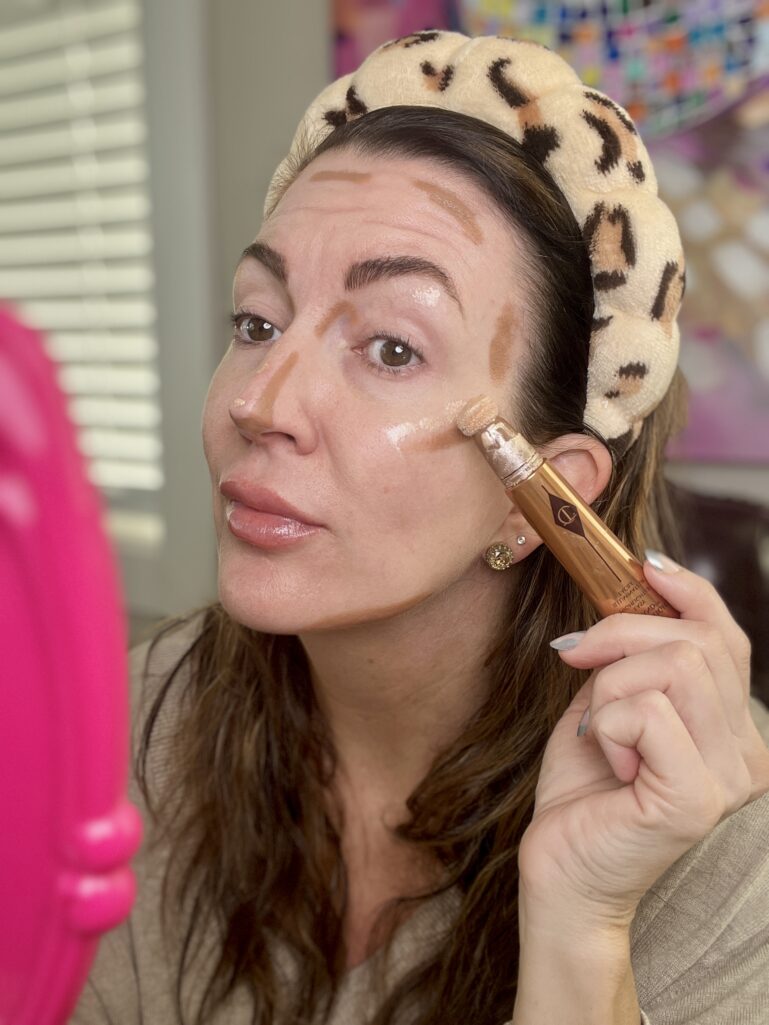
Remember, not everyone will need to add contour to all of these places if you don’t want to or if you’re happy with some of these features! I’m going to show all of them however so you can get the full picture!* Note my images below to see visuals of where my contour stick was placed.
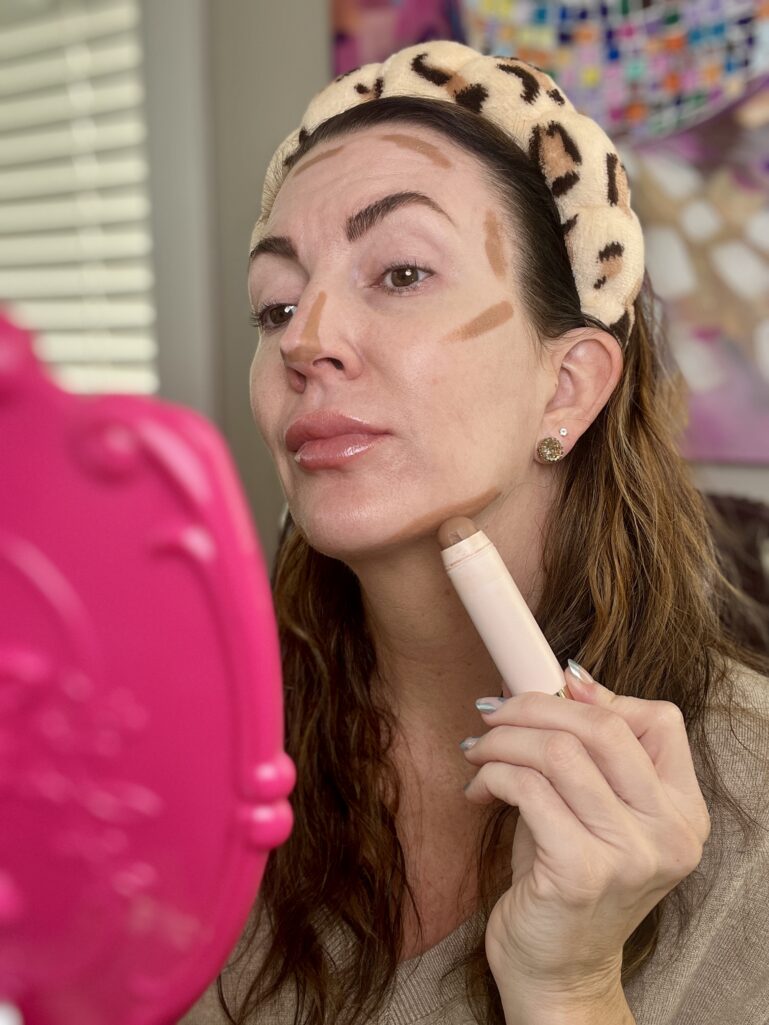
• Cheekbones: Apply contour just right on top of the cheekbones (not below because that will drag the face down) and blend upward to the temples for a lifted effect.
• Jawline/Jowls: Lightly define your jawline to add structure and shadow by placing the contour right under the jawline area right beside your chin where jowls start to head south. Remember, with dark, we are trying to recede these.
• Nose: Our noses will get larger and spread as we age, so if desired, apply a short line of contour along either side of your nose to slim and right under the tip to shorten.
• Forehead: Blend contour along the hairline to shorten larger foreheads.
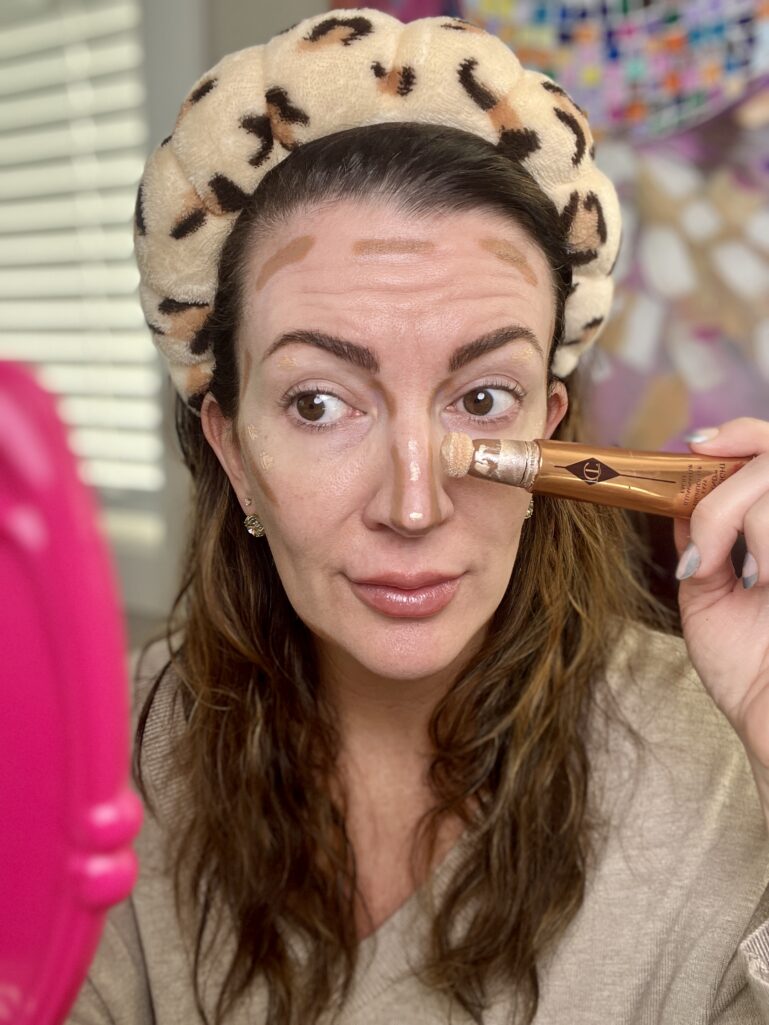
Step 4: Highlight Key Areas with Highlighter
• Cheekbones: Dab a touch of highlighter onto the tops of your cheekbones above the contour line.
• Bridge of Nose: Lightly highlight just the center bridge and then the tip of the nose. Do not create a long straight line of highlighter – you need to break up this highlight.
• Brow Bone: By putting a touch of highlight right under the arch of the brow, it adds a subtle glow and lift to the eye beds.
Step 5: Highlight Key Areas with Concealer

• Under Eyes: To lift and refresh tired eyes, add concealer right into the hollows only under the eyes near the tear duct and inner nose area, and a touch on the outer side of the eye.
• In Between the Brows. I do a few strips of light wispy concealer here to lift this area that can tend to look angry!
• Chin + Sides of Mouth. If you add a bit of light just in the center of the chin it brings it forward. Then I drag a light amount of concealer in a line from the outside of the middle of my mouth back towards my middle ear.
Shop This Post
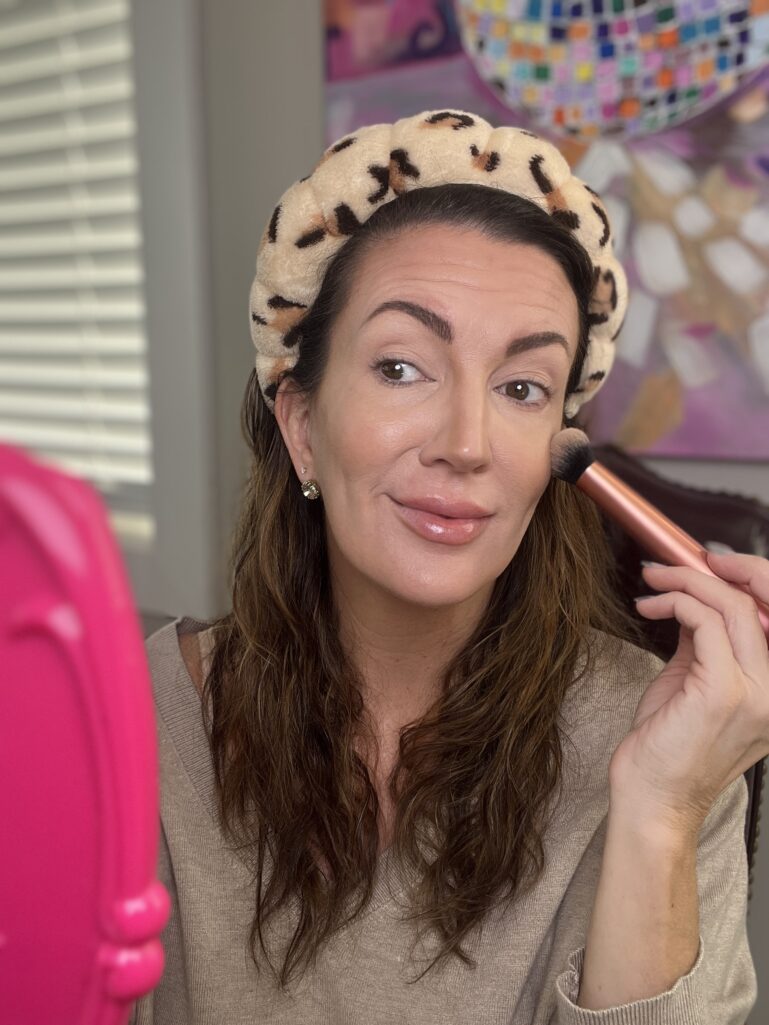
Step 6: Blend, Blend, Blend!
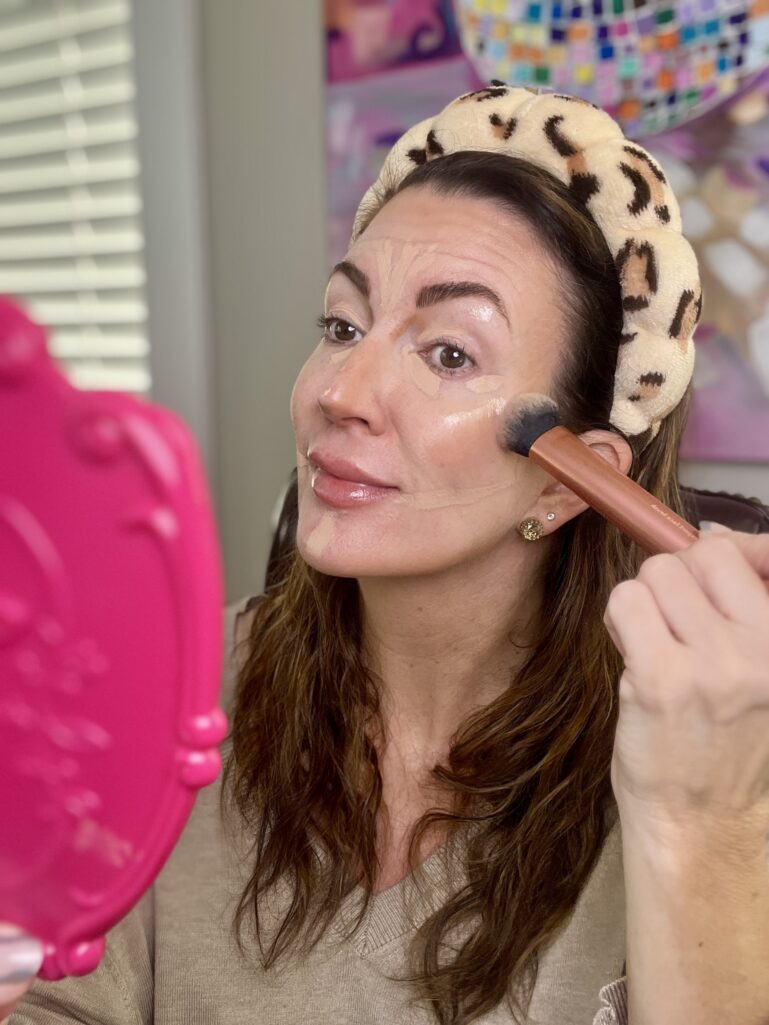
• Tools you’ll need to do this well (I don’t suggest fingers, it will get too streaky) is a great concealer brush like the Angled Anisa Beauty Concealer brush, $28, and a tapered cheek brush for the contour and highlight, like this Real Techniques Expert Face Brush, $8.
• I recommend blending the products in stages, so either do all contour first or all of the concealer/highlighter first. If you end up needing to add more of anything, you can do it after you have completed all of the blending. I always end up adding more highlighter 🙂

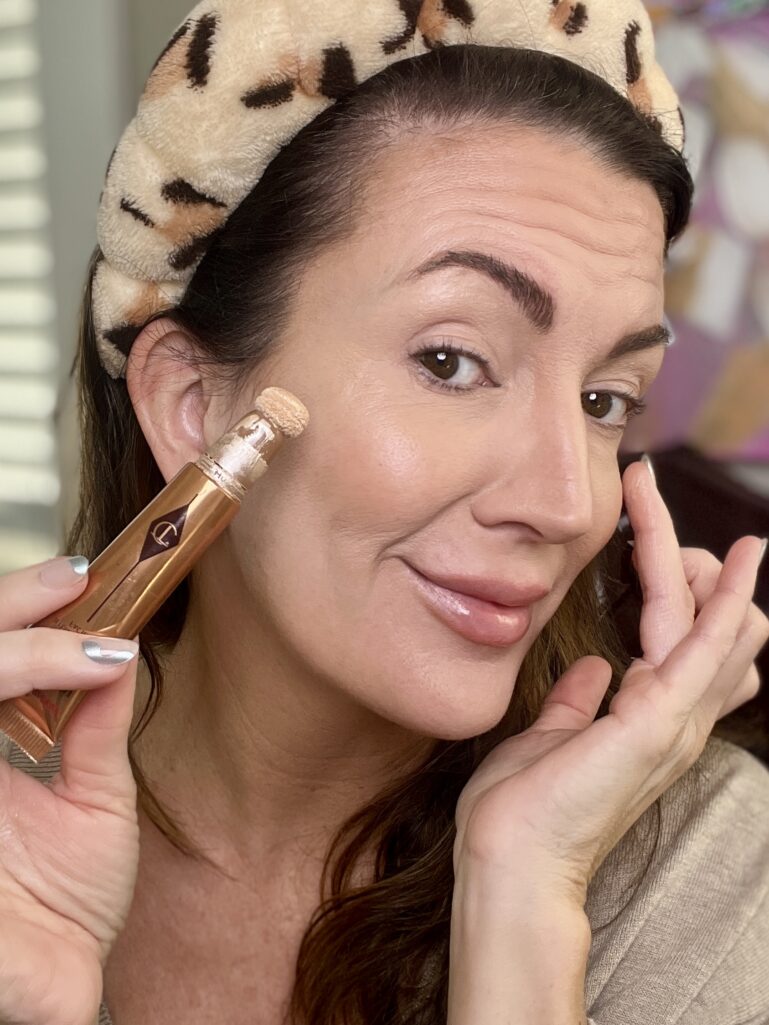
Step 7: Set and Finish
• Lightly set the areas that had concealer only, with a setting powder to prevent creasing. I used the Charlotte Tilbury Airbrush Flawless finish powder, $48, in shade 1 for this tutorial.
• I added a soft cream blush, Buxom Plump Shot blush, in “Cheeky Dolly,” $28, to bring a bit more color into the face.
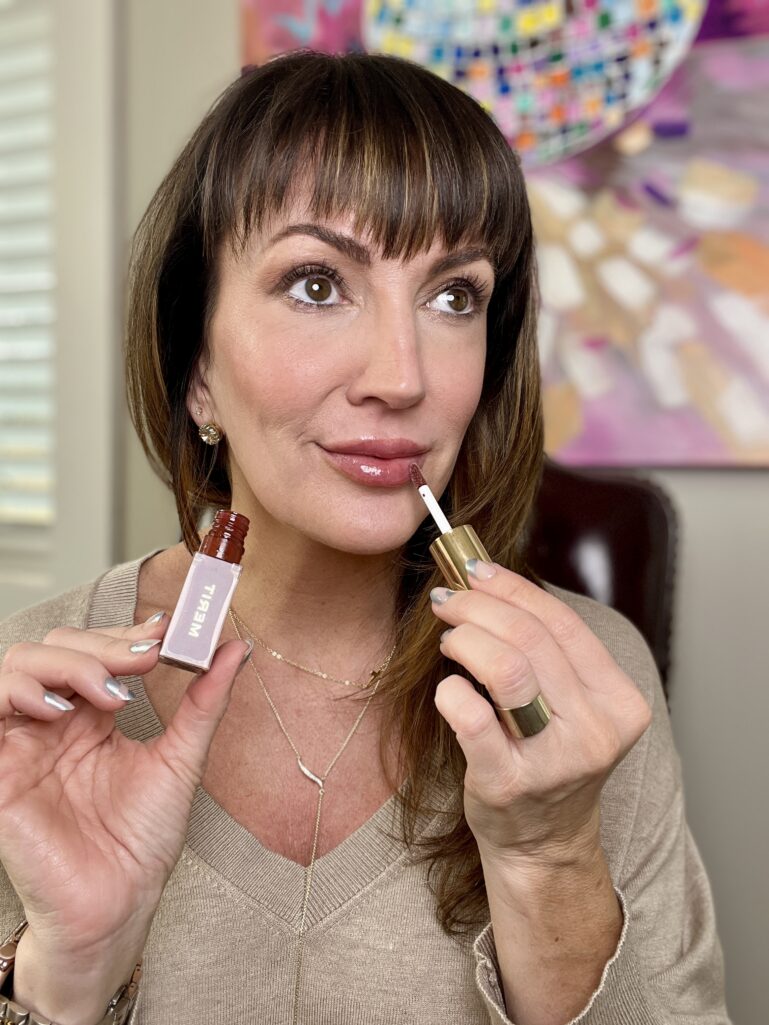
• Finished with a swipe of my Merit Beauty Shade Slick tinted lip oil, in “Sangria,” $24, which is a sheer but deep warm berry shade. This is a gorgeous light and hydrating formula for upcoming spring and summer lips and is a clean beauty product.
The Rest of My Look Details
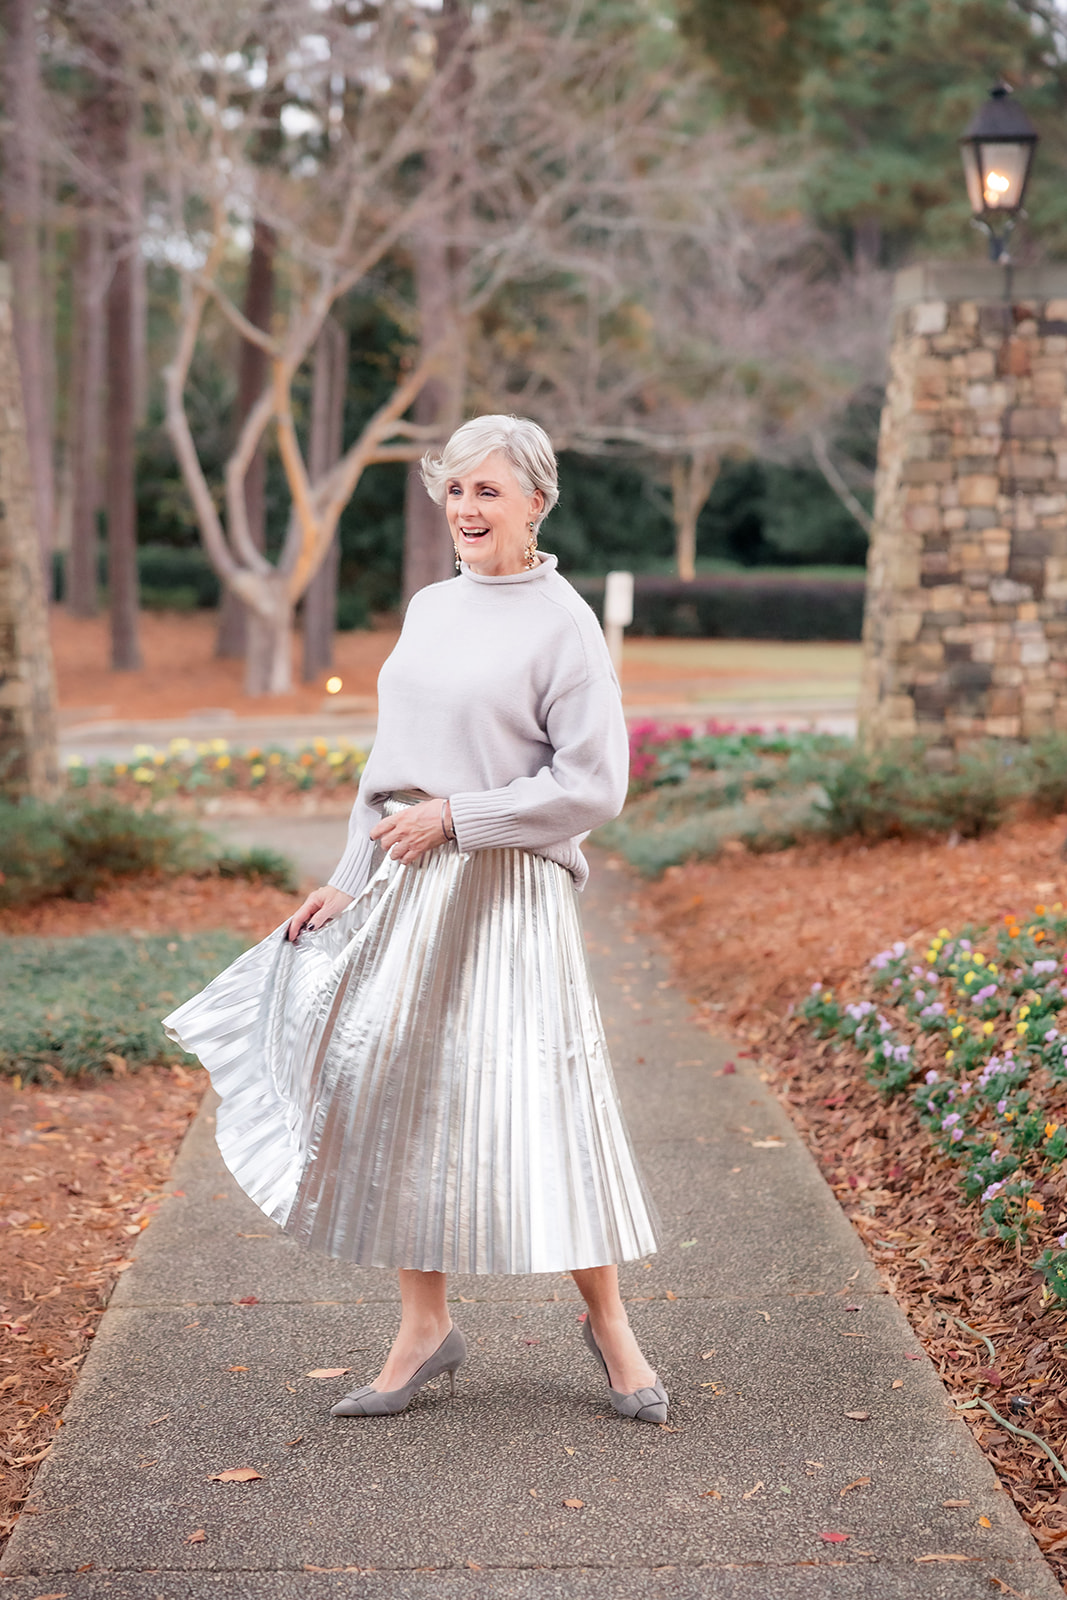
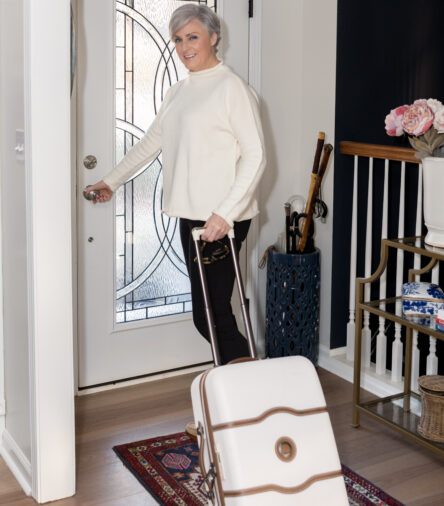
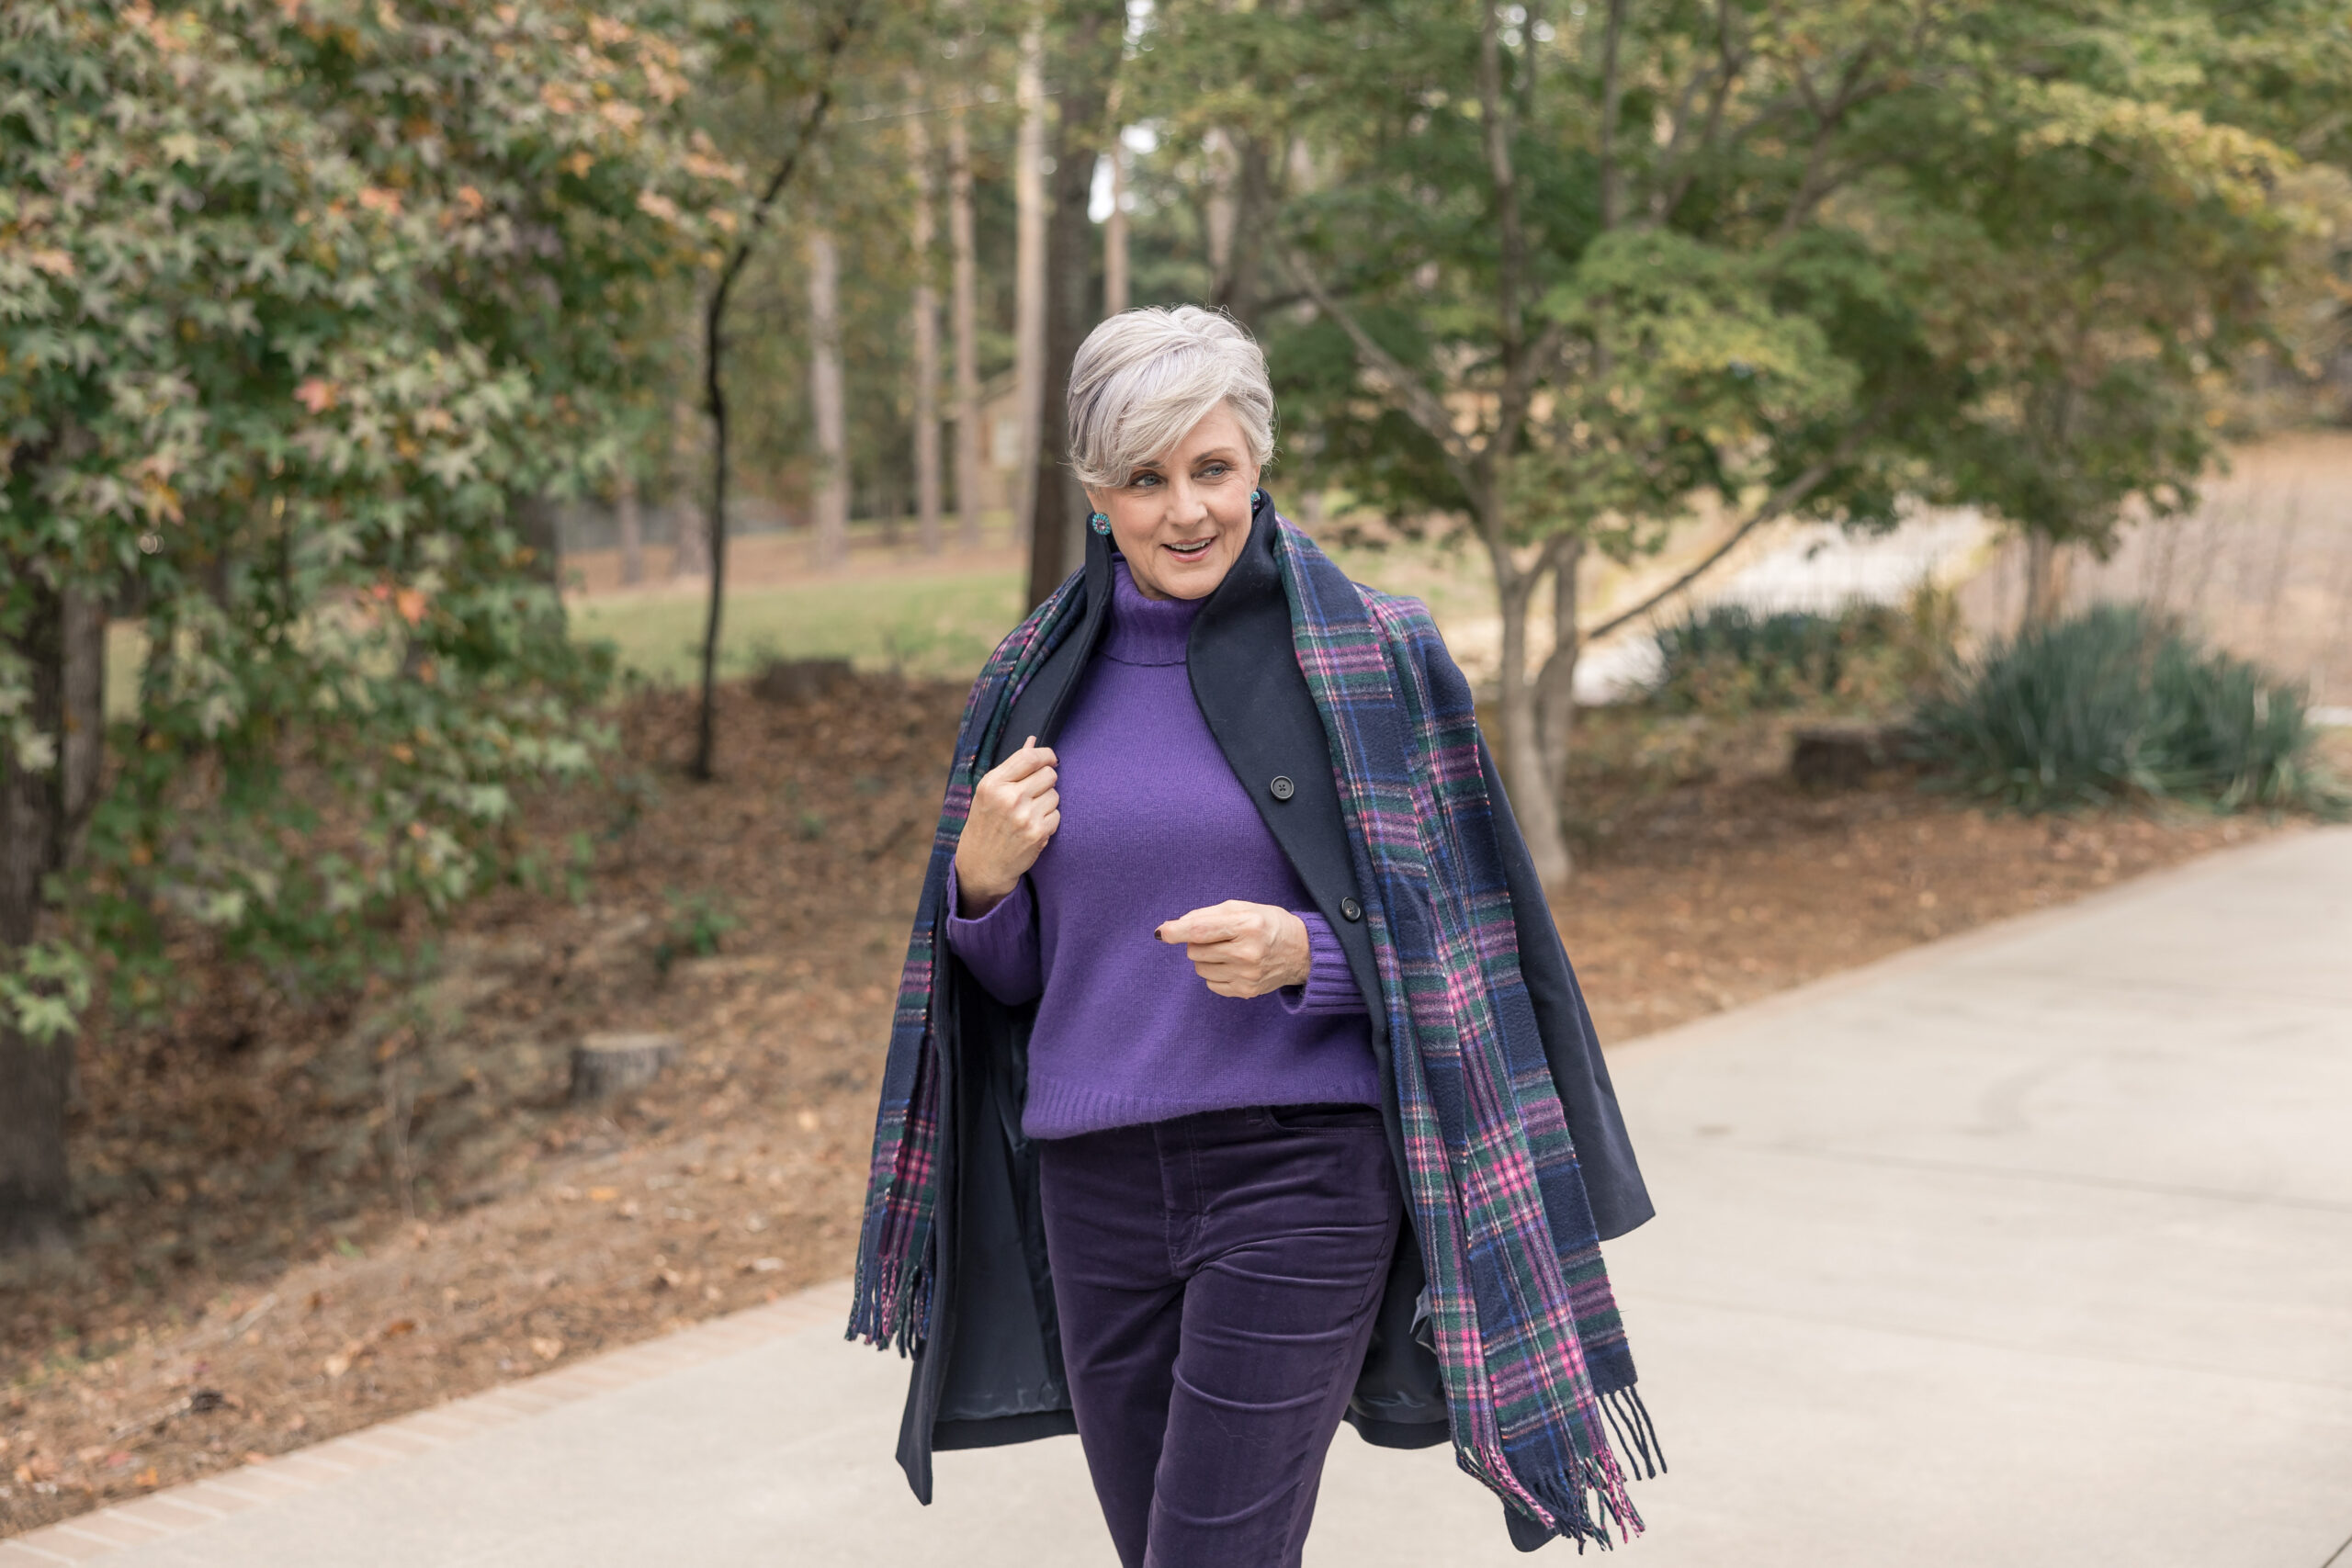
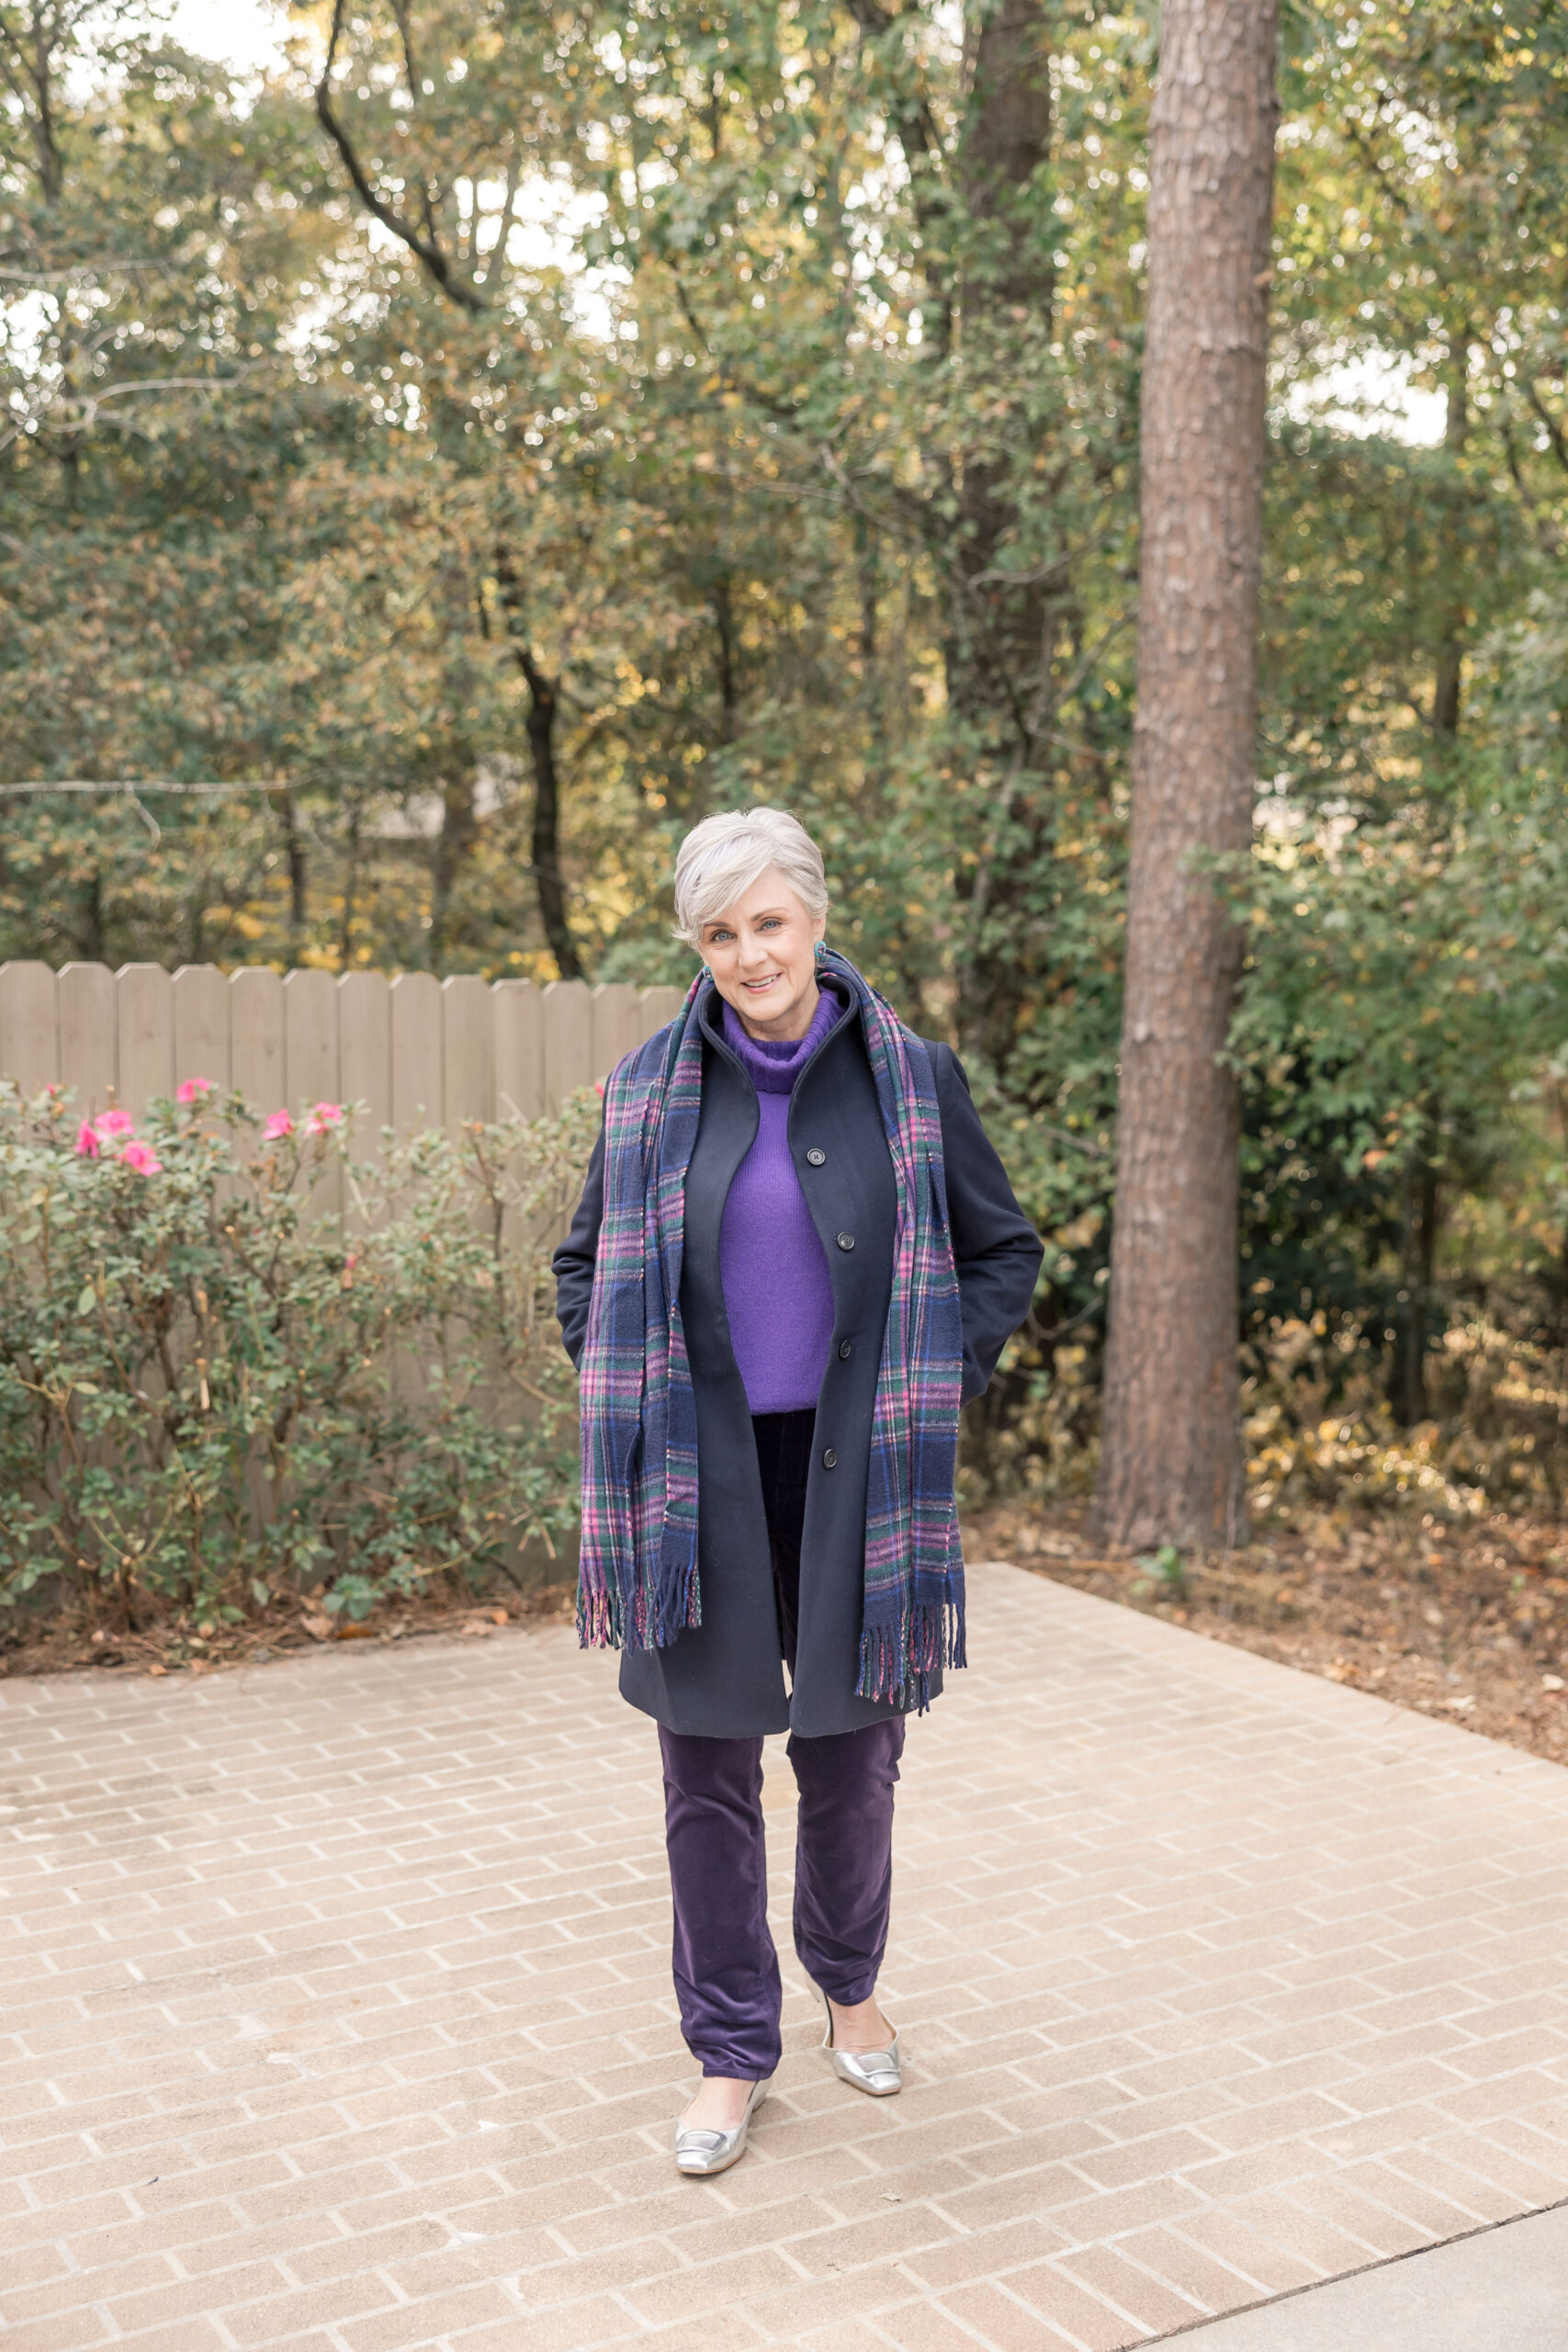
The rest of my look details: A simple lightweight v-neck sweater goes with everything! This Banana Republic one comes in many other color options, $42. // My golden eyeshadow look was achieved with this Natasha Denona My Dream Palette, $69. // Similar delicate lariat necklace from Uncommon James, $134 (they’ve got free shipping sitewide right now for Valentine’s!) // Sideways cross choker necklace similar, $10 // Still loving the Free People barrel denim jeans, $98, so many color options!
If you missed my Full Face Of Drugstore Makeup Faves post from last week, be sure to check it out to get some new affordable makeup ideas! I love all of you taking the time to comment when you feel guided by my posts and for keeping things positive, whether you agree with ALL of my makeup recommendations or not! Different strokes for different folks, am I right?!
Shop This Post
Closing Thoughts
Contouring and highlighting don’t have to be about drastic transformation – in fact, when you’re done, it shouldn’t be super obvious what you’ve done – it’s about enhancing and bringing out your best features. Give it a try and see how a little contour and highlight can make a big difference! Have you tried doing either of these techniques before? Share your experiences in the comments below!

Hi Jennifer,
I look forward to your posts every Saturday. I was never one for make up and maybe in my youth I really didn’t need much, but now that I’m 65 I understand the need for some definition. You have given me the courage to experiment with all sorts of make up and have even made it fun! I print out your posts and keep them in my bathroom when I need a tutorial. You’re a great instructor and I really love all the topics in your posts!
Thank you,
Ana
That is SO nice to hear Ana that you look forward to makeup Saturdays with me!! And you sound like the best student with your print outs that help you when you’re in the mood to play around with all things makeup – that is so smart! I hope to keep inspiring you and thanks for being here 🙂
I use Smashbox Cali Contour and I love it. I’ve tried others and to me this is the best. It’s not hard to use so I do it every time I put makeup on my 72 year old face. I do most of what you showed but I did pick up a few more tips. Thanks!
I own that Cali Contour palette as well and it definitely does make contouring easy and convenient all in one! Glad to hear you picked up an extra tip or two Debbie – every little tiny nuance on the face can make a big impact!
This was such a helpful tutorial for me, Jen. I didn’t realize I could use contour to help recede something like jowls. I’ve pinned this post for future reference. Thank you Jen!
You’re so welcome Nancy B! You can certainly shade the jowls a bit with some contour so as to not make them as obvious – just make sure you add some highlight elsewhere so your eyes go, “hey look at my cheekbones!” then the jowls are just hiding in the background – ha ha!
Hi Jennifer, I ran right to Walgreens last week to purchase a few of your drug store makeup ideas. Your suggestions didn’t disappoint, the concealer and foundation are as you said, blend well and look as I had hoped!
Thank you!
Donna 💕😊
Oh fantastic Donna! Isn’t that a great feeling to go grab drugstore makeup, get it home, apply it, and be super happy with your purchases?! Love to hear it.