It’s become obvious to me after writing on the topic of beauty here on SAACA for a while now, that you ladies are WAY more open-minded about trying new things when it comes to your beauty routine than the over 40, 50, 60+ crowd gets credit for!

Traditional “RULES” for what mature women should and should not wear on their faces, is a rather dated idea to me. We all have different opinions as to what is more “flattering” for ourselves personally, but those ideas should never be projected onto others. As a makeup artist for over 20+ years, I am always trying to push the boundaries with my older clients and allow them the opportunity to give something new a try with their makeup, even if they have previously been told by society NOT to try.
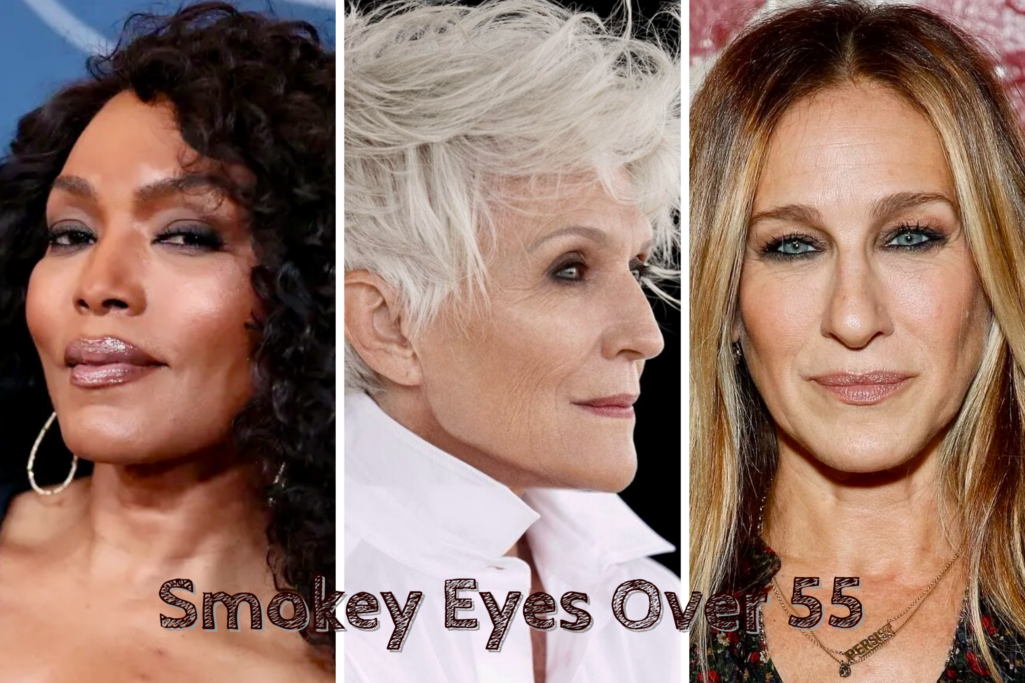
Yes, You Can Wear a Smokey Eye!
A smokey eye is definitely a controversial one with us as a category. I’ve heard all the excuses, “I love how it looks on other women, BUT I could never pull it off,” “it will emphasize my crow’s feet,” “my hooded lids won’t allow it,” “it’s too hard to create,” etc etc.
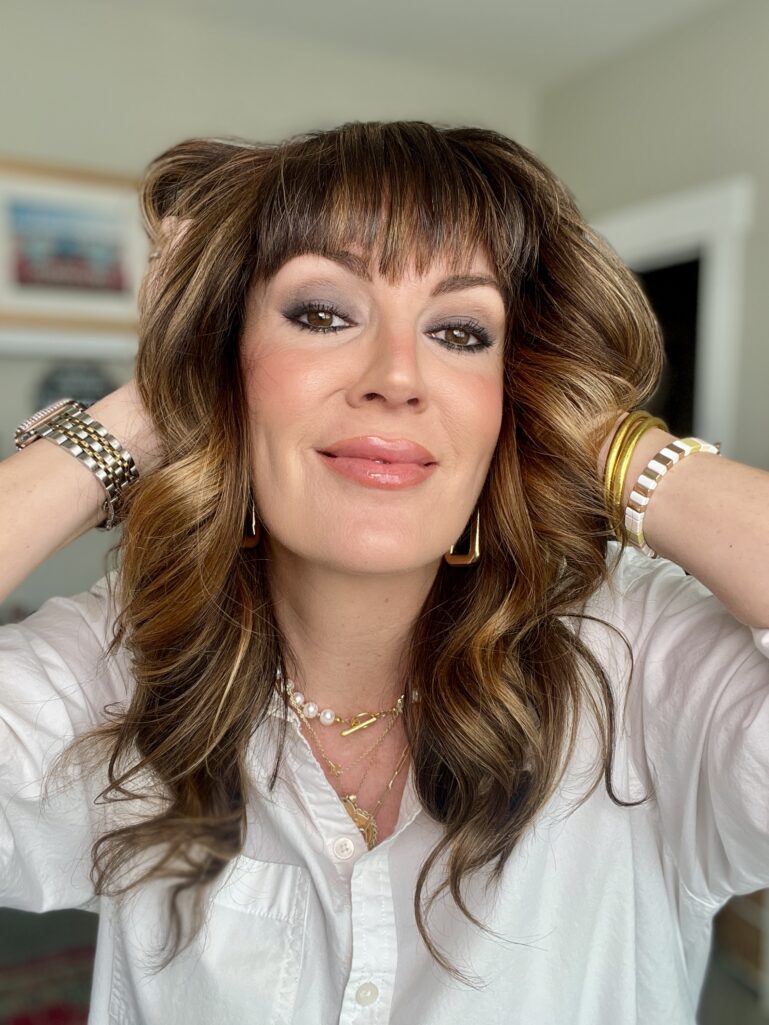
Every single time I pull out a smokey eye on myself, my husband tells me how much he loves it. And when I can convince an over-40+ client to sport one if I’m doing her makeup for a wedding or black-tie event, they’re always pleasantly surprised by how sexy and empowering this specific makeup look feels.
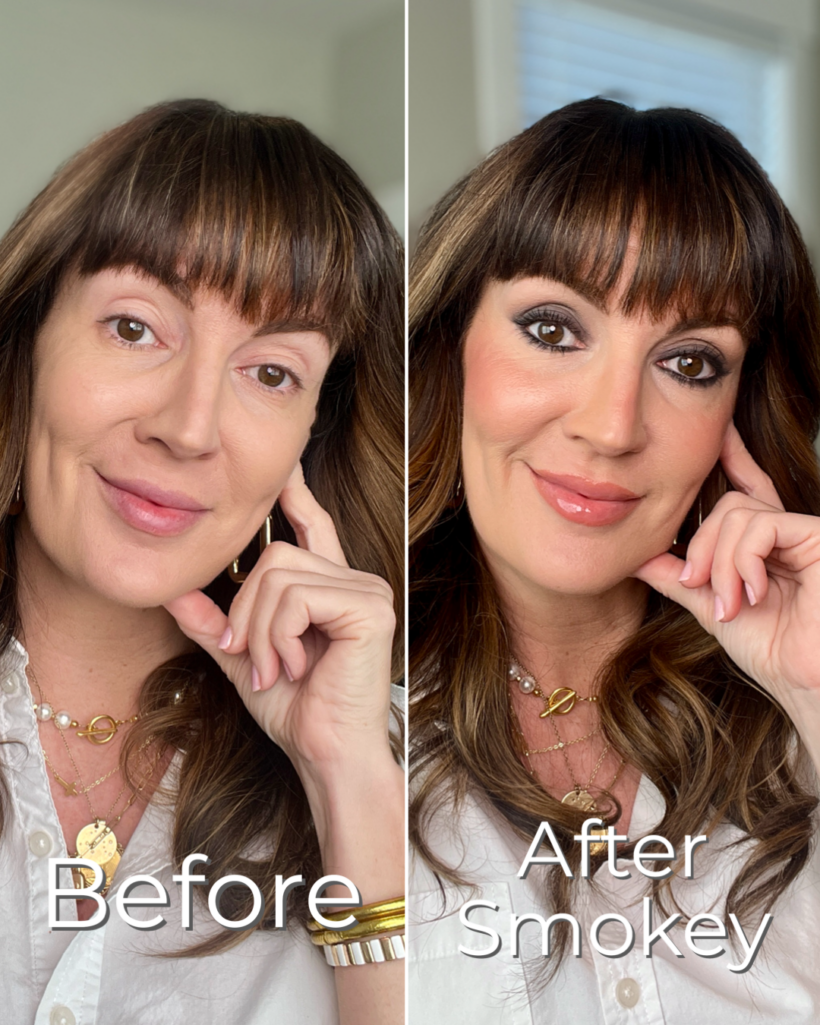
It’s really all about being strategic with the rest of your makeup, and even your outfit, that helps this look come together. And with Valentine’s Day just weeks away, it’s definitely the most romantic way to go with your makeup. I have an older tutorial, “Get The Look Of Love,” that showcases a more subtle brown smokey eye if you end up finding this one too intimidating! I like to give you options, you know??
How to Create Jennifer’s Smokey Eye
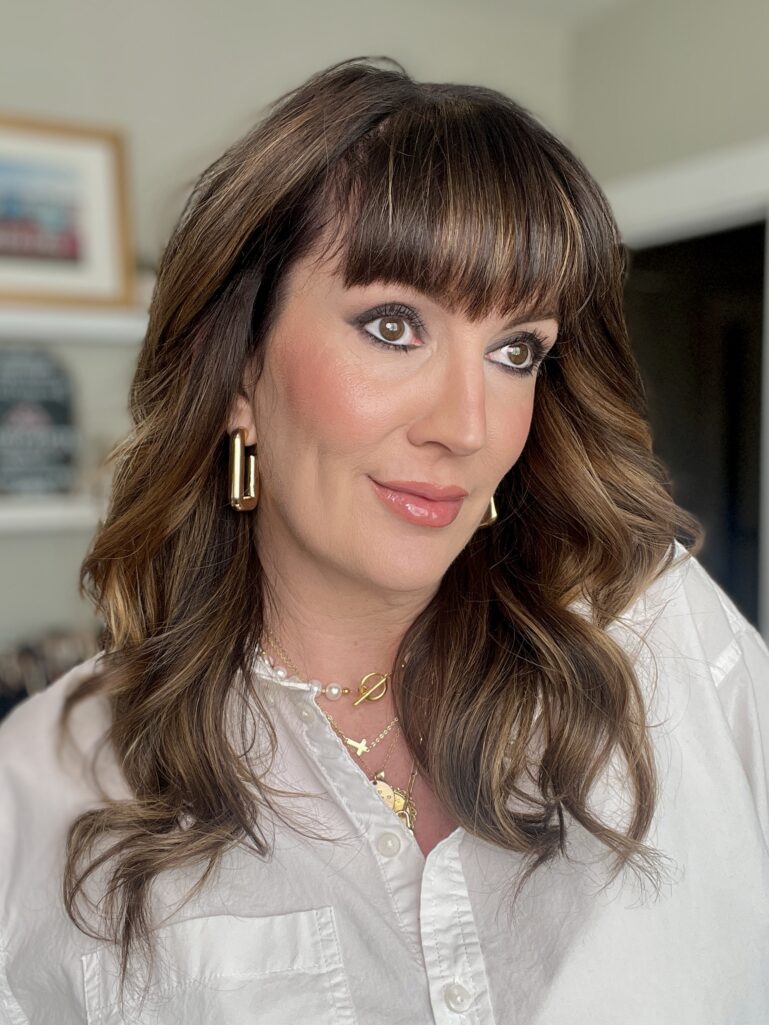
Here’s exactly how you too can get my signature charcoal smokey eye look, step by step.
A few things to keep in mind before you start your smokey eye…
- Stick with no more than 3 shadows plus your liner to make your eyes pop. The simpler you keep it the better.
- It’ll be key to always keep the darkest point at/along your lash line. This ensures you’re drawing more attention to the eye than the eye makeup.
- Don’t ignore your eyebrows. They are the framework to this masterpiece you’re about to create. I’ve got a great brow tutorial at the beginning of this article I posted on Pro-Aging Makeup Tips That Actually Work.
Blending with good brushes is a must. How well you blend your liner and shadow is what gives it that sultry vibe and keeps it from appearing too harsh. This BK Beauty 5 piece brush set for smaller + hooded eyes, $75, is a homerun if you need new brushes.
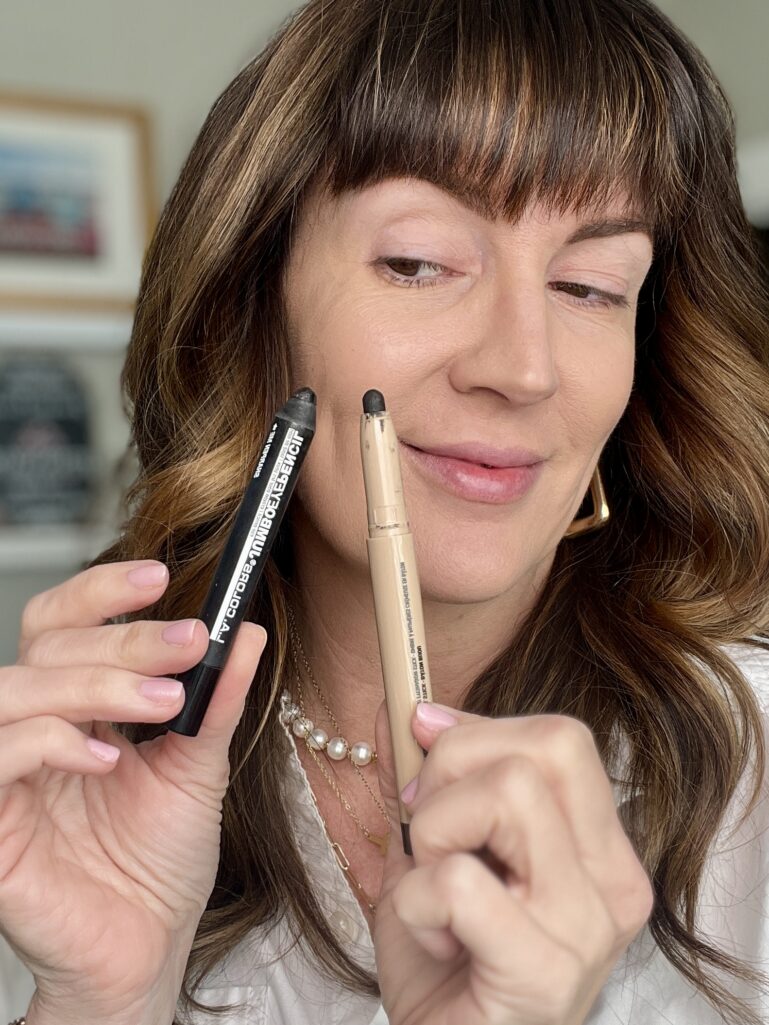
Step 1: Prime + Line Your Eyelids
Skipping the eyelid primer is a no-no. These dark shades are sure to travel far beyond your eyelids, unless you use this product. Apply the primer with your finger over the entirety of the lid. *if you don’t own an eyelid primer, you can substitute your concealer for it*
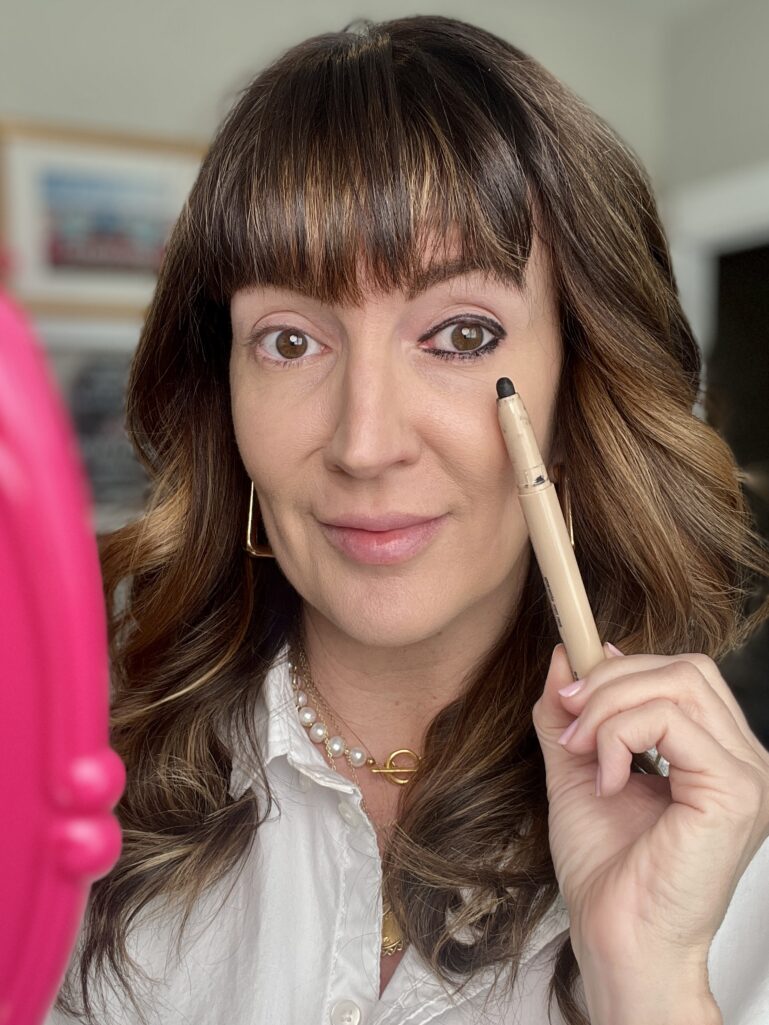
Instead of a traditional skinny eyeliner pencil, I chose an eyeshadow stick in black, that blends seamlessly like an eyeshadow but that you can easily line with also. And you don’t have to be perfect here, as you can tell by my photo where it looks kinda messy – trust the process! I lined along the upper lash line, and tightlined the underneath of the upper lash line, then lined the lower inner waterline with the back. If you have hooded lids, at least do the inner lower line and tightline the upper.
Products Used
Ulta Beauty matte eyelid primer, $13Jason Wu Jewel Stick Eyeshadow, $16, in “solid black”
Step 2: Smoke it Out
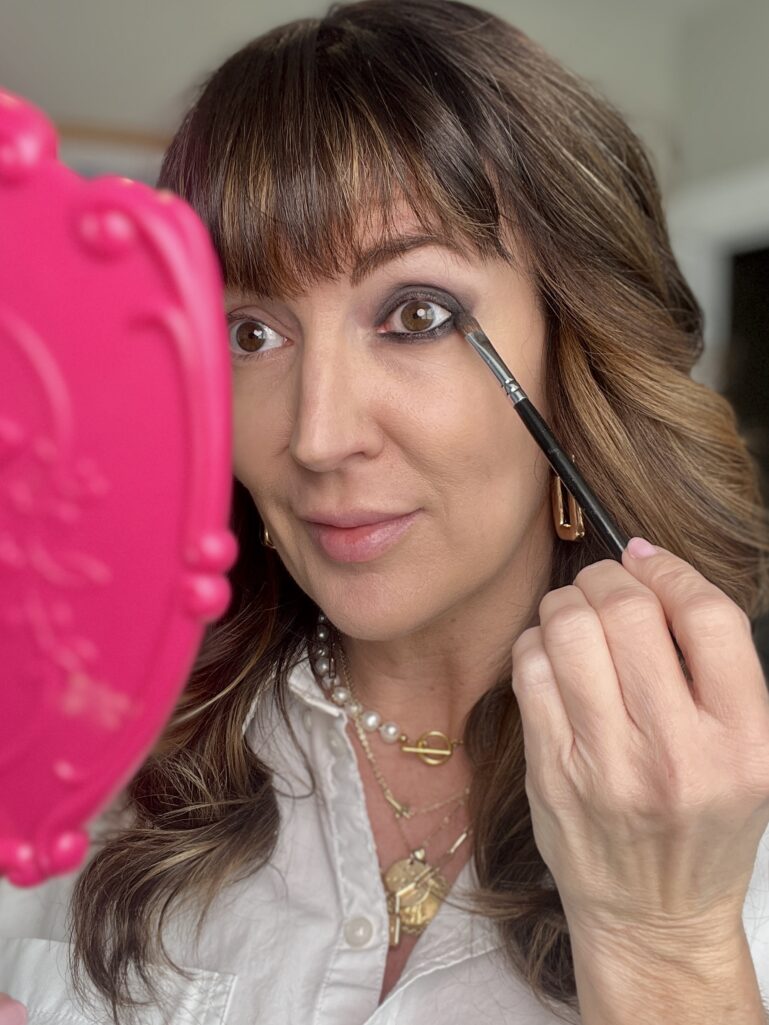
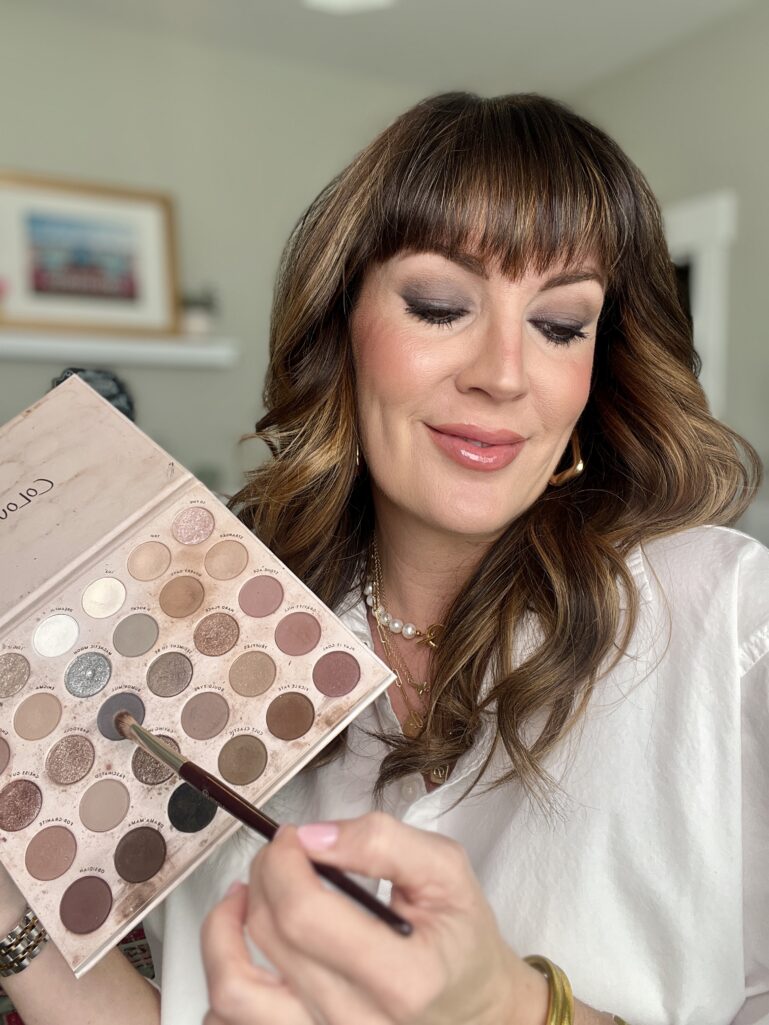
Now that your eyes are completely lined, time to add the smoke show! I chose three shades of shadow as I mentioned at the beginning, and all in matte finishes. First I chose a shade of gray from my go-to smokey palette and dusted it over my black liner on top and bottom, and took it a bit above the natural fold of my crease. Really focus on blending out that black liner with your shadow so there are no harsh lines left.

I then pull my second shade of shadow, a lighter warm brown, to add just to the outer corners of my crease to help ground this gray and give dimension. My third and last shade is a matte ivory that I stroke along my brow bone to heighten this area.
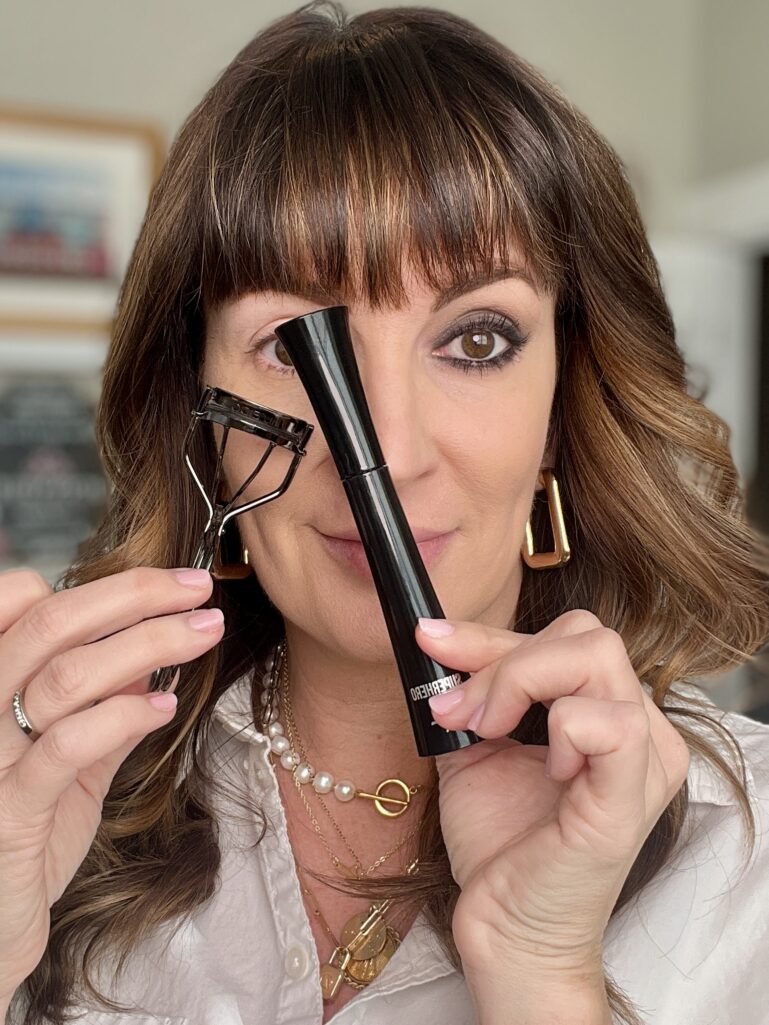
Lastly, lift those lashes with a lash curler – especially if you have hooded lids, that is the best way to open up those eyes with minimal effort. Then add on two coats of black mascara on top lashes and one coat on bottom lashes, for major oomph!
Products Used
ColourPop Stone Cold Fox eyeshadow palette, $36. (this is a staple palette in my makeup collection, and so versatile if you’re looking for fab neutrals in mattes and shimmers. Incredible price point for the quality too)
Shiseido Lash Curler, $27 It Cosmetics SuperHero Elastic Stretch + volumizing mascara, $28 (this mascara is only for those that want bold, fat lashes!)
Step 3: Conceal + Blur
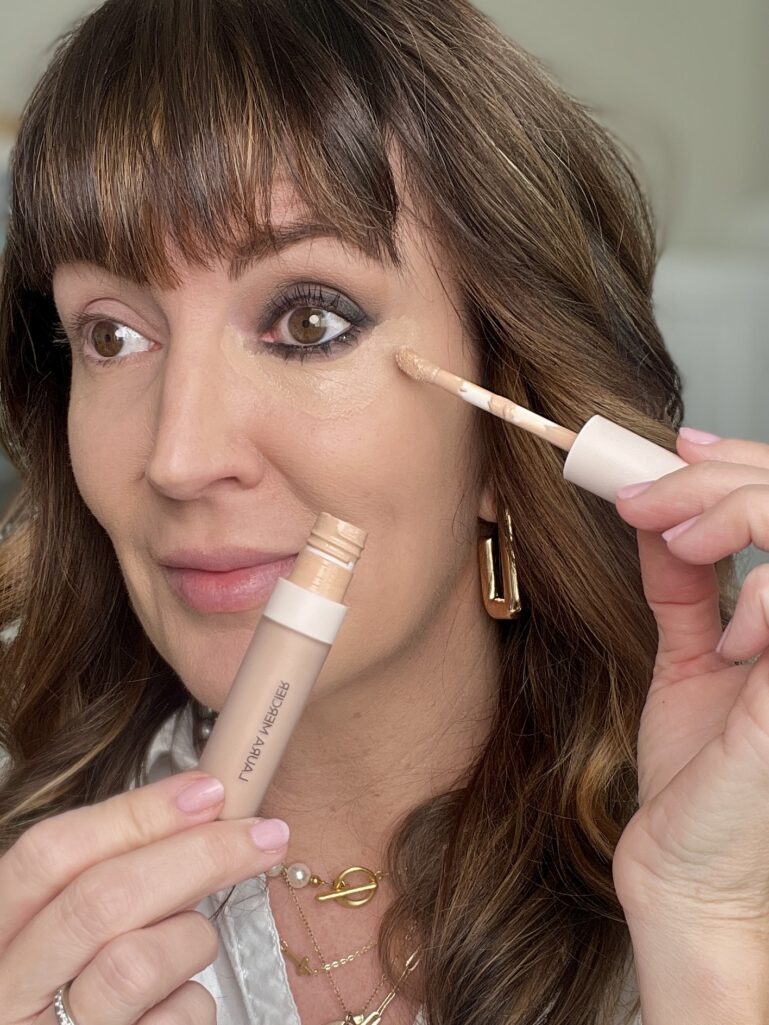
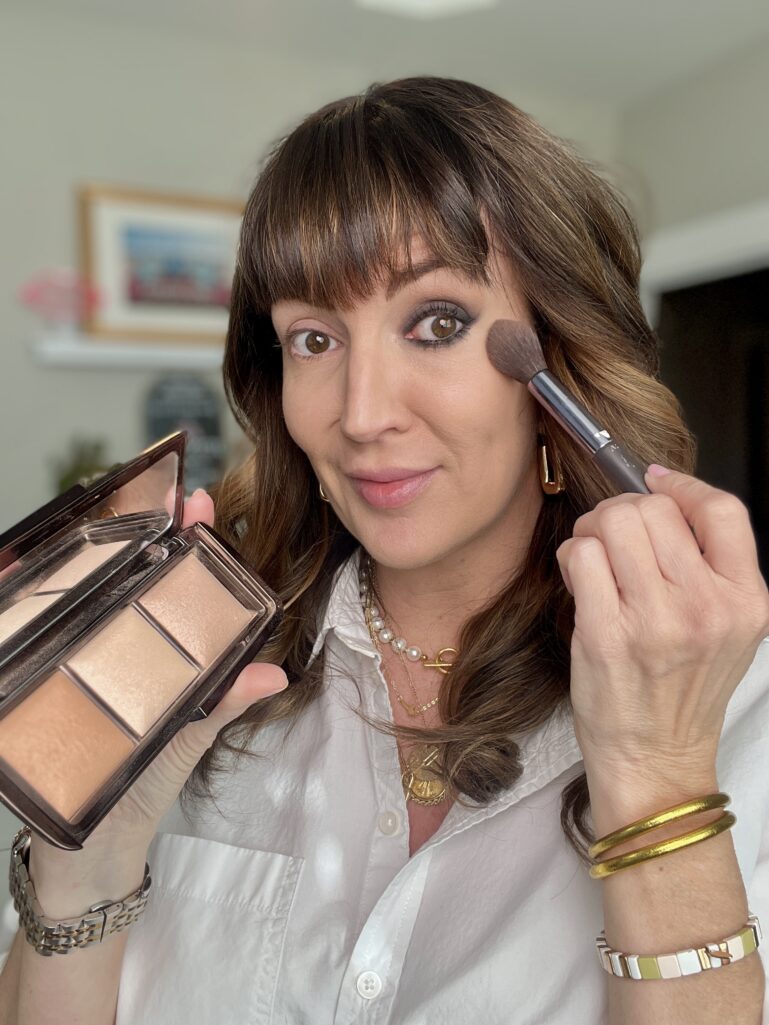
Clean up any mess you’ve made of this smokey eye with a qtip and makeup remover. Then add in your concealer under the eyes to brighten. I had my foundation applied ahead of time, so after the concealer is applied, I like to run a blend of the powders from the Hourglass Ambient Lighting palette, under my eyes and on top of cheekbones to blur the skin. This stuff is pure MAGIC. I used these blurring powders as I would have a traditional setting powder.
Products Used
Laura Mercier Real Flawless Weightless Serum concealer, $33, in shade 2C2.Hourglass Ambient Lighting palette in Volume 1, $74.
Step 4: Finishing Touches
Time for cheeks and lips, and the key is to keep these areas more sheer, so that they don’t fight with the star of the show – the smokey eyes!
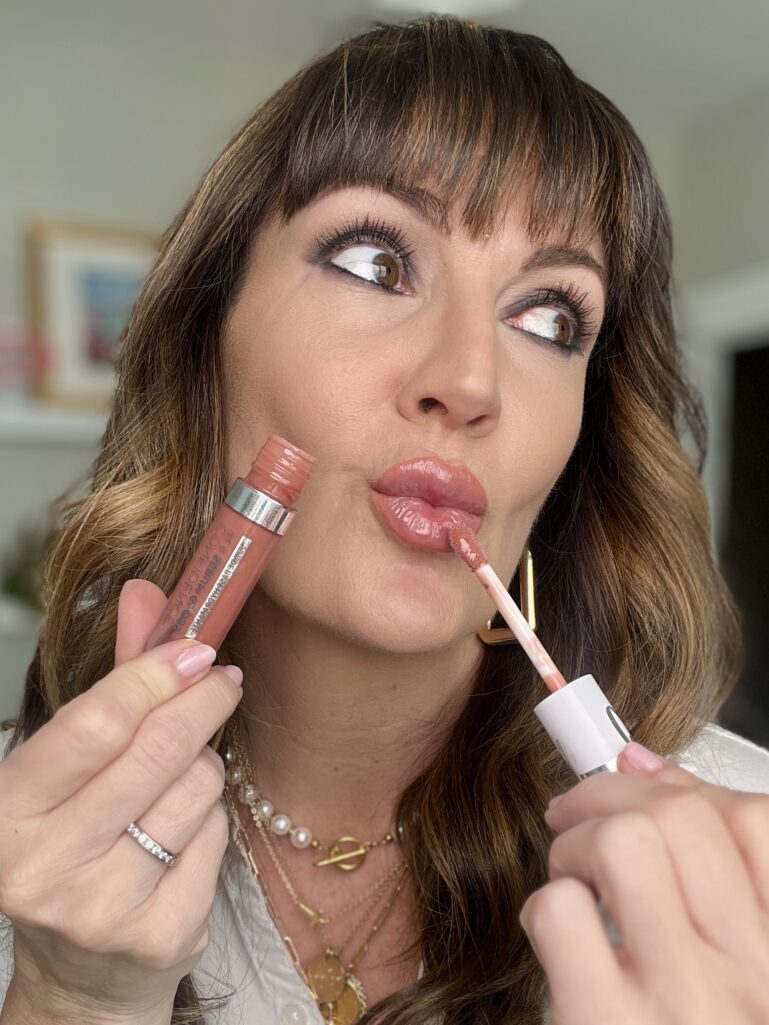
For my lips, I outlined them first in a super soft nude lip liner applied, then topped it off with a soft pink beige shiny lip gloss. Then added a cream highlighter that had a hint of warm pink, in place of a traditional blush. Allowing some shine into these two areas was a great balance to the all matte smokey eye.
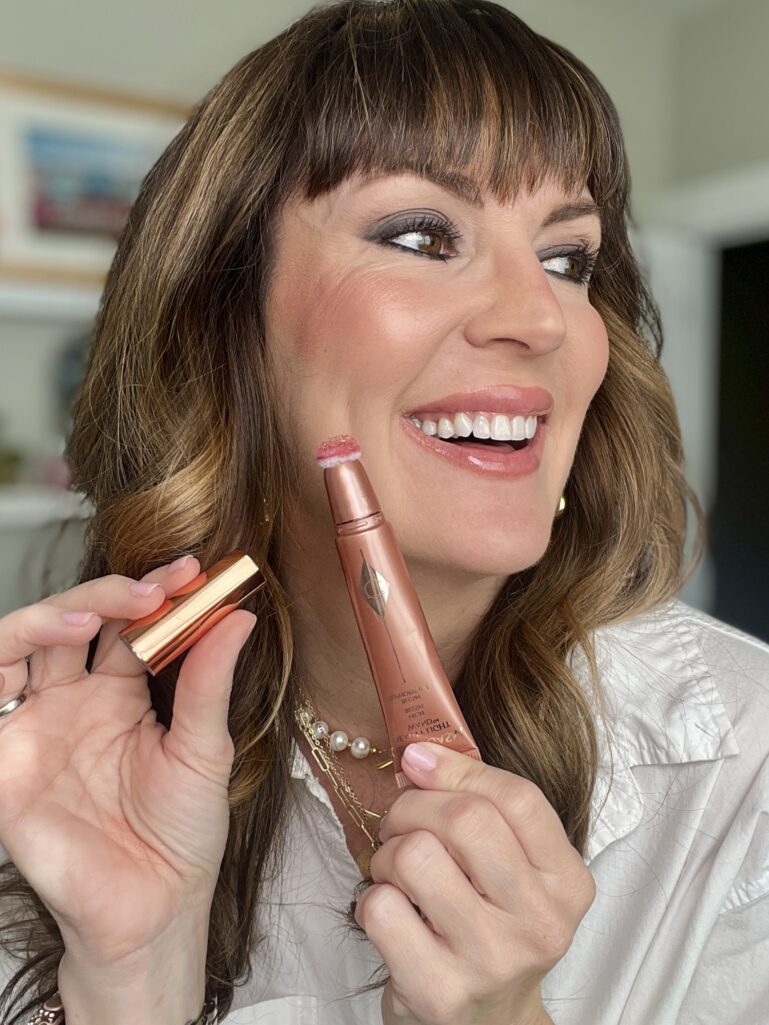
Products Used
It Cosmetics Confidence in A Serum lip gloss, shade “Self Worth,” $26.
Essence 8 hr Comfort matte lip liner in “rosey nude,” $4.Charlotte Tilbury Beauty Highlighter Wand, shade “Pinkgasm,” $42. (I’m obsessed with this product – it truly gives the most romantic cheek glow that doesn’t really need blush along with it)
The Rest of My Look Details
A crisp white button-down is the perfect backdrop to this look. The balance of sultry makeup + classic style is always a winning combo. I like a more roomy one that I tie at the waist like this Gap Factory poplin one, $25, or if you prefer a more tailored version to tuck in, this Tuckernuck Essentials shirt, $118, is a great option.
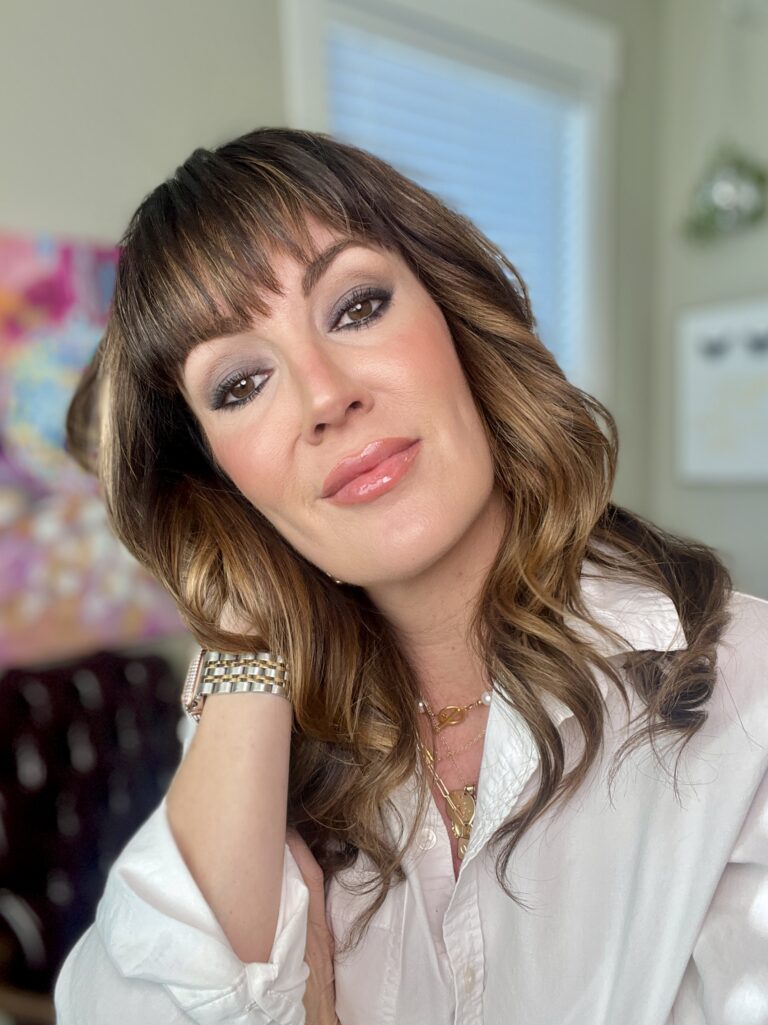
Multiple gold or silver layered necklaces are a vibe added to a white button-down. Great layered options gold here on Revolve, $85, large silver chained here, $69, and layered pearl choker, $128. And who wouldn’t want to wear a gold money coin necklace, $120 // the elongated hoop earring shape is my favorite lately, $13. // Giving my nails a break from my fave press-ons, so I painted them this gorgeous sheer bridal pink shade by OPI in “Baby, Take A Vow,” $11.
Last step, OWN this bold and sultry look and wear it with confidence. Now I have to know, who is going to give this a shot?? Also, before I forget – I received SO many wonderfully sweet messages on my first post of the year here, that it made my week to be able to respond to you all, and I just want to say a heartfelt “Thank YOU!” Please keep the comments coming – it’s my favorite part!






Glad you are encouraging older women to try the Smokey eye. At 81 I like a darker eye. Surprised I could pull it off. My husband too prefers it. I enjoy your posts so very much.😊
Many thanks Cindi to let me know that you’re enjoying my posts and that you TOO enjoy a good smokey moment at 81! That’s incredible.