Makeup trends come and go, but a glowing complexion is ALWAYS going to be in style. Today, I’m going to show you how to apply highlighter like a pro.
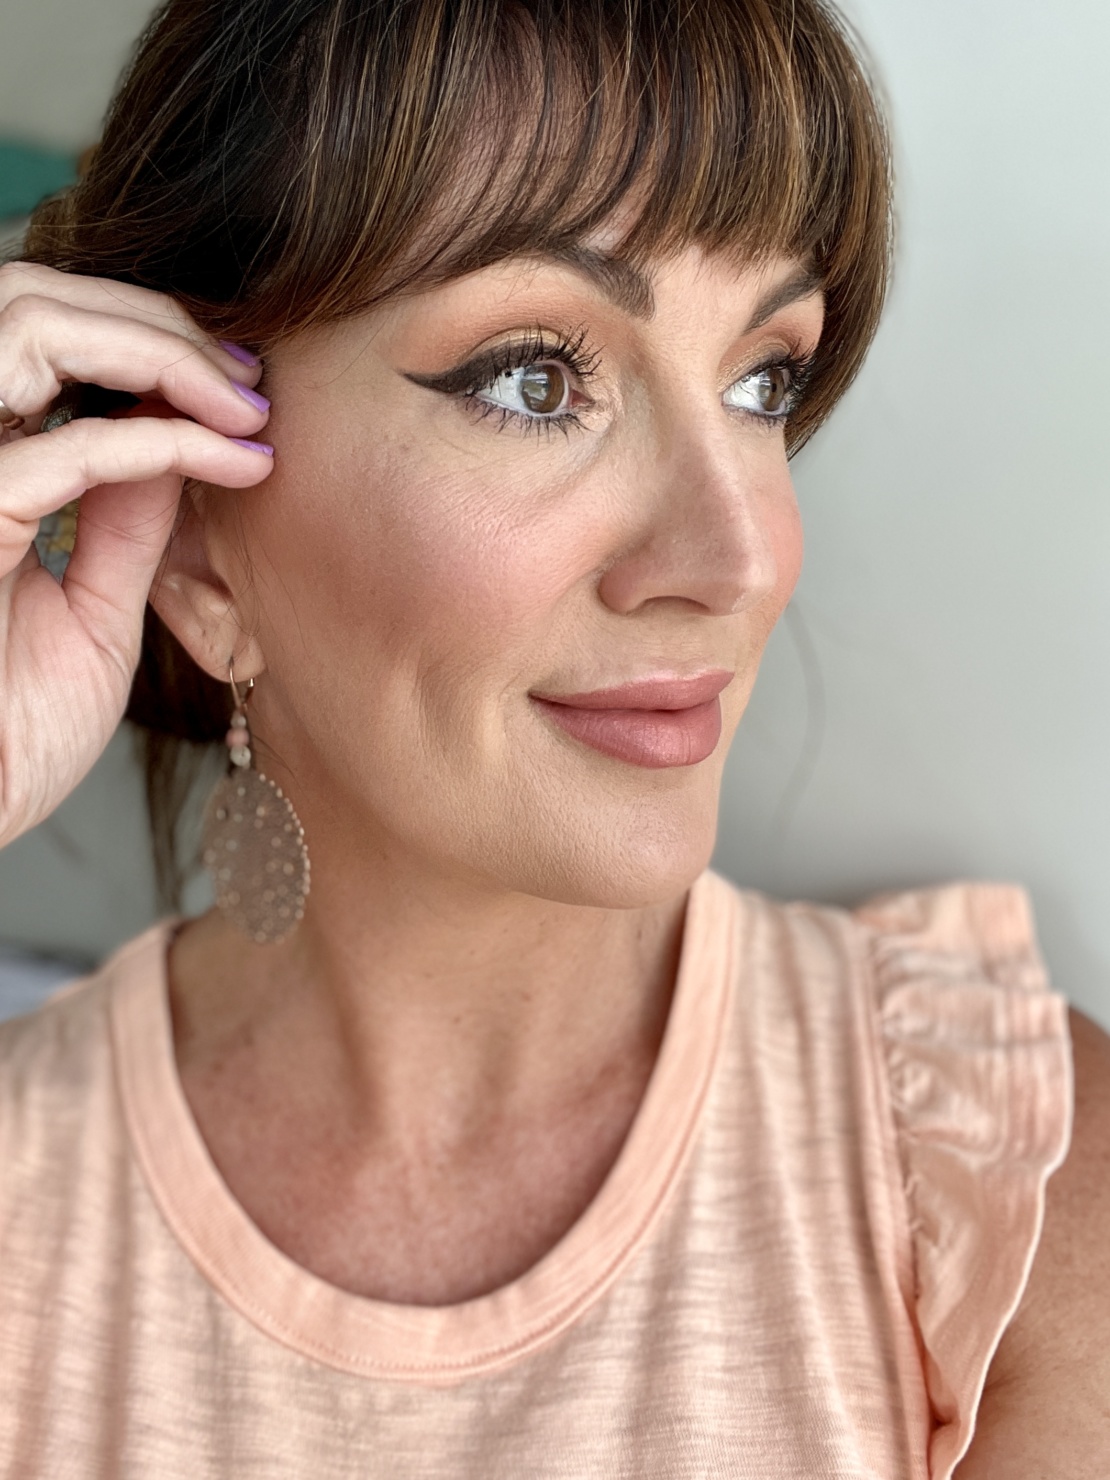
Unfortunately the older I get, the more dull my skin seems to look, but not to worry, because highlighter to the rescue!! The best way to “fake” a glow (next to a good skincare regime) is with a highlighting product.
Regardless of your skin tone and face shape, everyone can benefit from using a little highlighter. IF you choose the right shade and placement on the face, it can be your secret weapon for that lit from within look.
The Summary
Today Jennifer is showing us how to apply a highlighter to achieve skin glow
All of Jennifer’s products and recommendations are shoppable via inline, text links
How to Apply a Highlighter Like a Pro
1. Three Easy Steps
Adding a face highlighter has become a must have step in my makeup routine – even just a little can brighten your faces appearance and ultimately, it brightens my mood too! It’s seriously a happy makeup product that I use with all of my makeup looks – from the most simple to the most involved!
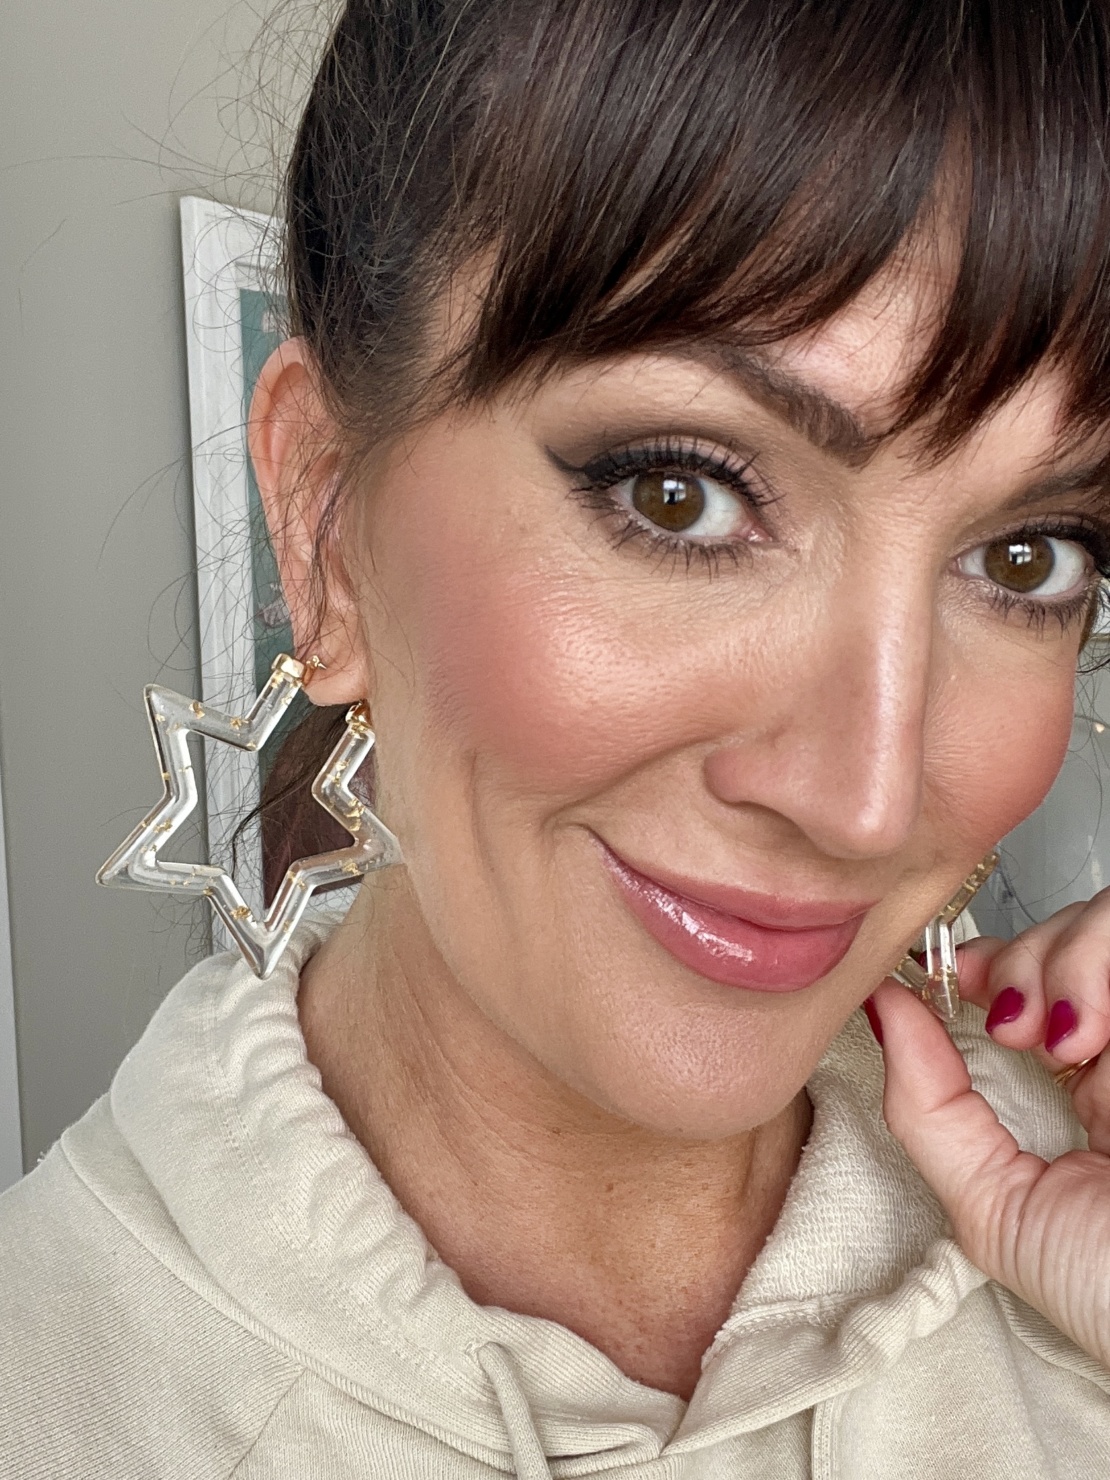
The key to a successful highlighting job is of course to make it look as believable as possible. Resembling a disco ball is NOT the look we are going for! Ha ha!
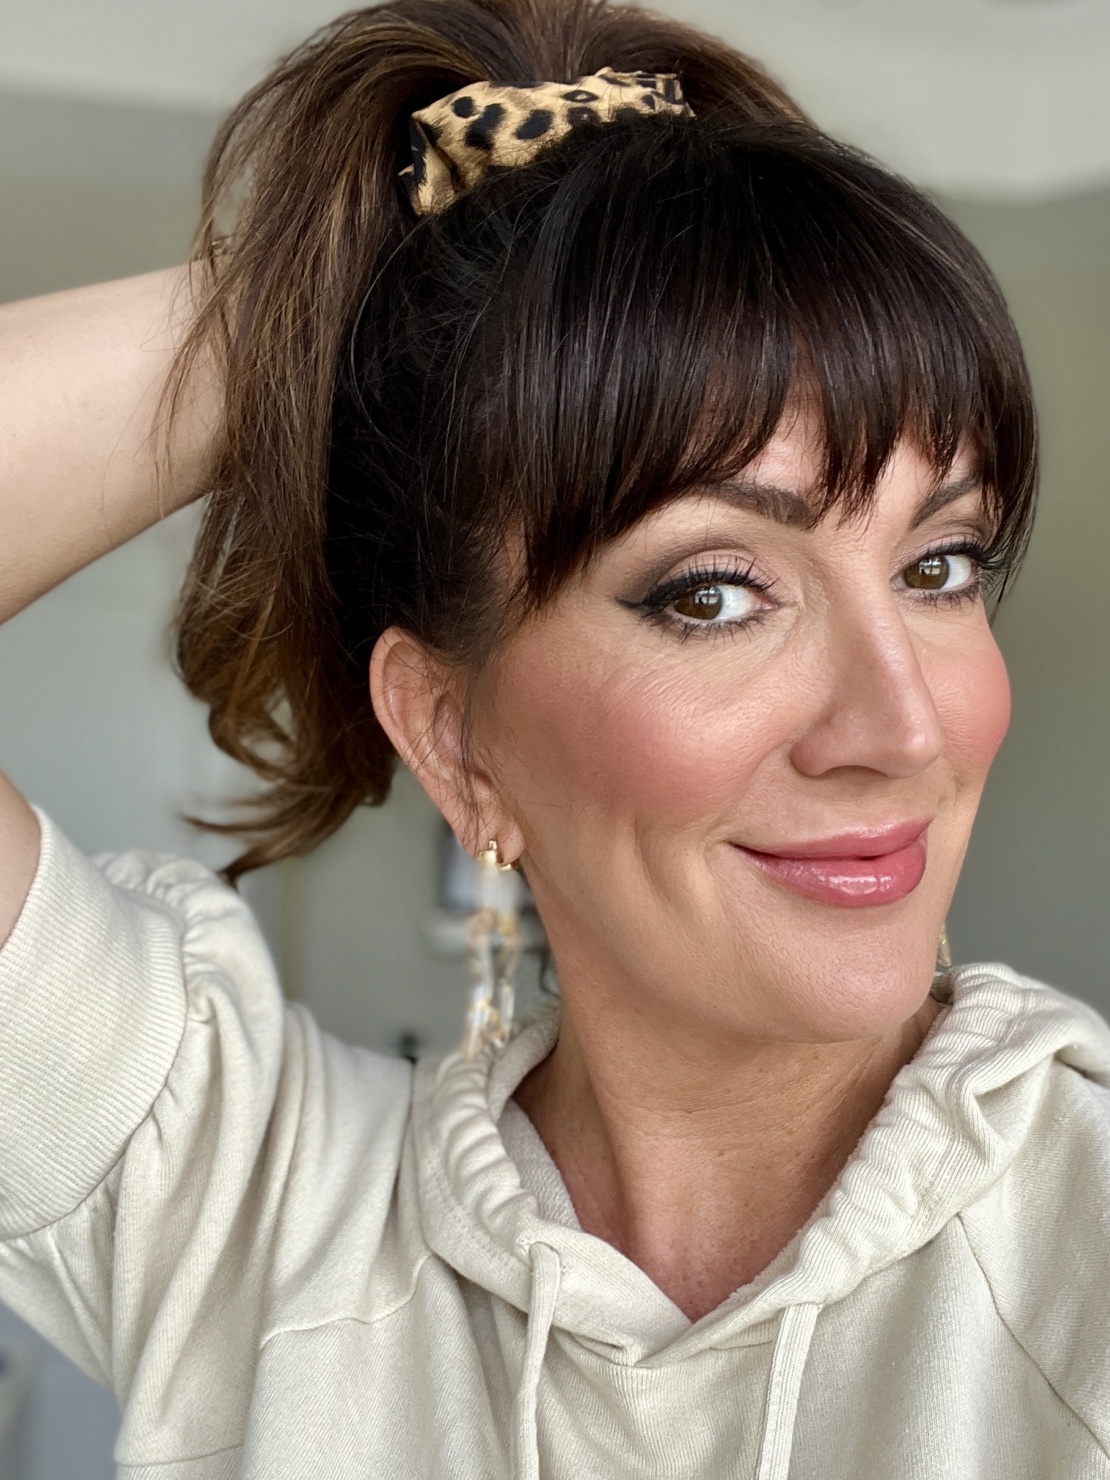
Three keys for highlighting success :
- Choosing the correct shade.
- Picking the right formula for your skin type.
- Proper application on the face.
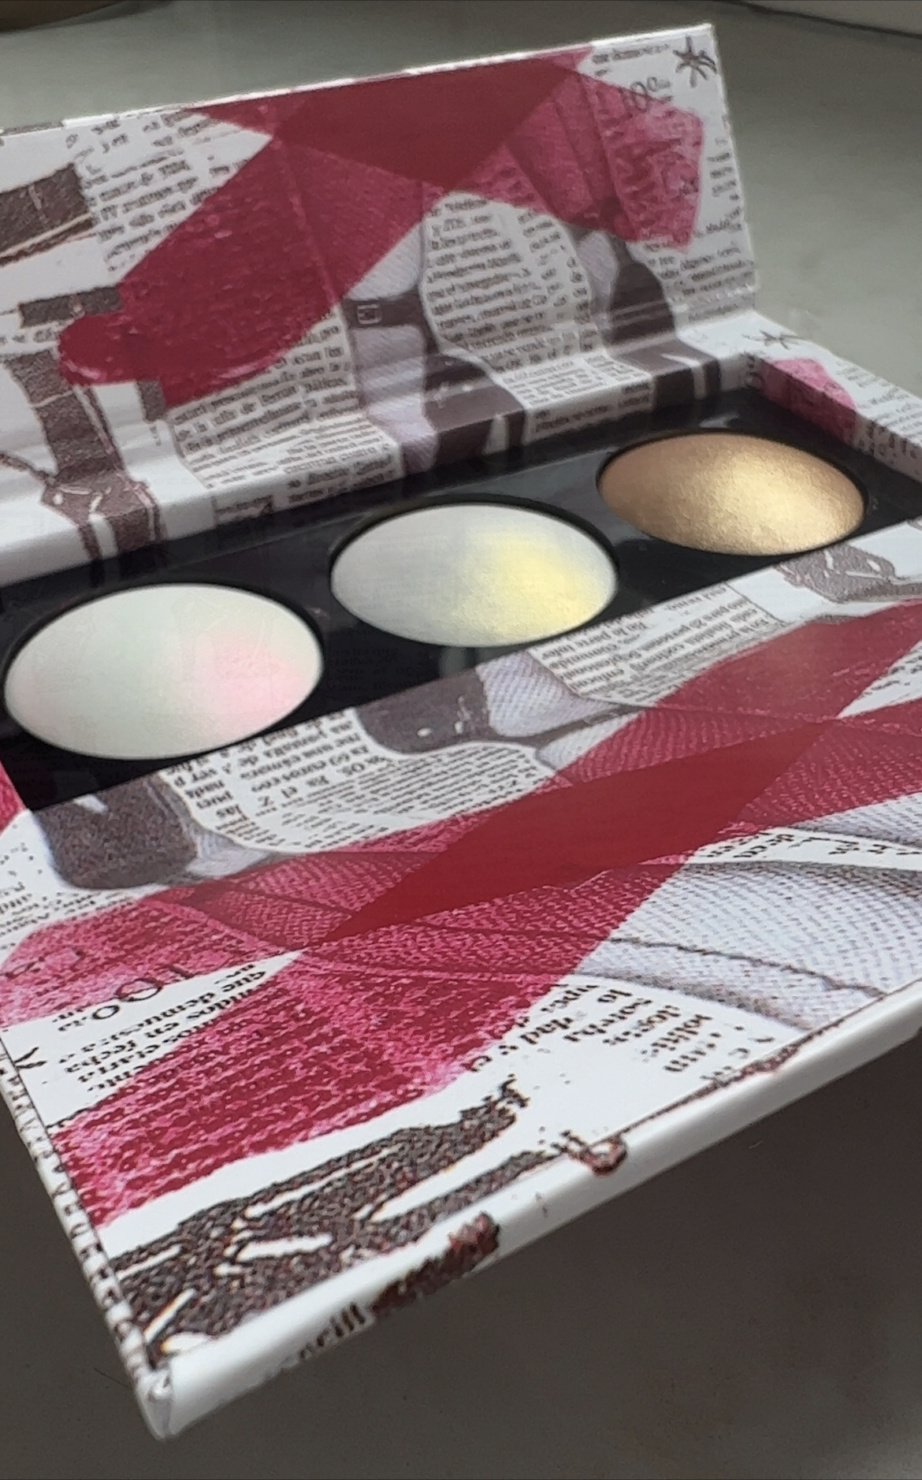
In this post, I’m using the Pat McGrath Sublime Skin highlighting trio which gives me 3 options of color choices in one palette. They range from a deep copper to light golden, and iridescent pink. I like choices 😉 But if too many choices confuse you I get it, and just start simply with one shade. I never use palettes literally, so I even like to mix these shades together to get the perfect one!
2. How To Pick Your Shade
Fair to light skin tones – Opt for a highlighter with icy silver or champagne sheen. You want more cool pink tones that don’t read too warm and muddy on the skin.
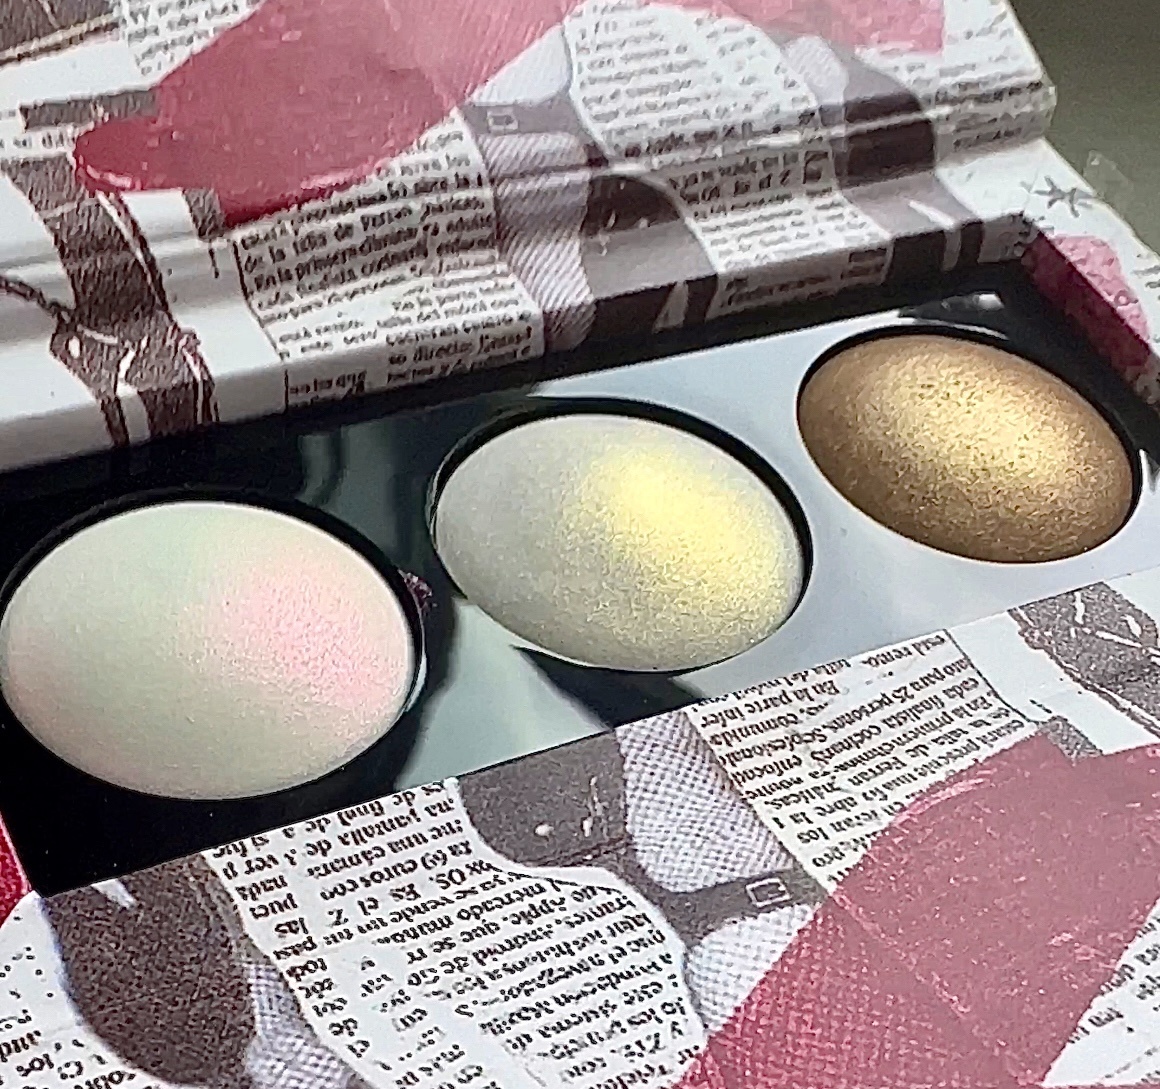
Medium to olive skin tones – Try a golden, or bronze or light copper undertone of highlighter. This keeps your skin from appearing too “frosty.”
Deep skin tones – go for a rich variation of rose golds, and darker bronzes. Again, steer clear of anything that reads to ashy, frosty or opalescent on darker skin. Warmth is key!
3. How to Pick Your Formula
Oily skin – A powder formula is best so that it doesn’t slip slide around your face throughout the day and stays put.
Dry skin – A liquid/cream or stick highlighter could give you a better finish on the skin as it will sink in nicely unlike a powder formula that might grab at dry flaky patches.
Normal skin – you can wear either!!
4. Where to APPLY it
So many options here depending on what you want to show off on your face the most! Here are some fun places to try out your highlighter…
A. On the eyes
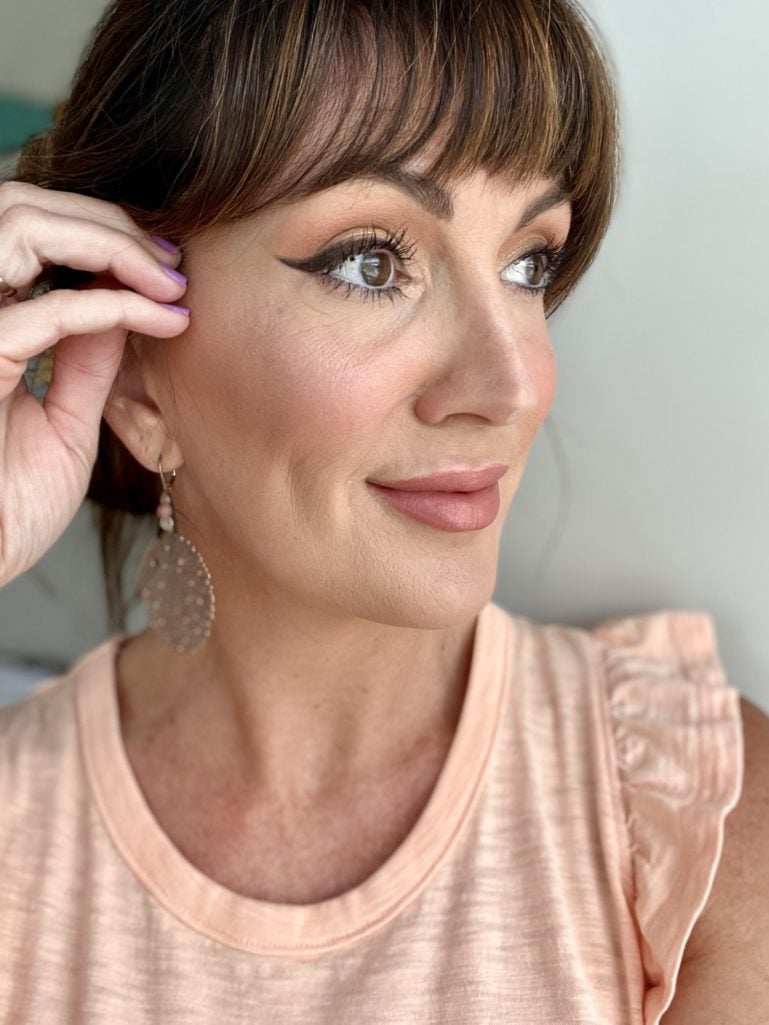
One of the easiest spots is right in the center of the middle of the eyelid, so that when you blink, it just shows a little peak-a-boo of shimmer! I used the darkest copper shade on my eyes here.
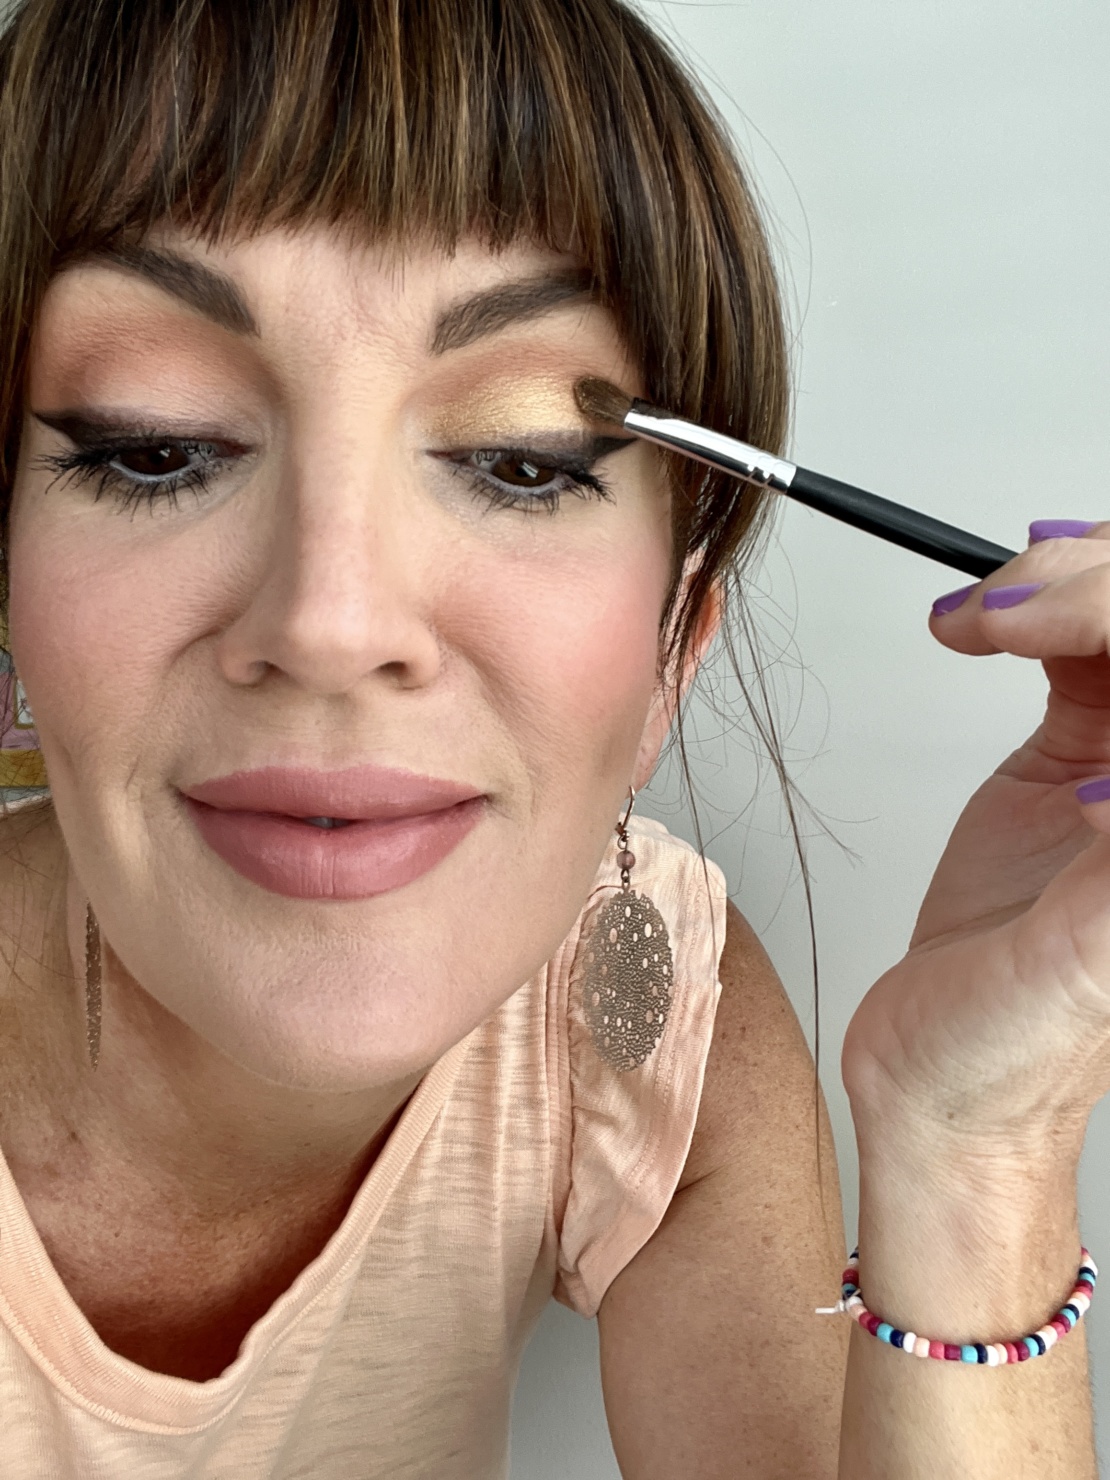 Middle of eyelid
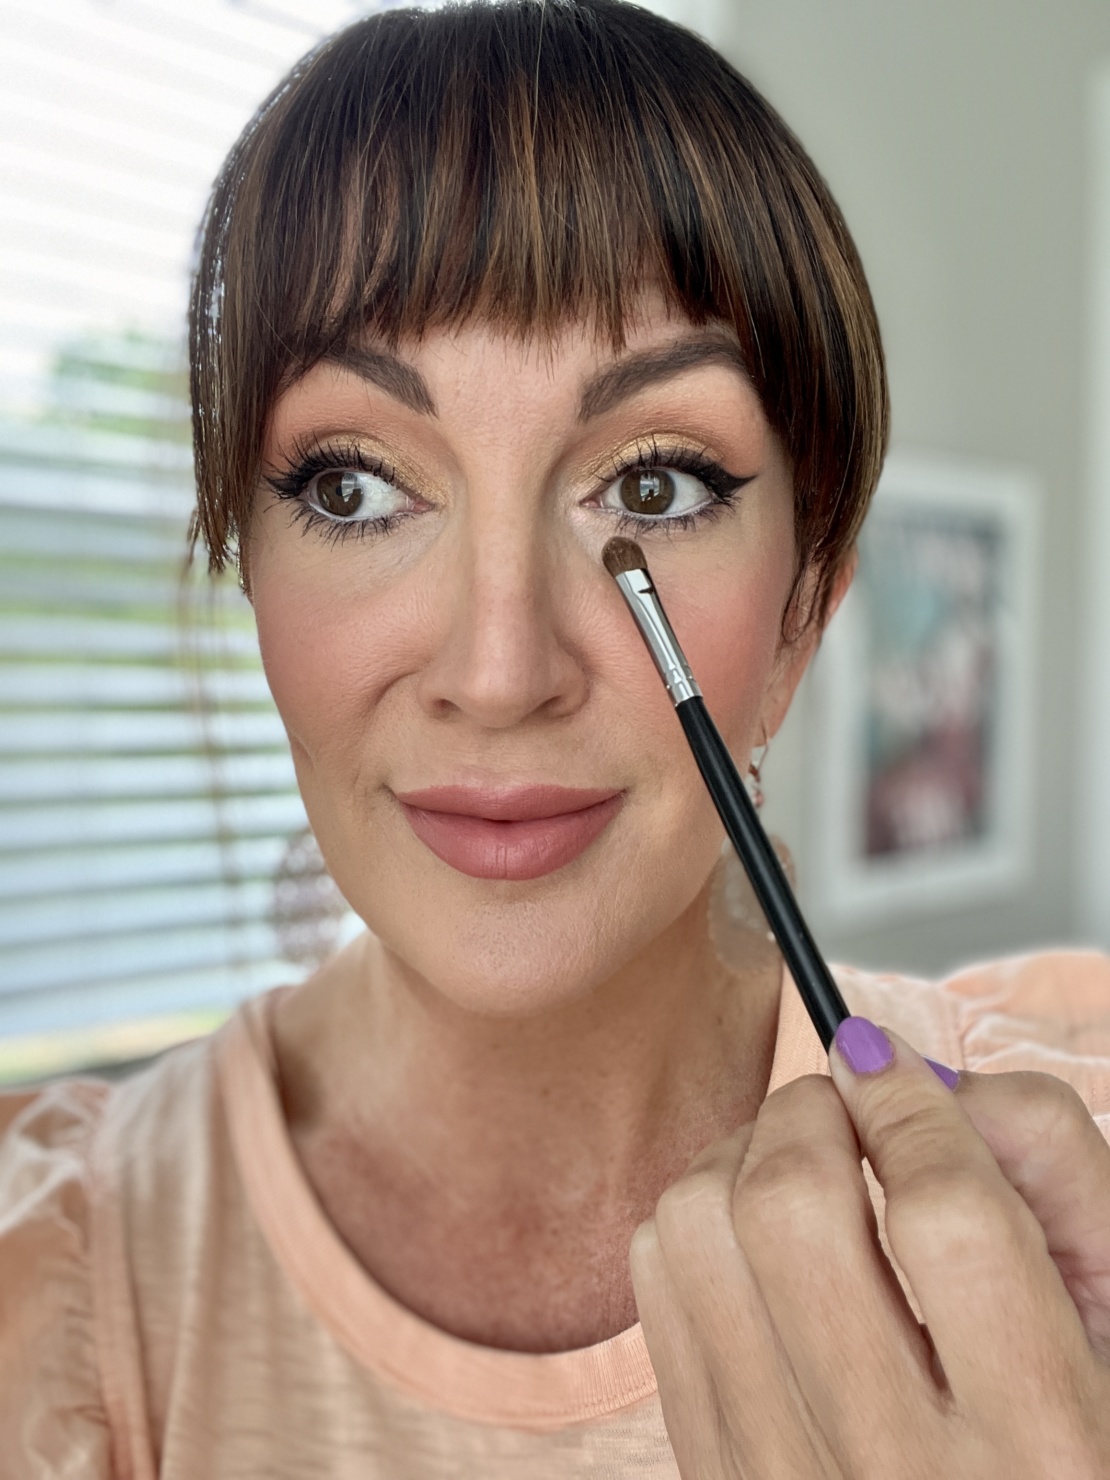 Tear duct eye area
Also, tracing right along the outer tear duct area looks really pretty and gives your eyes a bright boost. This is a big Hollywood red carpet makeup artist secret.
Go for a lighter shade of highlighter here, like I did with the light golden shade from the trio.
Use a flat thin eyeshadow brush, like my Morphe # M167 packing brush for small areas such as this to nail the look.
B. On the cheekbones & Bridge of Nose
If you don’t want to accentuate your nose, skip this step, but I like to pop a thin line of it just in the center bridge to bring a little bit of structure to my nose. And then I always sweet a small crescent moon shape of highlighter around the top of my cheekbone to make them pop! I mixed the pink and golden shades for this part.
For cheekbones, I switch to a fluffier but yet still small powder brush like my go-to Real Techniques setting powder brush.
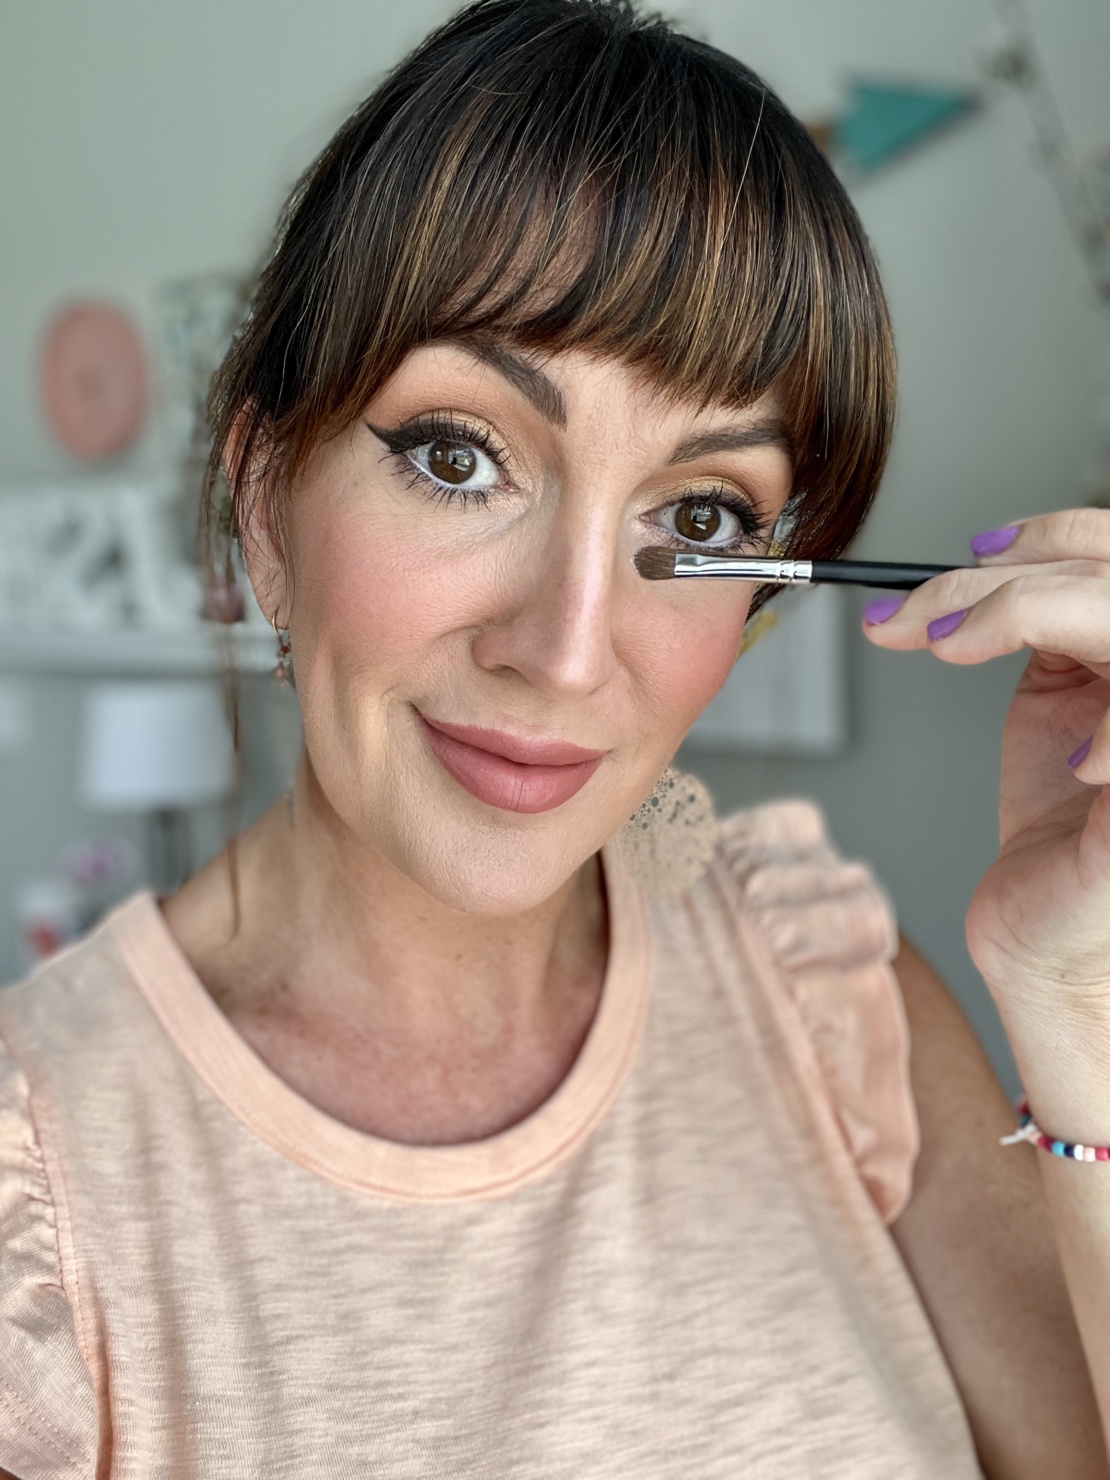 Nose
Nose
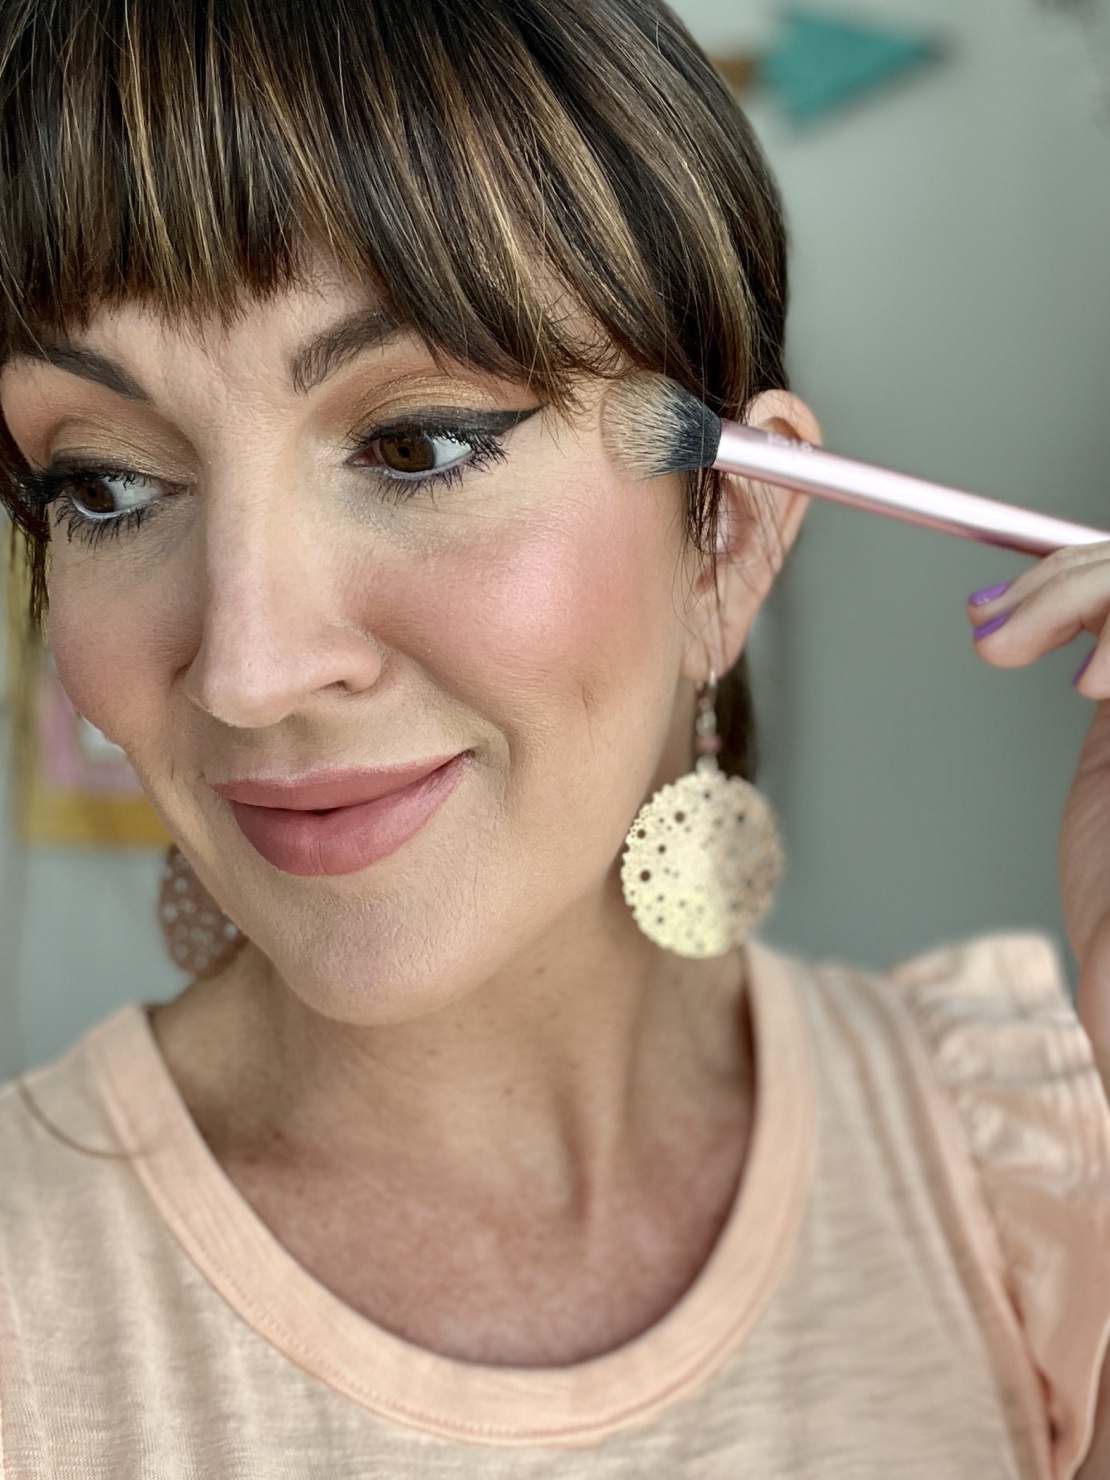 Cheekbones
C. On the Lips
If you want to quickly enhance your lips, take a small amount of highlighter and apply right along the cupids bow area of the upper lip. And if you want the illusion of a slightly fuller lip, pop a dab of highlighter right in the center of the bottom and upper lip to give the illusion of fullness! I just use my fingers to apply both!
Just remember – to keep highlighter looking realistic, apply it in thin layers so as not to get the disco ball vibe. Start with less than you think you need, then build from there. But ultimately just have FUN with it!
For a less expensive option for a highlighting trio try this Stellar Lights one from Milani Cosmetics.
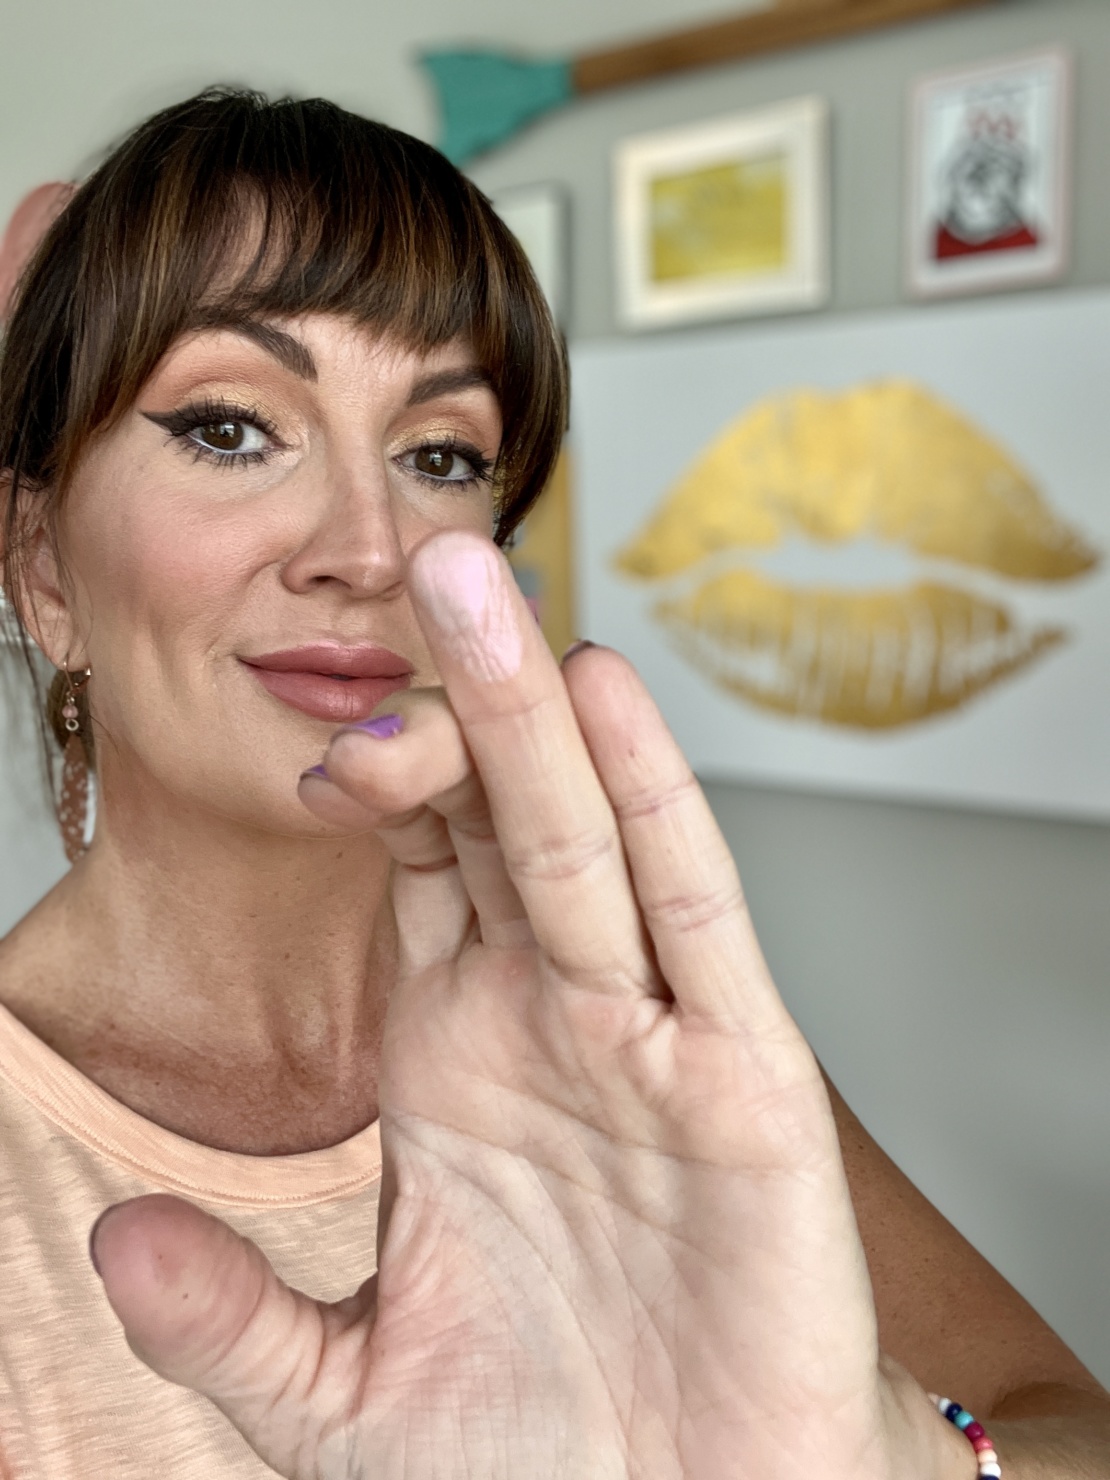
 Placement on lips
In Case You Missed It
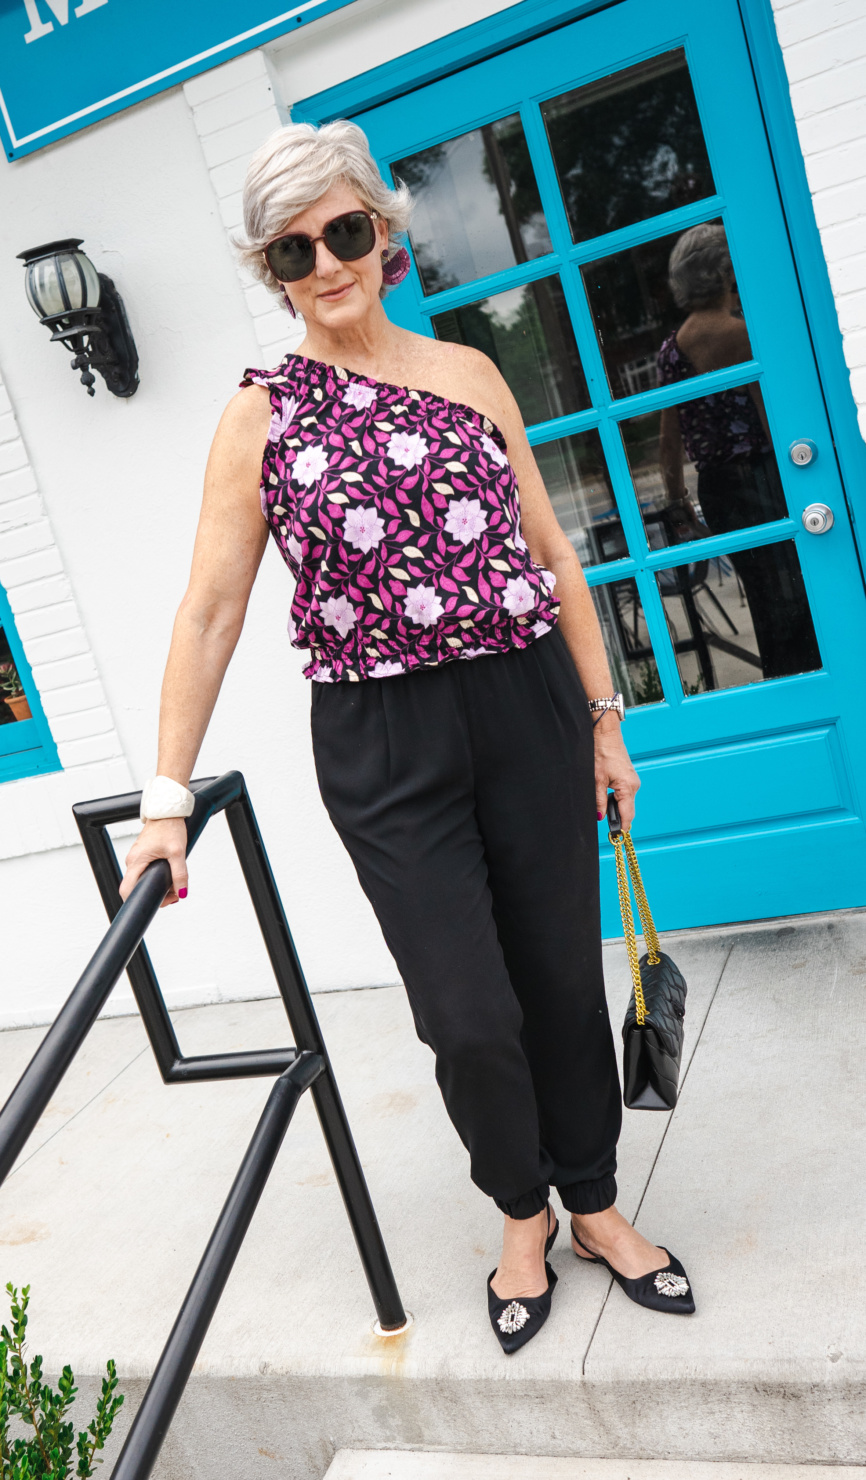
Yesterday, Beth showed you how to take a casual pair of joggers and dress them up for a casual chic look. Click the title or image below to read the article.
Go From “Just Casual” to “Casual Chic”













What white pencil is Jennifer using on her bottom water line? I cannot find any that won’t run. Thank you.
Hi Kathy! I’m wearing LA Colors Neon Gel eyeliner in “flash white” https://bit.ly/3othVAF
what is the lipstick color you are using and brand? It is really pretty. Lynette
thanks so much Lynette! I’m wearing one of my all time favorite matte nude lipsticks – It’s Milani Cosmetics Color Fetish in “Secret” https://bit.ly/3FMN7TB
If I applied highlighter to my old 71 yr old eyes, wrinkled and drooping from wearing spectacles I would look like a pro but not the nice kind.
haha! If not treated with respect, makeup just slapped on our face wily nily can make us look like pros. That’s why I love to experiment and keep perfecting techniques. But our hope with these posts from our amazing beauty editor Jennifer who is a pro makeup artist is that you will try something new and different and keep looking modern, fresh, and relevant. Makeup is but one tool we should have in our toolbox.