Most of my makeup clients all want the same thing – to make smaller eyes appear larger and brighter! The good news is that if you feel that your eyes aren’t as big as you’d like them to be, you can easily create the illusion of them looking bigger with makeup! So today, I’m sharing 6 simple makeup tricks to make eyes look bigger.
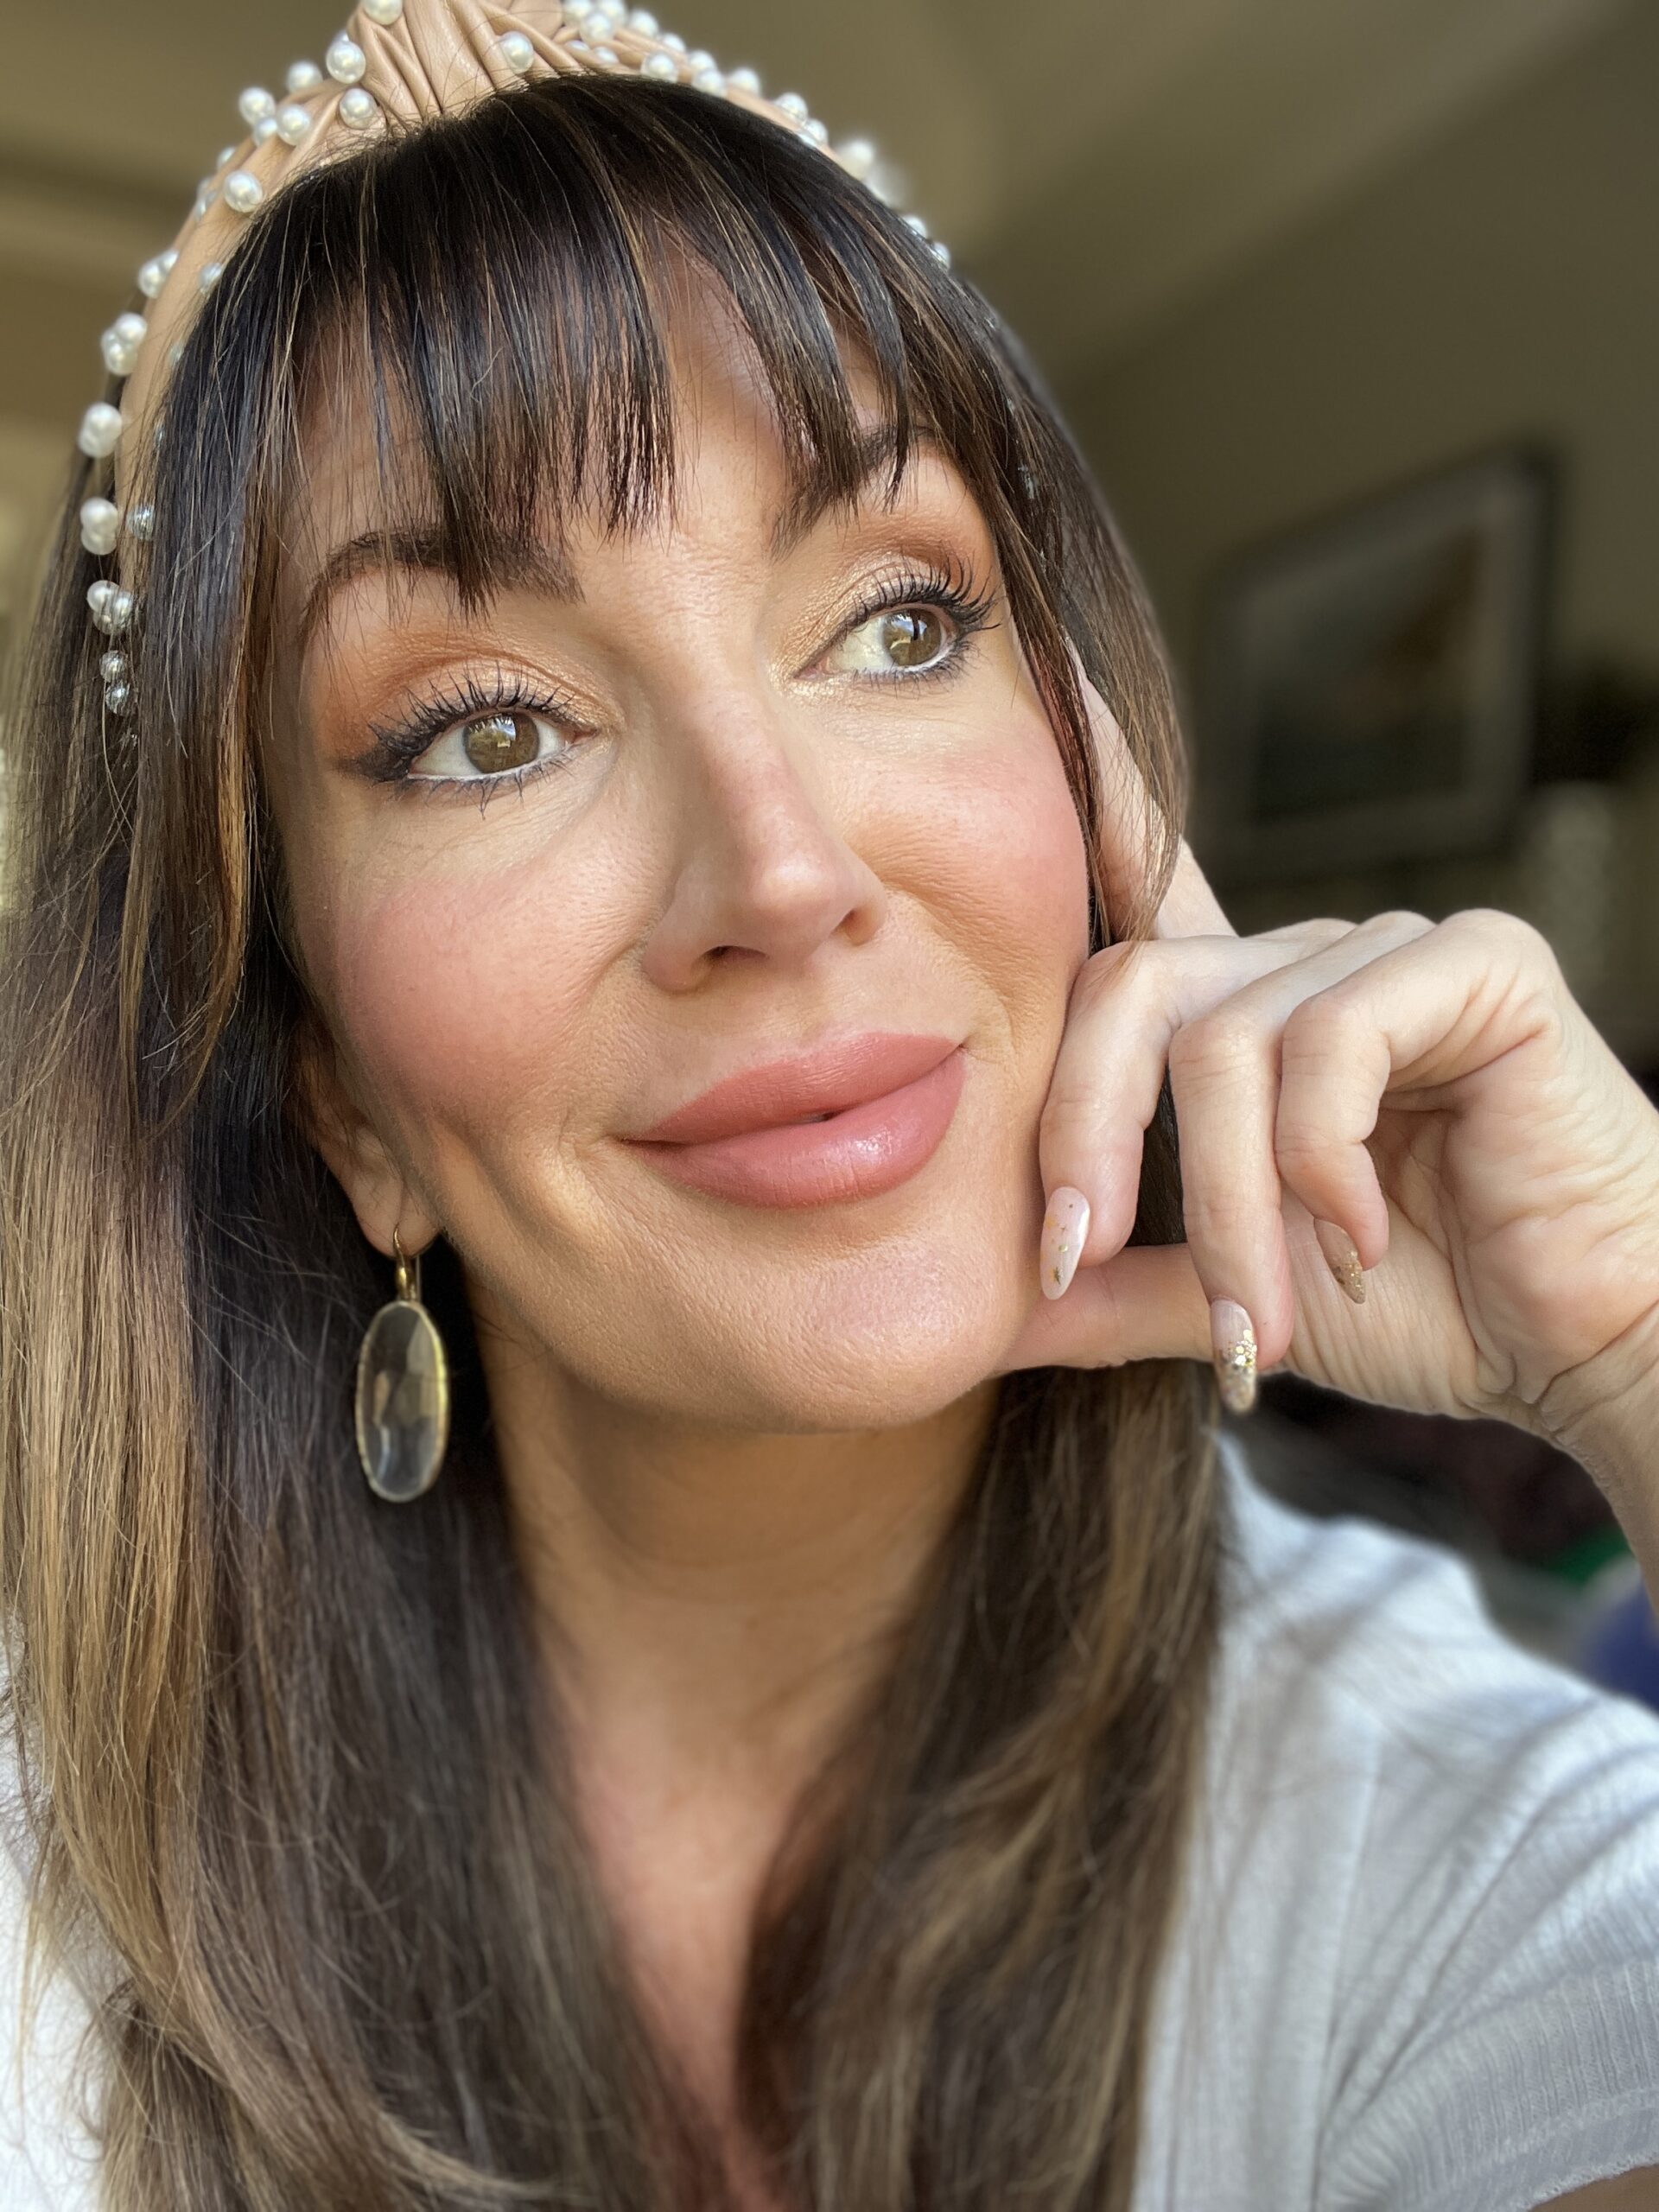
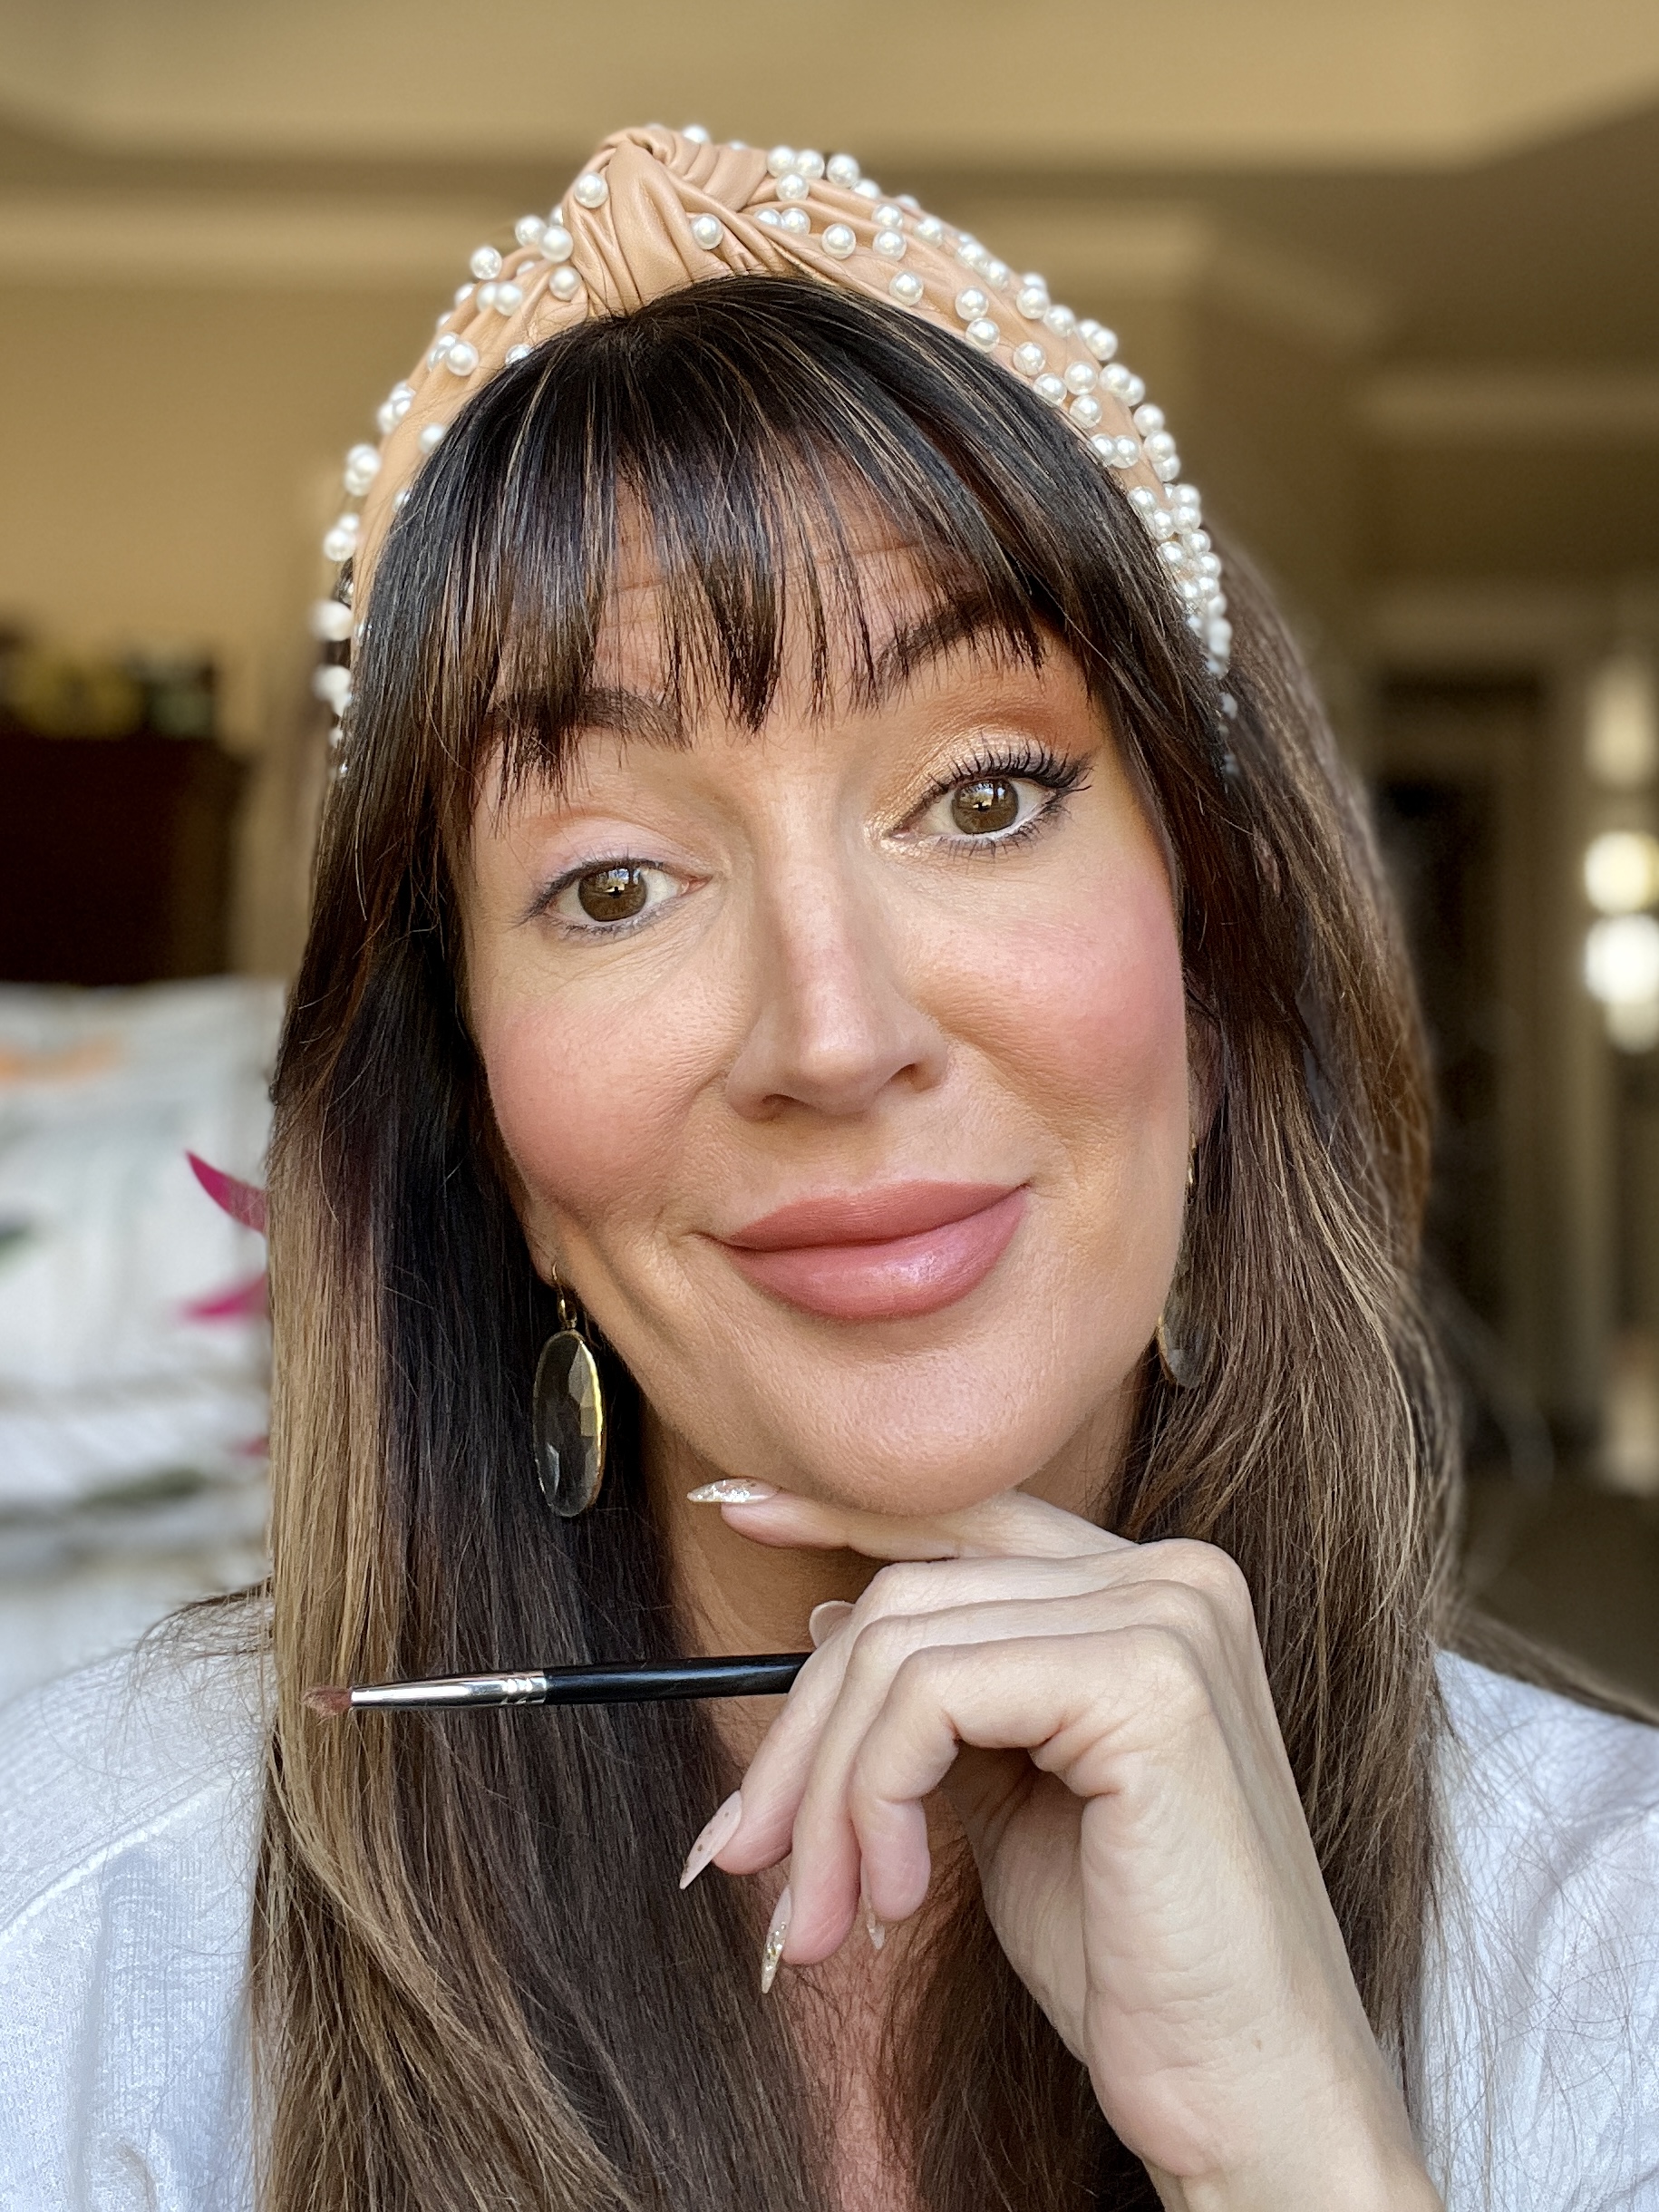
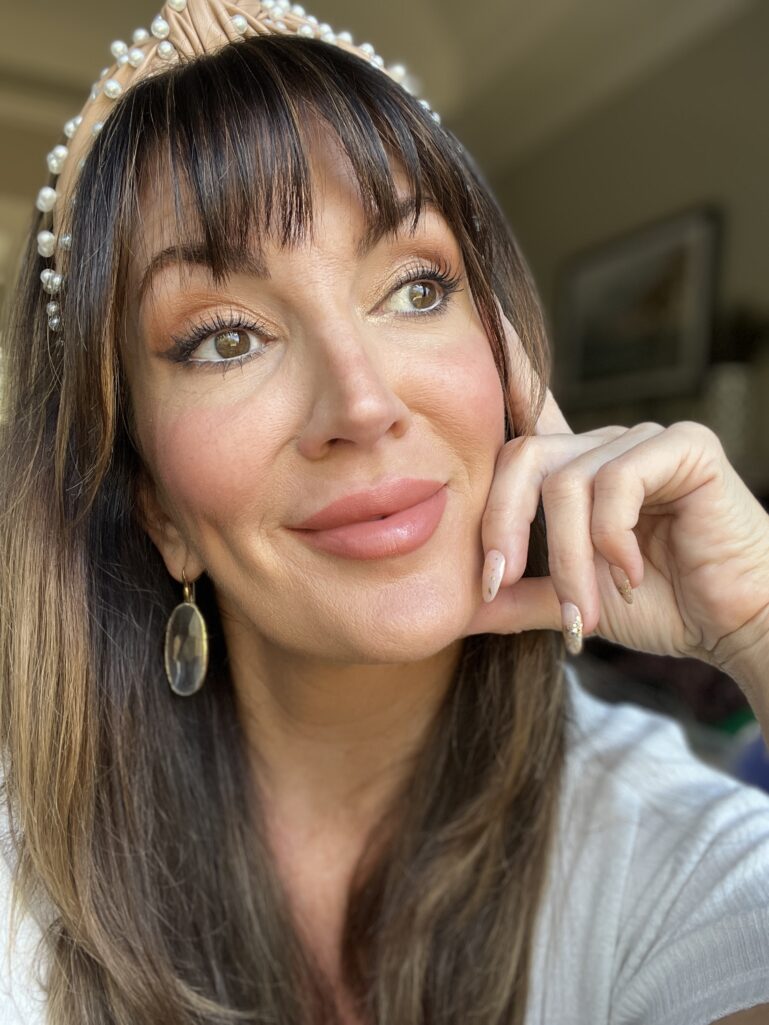
Before we begin, just check out this comparison photo below of my bare eye and then my eye completed with all of the following tips I’m going to share with you! Major difference right??
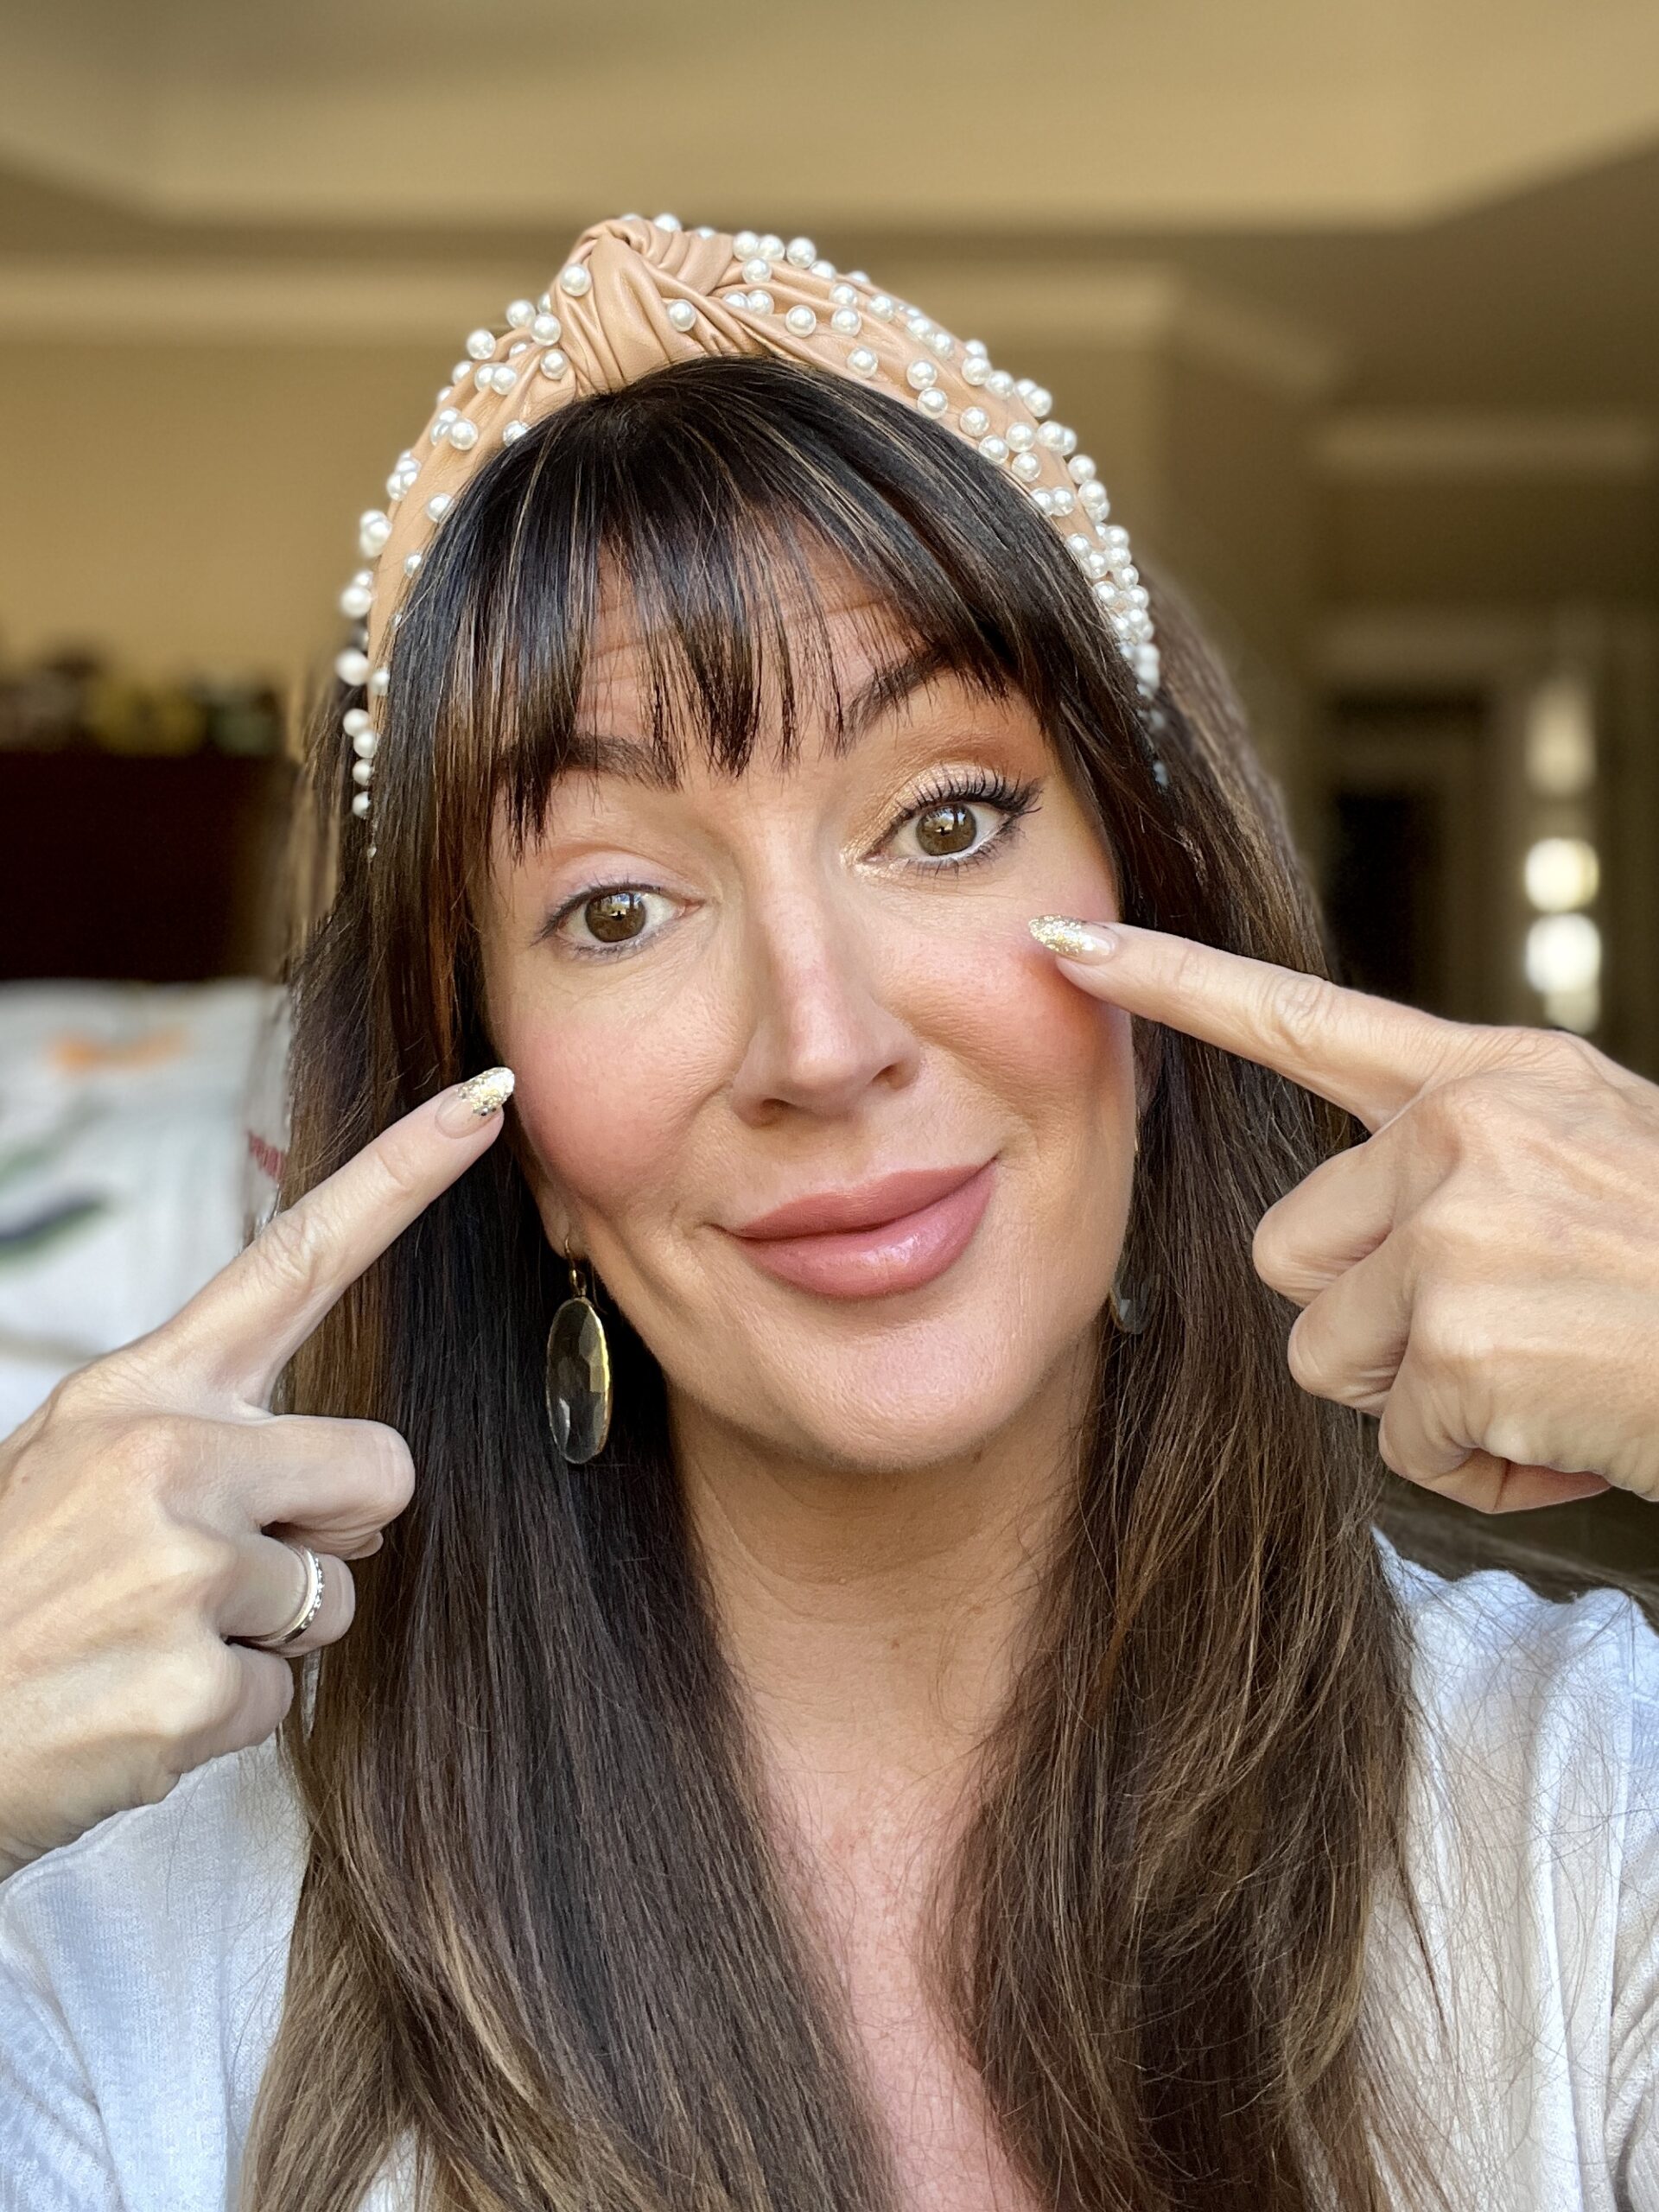
Just follow these simple steps in this order to achieve bigger peepers with very little effort or skill needed…
The Summary
Today, Jennifer is sharing 6 simple makeup tricks to make your eyes look bigger
She’s sharing a step-by-step guide with product recommendations all shoppable inline
6 Simple Makeup Tricks to Make Your Eyes Look Bigger
1. Start with a Champagne Shimmer Shadow
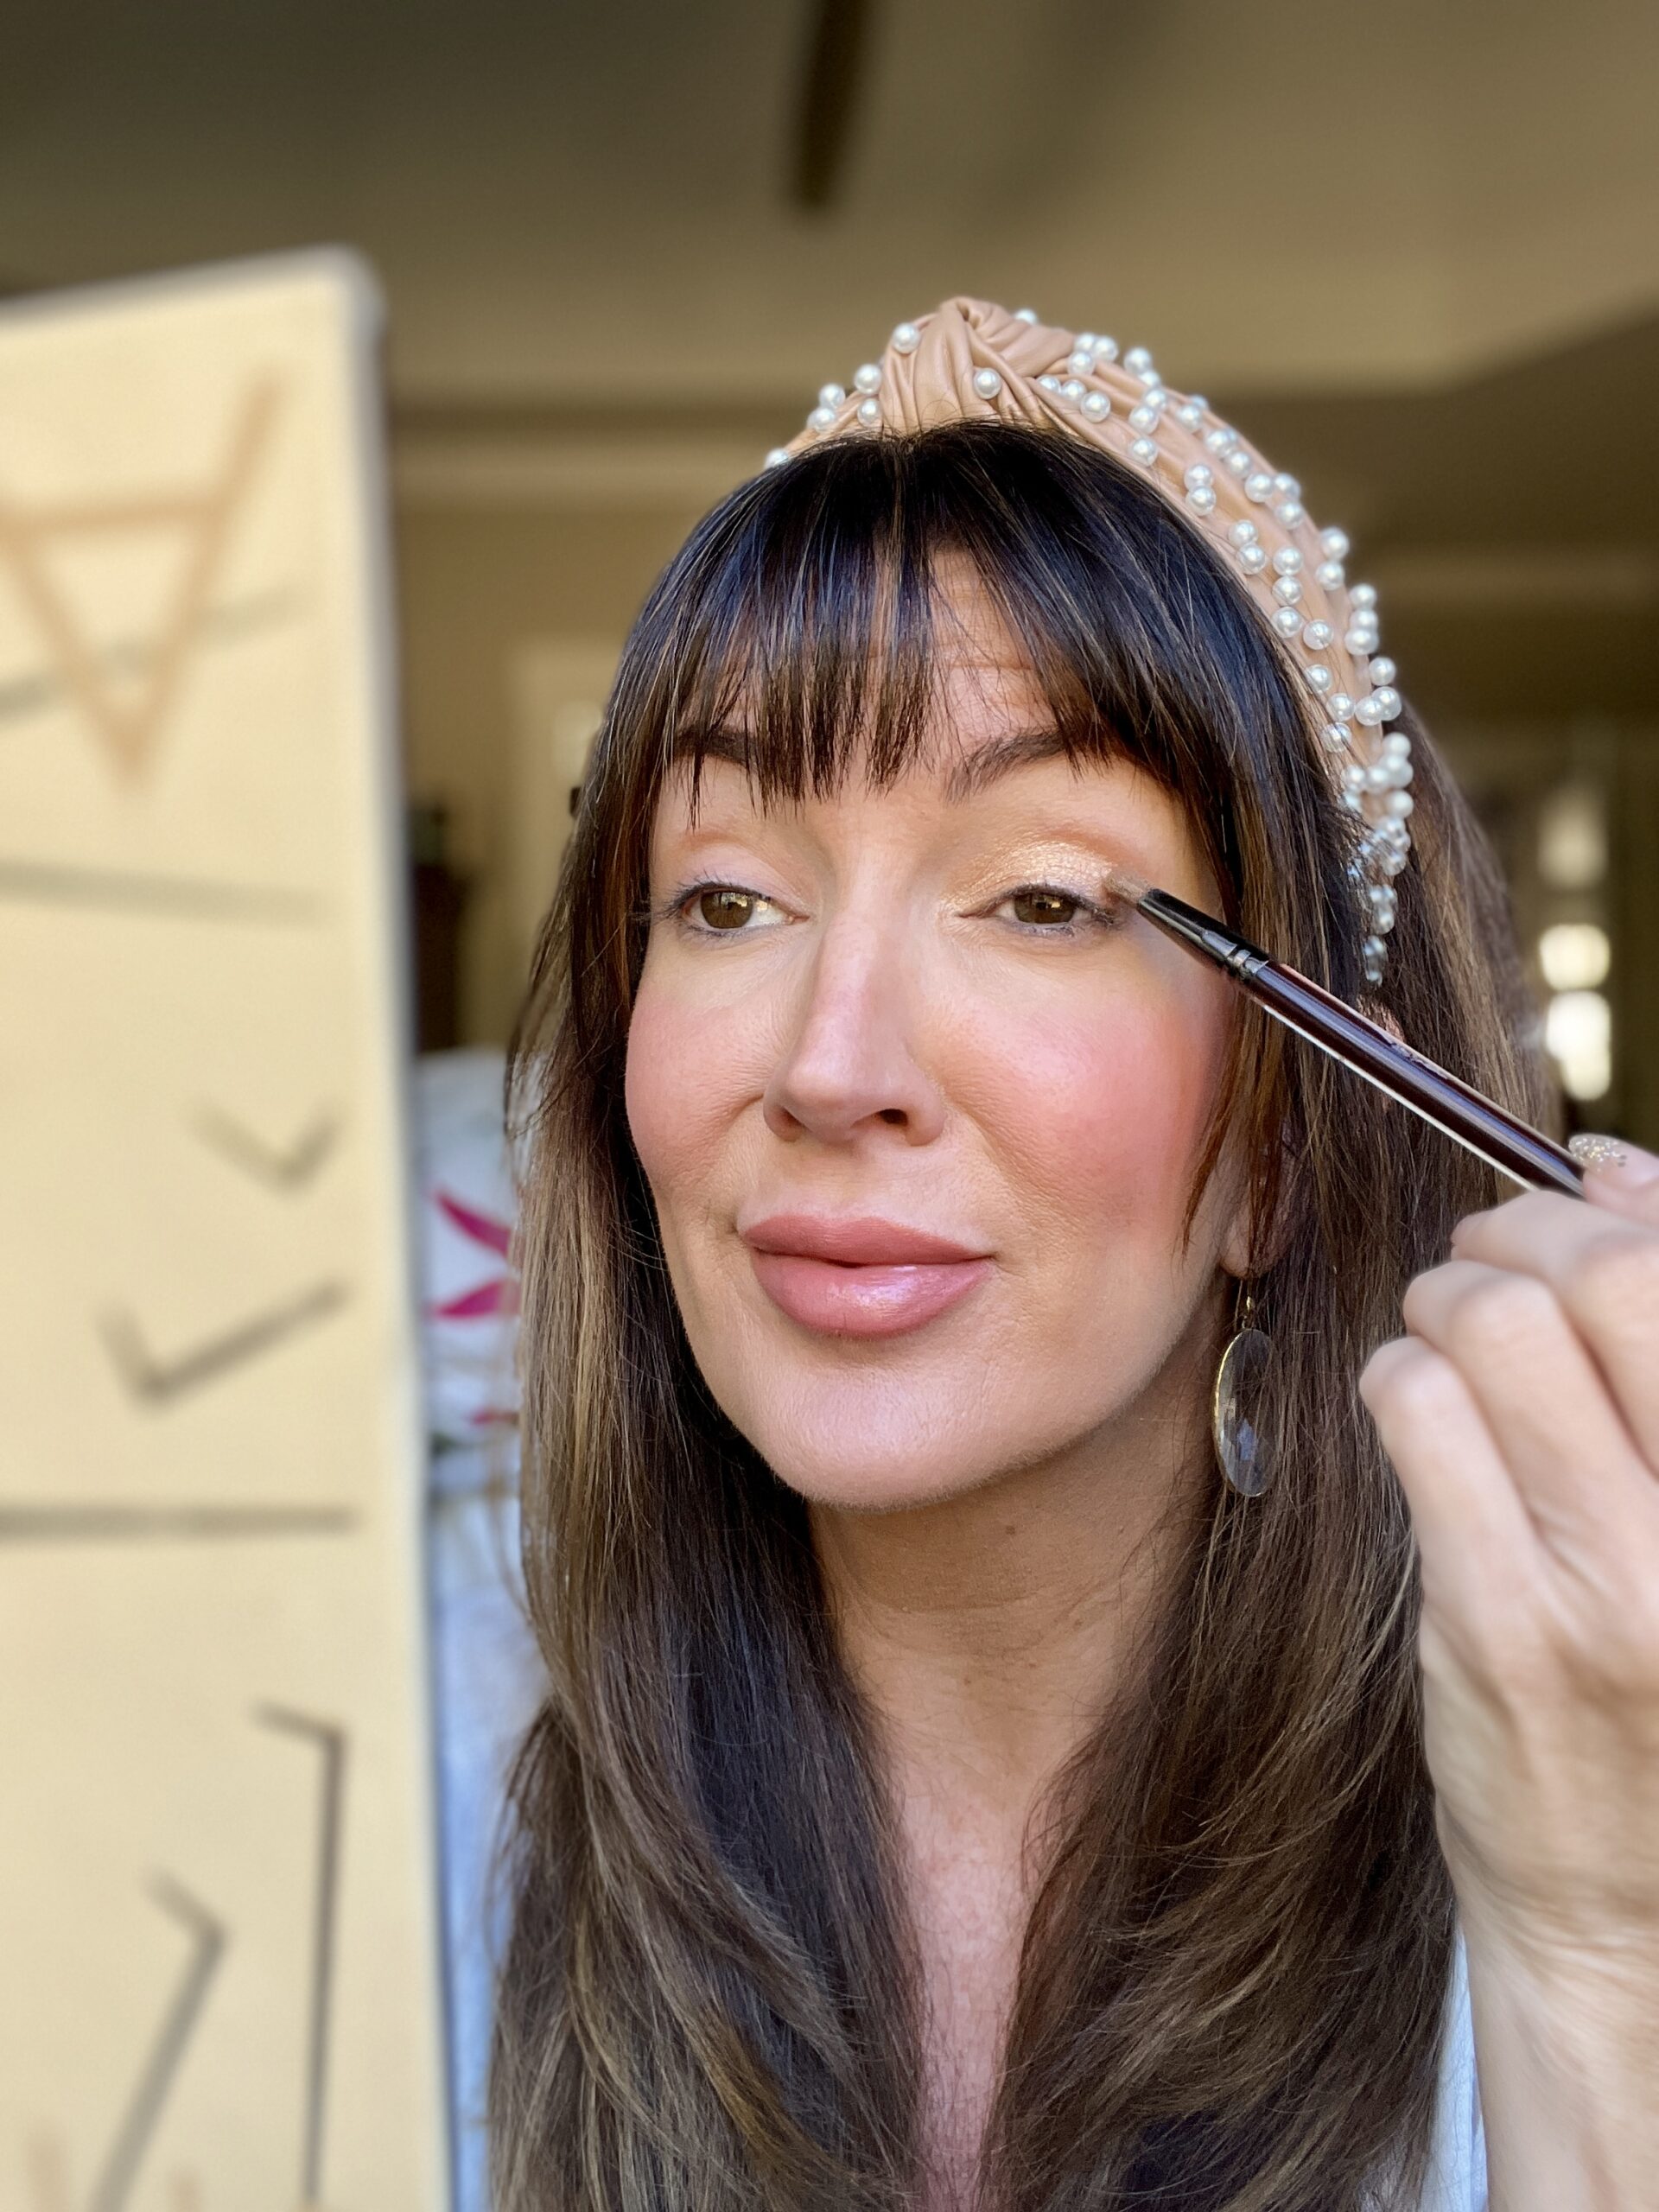
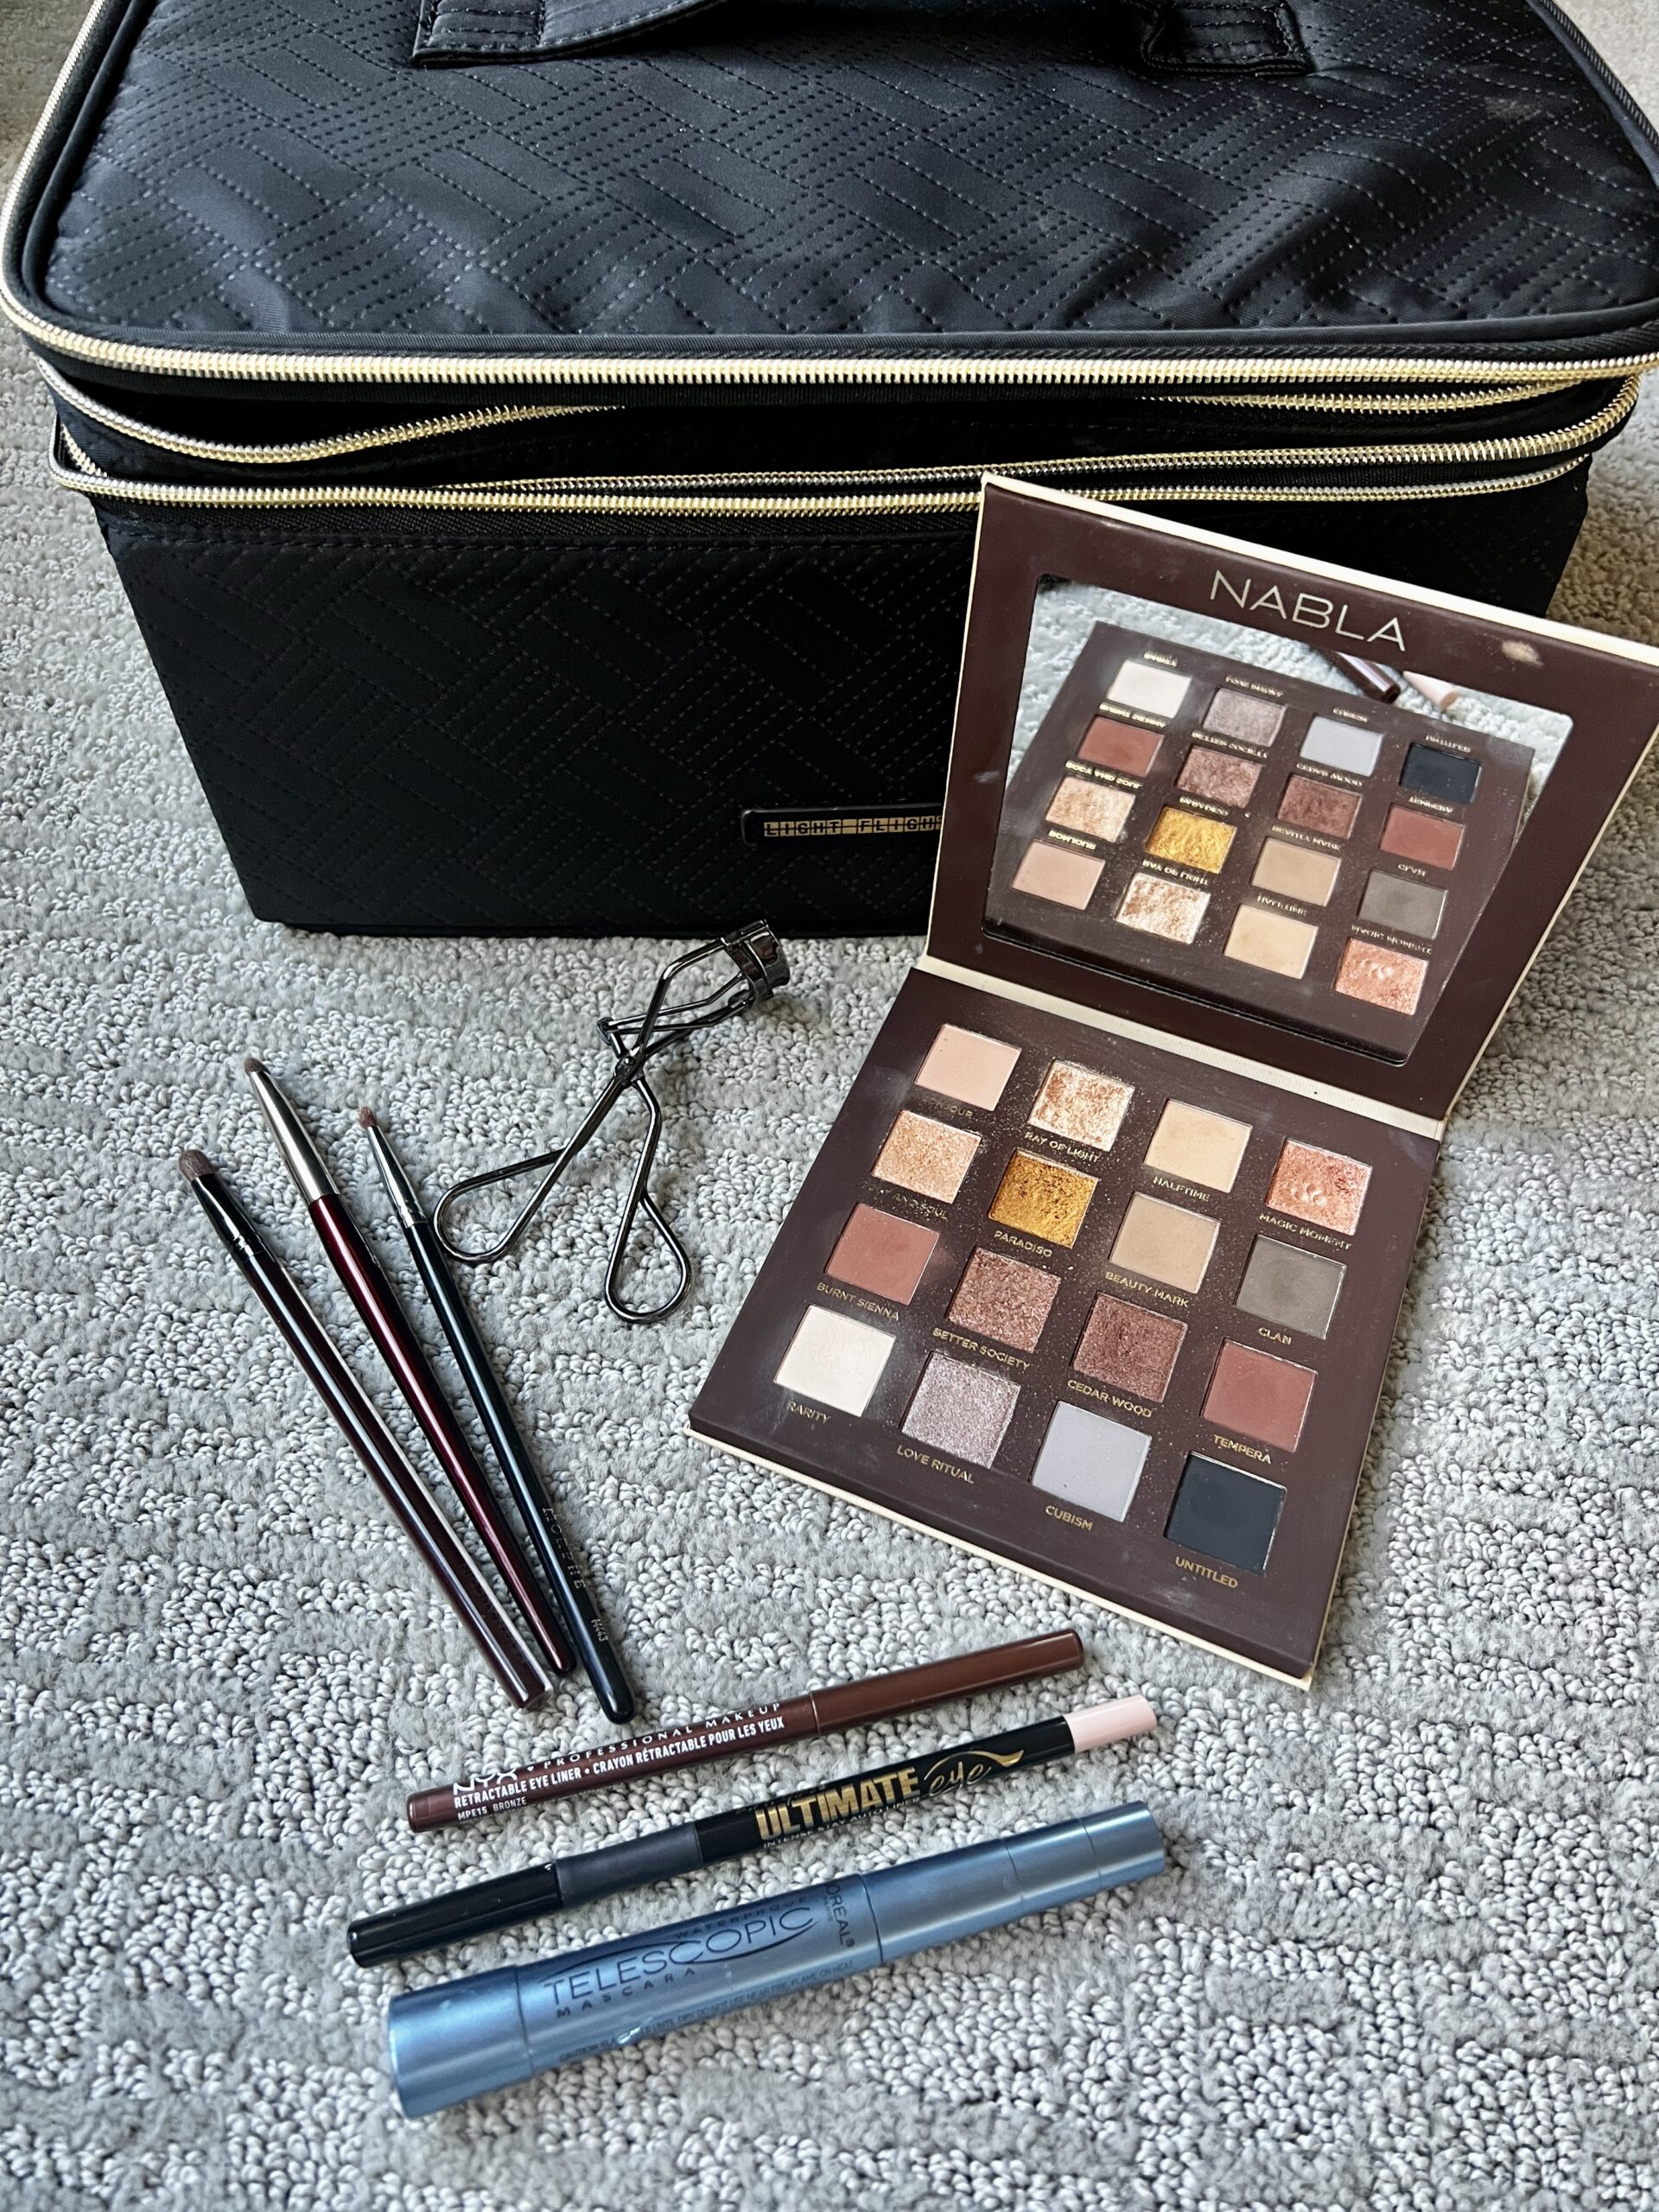
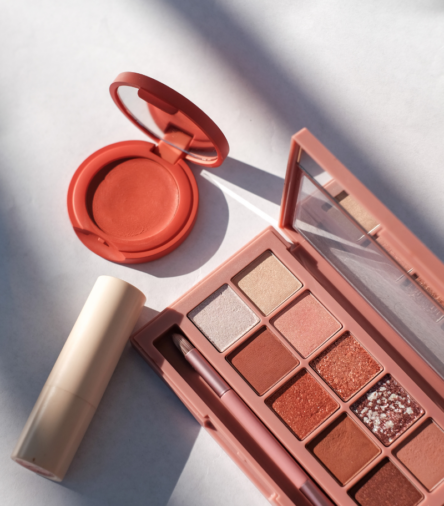
I cannot get enough of this gorgeous Nabla Side By Side palette, $38, so I’ll be using it for this tutorial. After applying your eyelid primer all over the eye bed (don’t skip this step!) then swipe your neutral shimmery champagne shade from your lash line to your crease.
So covering only the lower half of your lid, focusing mainly right in the very center of the lid so when you blink that shimmer catches the light and brightens the eye. And don’t be afraid to tap a little into your tear duct area. I used shade “Ray of Light” mixed with “Body + Soul” from the palette.
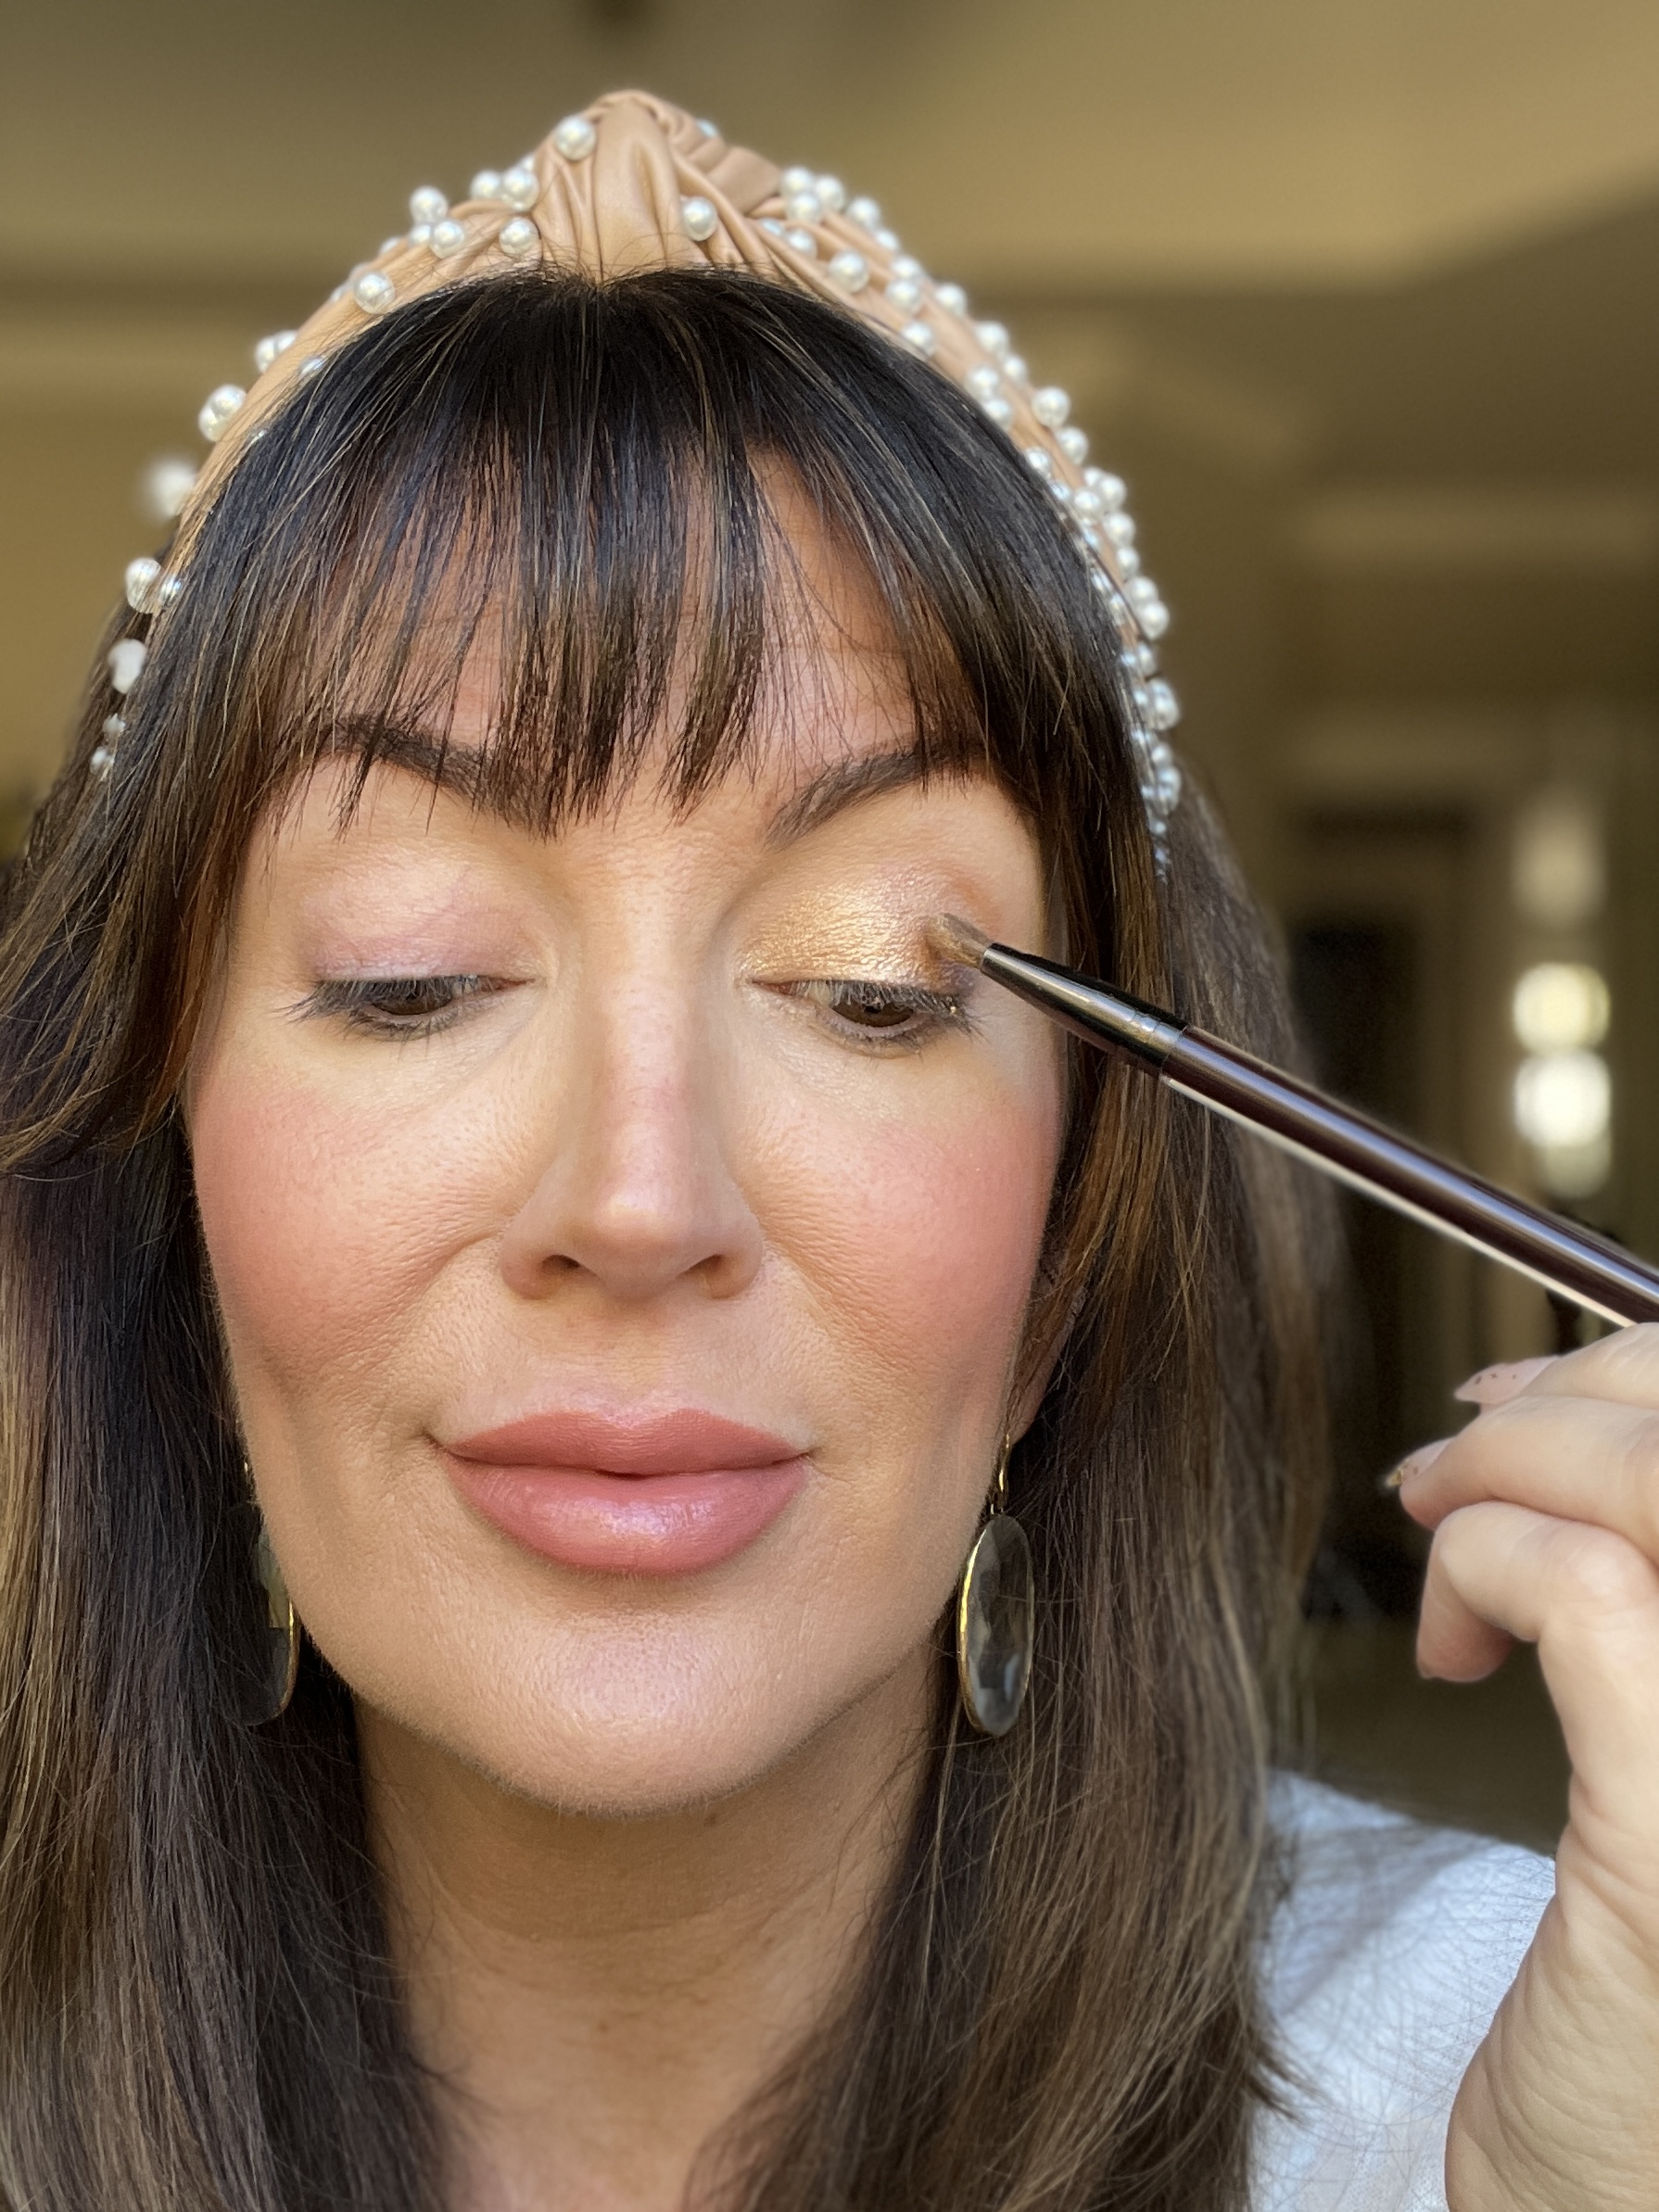
2. Go for a Darker Pigment for Definition
Sometimes I say not to use a dark shadow because it will recede the eye bed, but when placed strategically, it can definitely make an eye bed come to life! I used a mixture of brown shades, “Beauty Mark” + “Burnt Sienna” and applied this mix focusing on the outer corner of my eye bed. I apply it around the perimeter of the champagne shimmer by applying it up above the crease, then looping it around the outside corner and connecting to the lower lash line. Remember to blend the edges outward and upward for a soft transition.
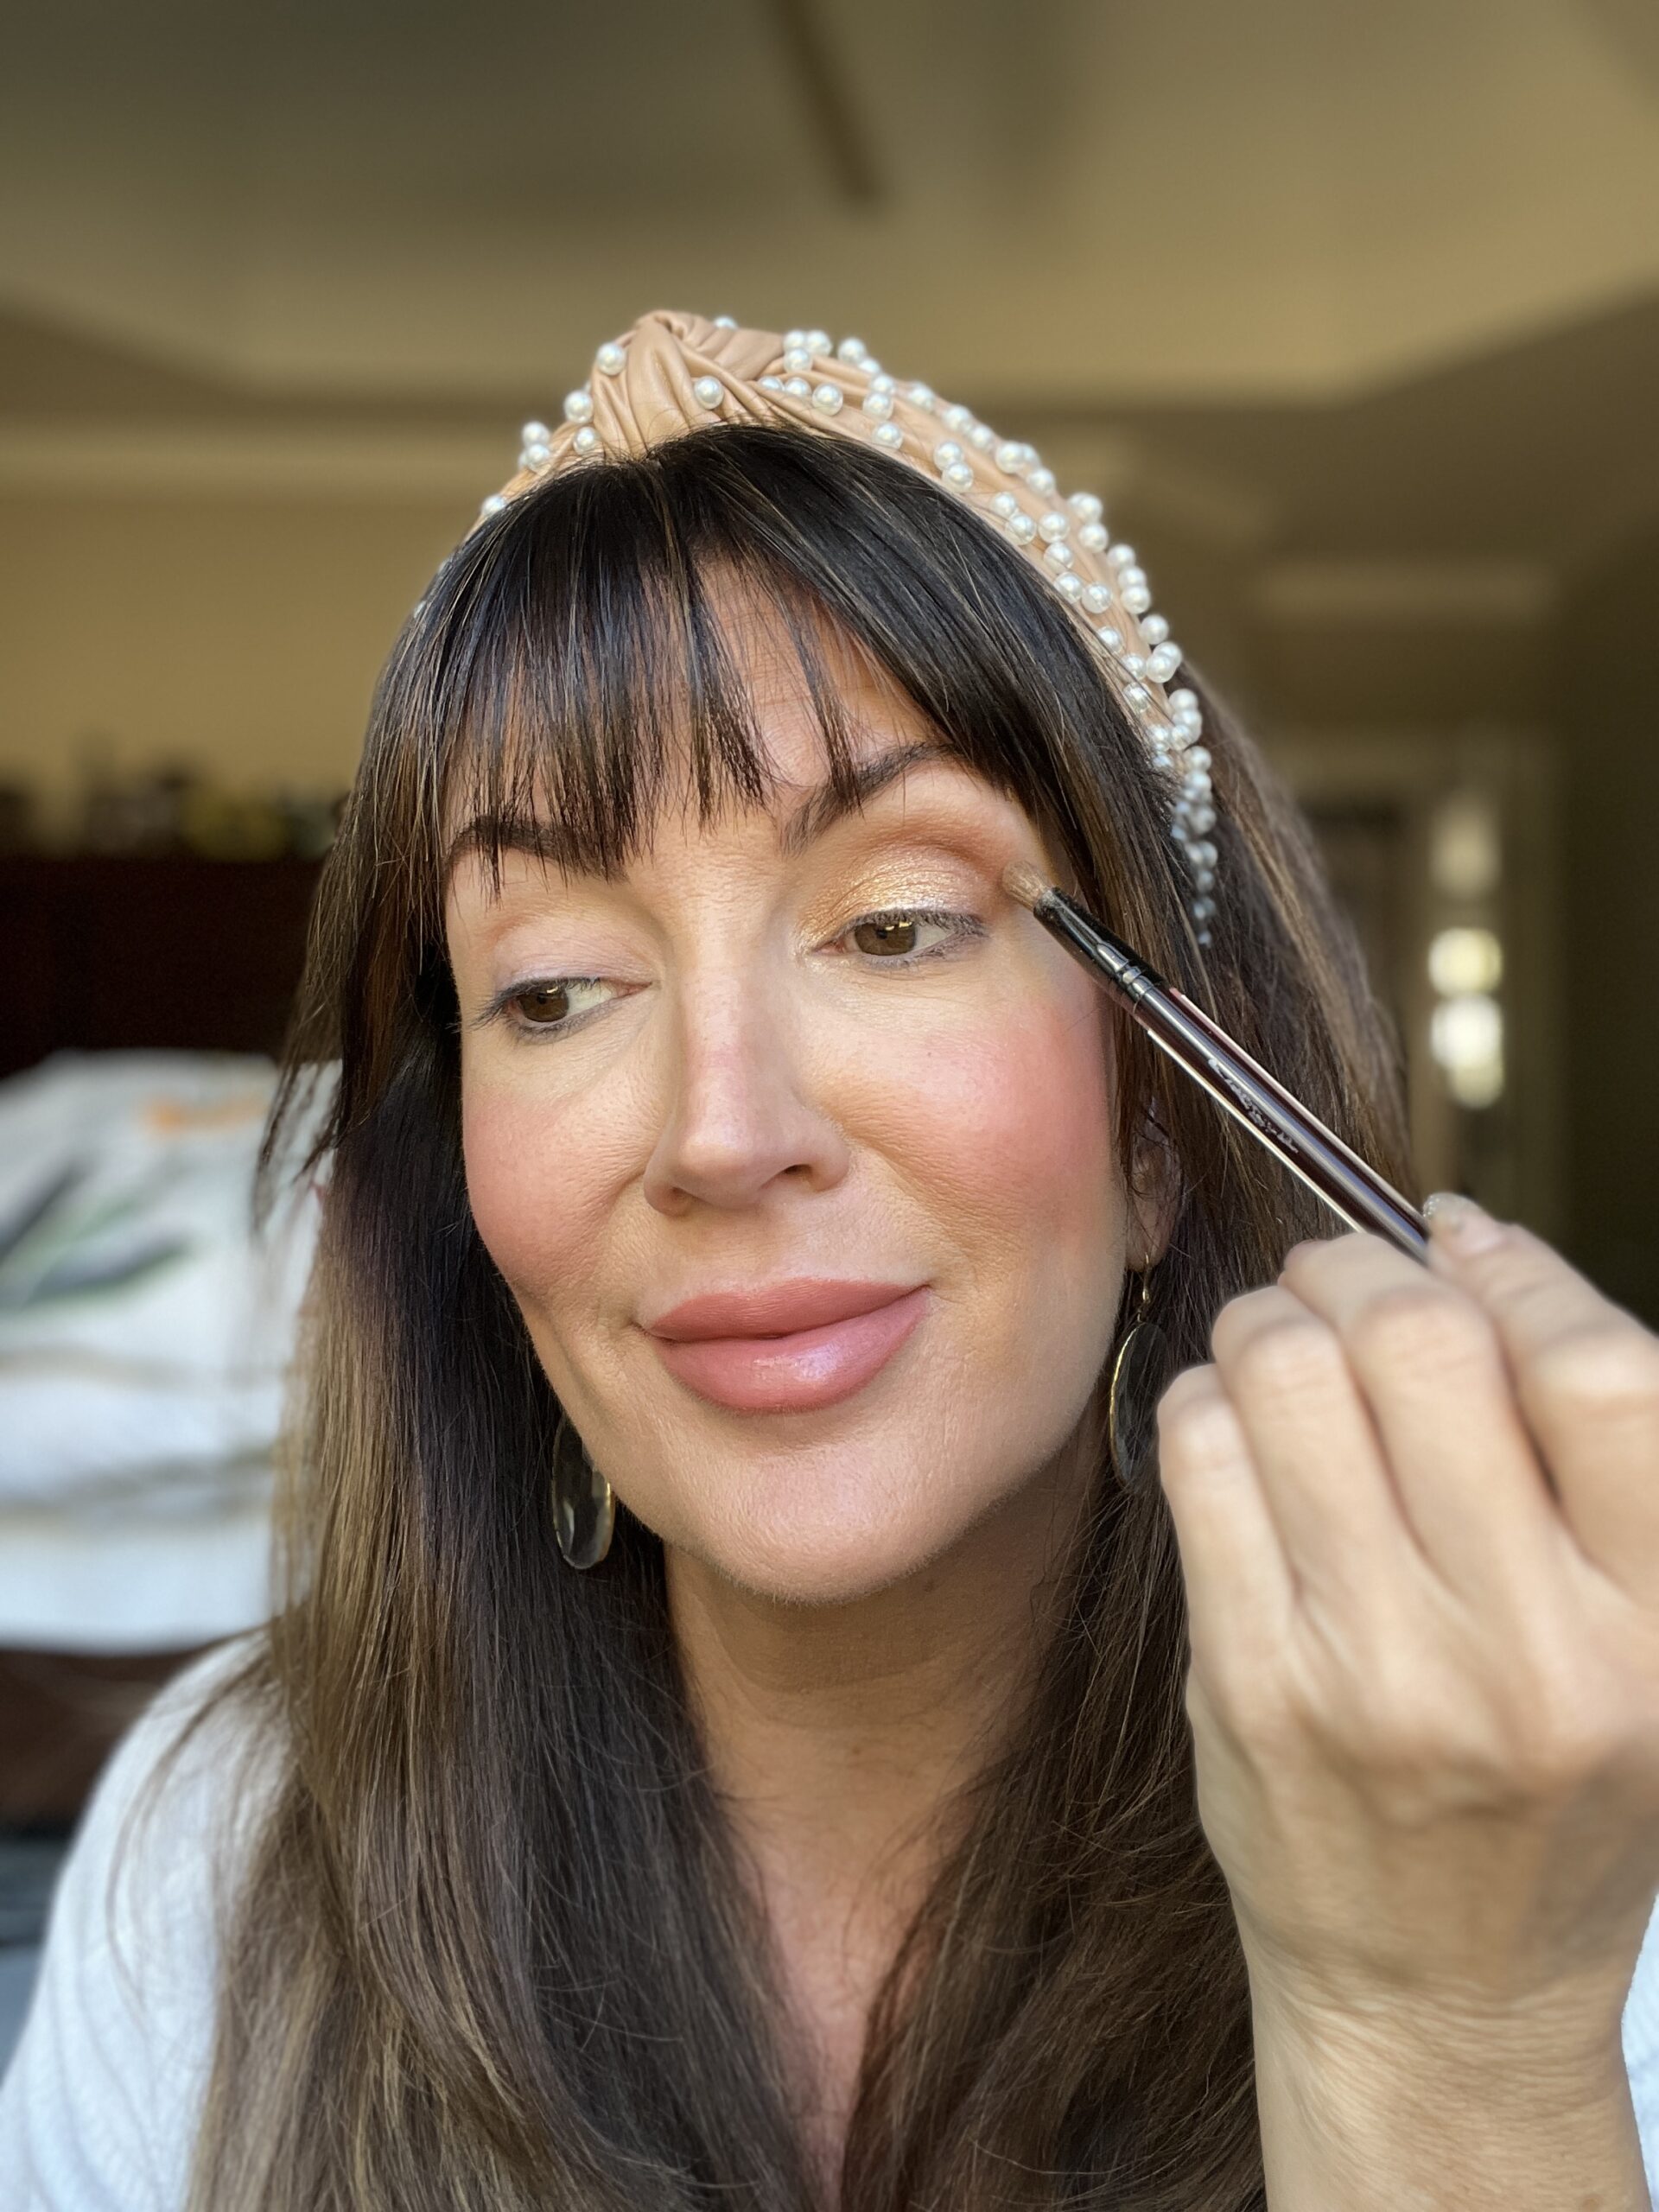
3. Apply Eyeliner
Again, we are going to put our focus on the outer corner of the lash line and draw a small flick up at the end of the lash line. Do this instead of following the natural lash line that tends to turn downward as we age. We want a lifted-eye look! I like using eyeliner with a hint of glimmer like my favorite shade by NYX Cosmetics Long Lasting Retractable Eyeliner, $6, in shade Bronze. It’s just enough warm brown without being a harsh dramatic black and this is a shade any eye color can benefit from!
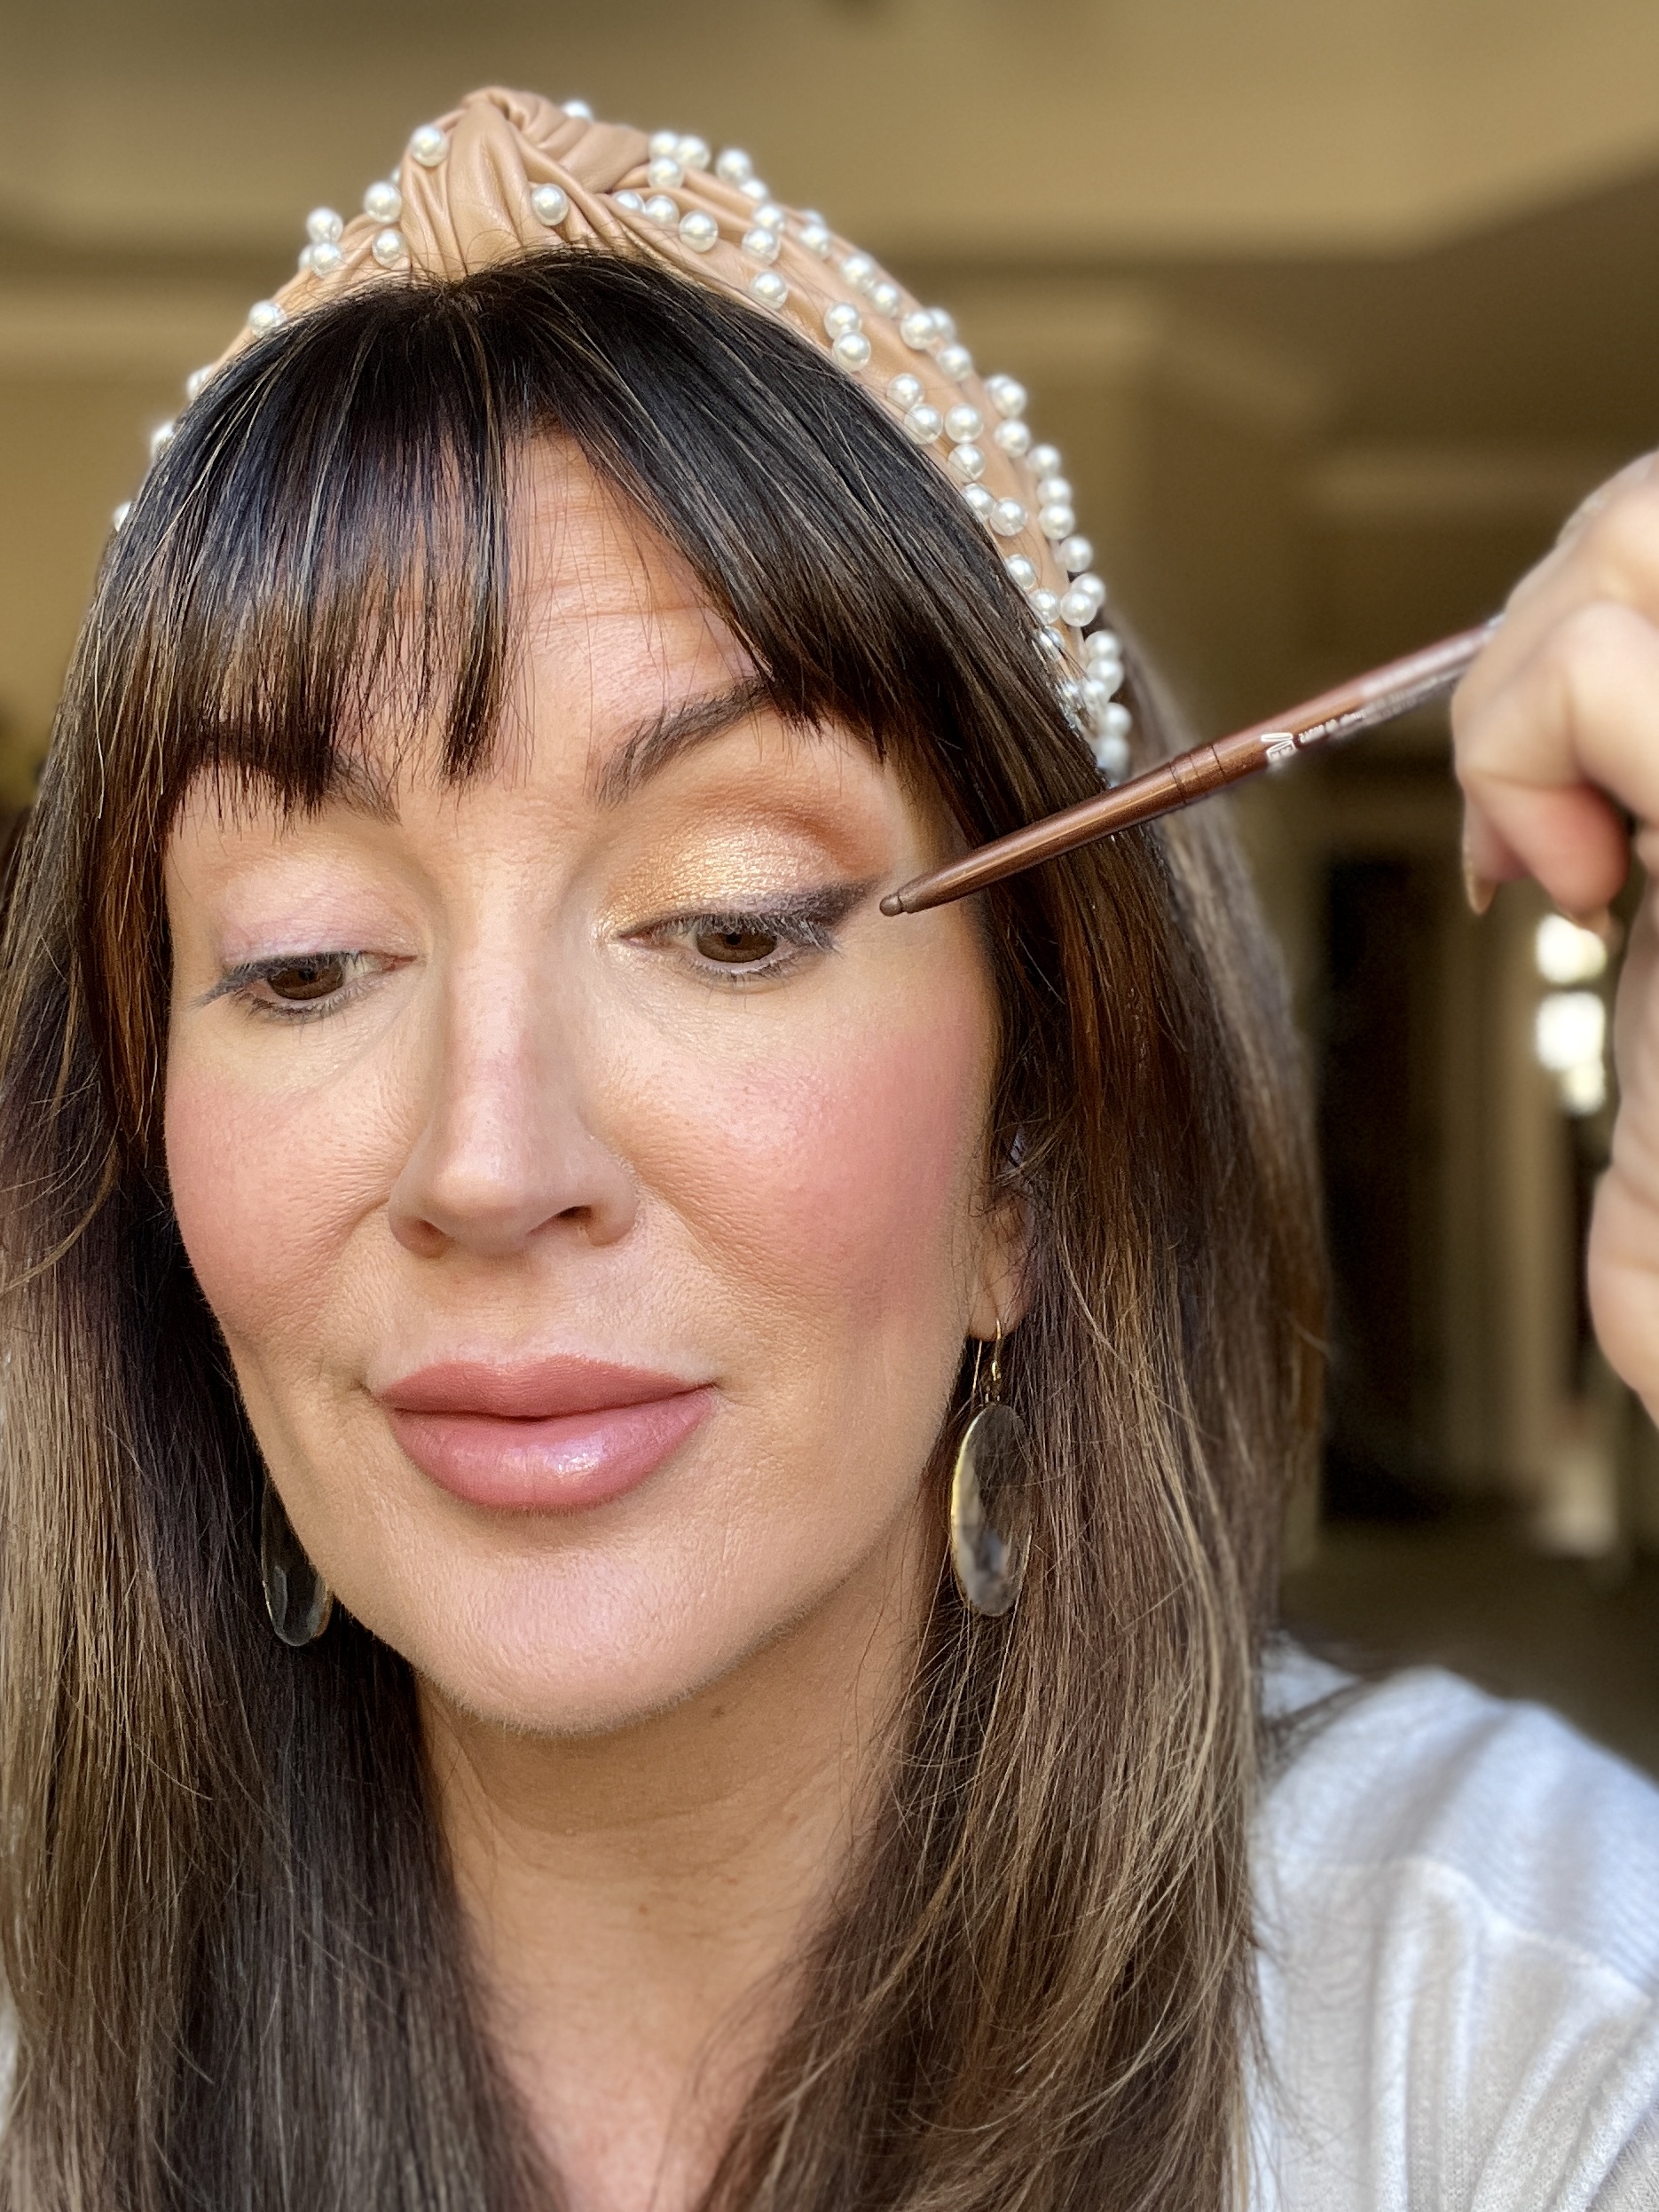
I always blur the liner with my trusty Morphe eyeliner brush, $6, that helps to smooth out any jagged edges once applied.
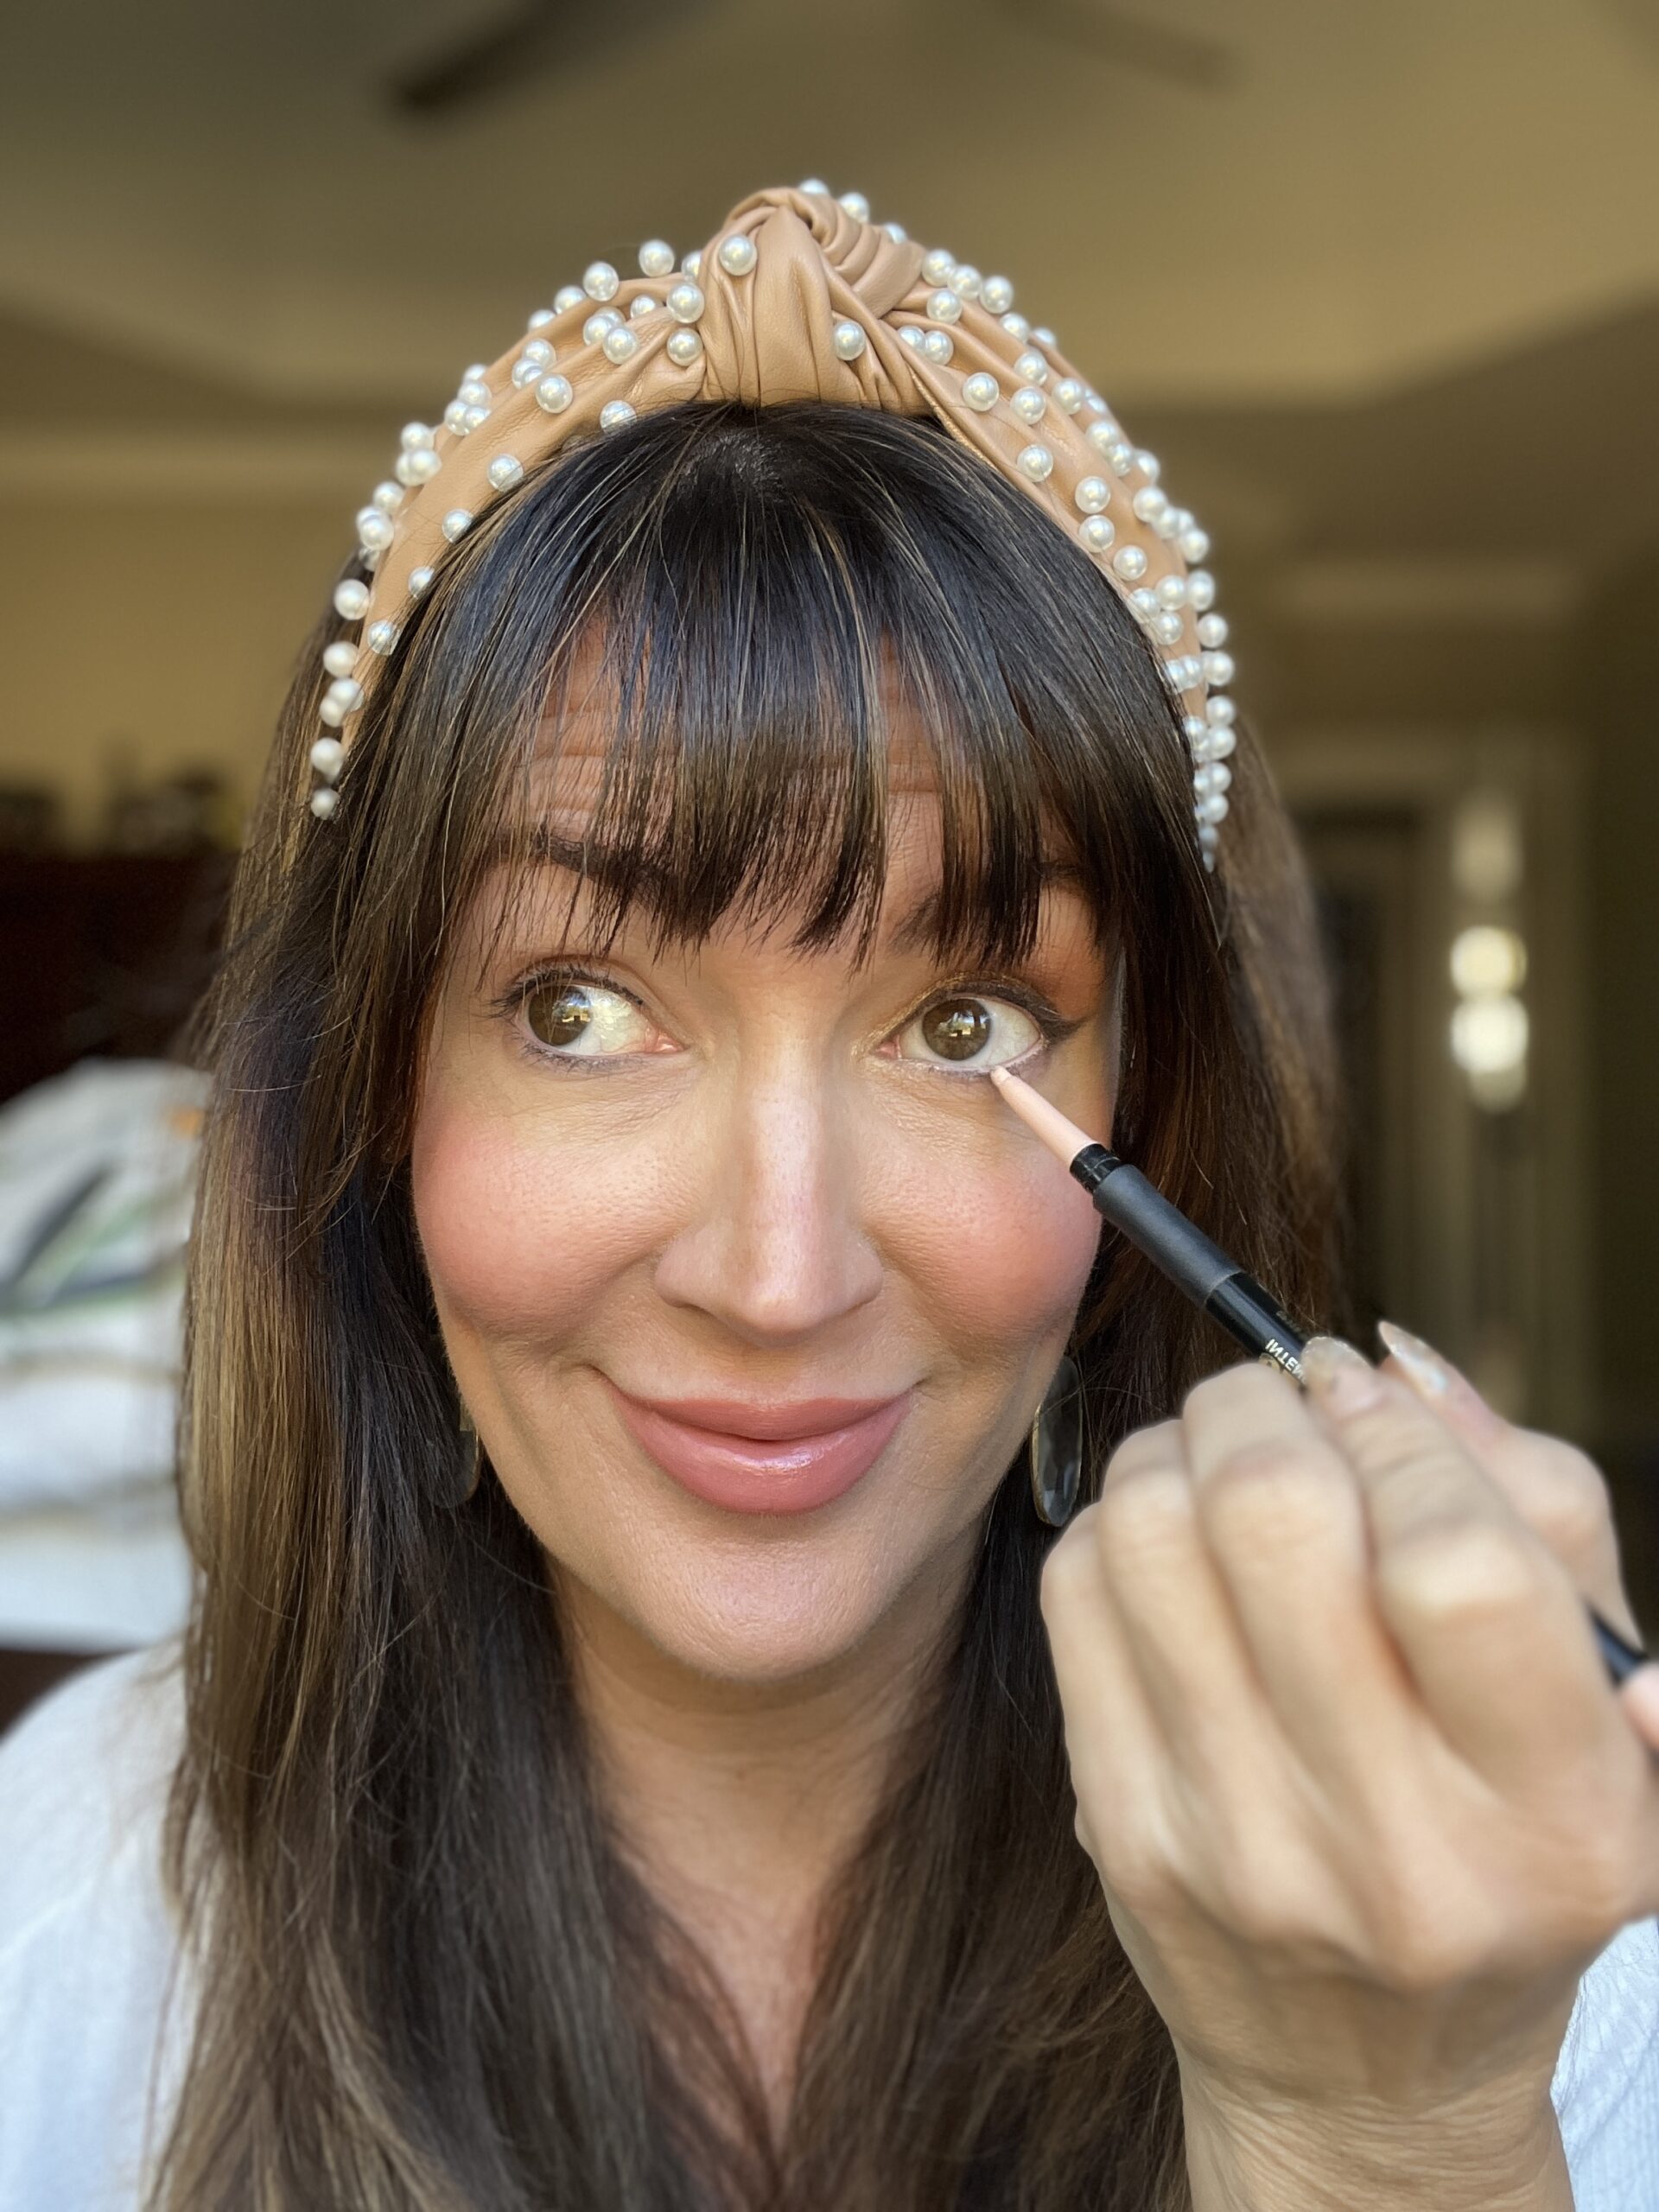
Take those bright eyes a step further and now add a nude or white eyeliner in that inner lower waterline. I used the LA Girl Cosmetics appropriately named, “Super Bright” Intense Auto Wear eyeliner, $4. This quick and easy step takes away any redness/pink tired-looking eyes and gives the illusion of whiter whites of the eyes.
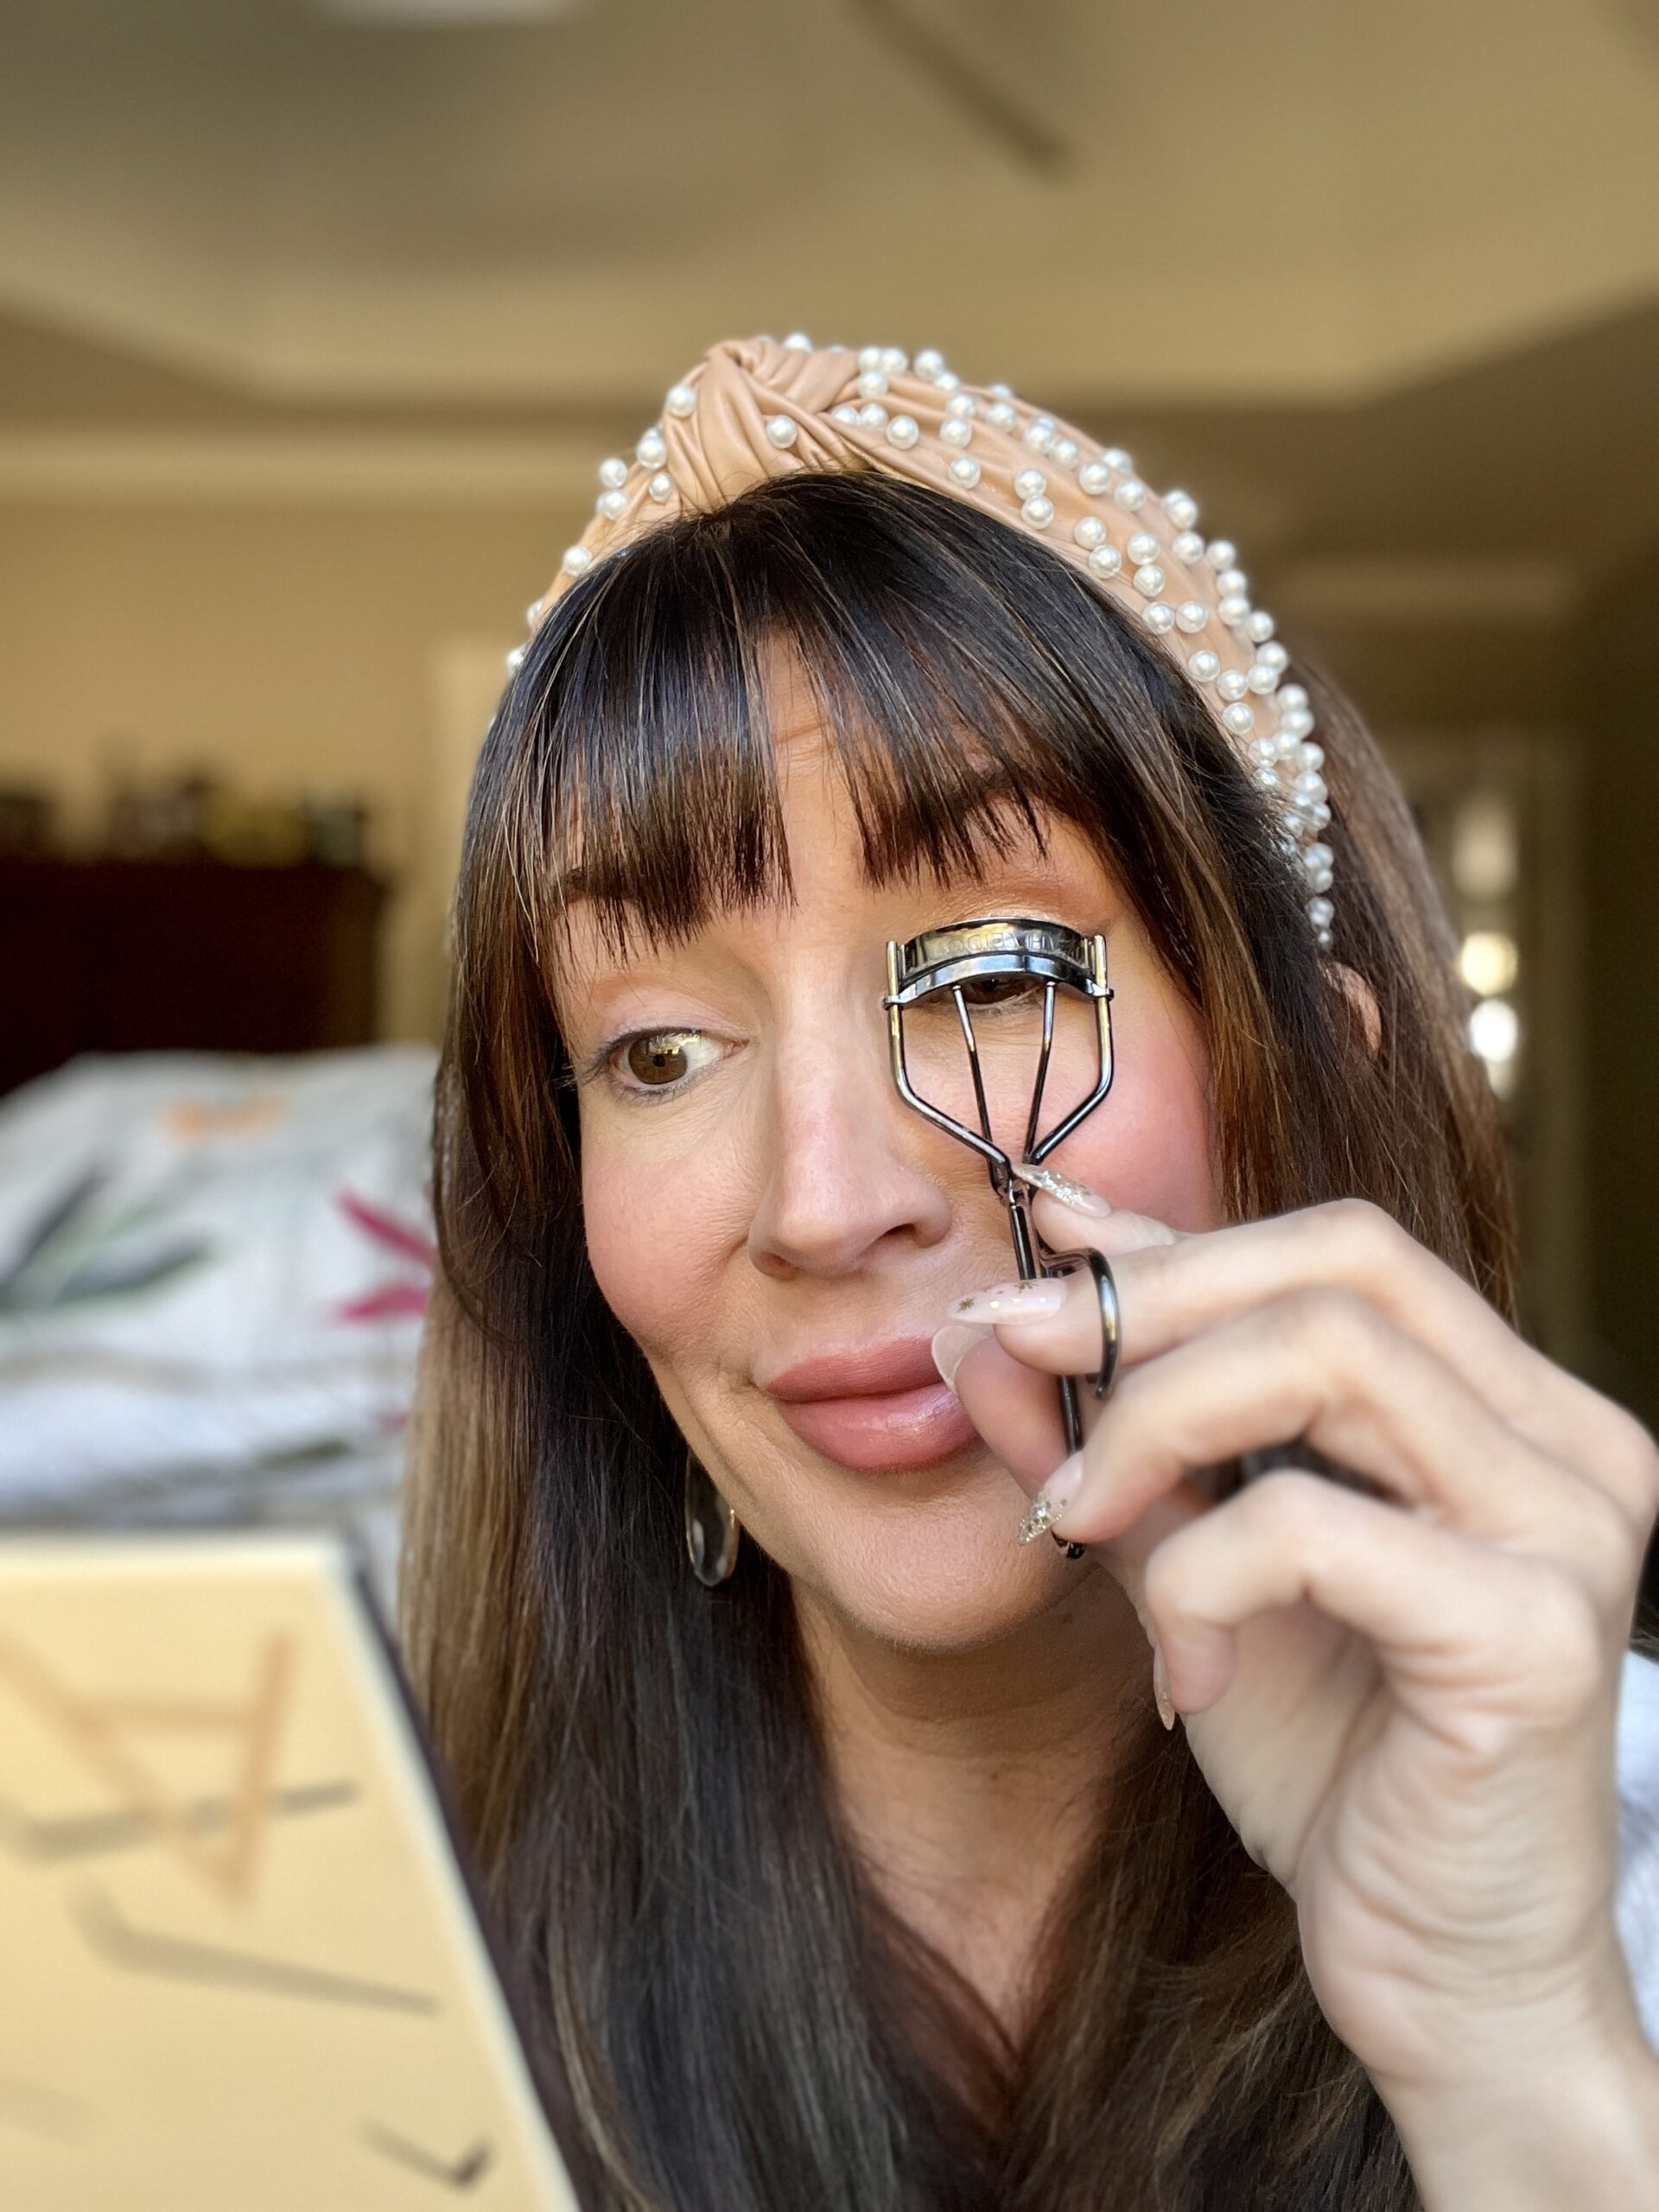
Don’t Skip The Lash Curler
Seriously, ladies, I can’t express this enough: the impact curling your lashes will have! I like to curl at 3 spots along the lash line or if you have short lashes, hit at least the base and the tips of your lashes and gives a few gentle squeezes. This Shiseido lash curler, $23, is the queen of all lash curlers! Do this BEFORE mascara.
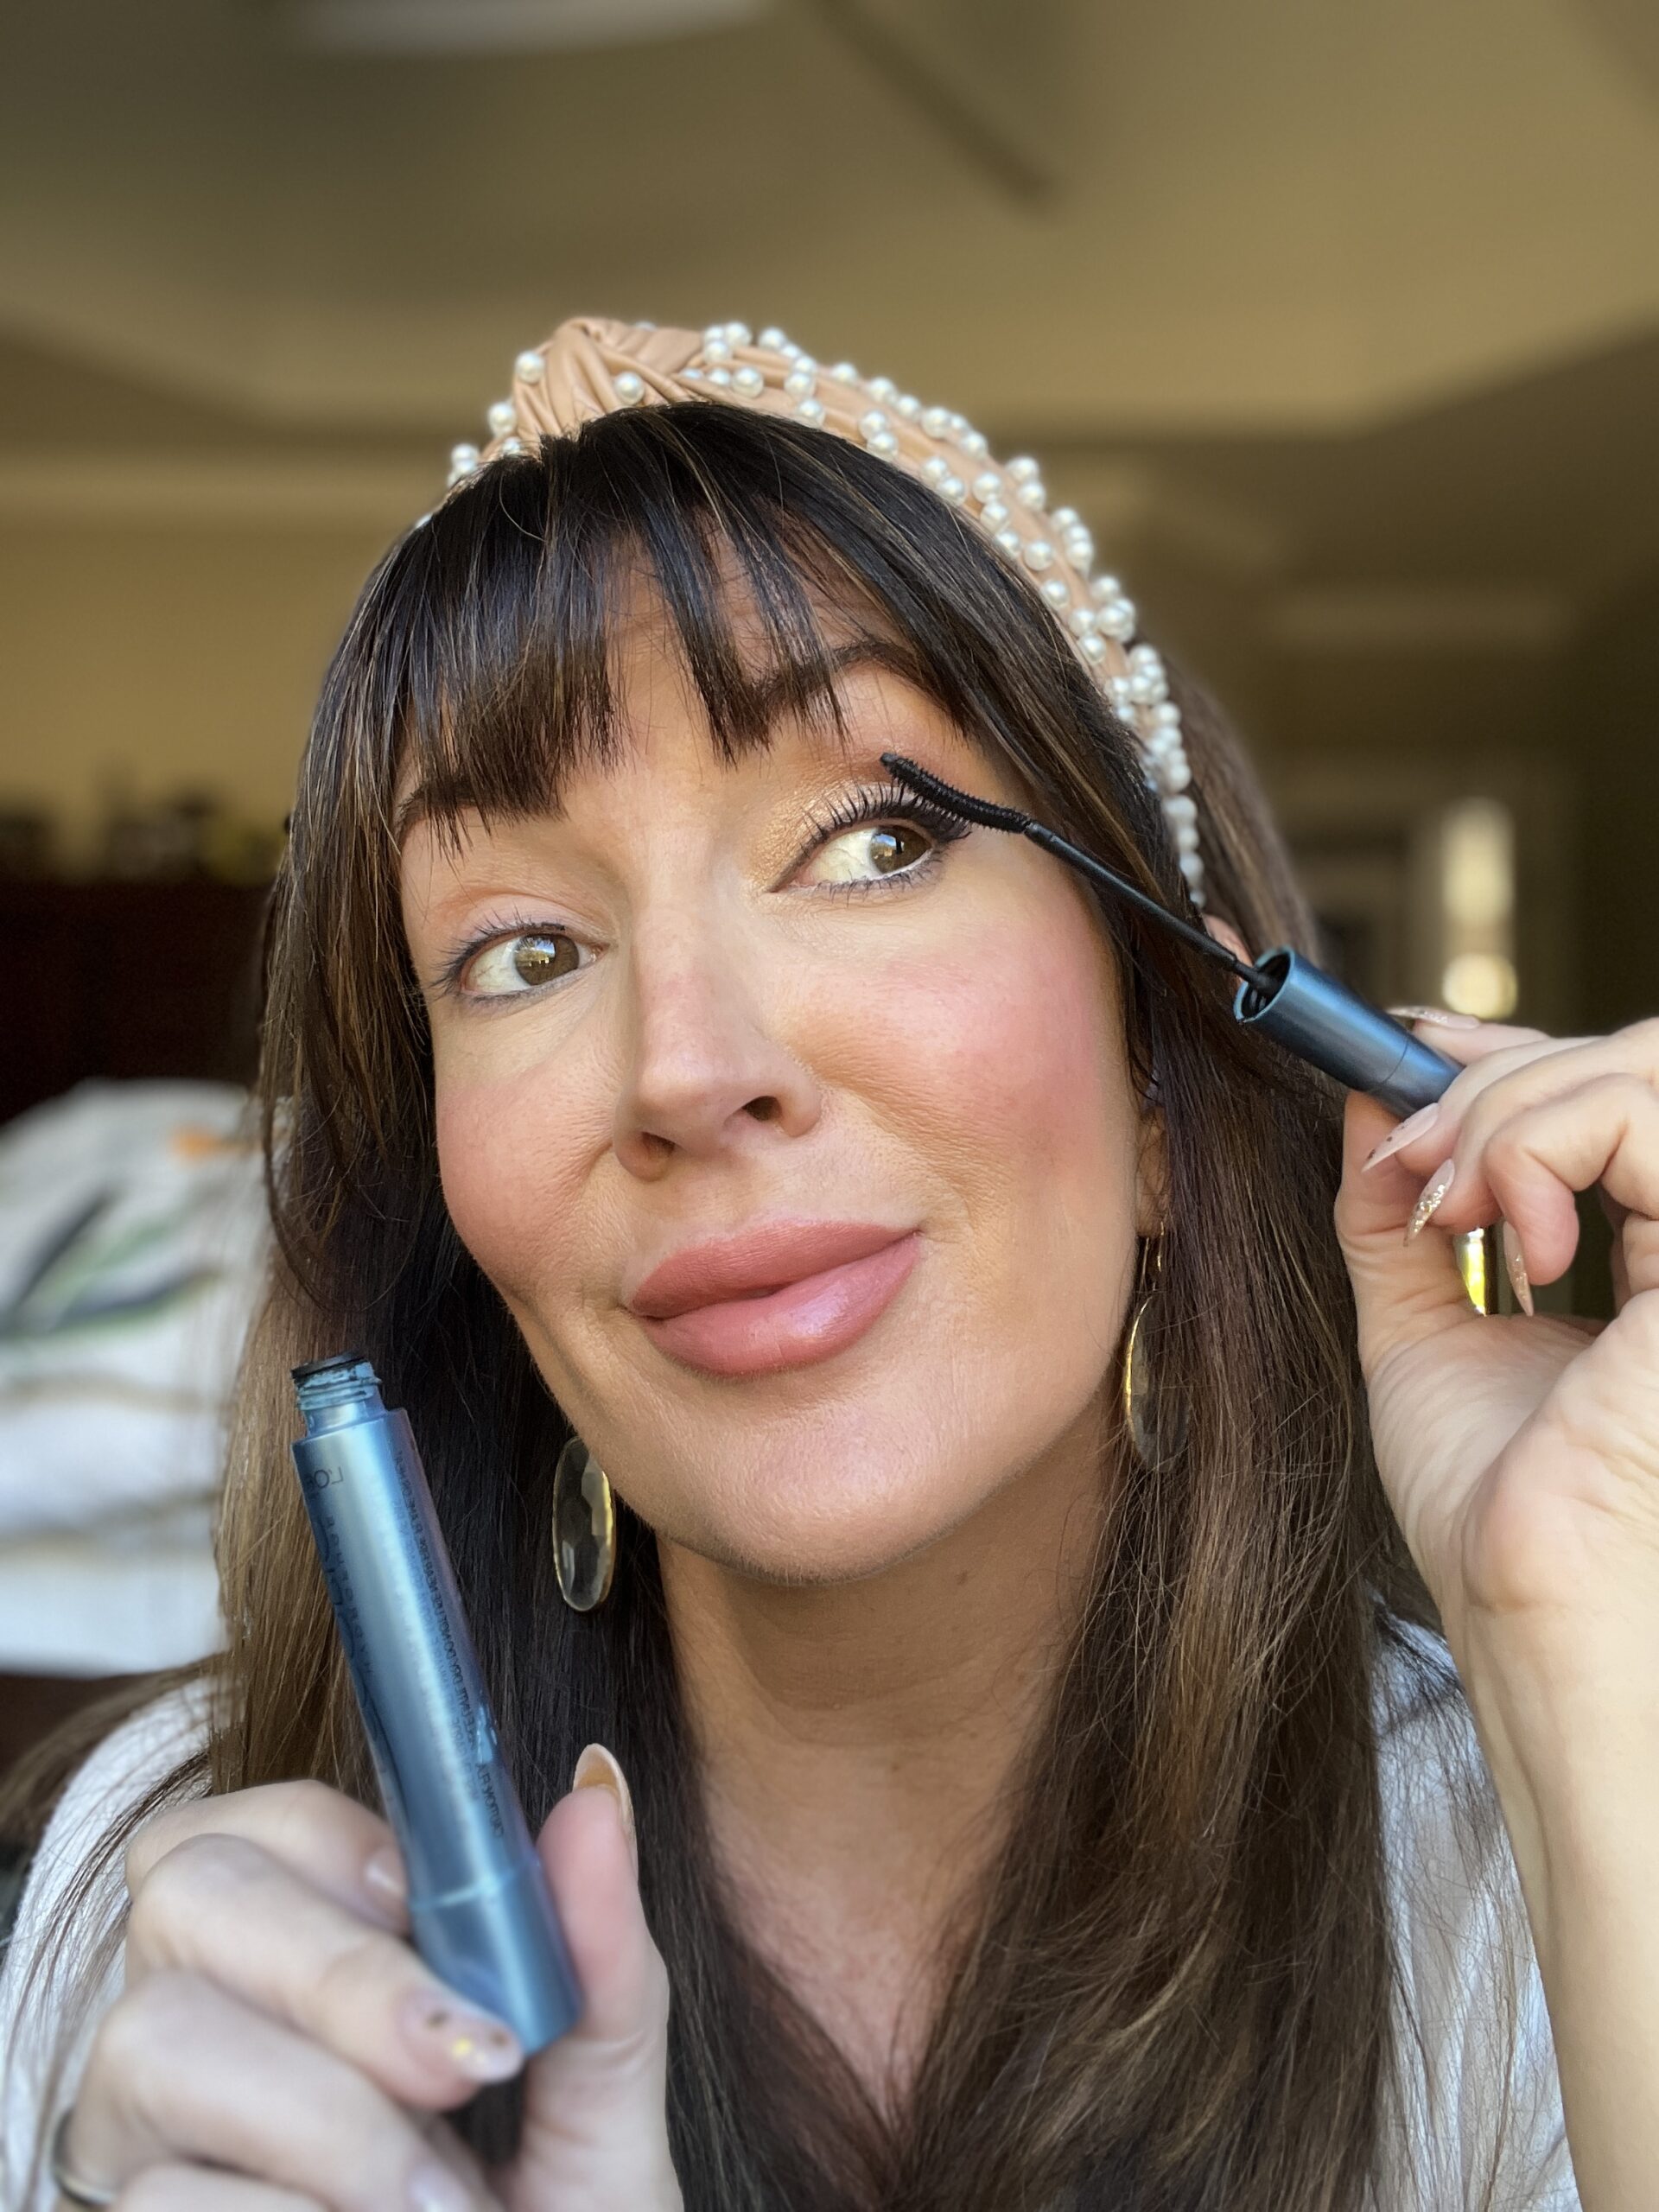
Top Off With Lots of Mascara
One coat is good for the lower lashes but two coats are best for the upper lashes! I am a big fan of the old-school L’Oreal Telescopic mascara, $12, which has the perfect wand for lengthening and separating the lashes. The wand is skinny enough to grab those lower lashes too without making a mess everywhere!
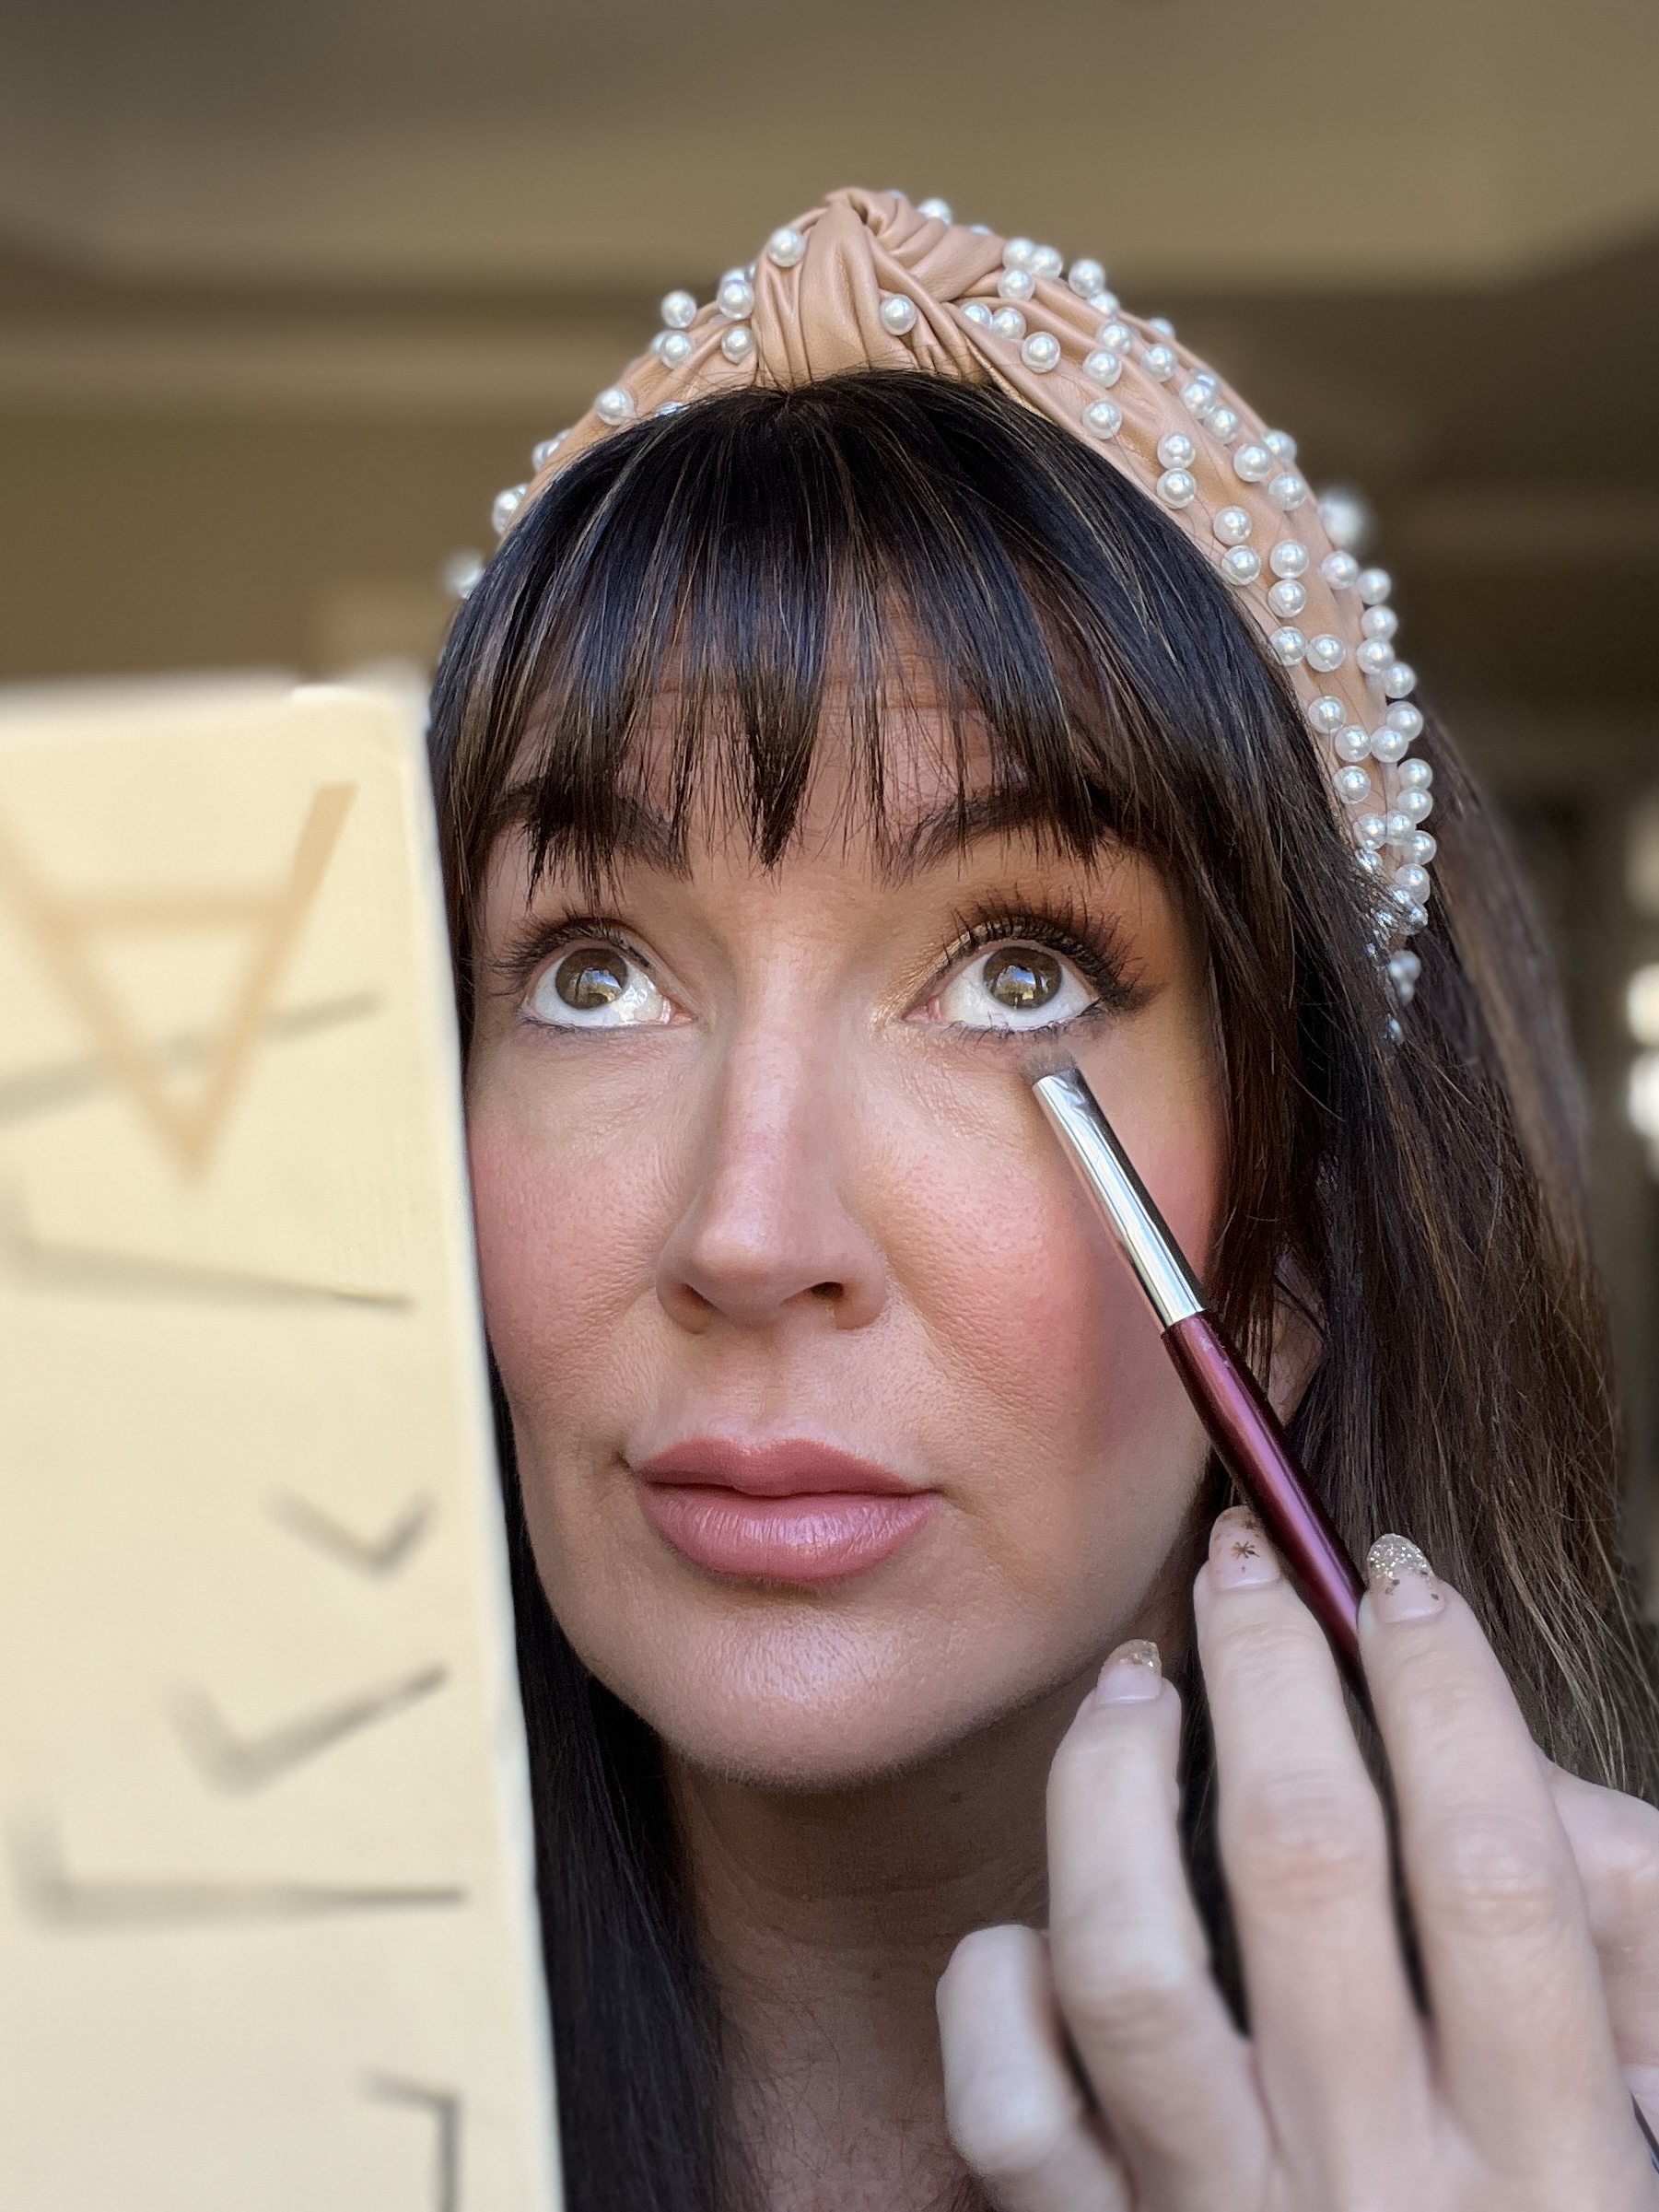
Finish With Shadow On Lower Lash Line
As a final step, you can finish off the look by dragging a light amount of taupe shadow, “Halftime,” along 3/4 of the lower lash line focusing on the exterior of the eye. I suggest only a light amount of shadow here instead of harsh lines of eyeliner. We are creating dimension again in a soft way.
There you have it! Brighter eyes with these simple steps and products.
P.S. If you need eye makeup brush suggestions, remember I wrote a past post focusing just on that topic here on SAACA. You can find my travel makeup bag on Amazon here, $22, that stores ALL of your makeup and tools in an organized way! And if you’ve ever wanted to try out a headband like I’m wearing in this post, give these pearl ones a try.
In Case You Missed It
Yesterday, I shared a look at the streets of Paris from my recent trip. Click the title or image below to read the article.
Parisian Fashion For Women Over 50






a light amount of taupe shadow, “Halftime”
Can you please recommend taupe shades and brands?
b, if you notice, she gives the link to the palette with all the colors. Look for “Nabla Side By Side palette” in the blog above and push on the link 🙂
And there it is! LOL, thanks! 🙂
Thanks B and Linda for looking out for each other! That shadow palette is beautiful BTW.
Great tutorial! I look forward to these posts on Thursdays. It’s fun to get to play in my makeup. I’ve learned so much from Jennifer!
Thank you for sharing this Lezlie! I’m glad you’re finding value in my makeup posts! Happy you keep coming back 🙂