Do not underestimate the beautiful impact that a pair of false eyelashes can have on a face! They are a great way to enhance your eye beds and eye makeup, and they create a more awake and feminine look. In this blog post, I am sharing my Step-by-Step Guide to Applying Fake Lashes for Mature Women. Save this post for reference!
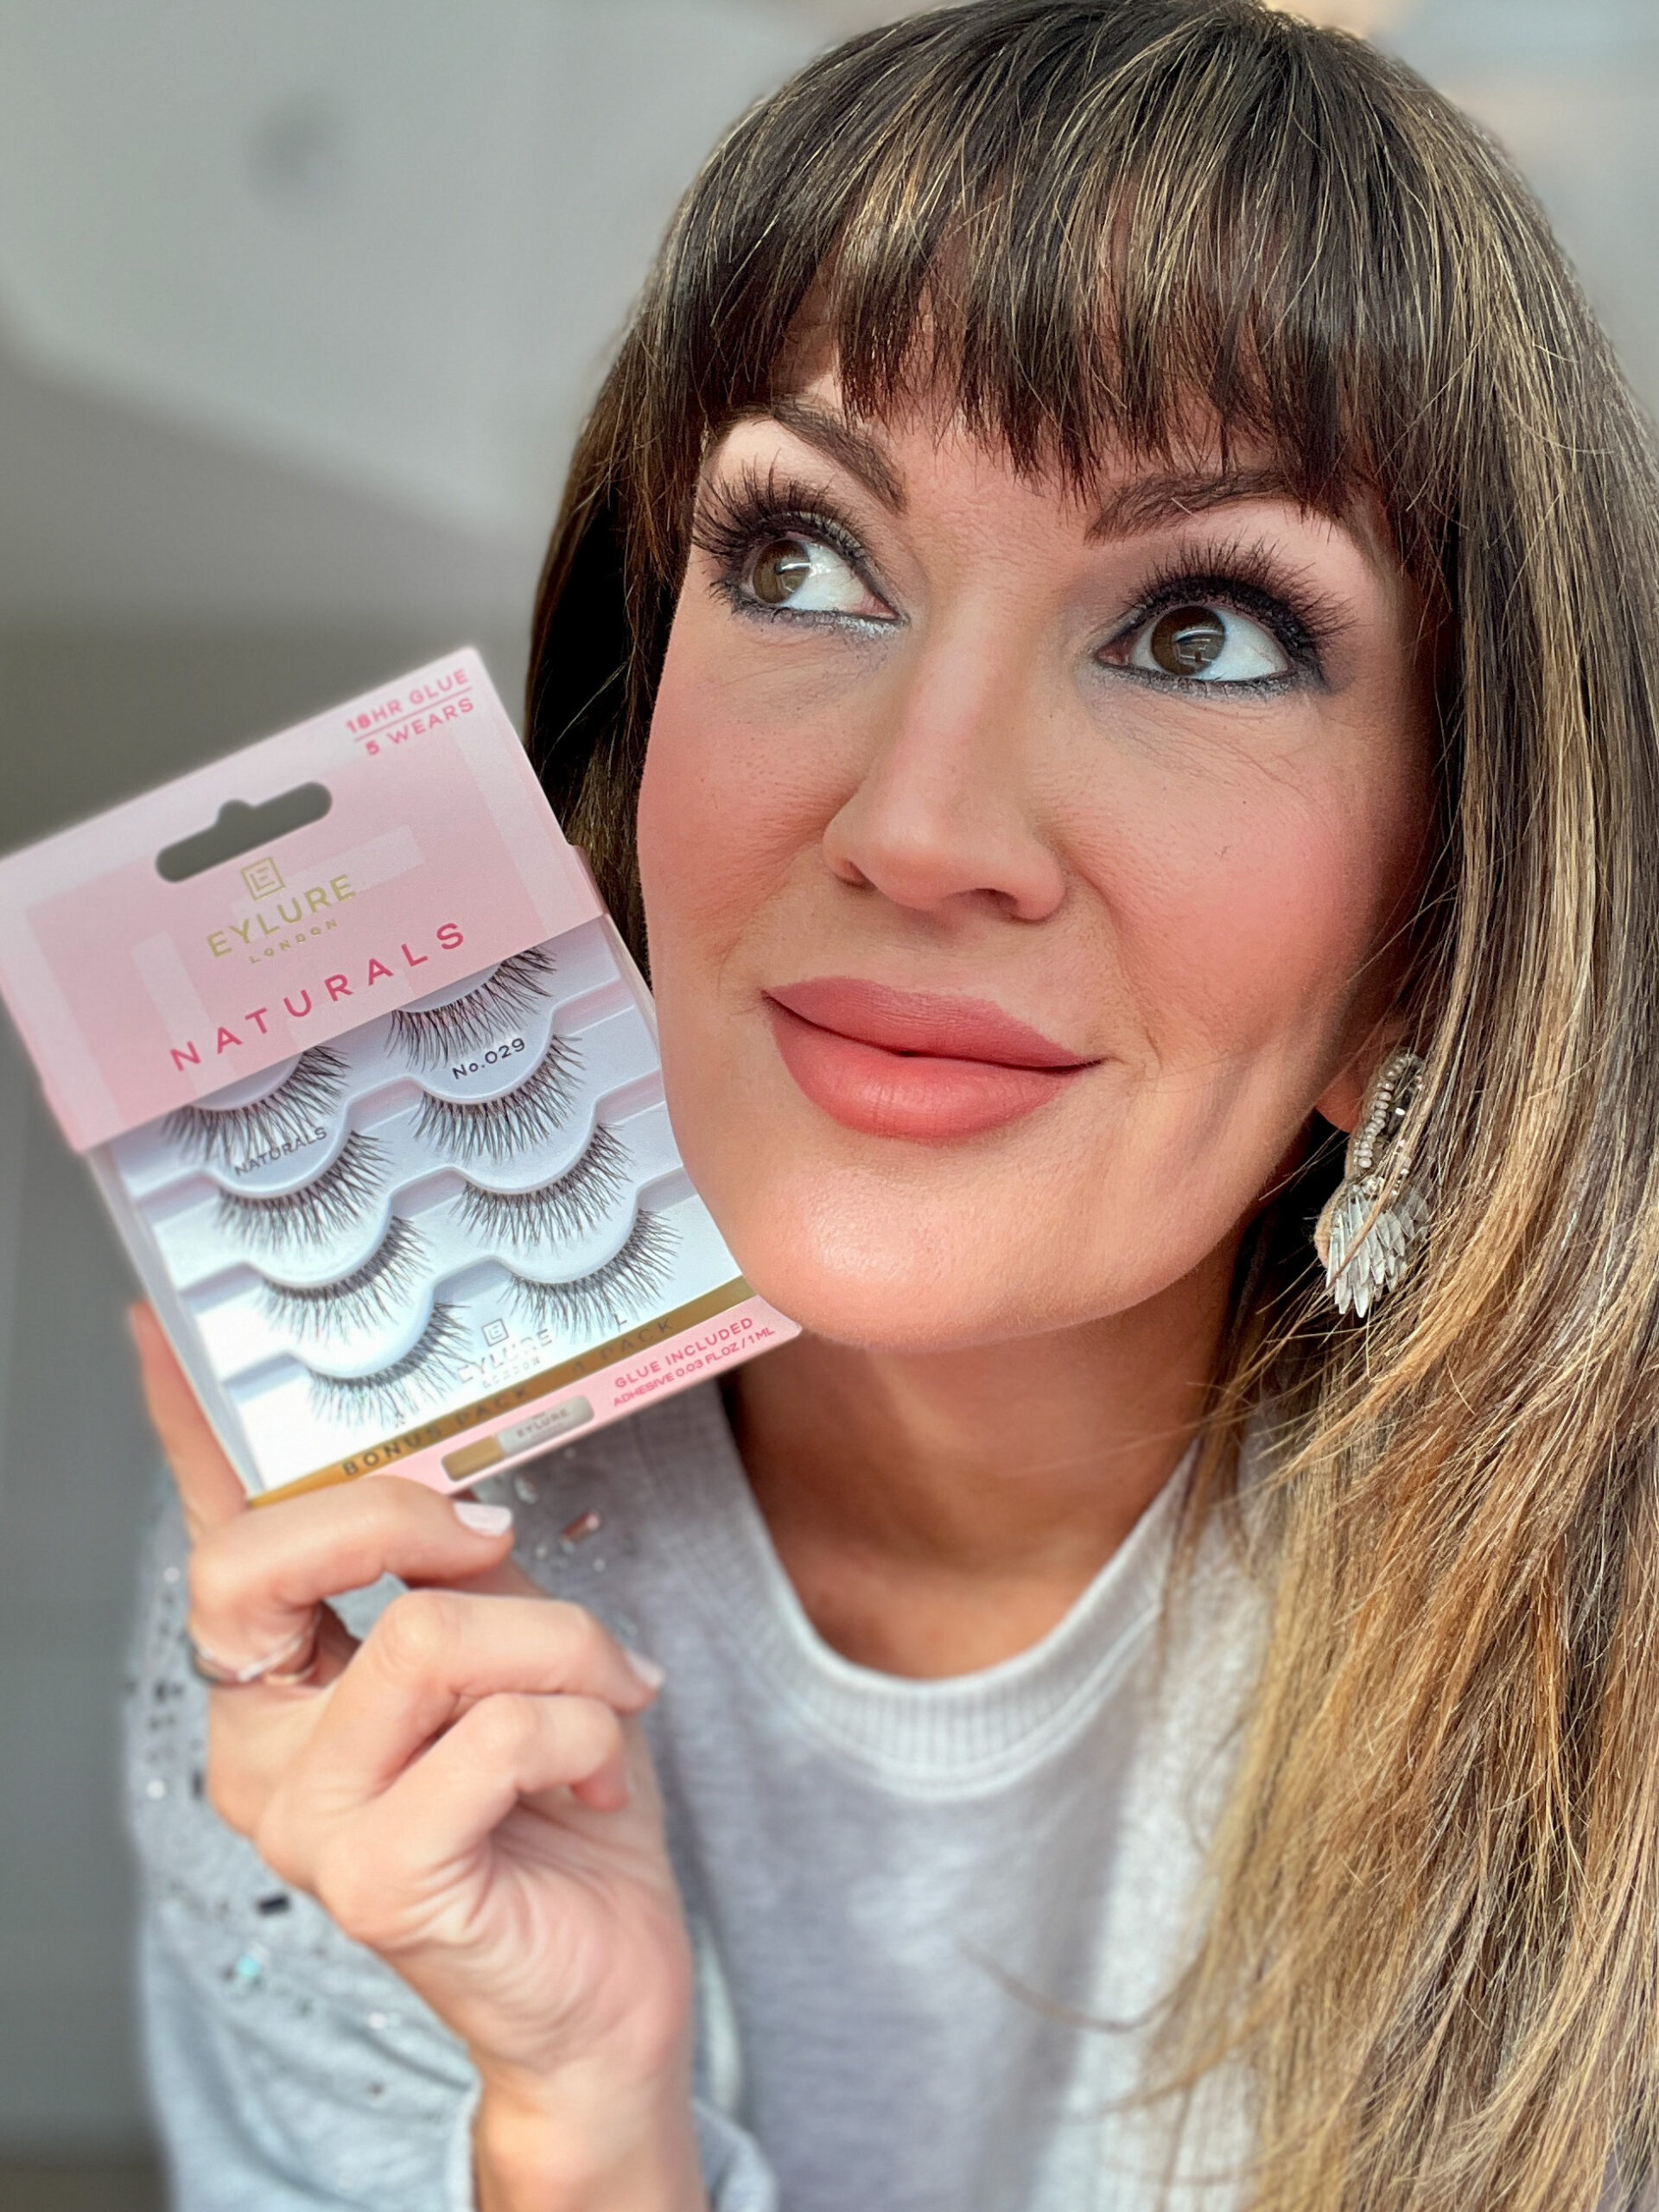
Sad to say, but as we age, one of the things that tends to fade away on most of us, is our lash line. Just like the hair on our heads, our lash hairs get thinner and more sparse. It’s just a fact we have to face!
And many women think that applying false lashes are too complicated to learn how to apply – especially if you have aging eyes. But like anything worth doing, it’s probably going to take a little practice and guidance, but learning how to apply them is well worth the effort for the outcome! And yes, any age can pull them off.
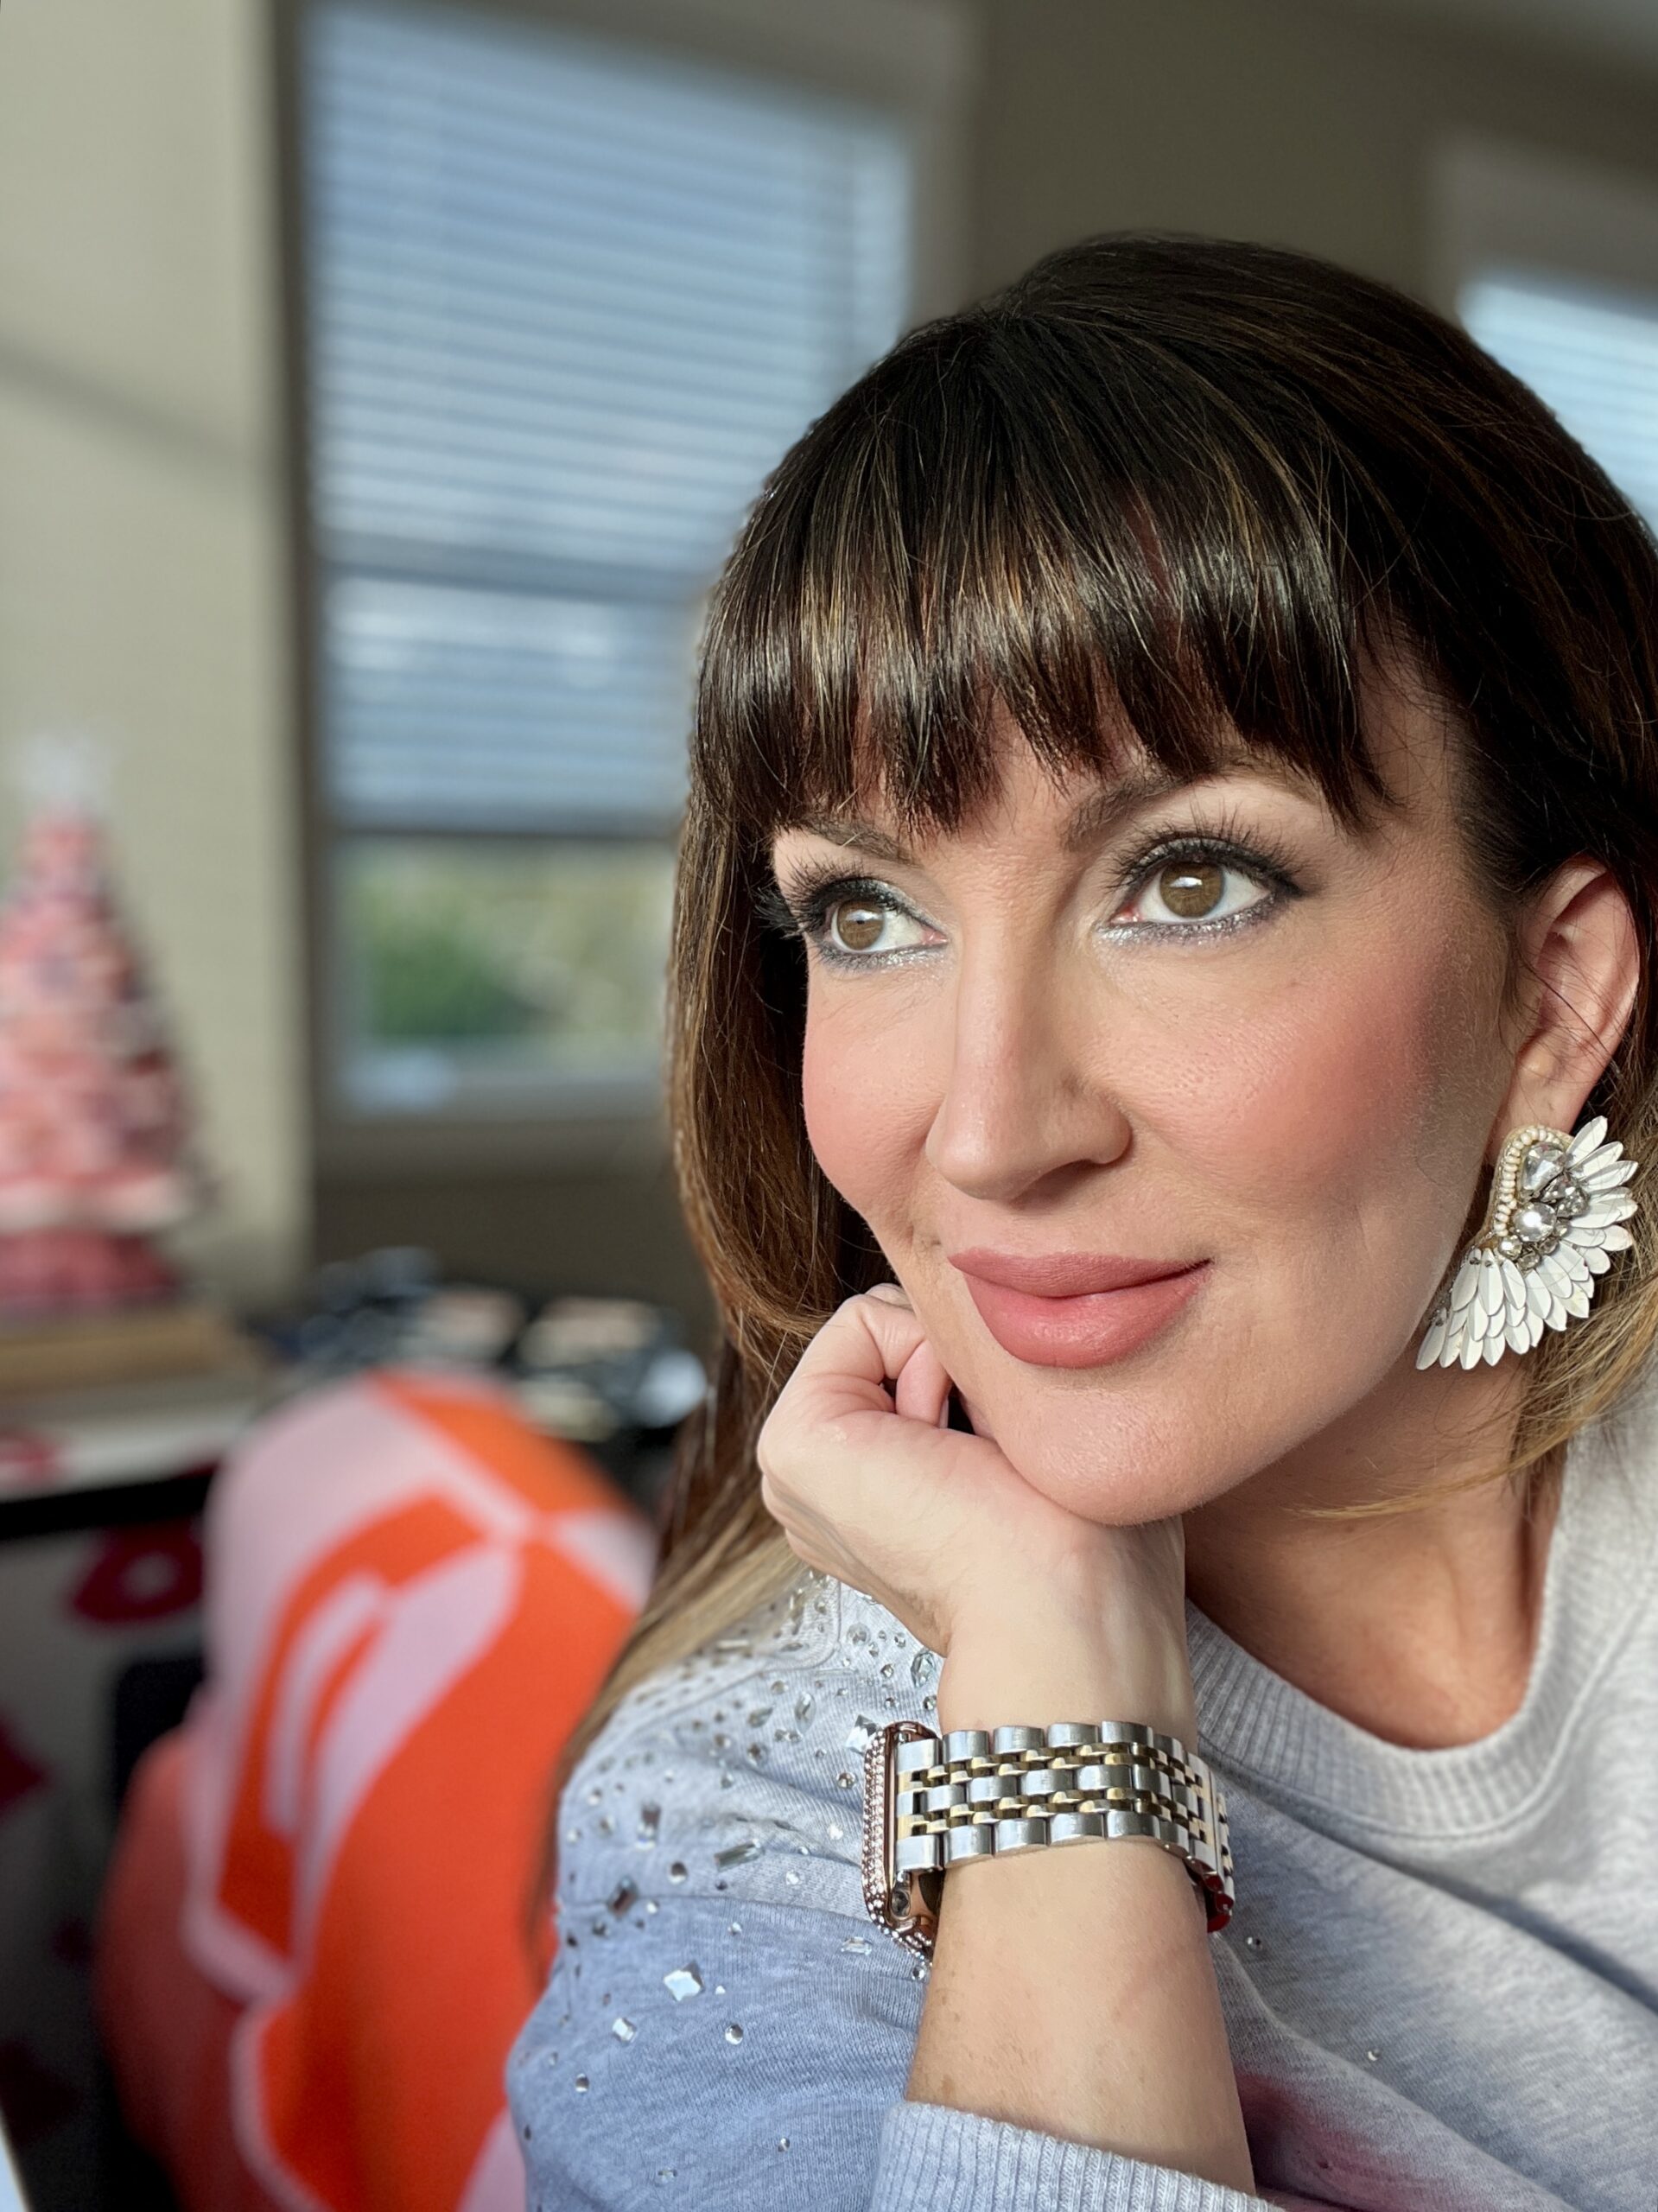
Before we even begin – the one tool besides a good pair of lashes, is a light-up makeup mirror you’ll need to see exactly what you’re doing! This Sharper Image SpaStudio Hollywood Vanity one, $220, has FANS included to keep you cool while applying your makeup which is next level! Or if you don’t need one with that many bells and whistles, this Impressions Vanity LED one, $97, is also helpful.
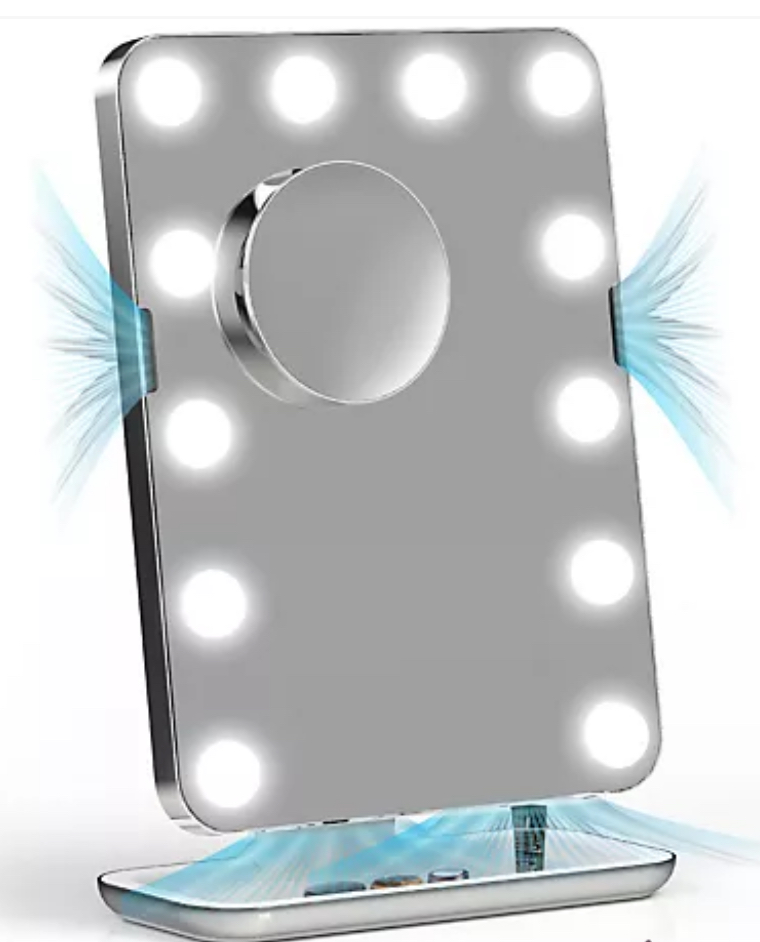

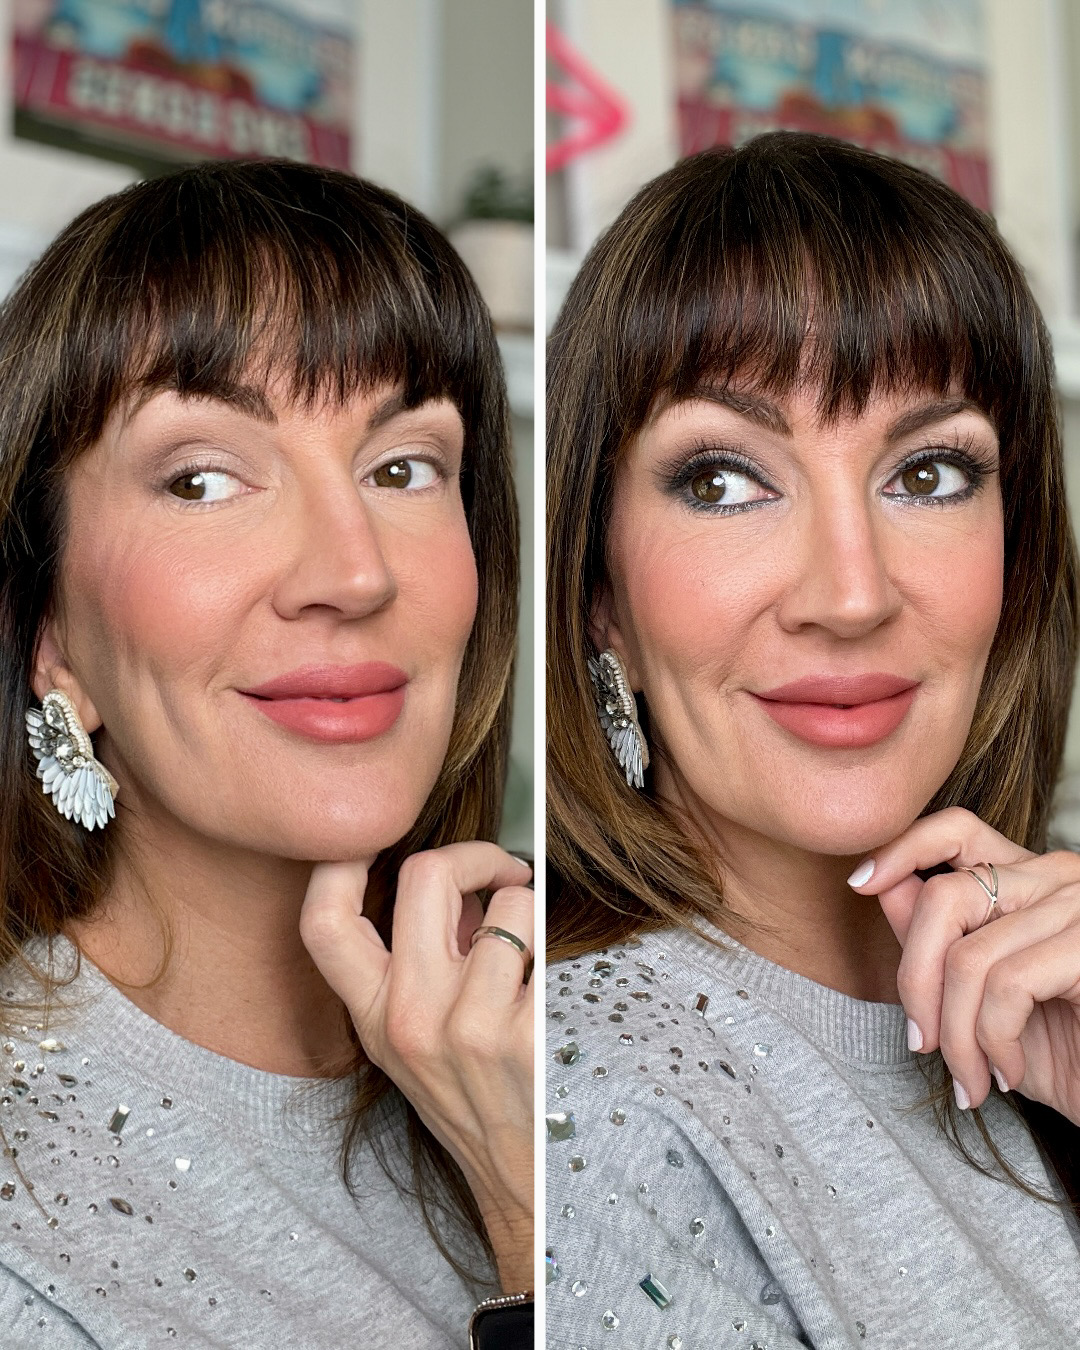
Every time I apply fake lashes on a client, especially on my over 40 gals, they’re always blown away by how much they love the way they make them look and feel. A full lash line just adds a girly and feminine vibe full of confidence.
And with the holiday parties and gatherings in full swing, learning to add fake lashes can ramp up your makeup look in the best way to where people will wonder how’d you age backwards??
Good news is that the investment into the tools + lash products is minimal. But the investment in time practicing to apply them, makes a maximum and youthful impact on the face!
Step-by-Step to Applying Fake Lashes for Mature Women
Choosing the Right False Lash Style
The first step in applying false lashes is to choose the right pair that will complement your eye shape and suit your age. Avoid thick and heavy lashes as they can make your eyes look smaller and overwhelm the eye space. Instead, opt for a pair of lashes that are lightweight, natural-looking, and have a thin band. You can also consider half lashes that add volume to the outer corners of your eyes, creating a more lifted look.
I’m wearing the Ardell Naked lashes in style 421 in this tutorial. If you have very tiny eyes, I’d suggest the style 420s or the most minimal ones I’ve found are these Eylure style 031,$10.
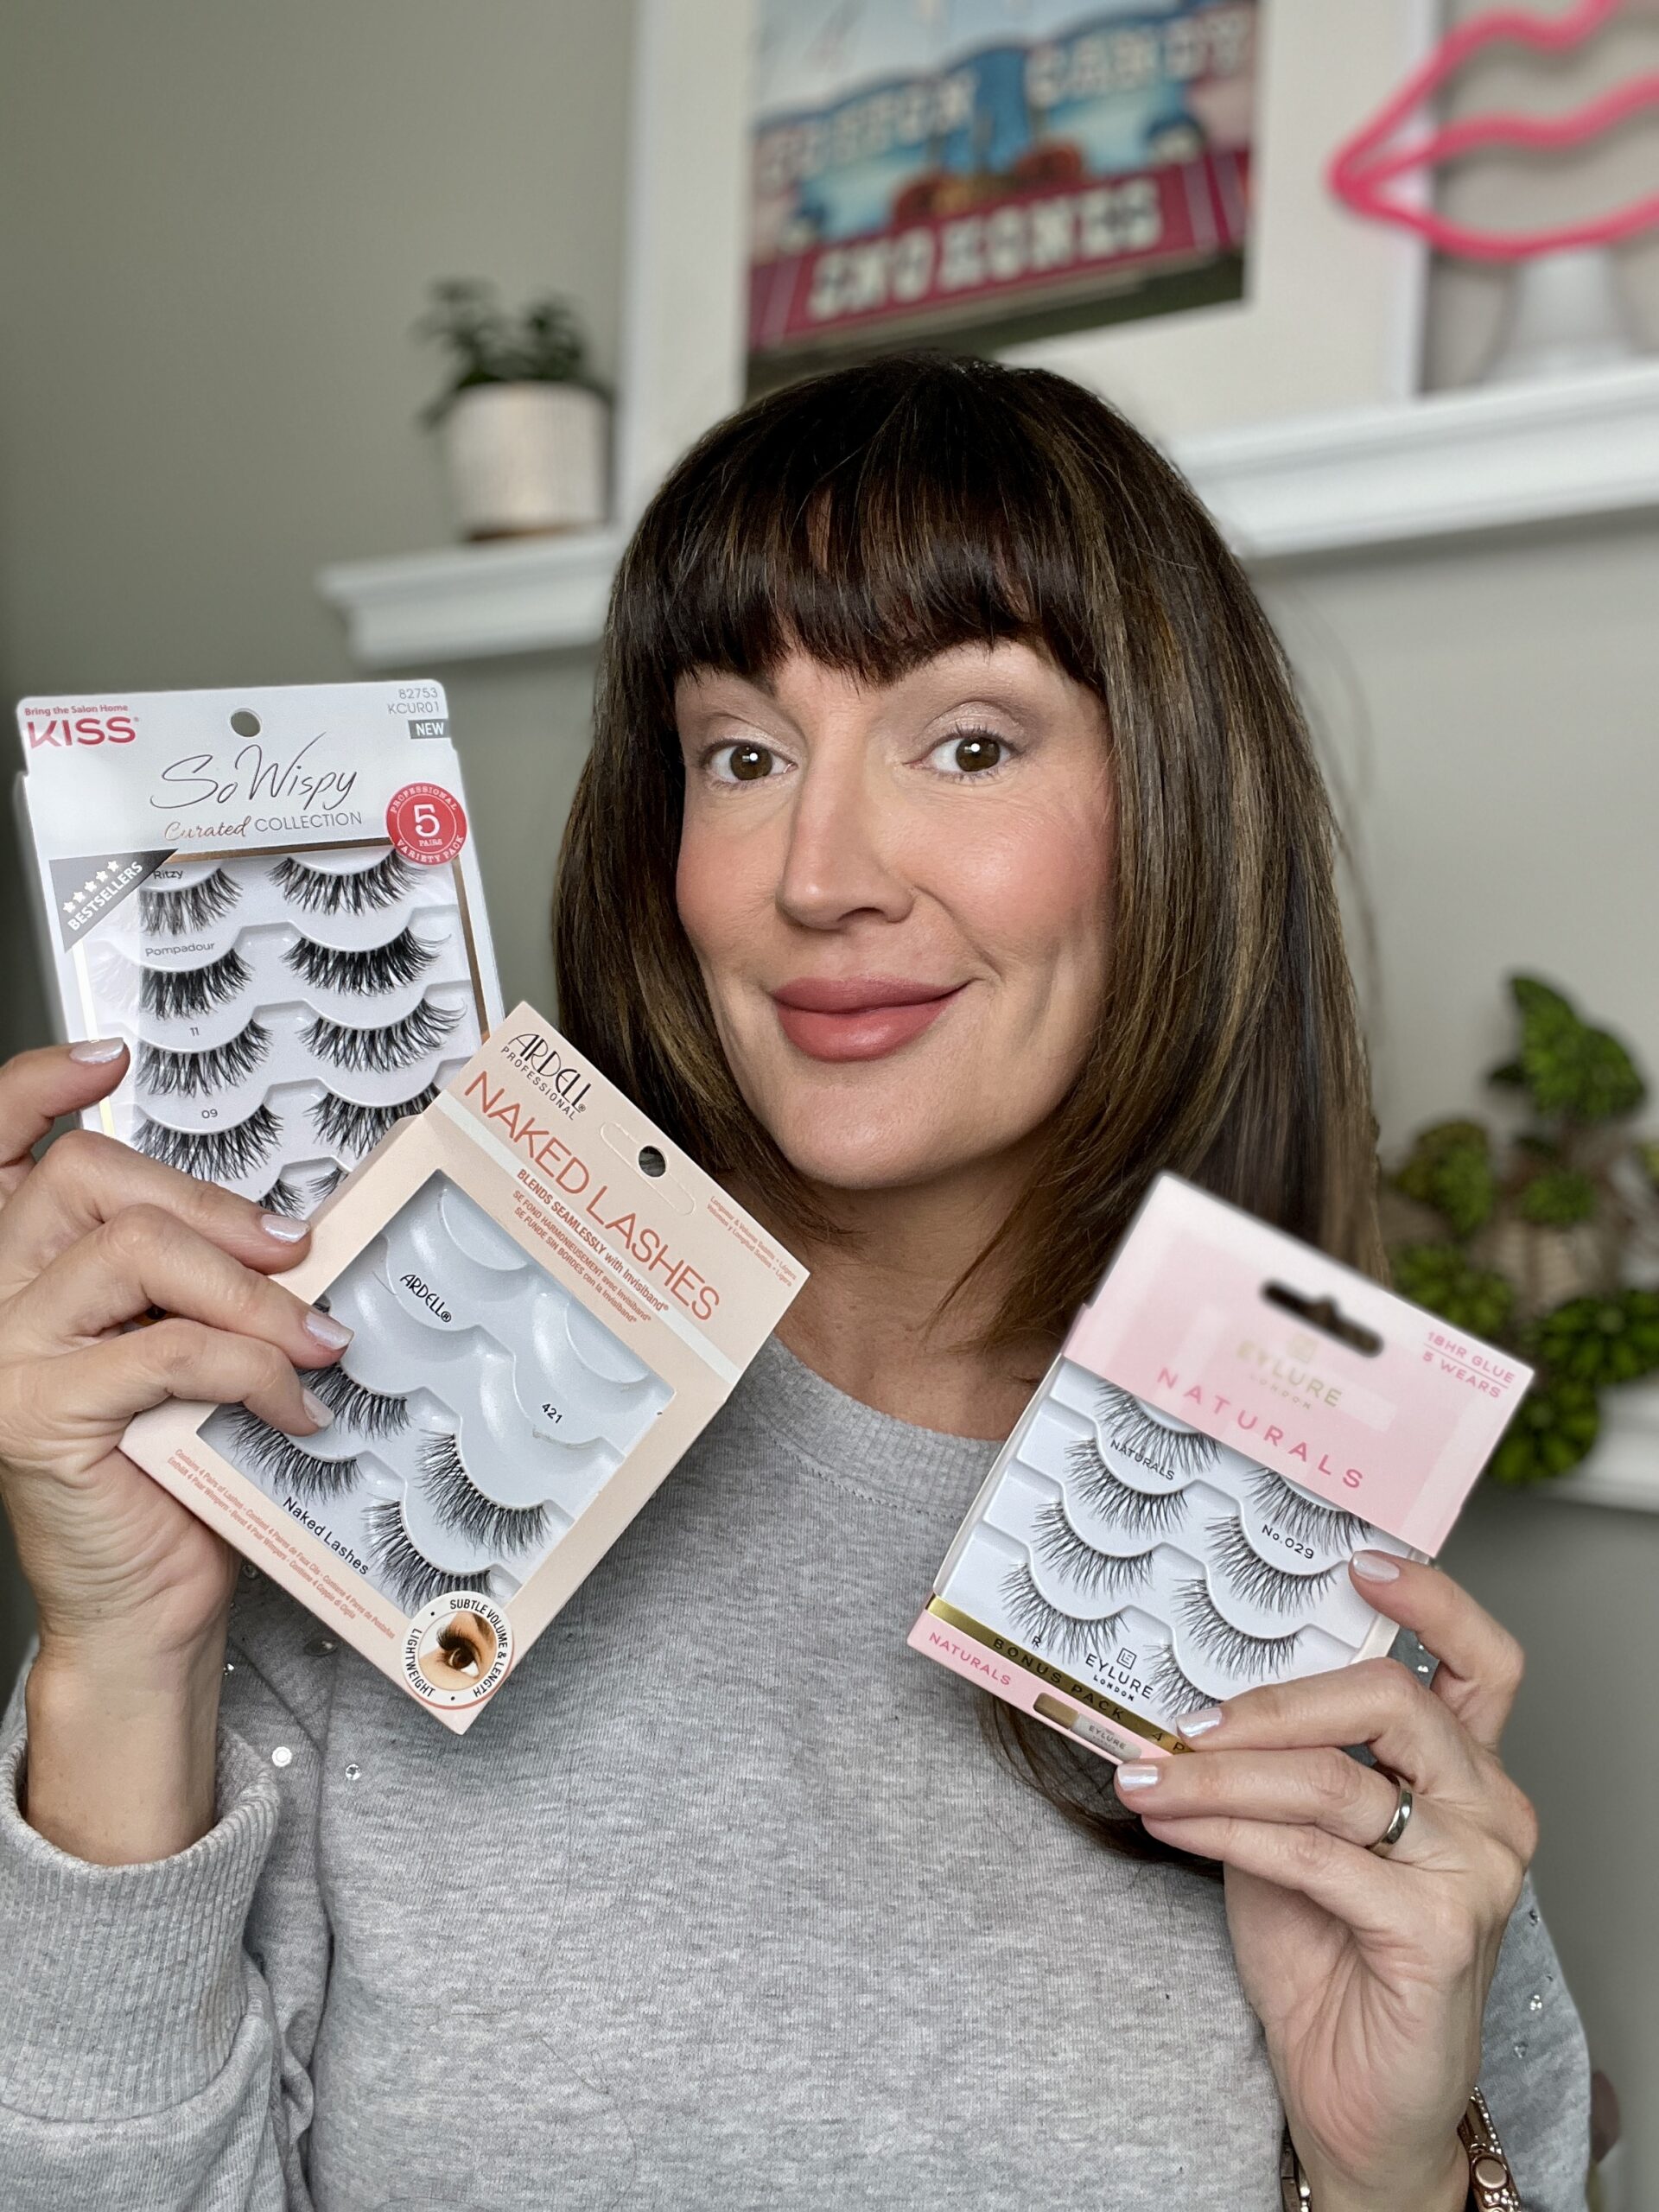
Other products you need to have on hand before you begin :
- Shiseido eyelash curler, $24
- eyelash glue. I’m using Kiss Strip Lash Brush on Adhesive, $5 (for beginners, I suggest starting with a clear glue)
- tiny brow/lash scissors, (important for cutting down lash strips that are too long, which most are ), $22
- Revlon tweezers, $11
Disposable eyeliner wands (I buy these in bulk from Amazon, $6, to help with application – they’re my secret weapon!)
Shop the Post
Trim and Measure Your Lashes
The next step is to measure the false lashes to fit your eyes – most styles are just way too long for most people’s lash lines in my opinion!
Once the lash strip is laid onto your natural lash line (no glue yet!) judge and see how it will fit and if it needs trimming. If it seems too long for your lash line, take it away from your eye then trim any excess from the outer corner (only) if needed.
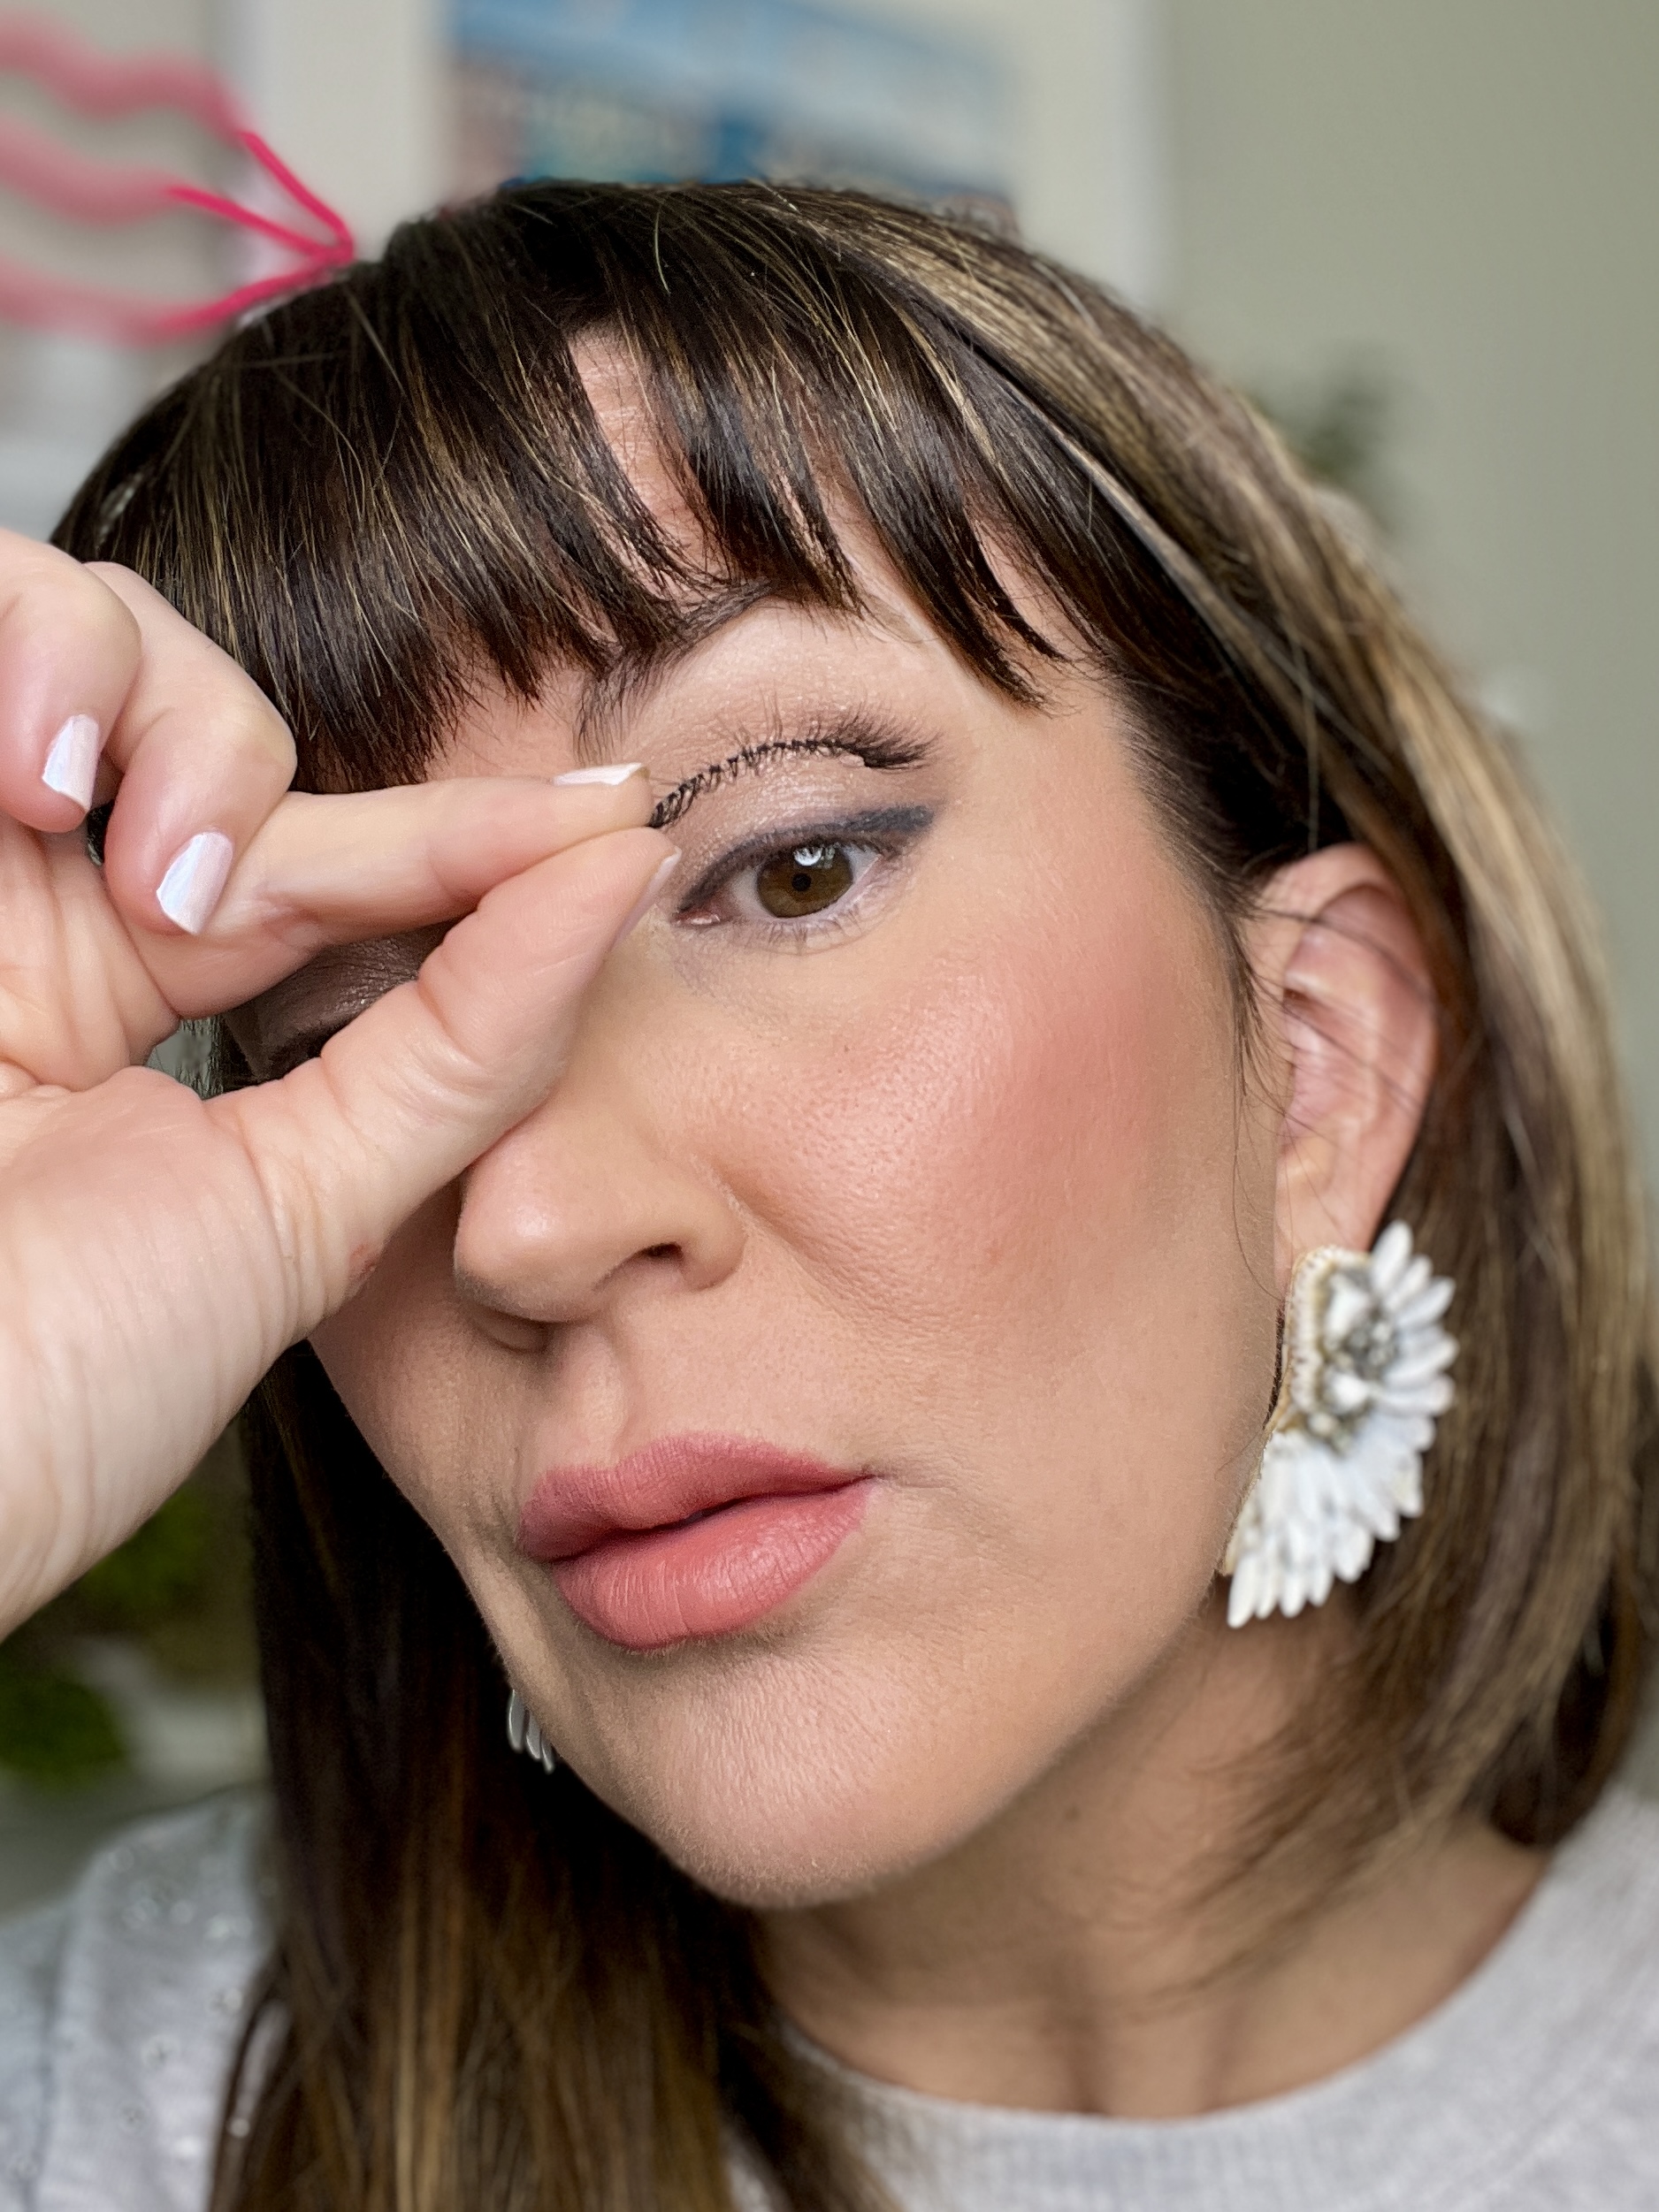
Ensure that the lashes fit comfortably and don’t extend beyond the inner corner OR outer corner of your eyes, as this can create a droopy effect and be uncomfortable. Place back onto the lash line just to check and see if you’ve trimmed enough.
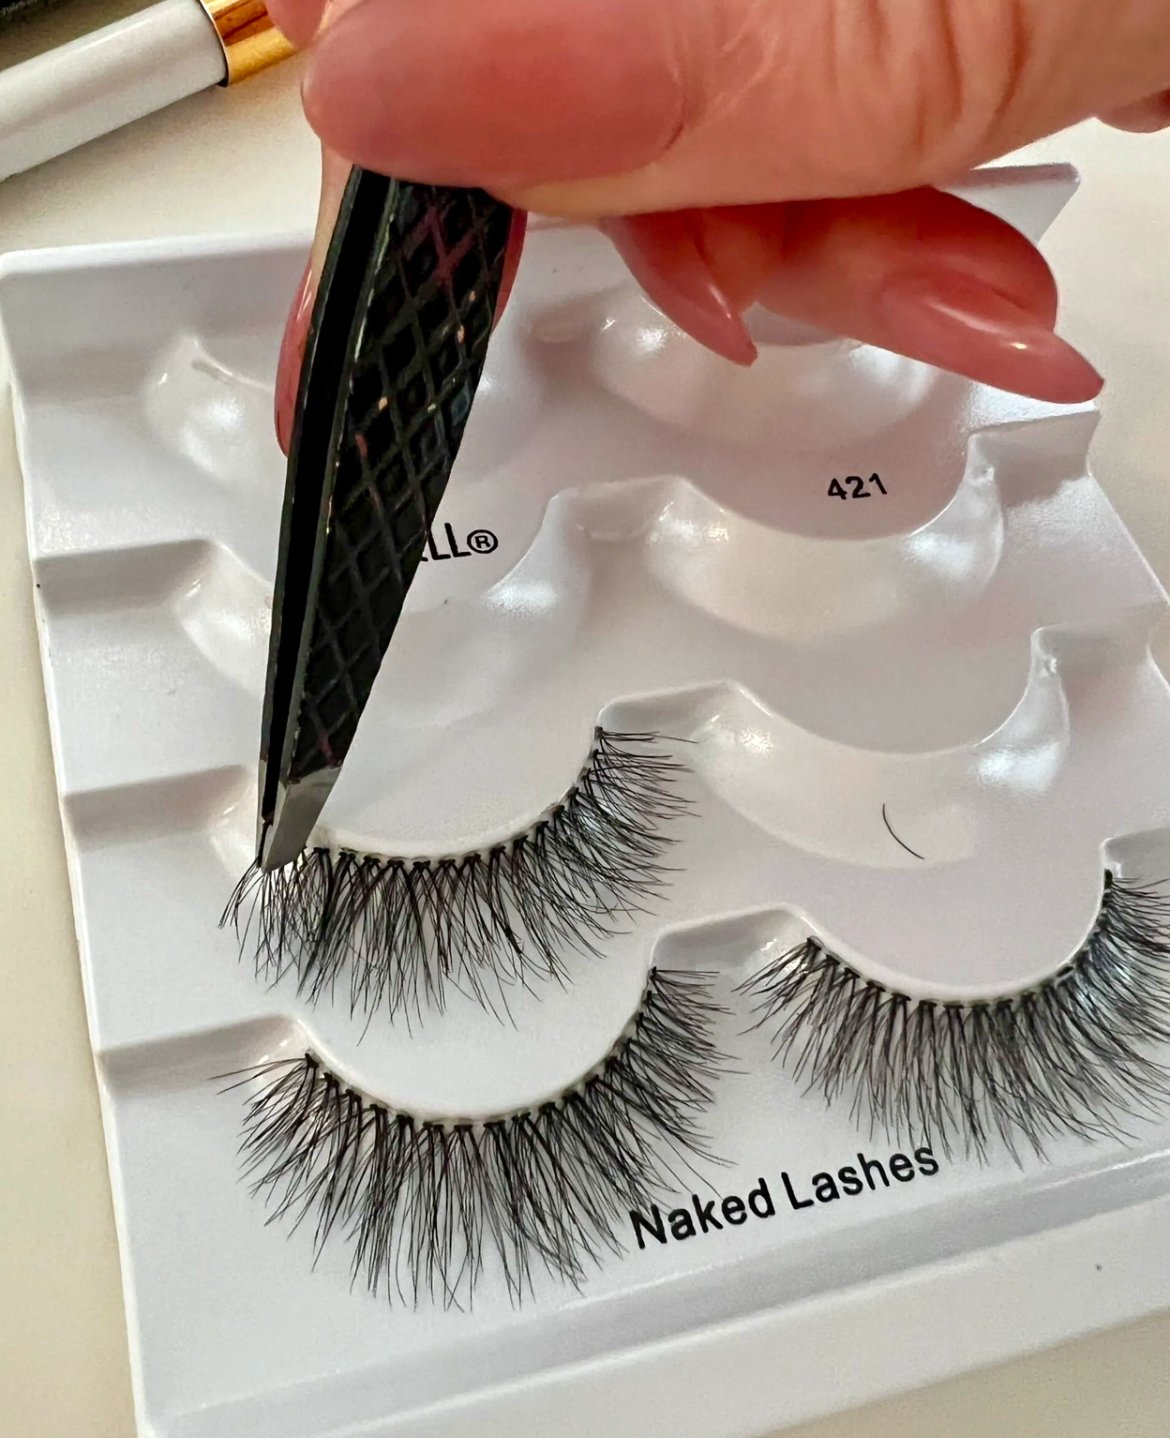
I use a pair of tweezers to remove the lash band from the tray and always pick up the lash from the outer corners so that I don’t mistakenly tear the inner lashes!
Shop the Post
Prep Your Natural Lashes + Do Eye Makeup
Before applying false lashes, it’s important to prep your natural lashes to ensure a seamless application. I go ahead and do all of my eyeshadow and liner first. Then gently curl your lashes with an eyelash curler to lift and open up your eyes. Then, I like to apply a very thin layer of mascara to the natural lashes to help blend them with the false lashes.
Apply the Glue
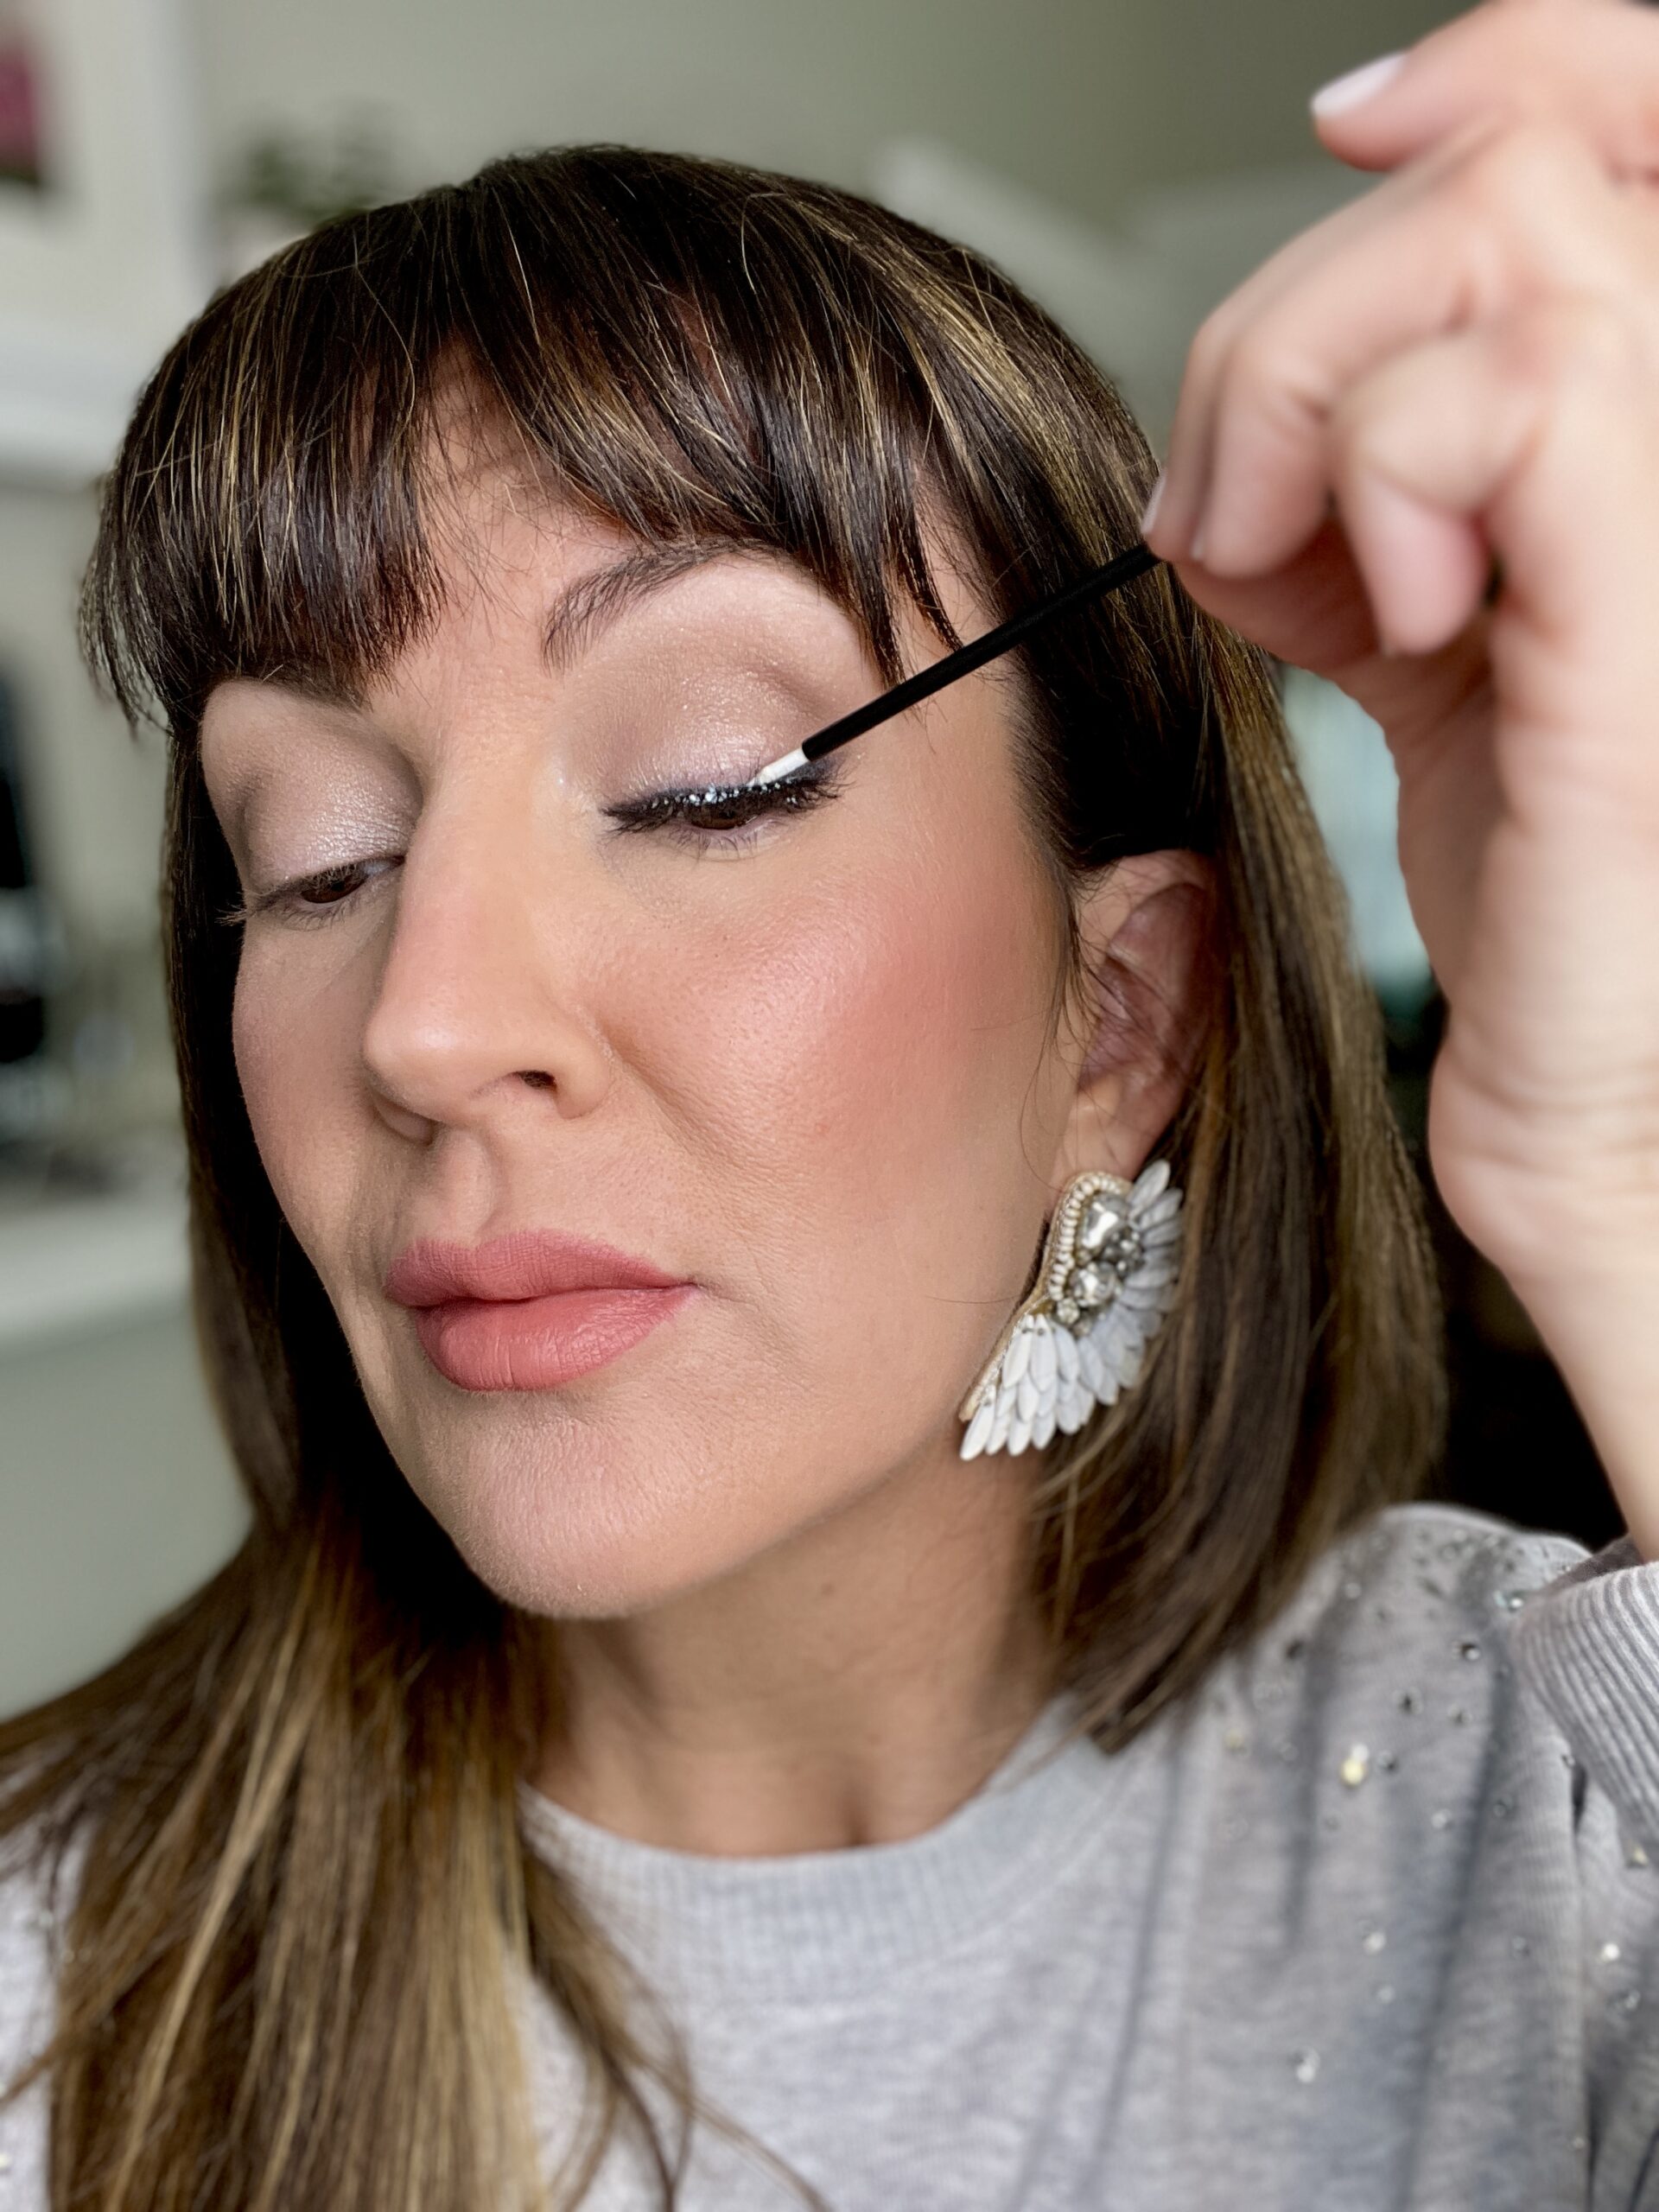
Apply a thin layer of eyelash glue to the back side of the strip of the false lashes, making sure to cover the entire band. This is where I use the Amazon disposable wands. Wait for a few seconds to allow the glue to become a bit tacky before applying the lashes to your natural lash line.
Apply the False Lashes
Using a pair of tweezers, or your fingers, gently place the false lashes into the top of your natural lash line. I try to start in the center then work my way inwards gently pressing down, and and then towards the exterior pressing in gently. Ensure that the lashes are close to your natural lash line and press them down towards your real lashes with one of the throwaway Amazon eyeliner wands to secure the band into place.
I like having these wands handy bc they can get right up to your lash line and you don’t have to use your fingers, which are generally too big and clumsy to get that close.
Shop the Post
Blend Your Lashes
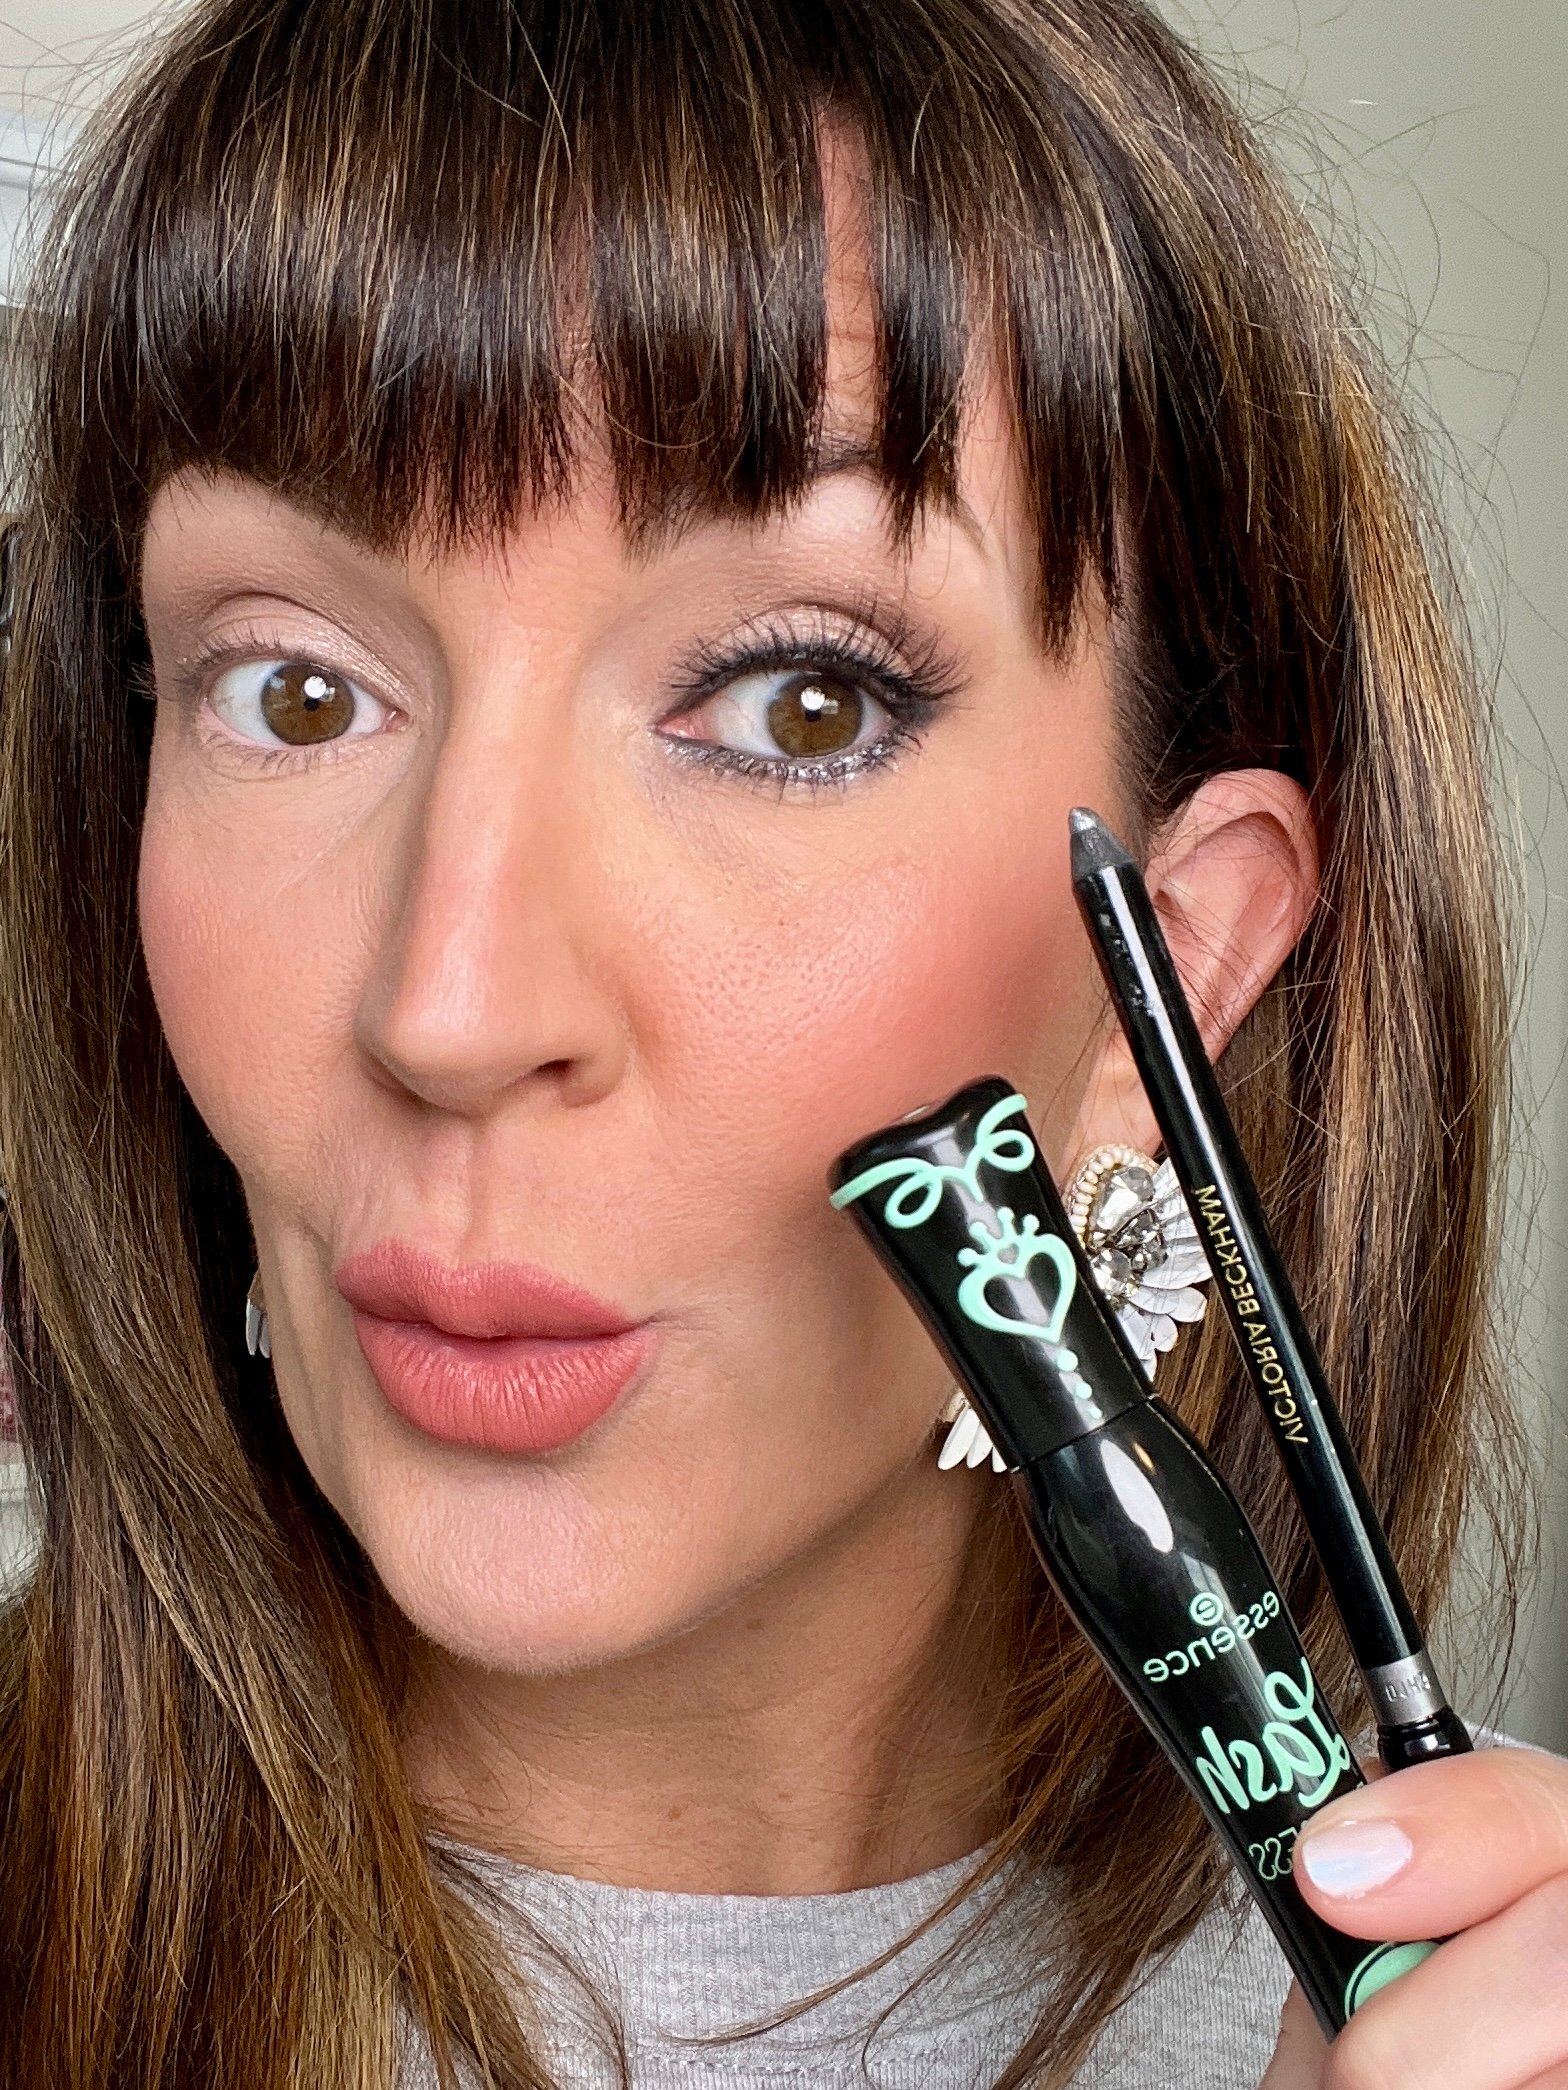
To create a seamless look, blend your natural lashes with the false lashes by applying another light layer of mascara if you wish. I used the Essence Lash Princess False Lash Effect mascara, $5. You can also use a lash comb or spoolie to separate your lashes and remove any clumps or excess mascara.
Final Touches
Once you have applied the lashes, you can also apply a small amount of eyeliner to the outer corner of your eyes to enhance the winged effect and to draw on top of the lash glue to take away any shininess that some clear glue leaves.
I used the Victoria Beckham Kajal liners in “Ash” ( on my upper lash line) and “Sea Gray” (the most beautiful sparkle dark gray) for this tutorial, $34. Ladies, if you need a new eyeliner that doesn’t fade or budge – this pencil stays put!! And it’s so easy to draw with eyelids that are a bit frail and wrinkled because the kajal is very soft. *I believe her liners are going to be 20% off during Black Friday sales, so take advantage if you can – she offers many beautiful liner shades to choose from.*
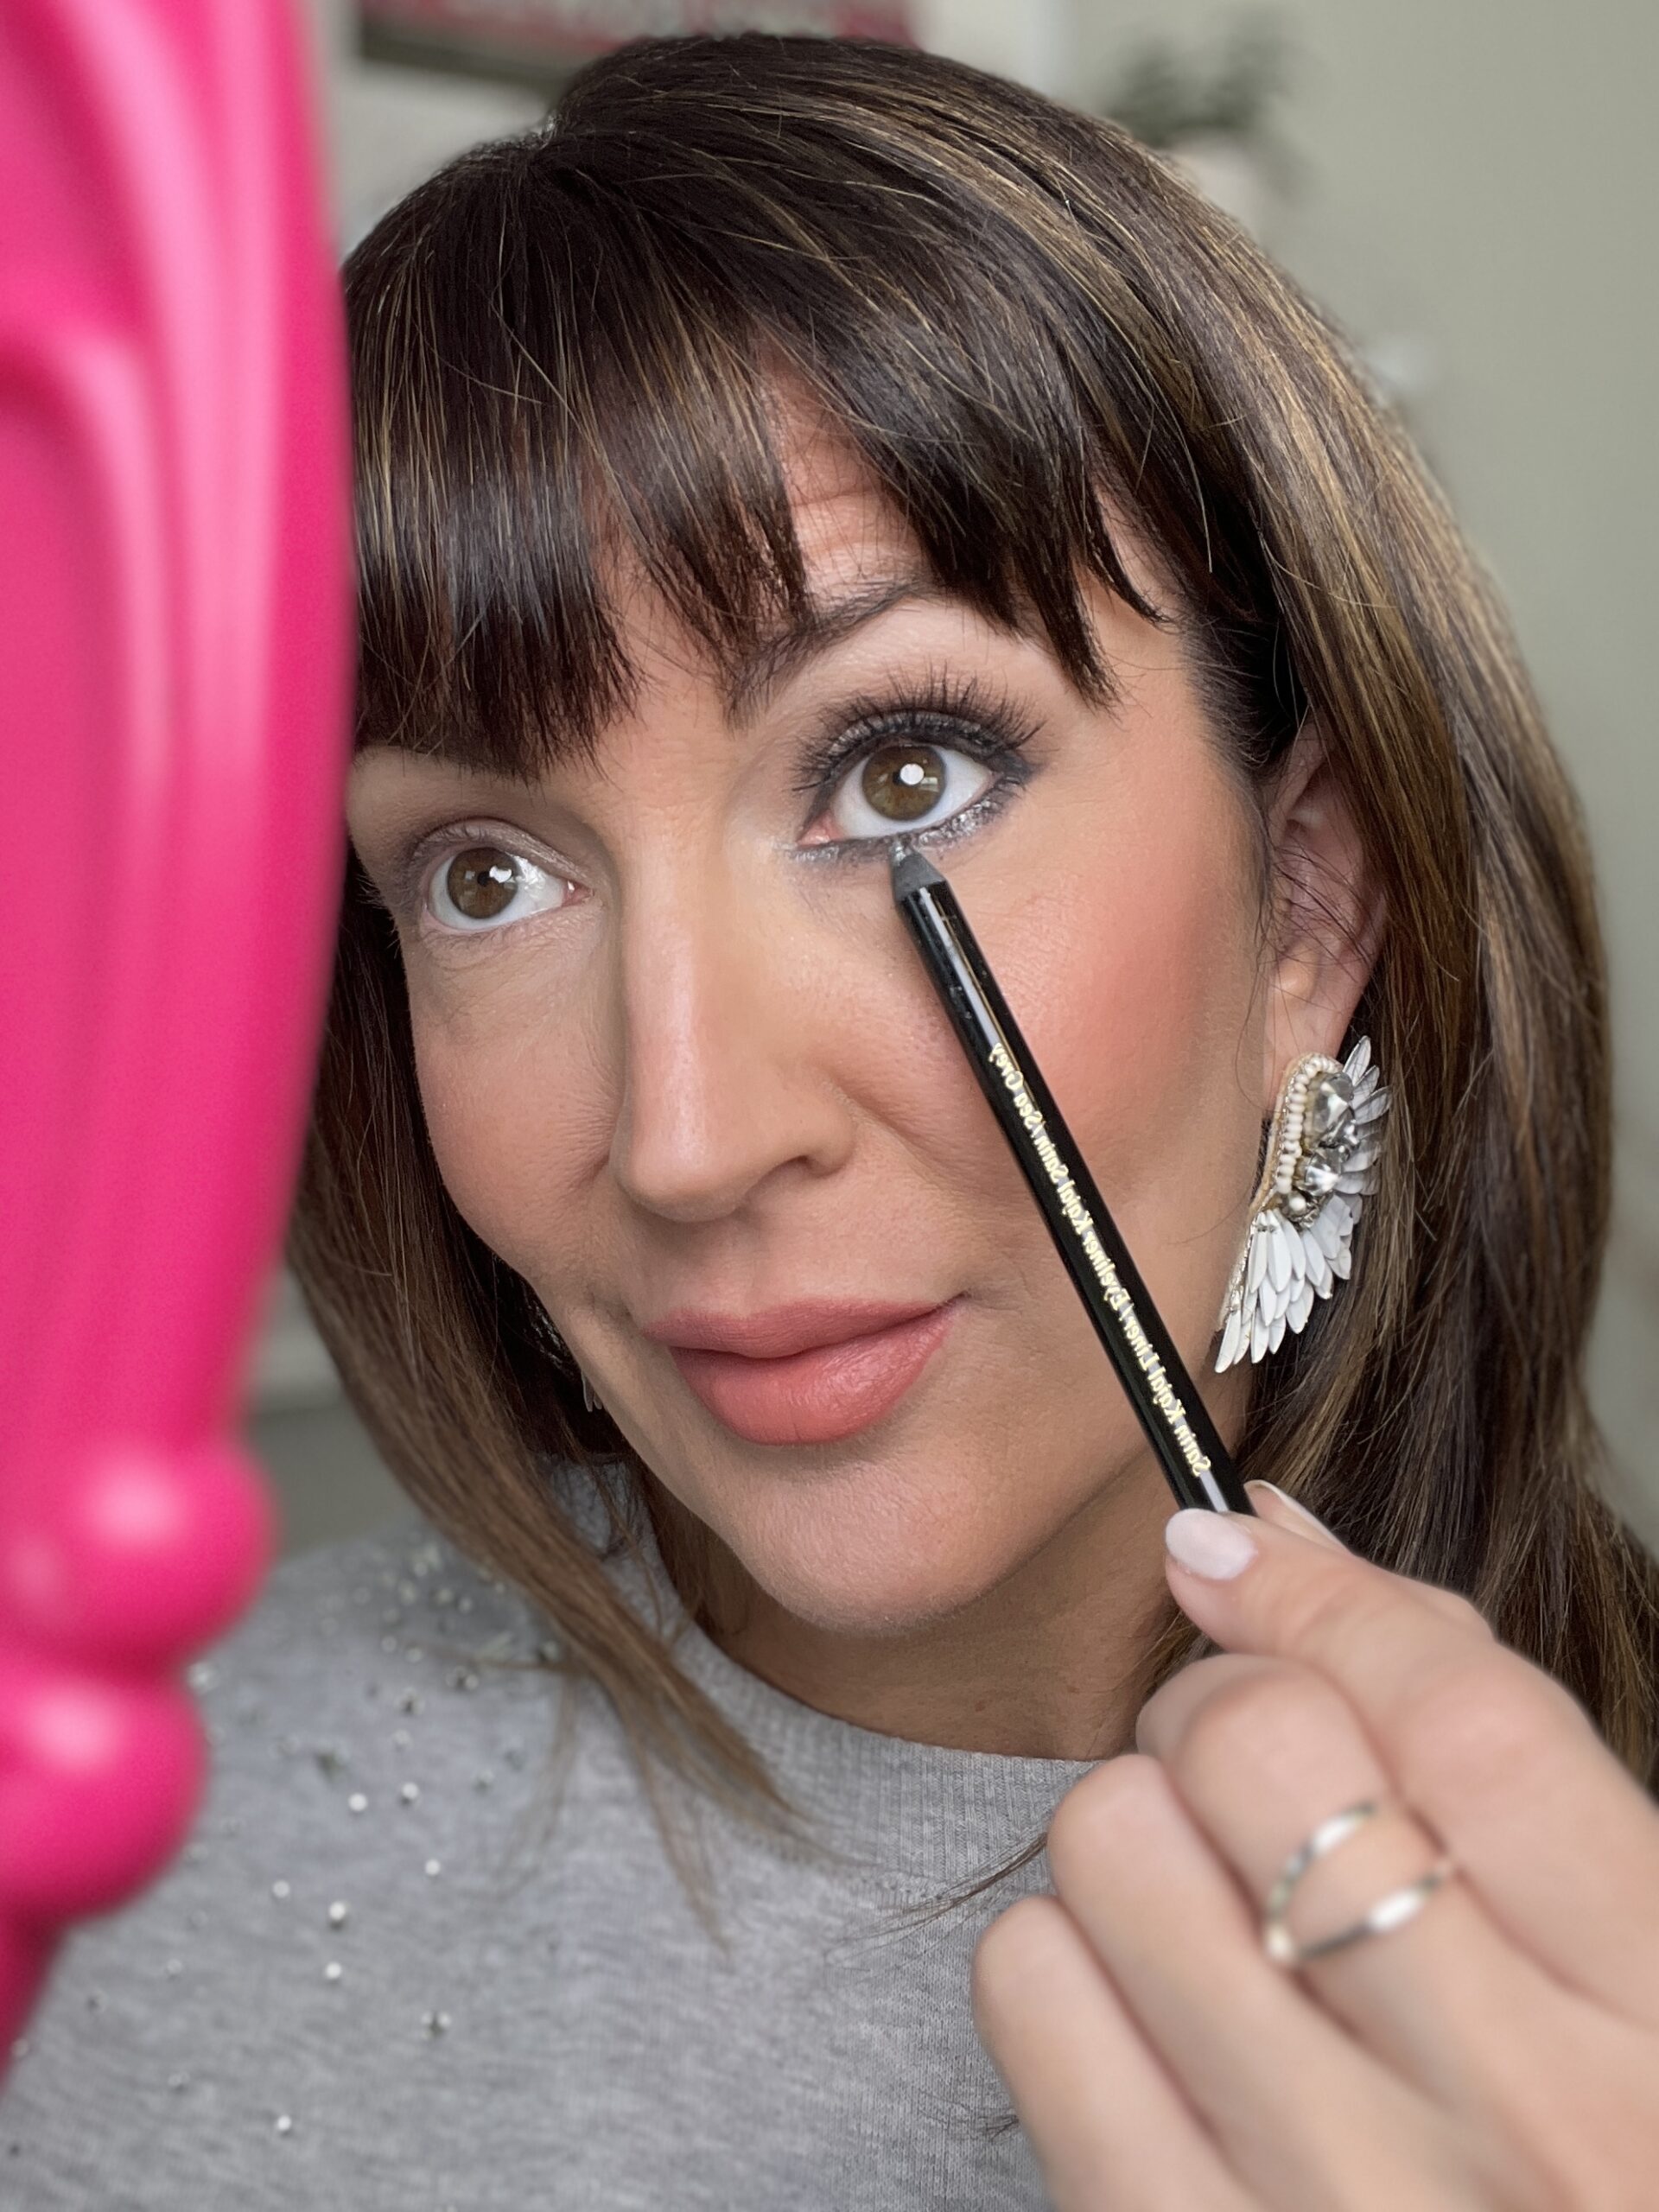
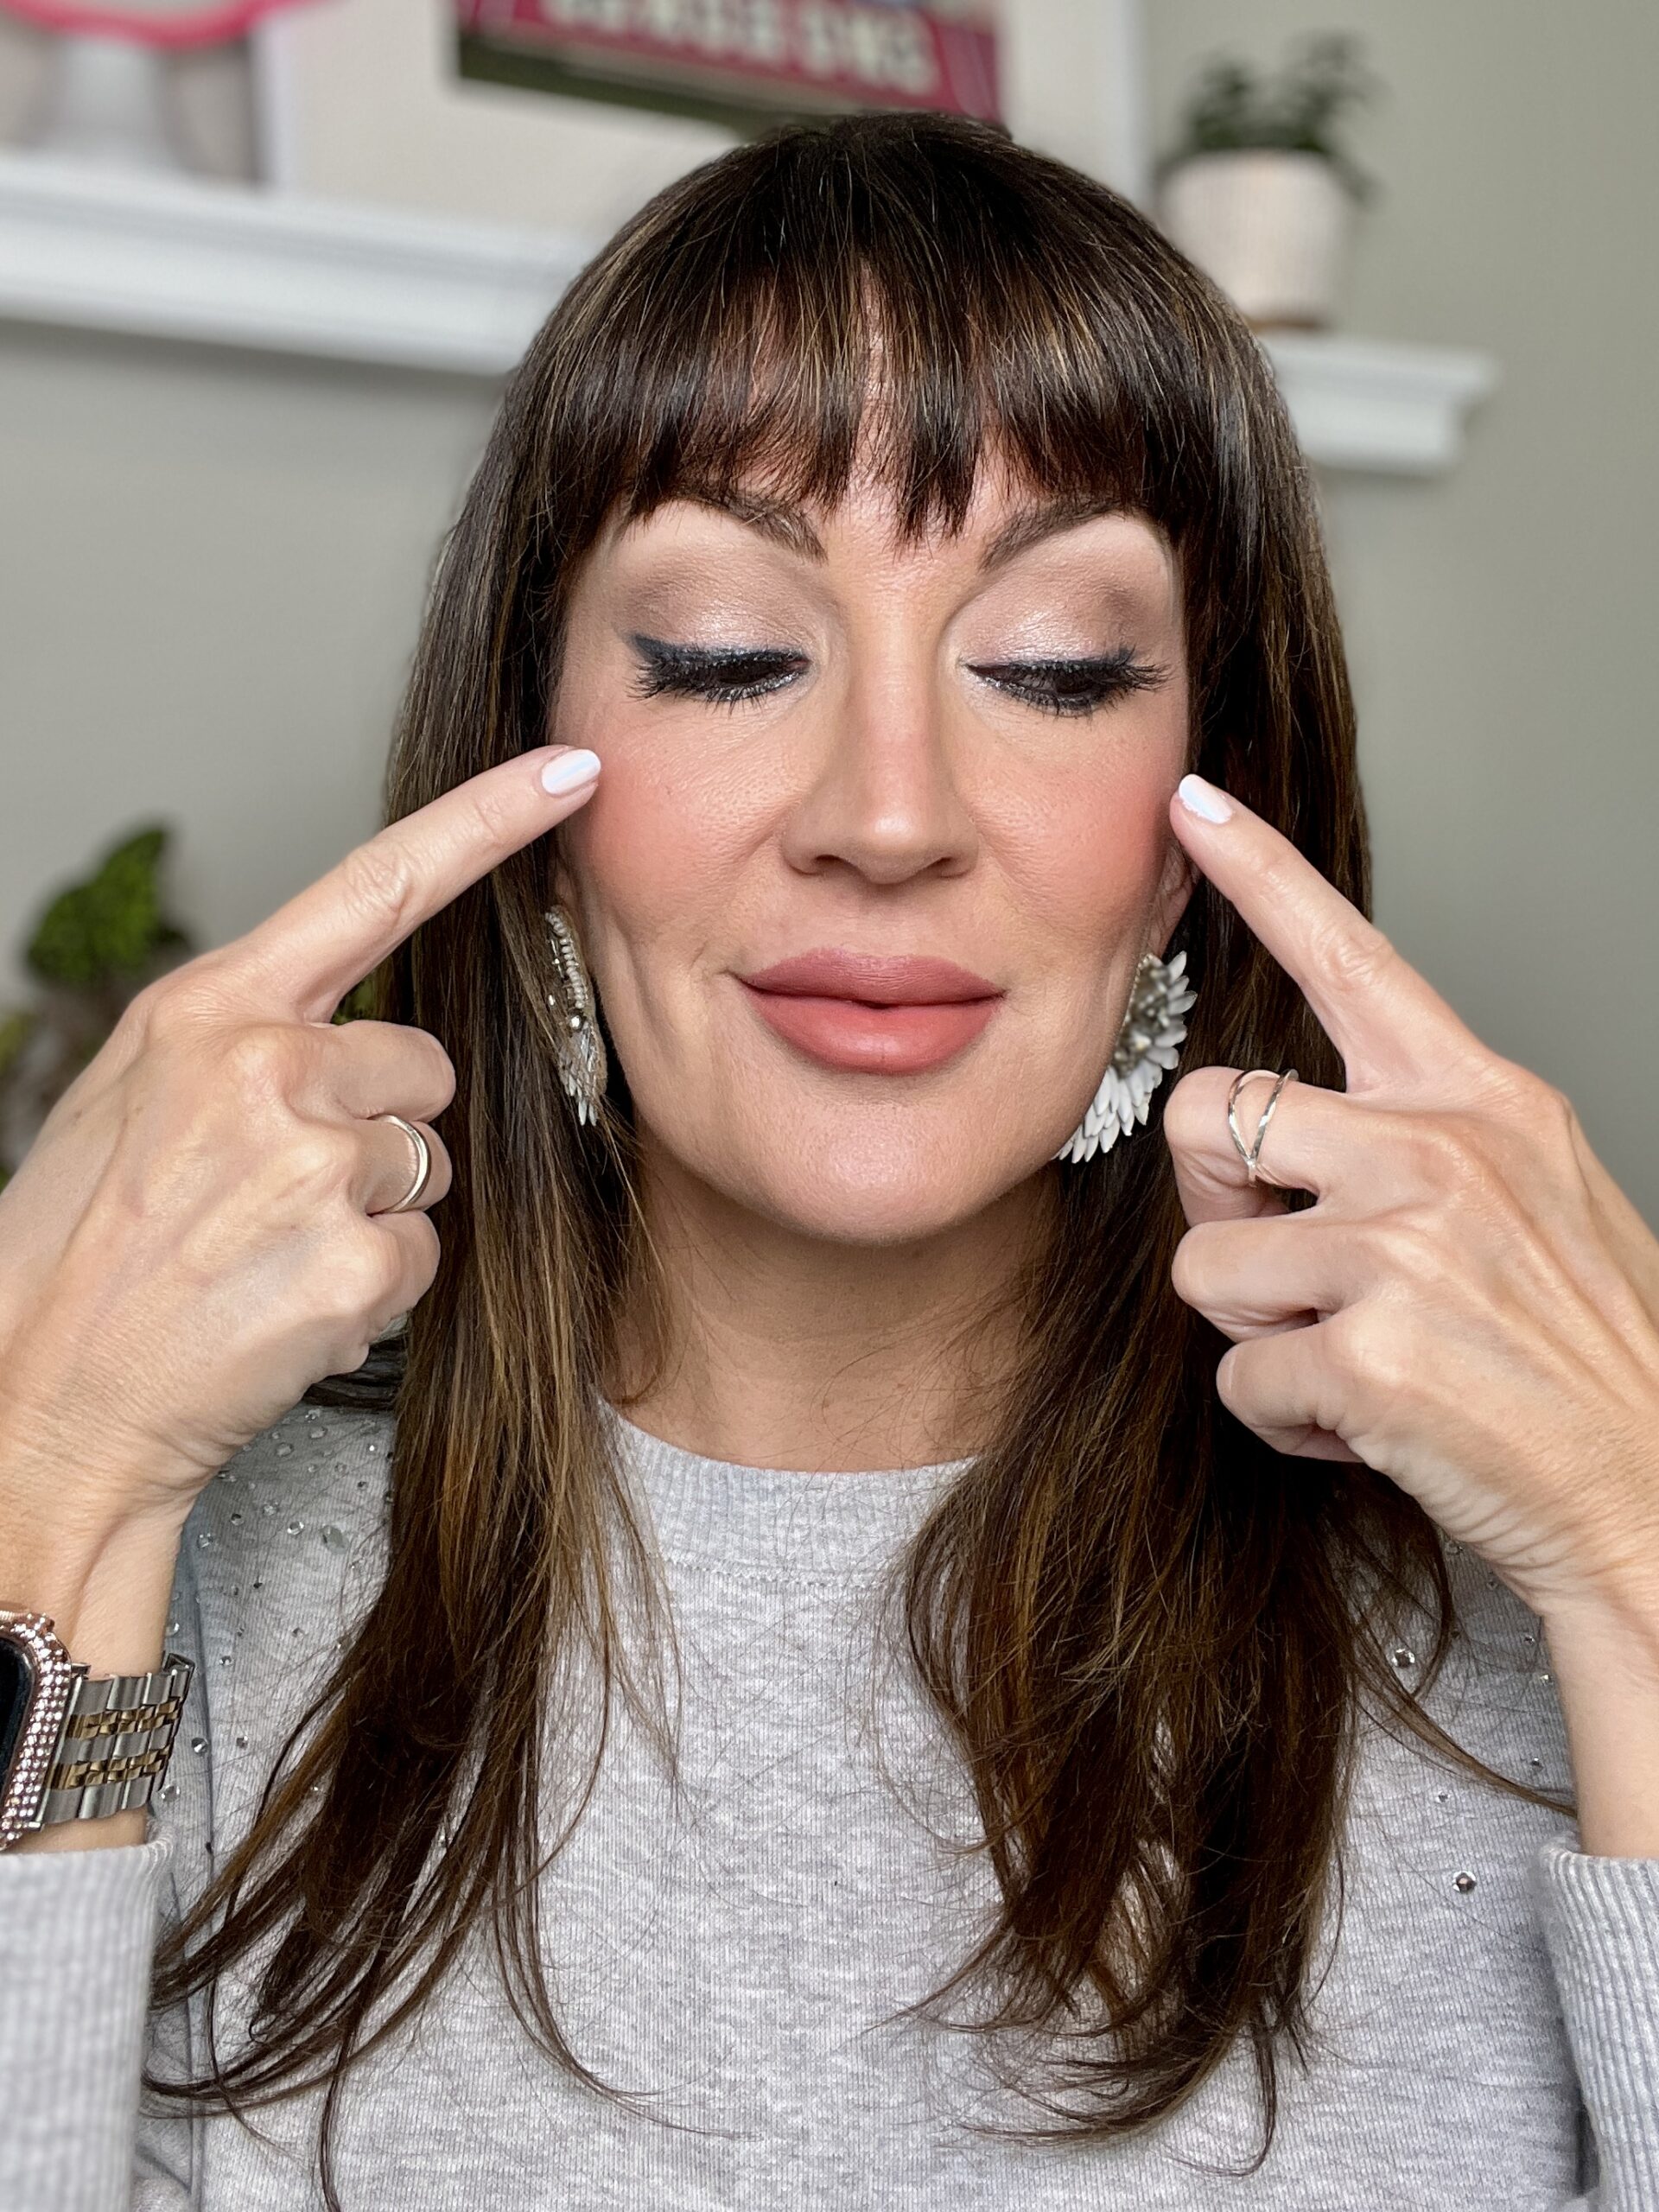
Sure applying false lashes for aging eyes can be challenging the first couple of times you attempt it, but with the right pair of lashes and technique, you can achieve a youthful and vibrant look that you’ll no doubt love!
Shop the Post
How to Remove Your False Lashes + Alternative for Longer Lashes
Use a cotton swab Qtip soaked in an eye makeup remover (my fave is the Neutrogena oil-free eye makeup remover) and rub along the backside of the lash line until you break up the adhesive. You should then be able to easily remove the fake strip lash without pulling. If cleaned off properly, you can store the lash strip back on the tray and use it two or three more times!
Now, if you still don’t think you want to tackle applying fake lashes, but you do WANT longer-looking eyelashes than you’re currently stuck with, try this – a lash-boosting serum. There are so many out there with many price points. Just remember, most of these take at least 4-6 weeks and consistent evening applications to see maximum impact growth.
Here are a few highly rated and reviewed options I’d suggest :
- Babe Lash Serum on Amazon, $39.
- WeWell Advanced Growth Serum on Amazon, $17.
- Revitalash Advanced Lash Conditioner Serum (3 month supply), $100.
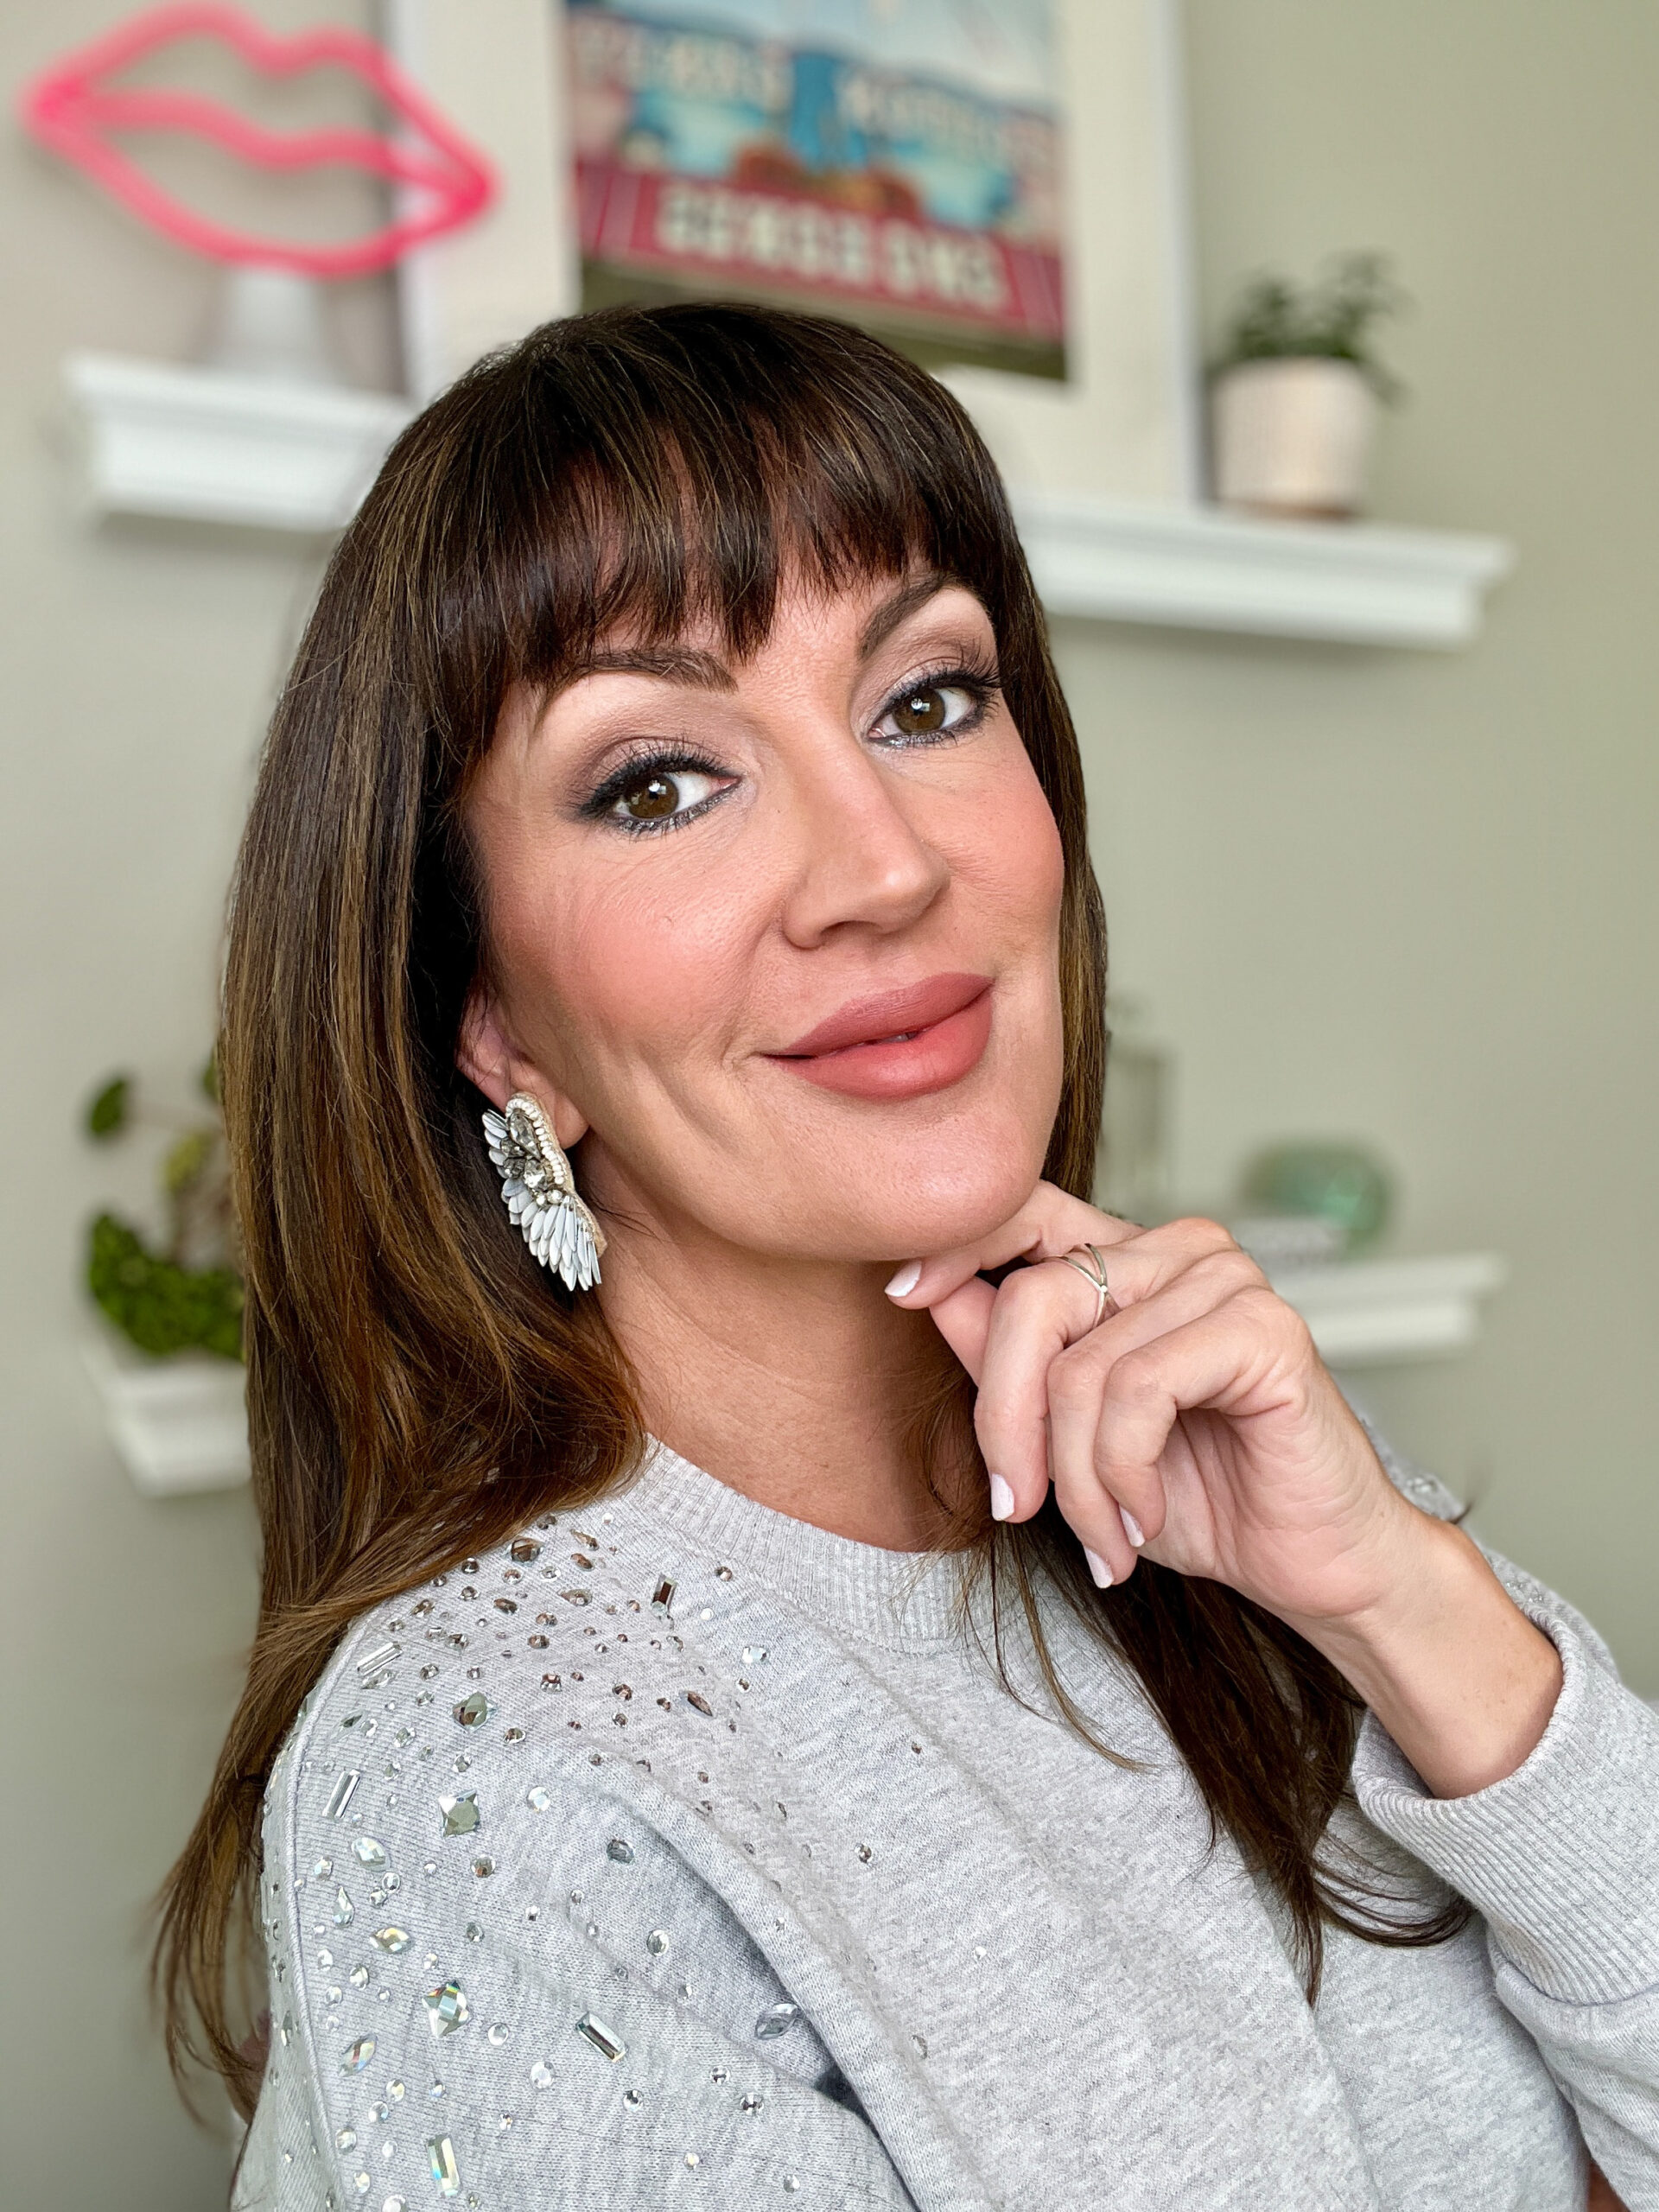
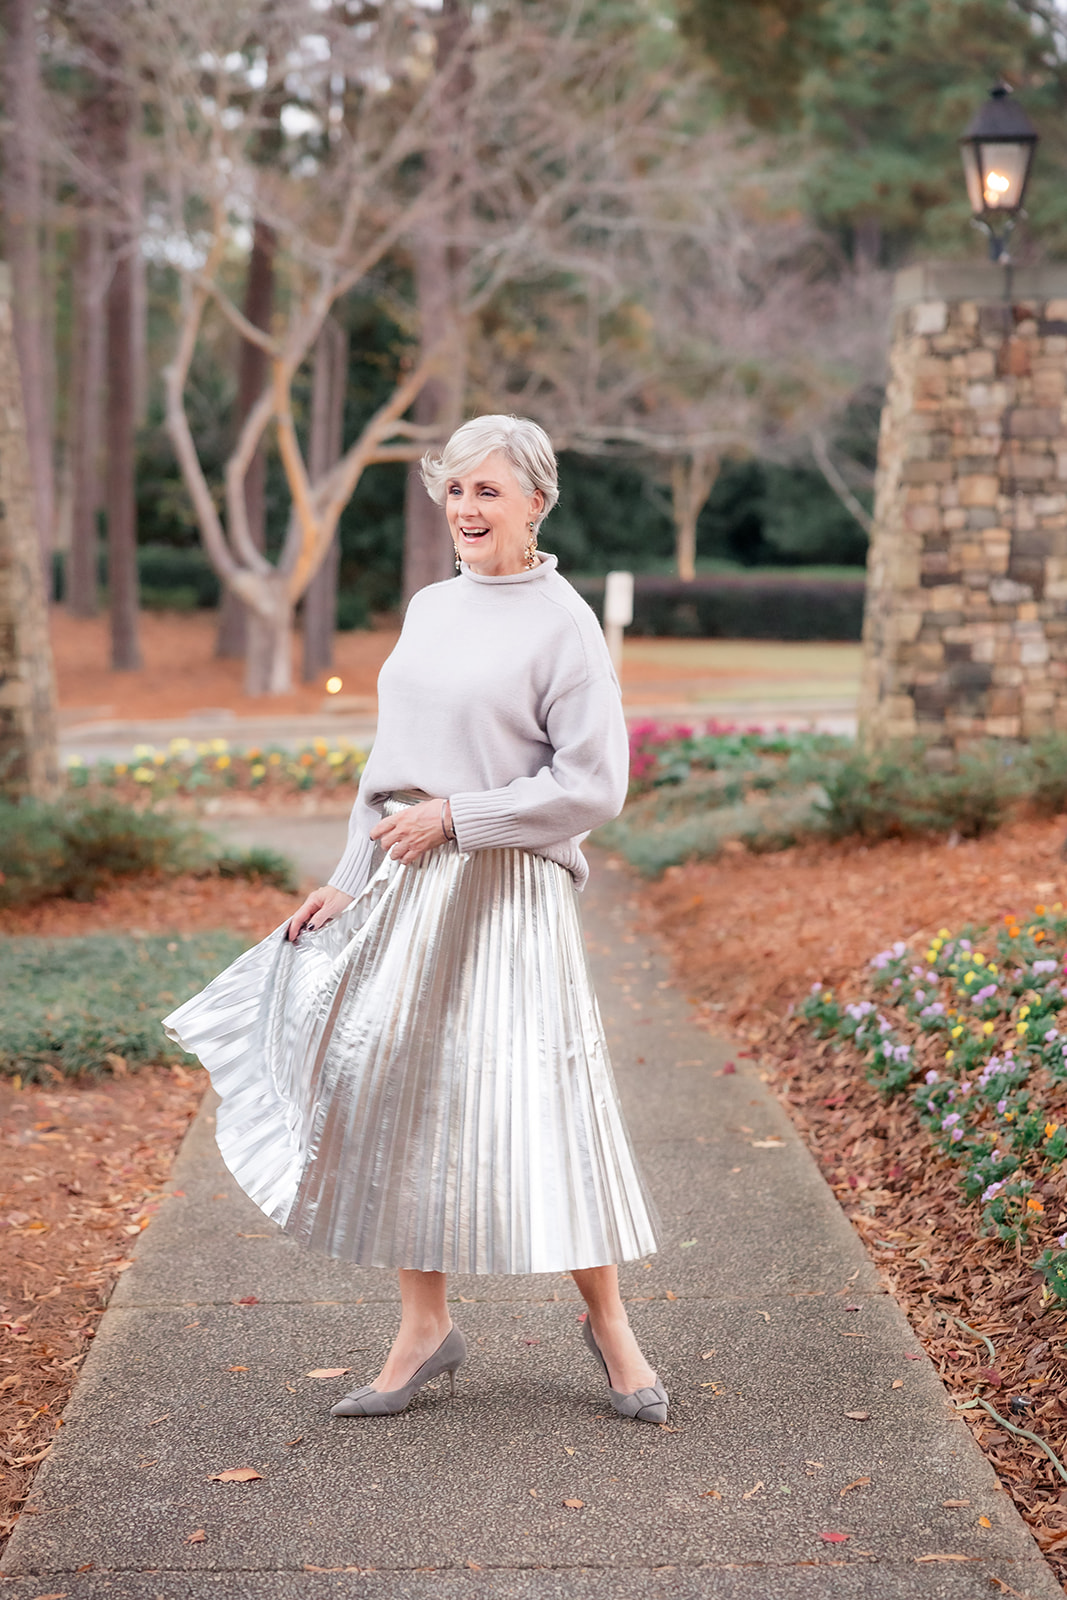
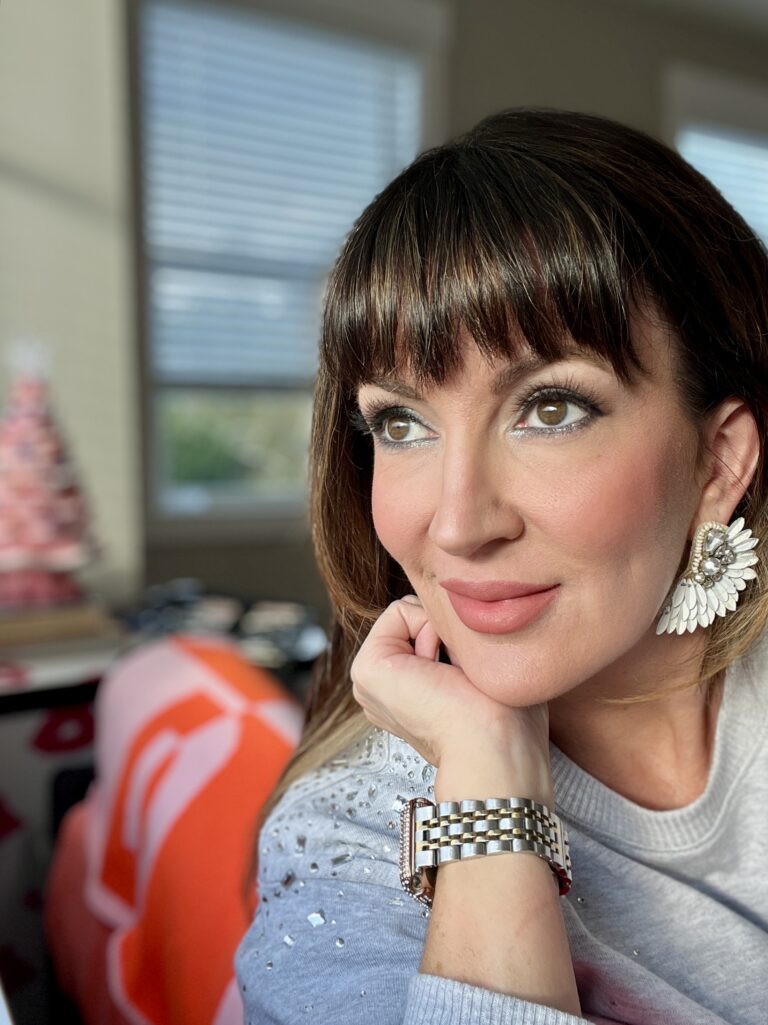
The rest of my outfit details: My lip color is the dupe version of the popular Charlotte Tilbury “Pillow Talk” – it’s Milani Color Fetish in “Secret,” $10, that I actually prefer over the Tilbury because it gives my lips a bit more depth of color. // My similar winged rhinestone earrings from Etsy, $15, that are similar to the original winged Mignonne Gavigan earrings, $117. // Having a bit of sparkle on a comfy sweater always works this festive season. Here are some similar gray sweaters with embellishments from Free People, $148, from Macys, $99, and the Loft, $89.
Shop the Post
If you still need some ideas for that person on your list who loves anything beauty-related, check out my post on Sephora’s Best Beauty Gift ideas – some are still in stock!
Follow these tips and tricks to apply false lashes with ease and enjoy the confidence boost that comes with fluttery, voluminous lashes no matter what your age is!







That’s a great post!!! I’ve always struggled with those eyelashes and have never been able to put them on correctly. Now I know and will try again!
Any thoughts on the magnetic ones? I’ve had no luck with those either…
I hope you try again and have more success! I have not liked any of the magnetics ones – I gave up after 3 differents styles/pairs. They clamp together too quickly bc of the magnets and I can never get them close enough to the lash line! Old school glue on strips are my favorites 🙂
I’ve been considering false eyelashes for awhile now but have been hesitant because I wasn’t sure of the right tools to use or how to get them off. So, thank you, Jennifer for doing this tutorial. I’ll be pinning it to my Beauty board for future reference. I feel more confident now to give them a try.
Yes do pin it so that you can come back to it for reminders! Give them a try – they’re so worth it and fun to wear once you get the hang of them. Good luck and let me know when you have success with them!
Thank you so much for the eyelashes tutorial. Over the years I have tried different lashes and spend 20 – 30 minutes messing around with them, not worth the bother……but with your info I will try again!
Barbara do try again!! Would love to hear if you have some newfound success with this information. Bc they sure are fun to wear once you figure it out!