I plucked most of my eyebrows out back in the 90’s when it was on trend to have skinny-barely-there-brows. After looking back at photos of myself from that time, I realize how aging that thin weak brows make the face appear. So, let’s correct that today with tips & tricks for faking fuller eyebrows.
So now, I spend all of my time trying to draw them BACK in!! Because a fuller brow is definitely a more youthful brow. All I have to do is take a look at my 12-year-old daughter who hasn’t touched her brows, and realize that those fluffy brows do give a softer vibe to the face than those pencil-thin ones I used to rock!
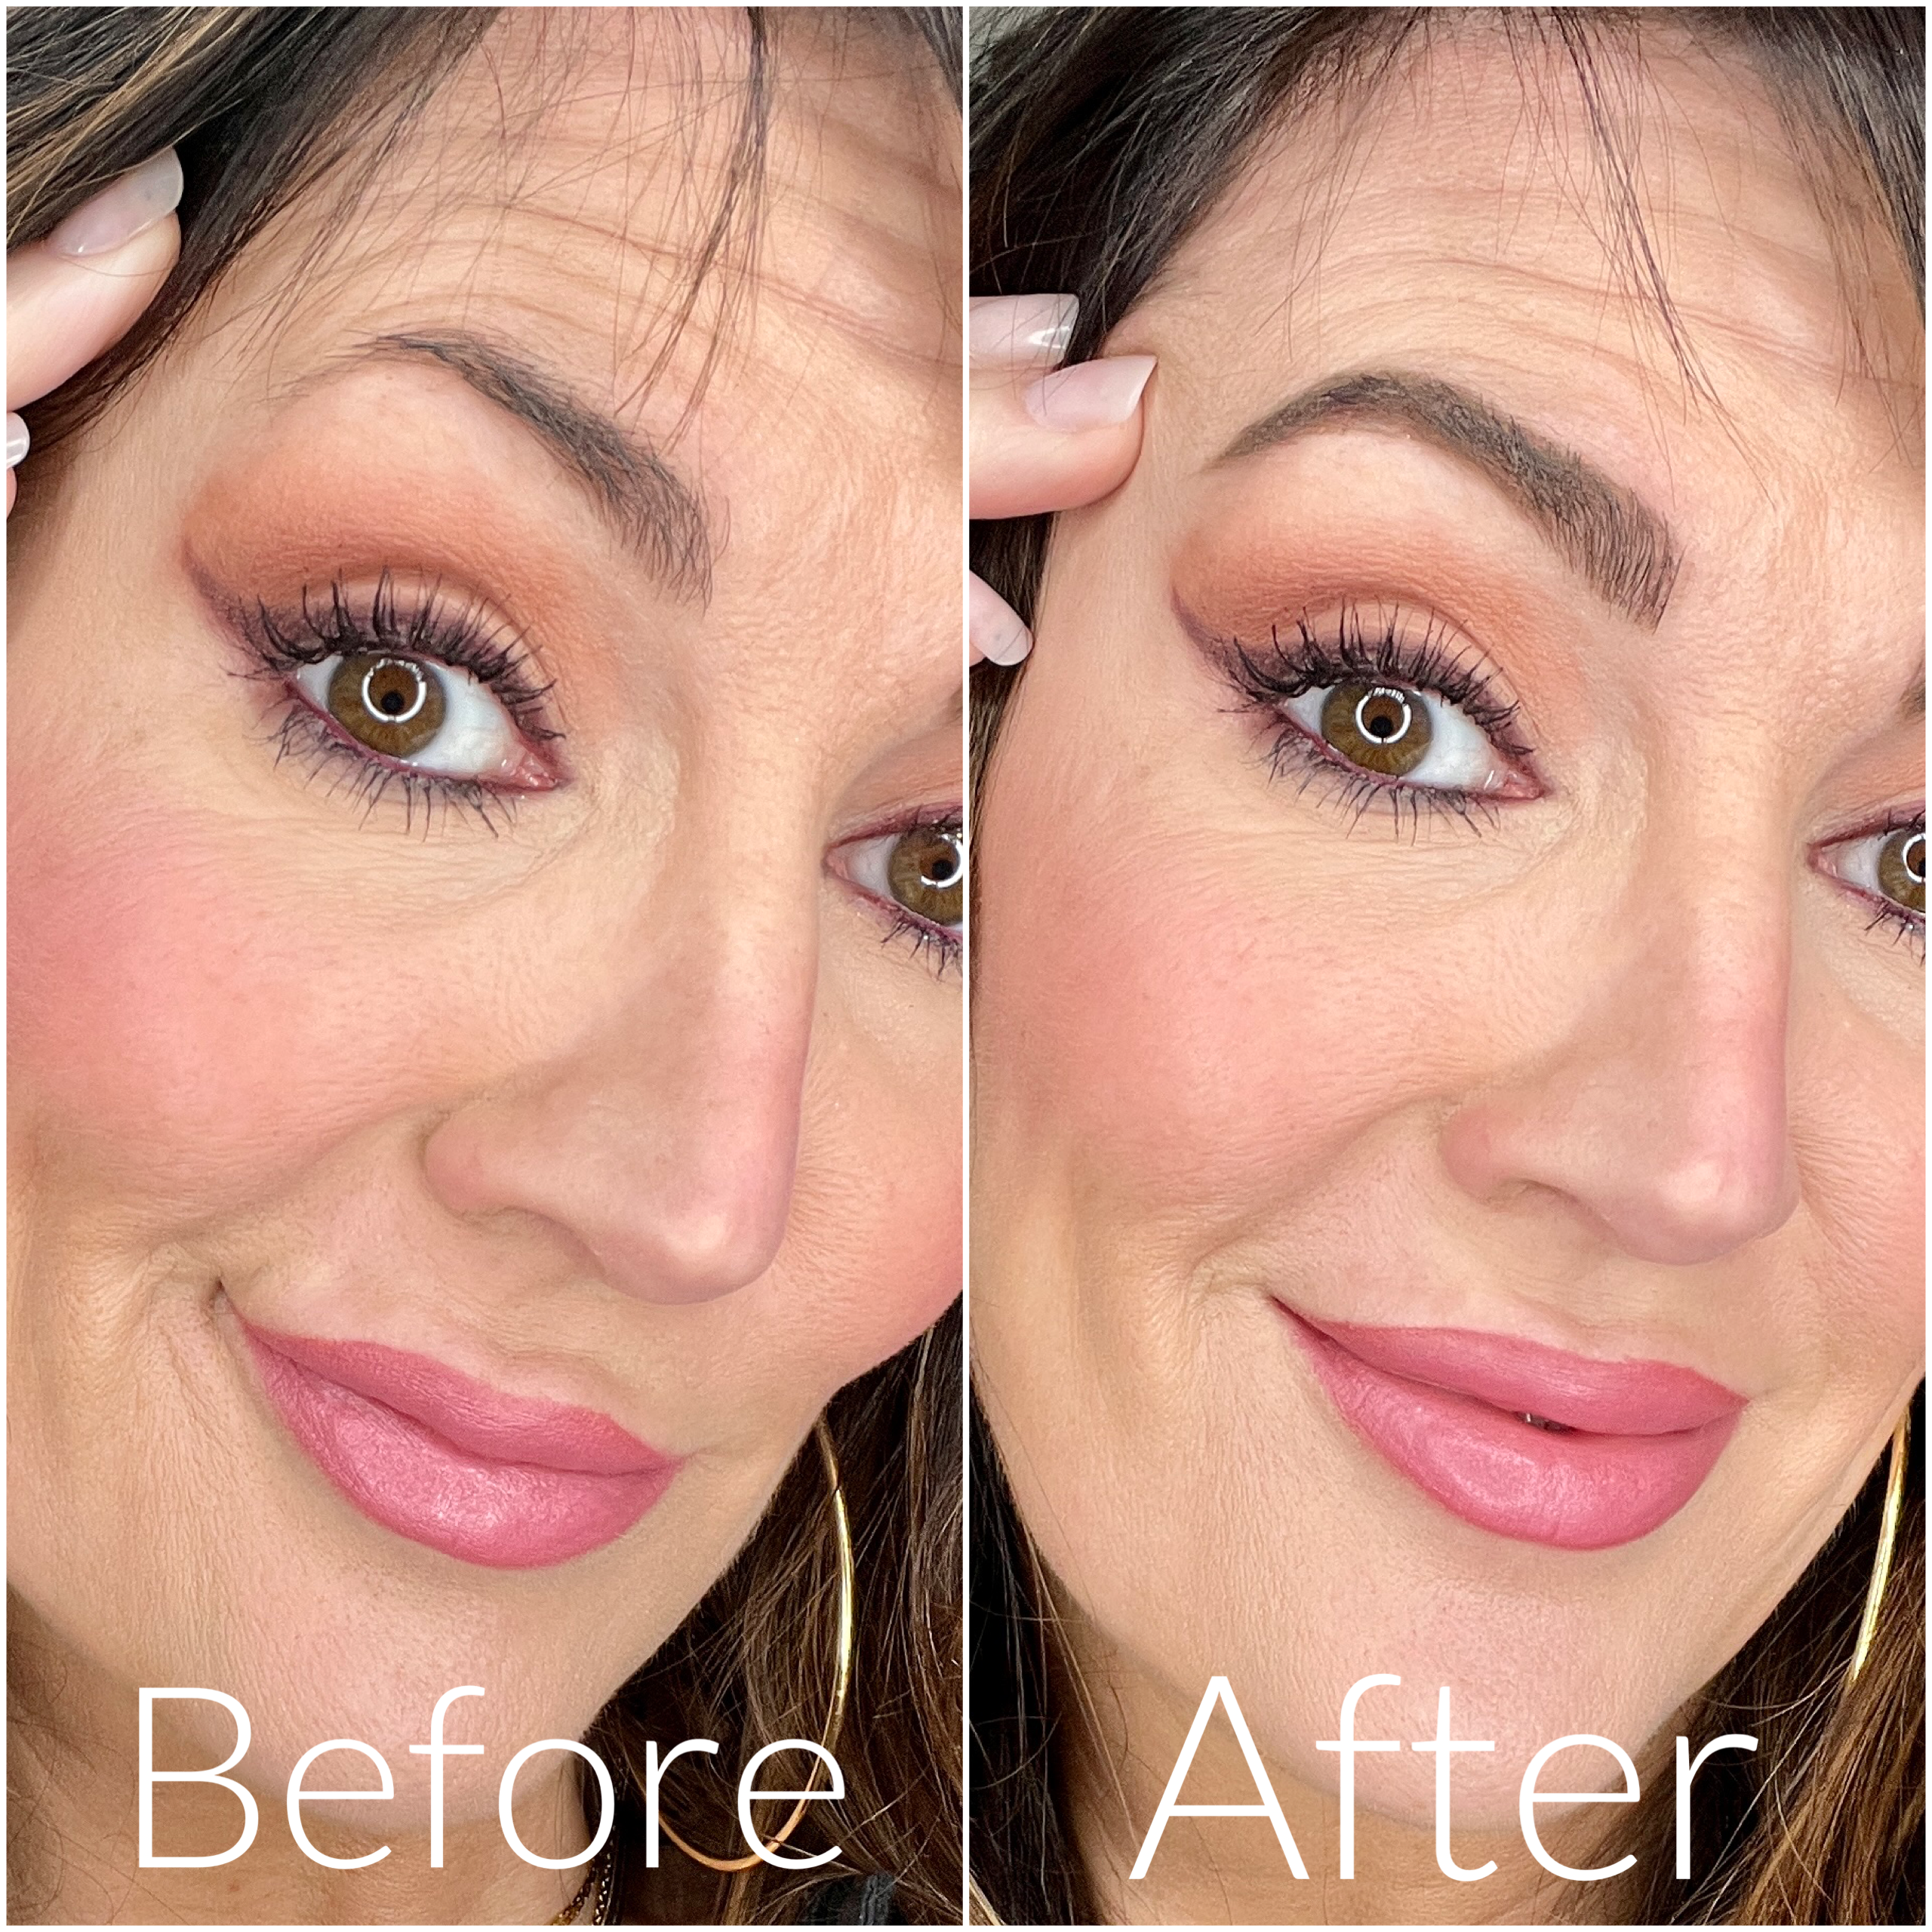
I truly believe in the saying that our eyebrows are “the framework of the face,” and so I take a lot of pride and effort into making mine look as neat and full as possible these days.
Is there a perfect brow shape for everyone? Not exactly, but there are a few guidelines that make for a universally flattering shape on our faces. Basically, you just want your brows to accentuate your beautiful face and frame your eye beds.
How to figure that out: Ideally if you place a pencil vertically straight up and down alongside your nostril, at the top of that pencil is where the brow should start. Then if you keep that pencil by the nostril but then push the top of the pencil over towards the end of your eyeball, that is where the tail of your eyebrow should land. So if you need to pluck or fill in to reach these starting and stopping points, that gives you your basic guideline.
Also, most brows look best if they are slightly fuller in the front of the brow (near the nose) but then as you go towards the end, it should taper off and get thinner, like a tail!
In today’s post, I am going to share with you a few tried and true techniques that I use on all of my clients and even myself to help fill back in brows that have disappeared or thinned out with age.
Keep reading to find out some of my genius ways to get the best brows of your life with methods to try, my favorite brow products, and more!
TL;DR
Today, Jennifer is giving us tips & tricks for faking fuller eyebrows
Jennifer is sharing product suggestions and a 7 step tutorial for faking fuller eyebrows
All of Jennifer’s product suggestions are shoppable inline
Tips & Tricks For Faking Fuller Eyebrows
What You’ll Need
- A Brow Growth Serum
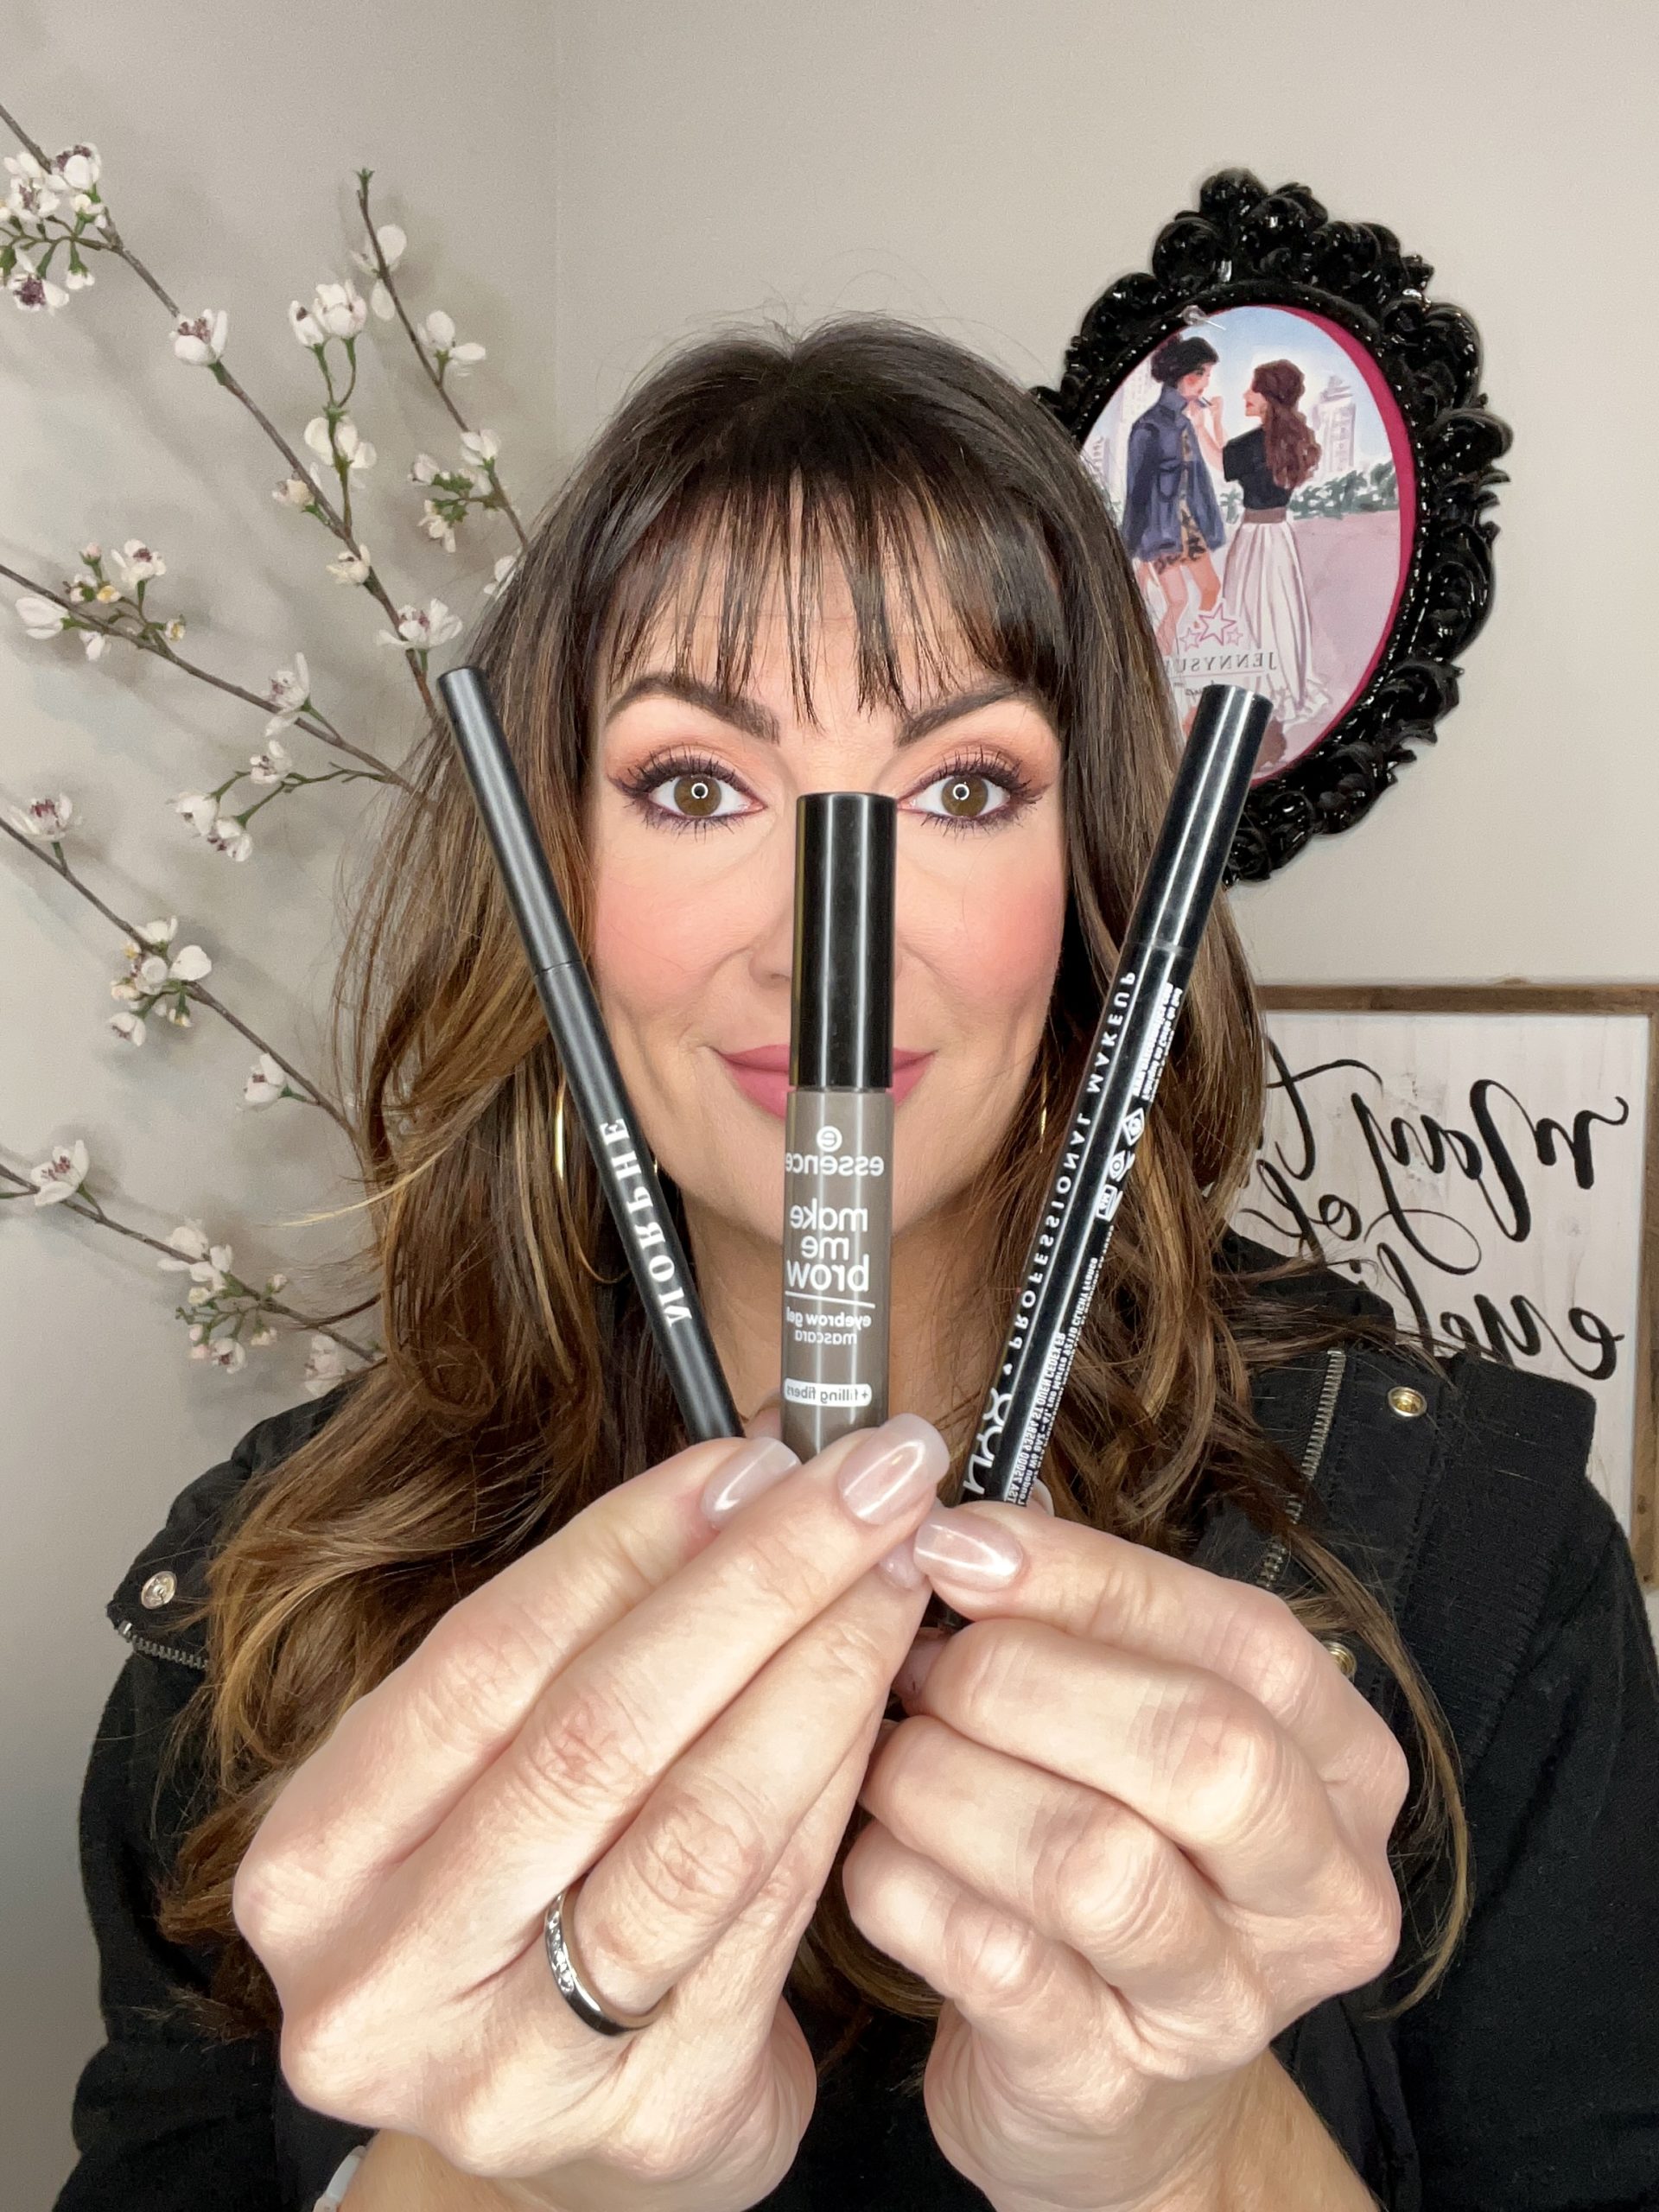
- A Brow Pencil (in a color that matches or is a shade lighter than your natural brow hair color)
- A Brow Pen (in a color that is a bit darker than your brow pencil choice, I’ll explain later why)
- Brow Gel or Mascara (you can choose a tinted or clear depending on preference)
- Qtips
1. Try a Brow Growth Serum
The first solution for getting a fuller brow naturally is to add a growth serum to your beauty routine. But this has to be applied consistently in the evening and mornings to see results in hair growth. I have used NeuBROW, $85, in the past and I definitely saw a difference in hair growth.
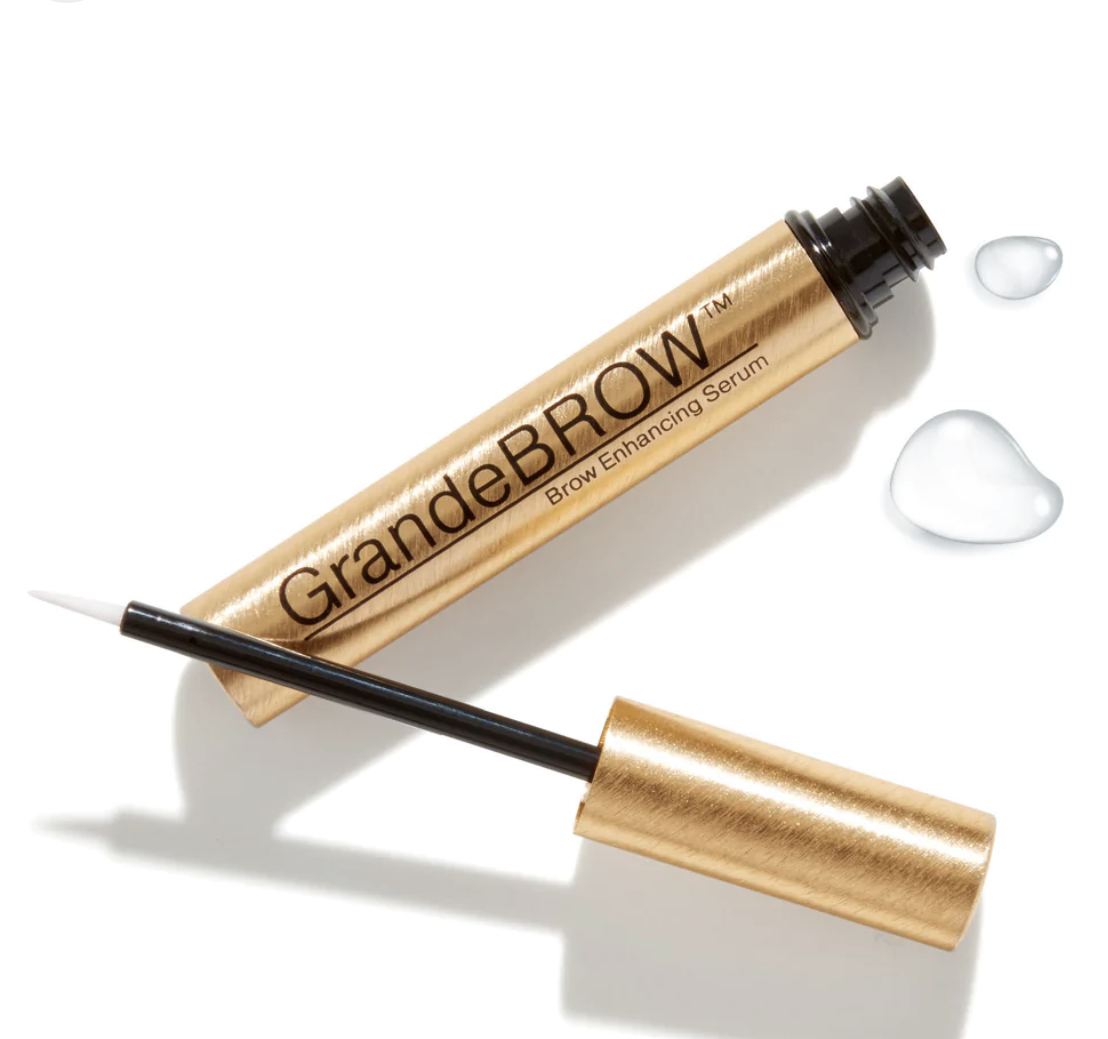
I’m about to try out the GrandeBrow Brow enhancing serum , $73, and it’s in my cart because it gets rave reviews all over the internet and I can’t ignore that I find it on the best seller list on so many beauty websites!
Now for the fill in technique, and grab your brow pencil of choice.
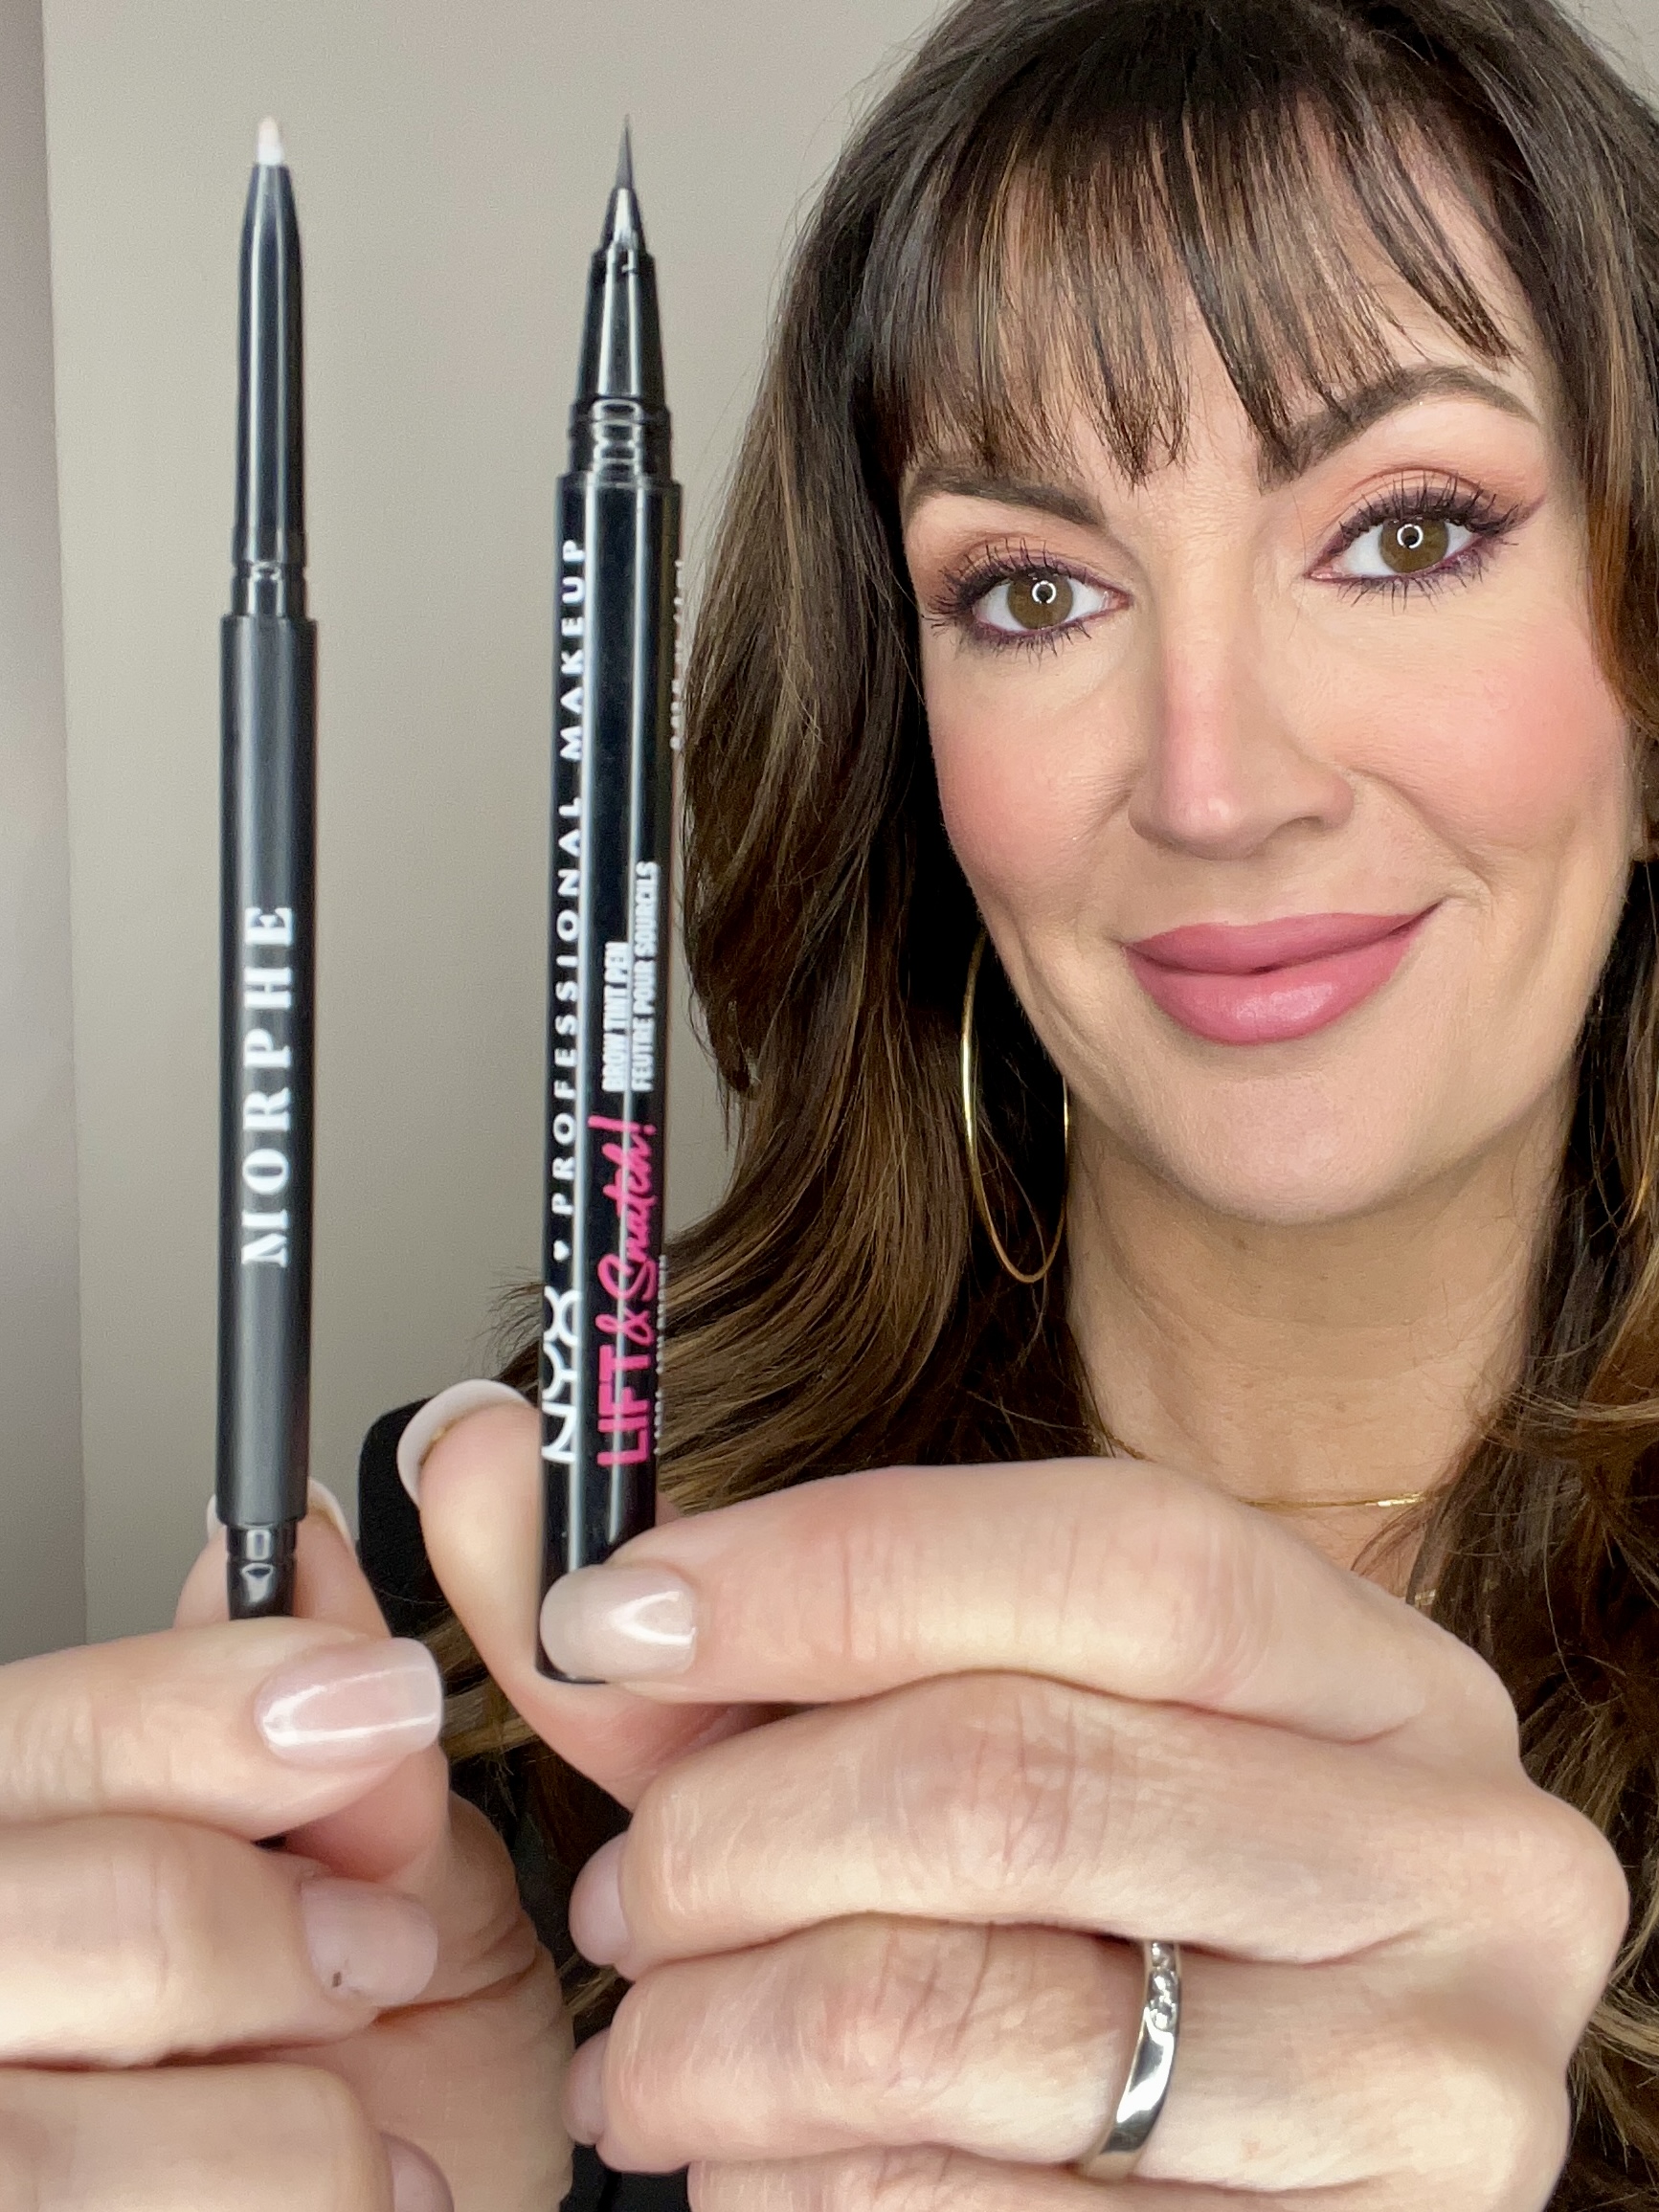
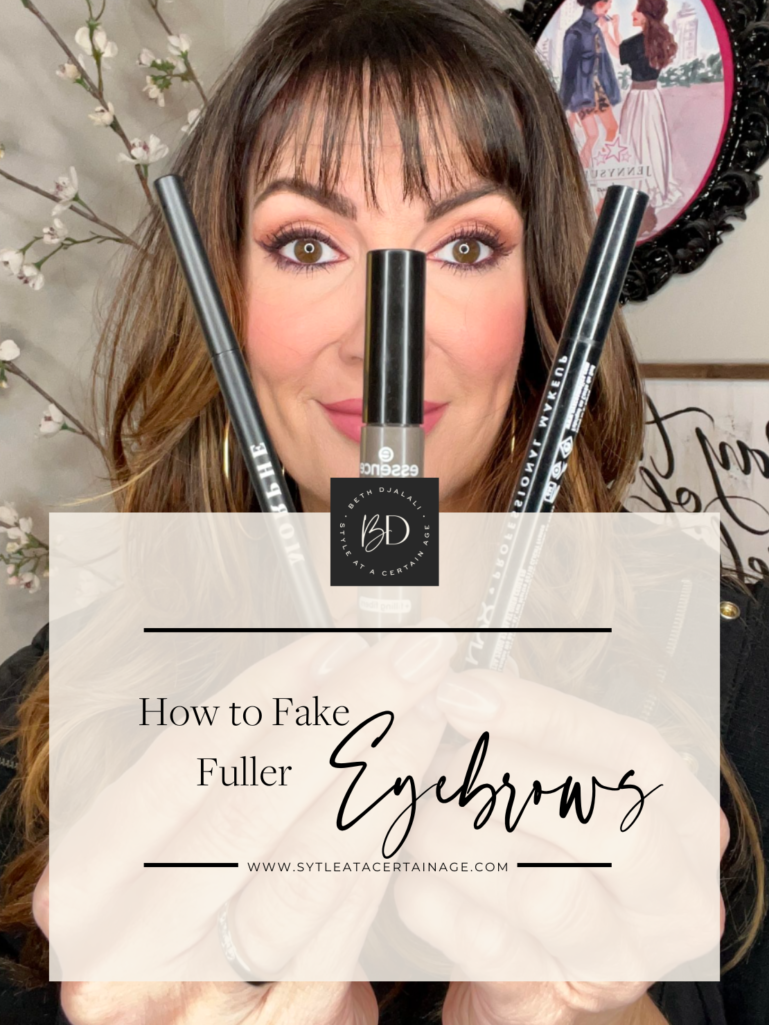
My go-to is the Morphe Dual End Mirco Brow pencils, $7, because they are literally the best. They are inexpensive, include a spoolie, and have great shade choices. It’s an absolute dupe for the Anastasia Beverly Hills Brow Wiz pencil that retails for over $20 for the same-ounce size.
Morphe does not offer a gray shade though, so if you need an actual gray pencil, try the one from NYX Micro Brow Pencil, $11, also another great affordable pencil.
I used the shade “Latte” from Morphe in this tutorial, which is a tad lighter than my actual hairs on my brows.
Pro Tip: Your brows are always going to look more realistic if you work with shades that are lighter as opposed to way too dark. And watch out for shades that lean too orange – a cooler ashier shade will usually look more realistic.
2. Brush Your Eyebrow Hairs Down
Start by brushing your eyebrow hairs DOWN. I know it seems strange, but hear me out. You want to expose the roots from the top of the brow, and then start connecting those roots with short horizontal light strokes to create a line-like stencil along the top. This gives a more lifted vibe to the eye instead of starting underneath the brows and filling in there which closes up the eye bed.
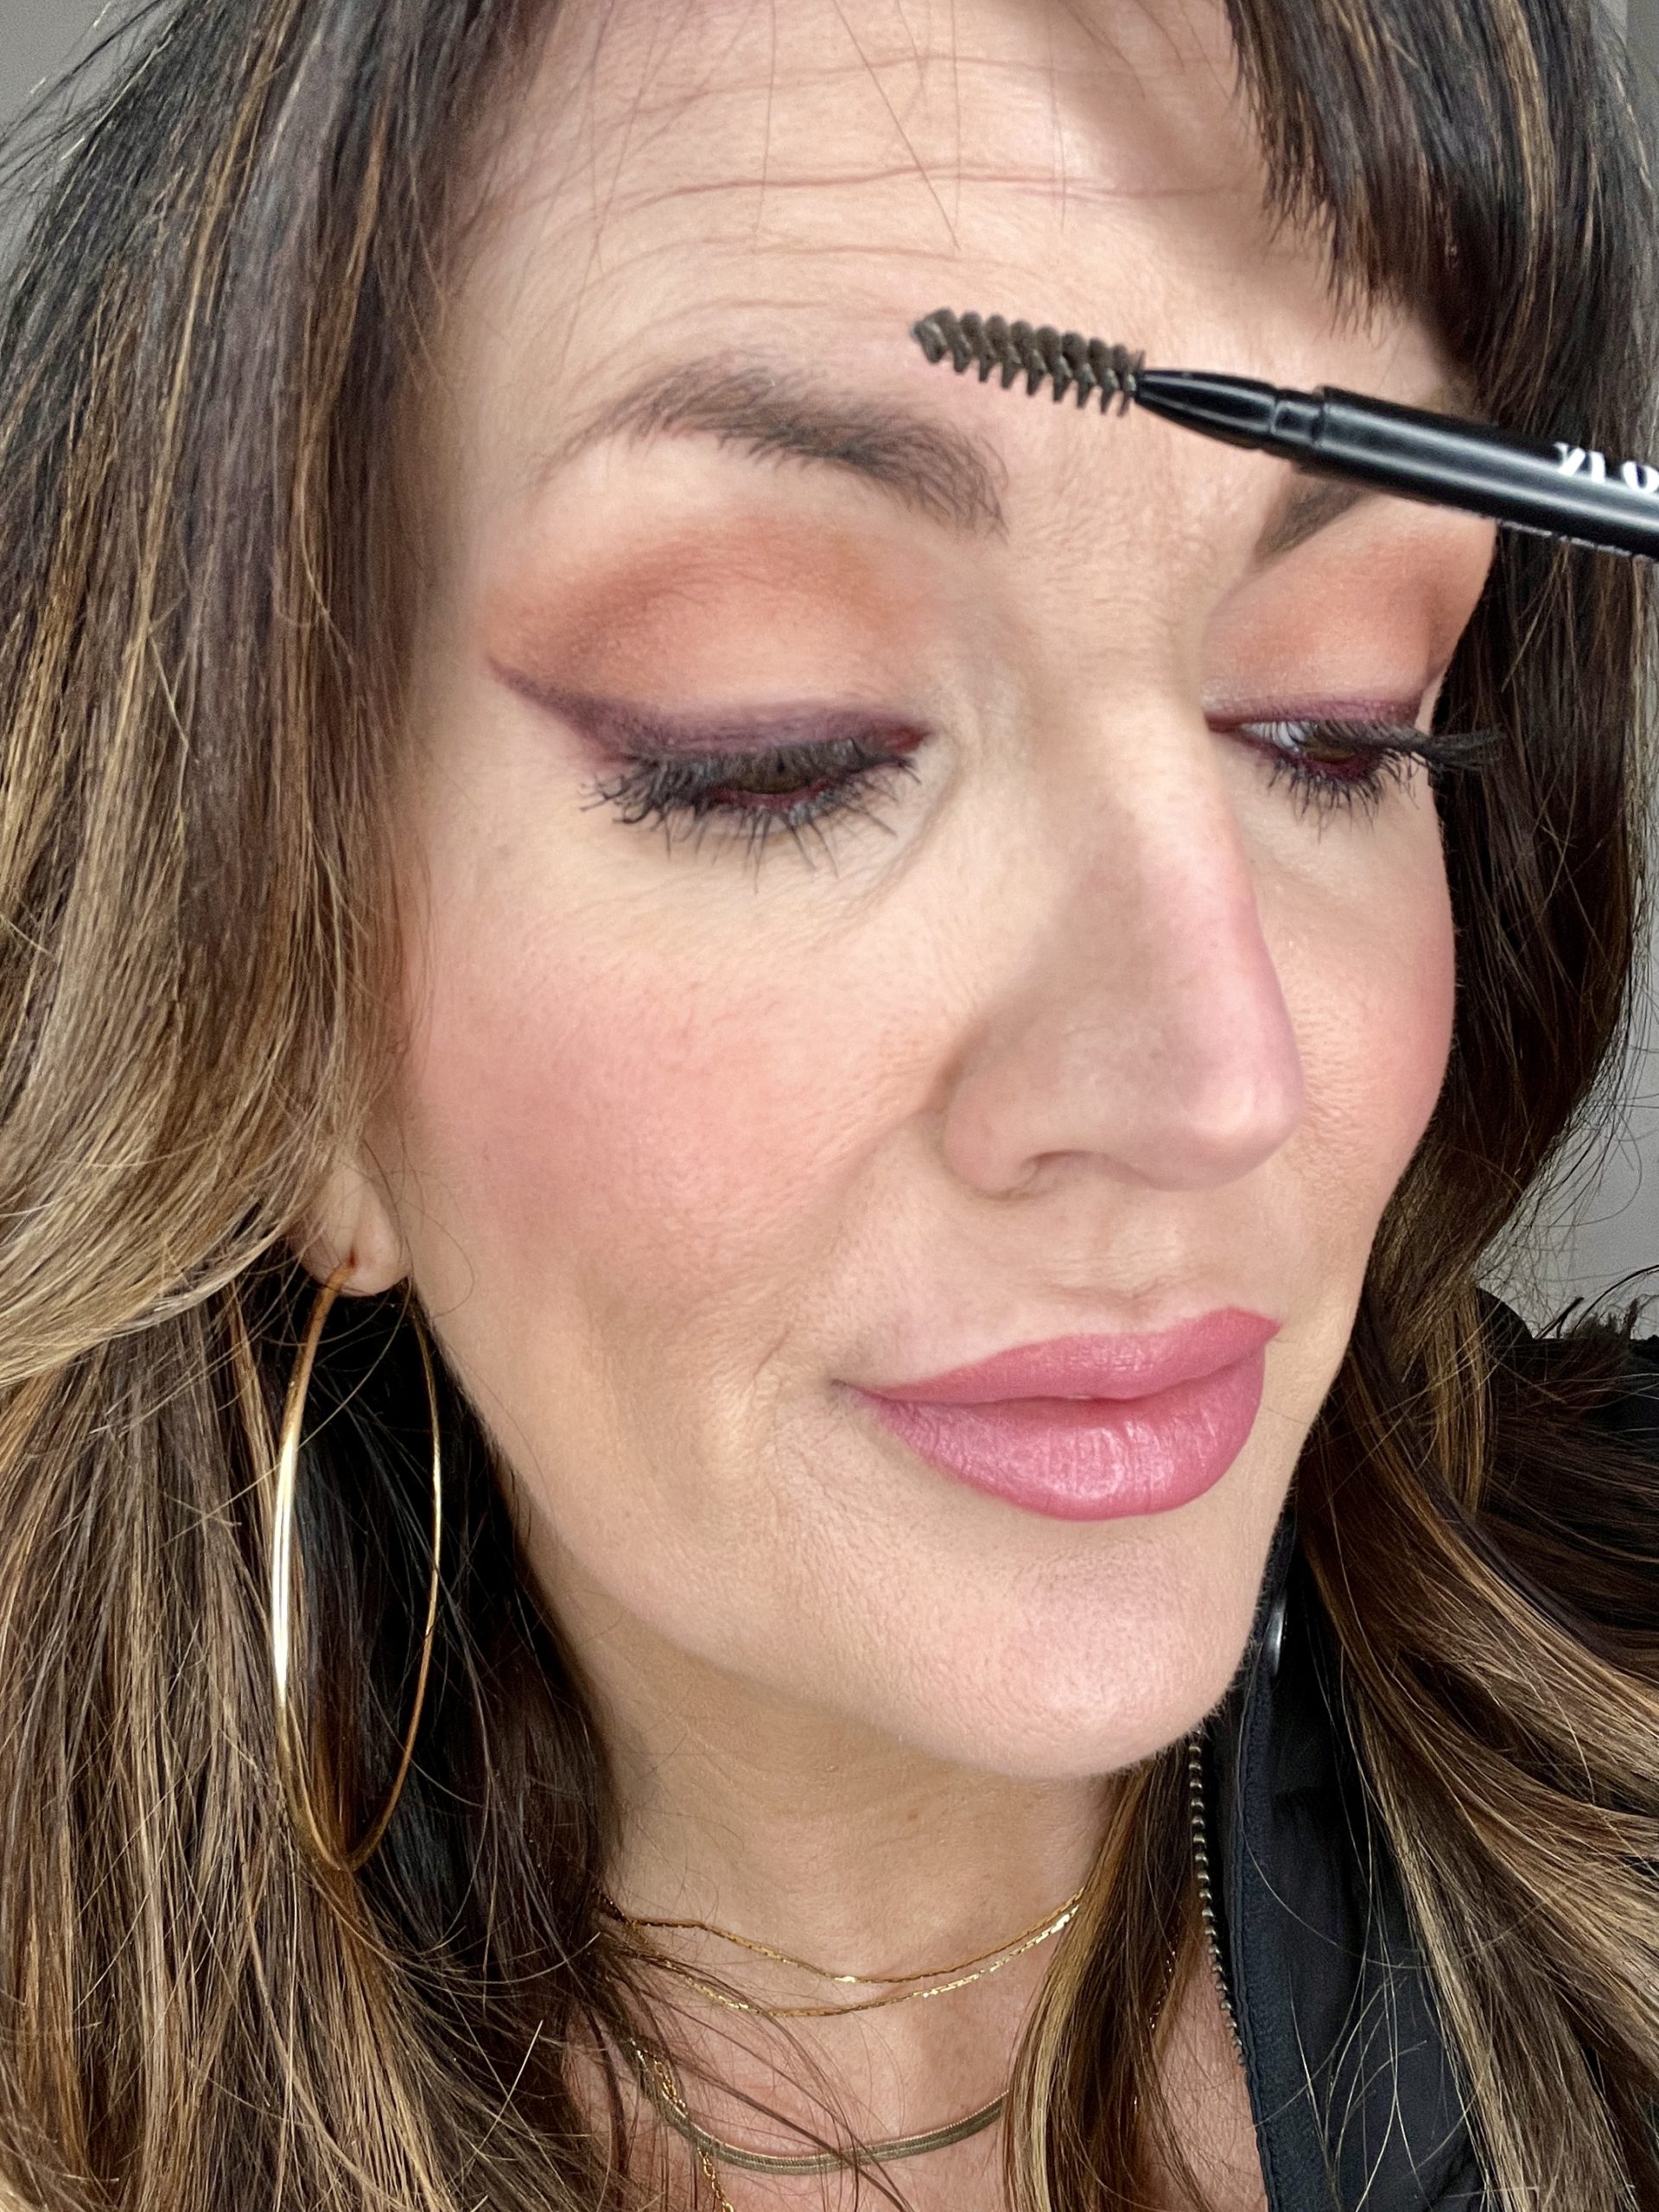
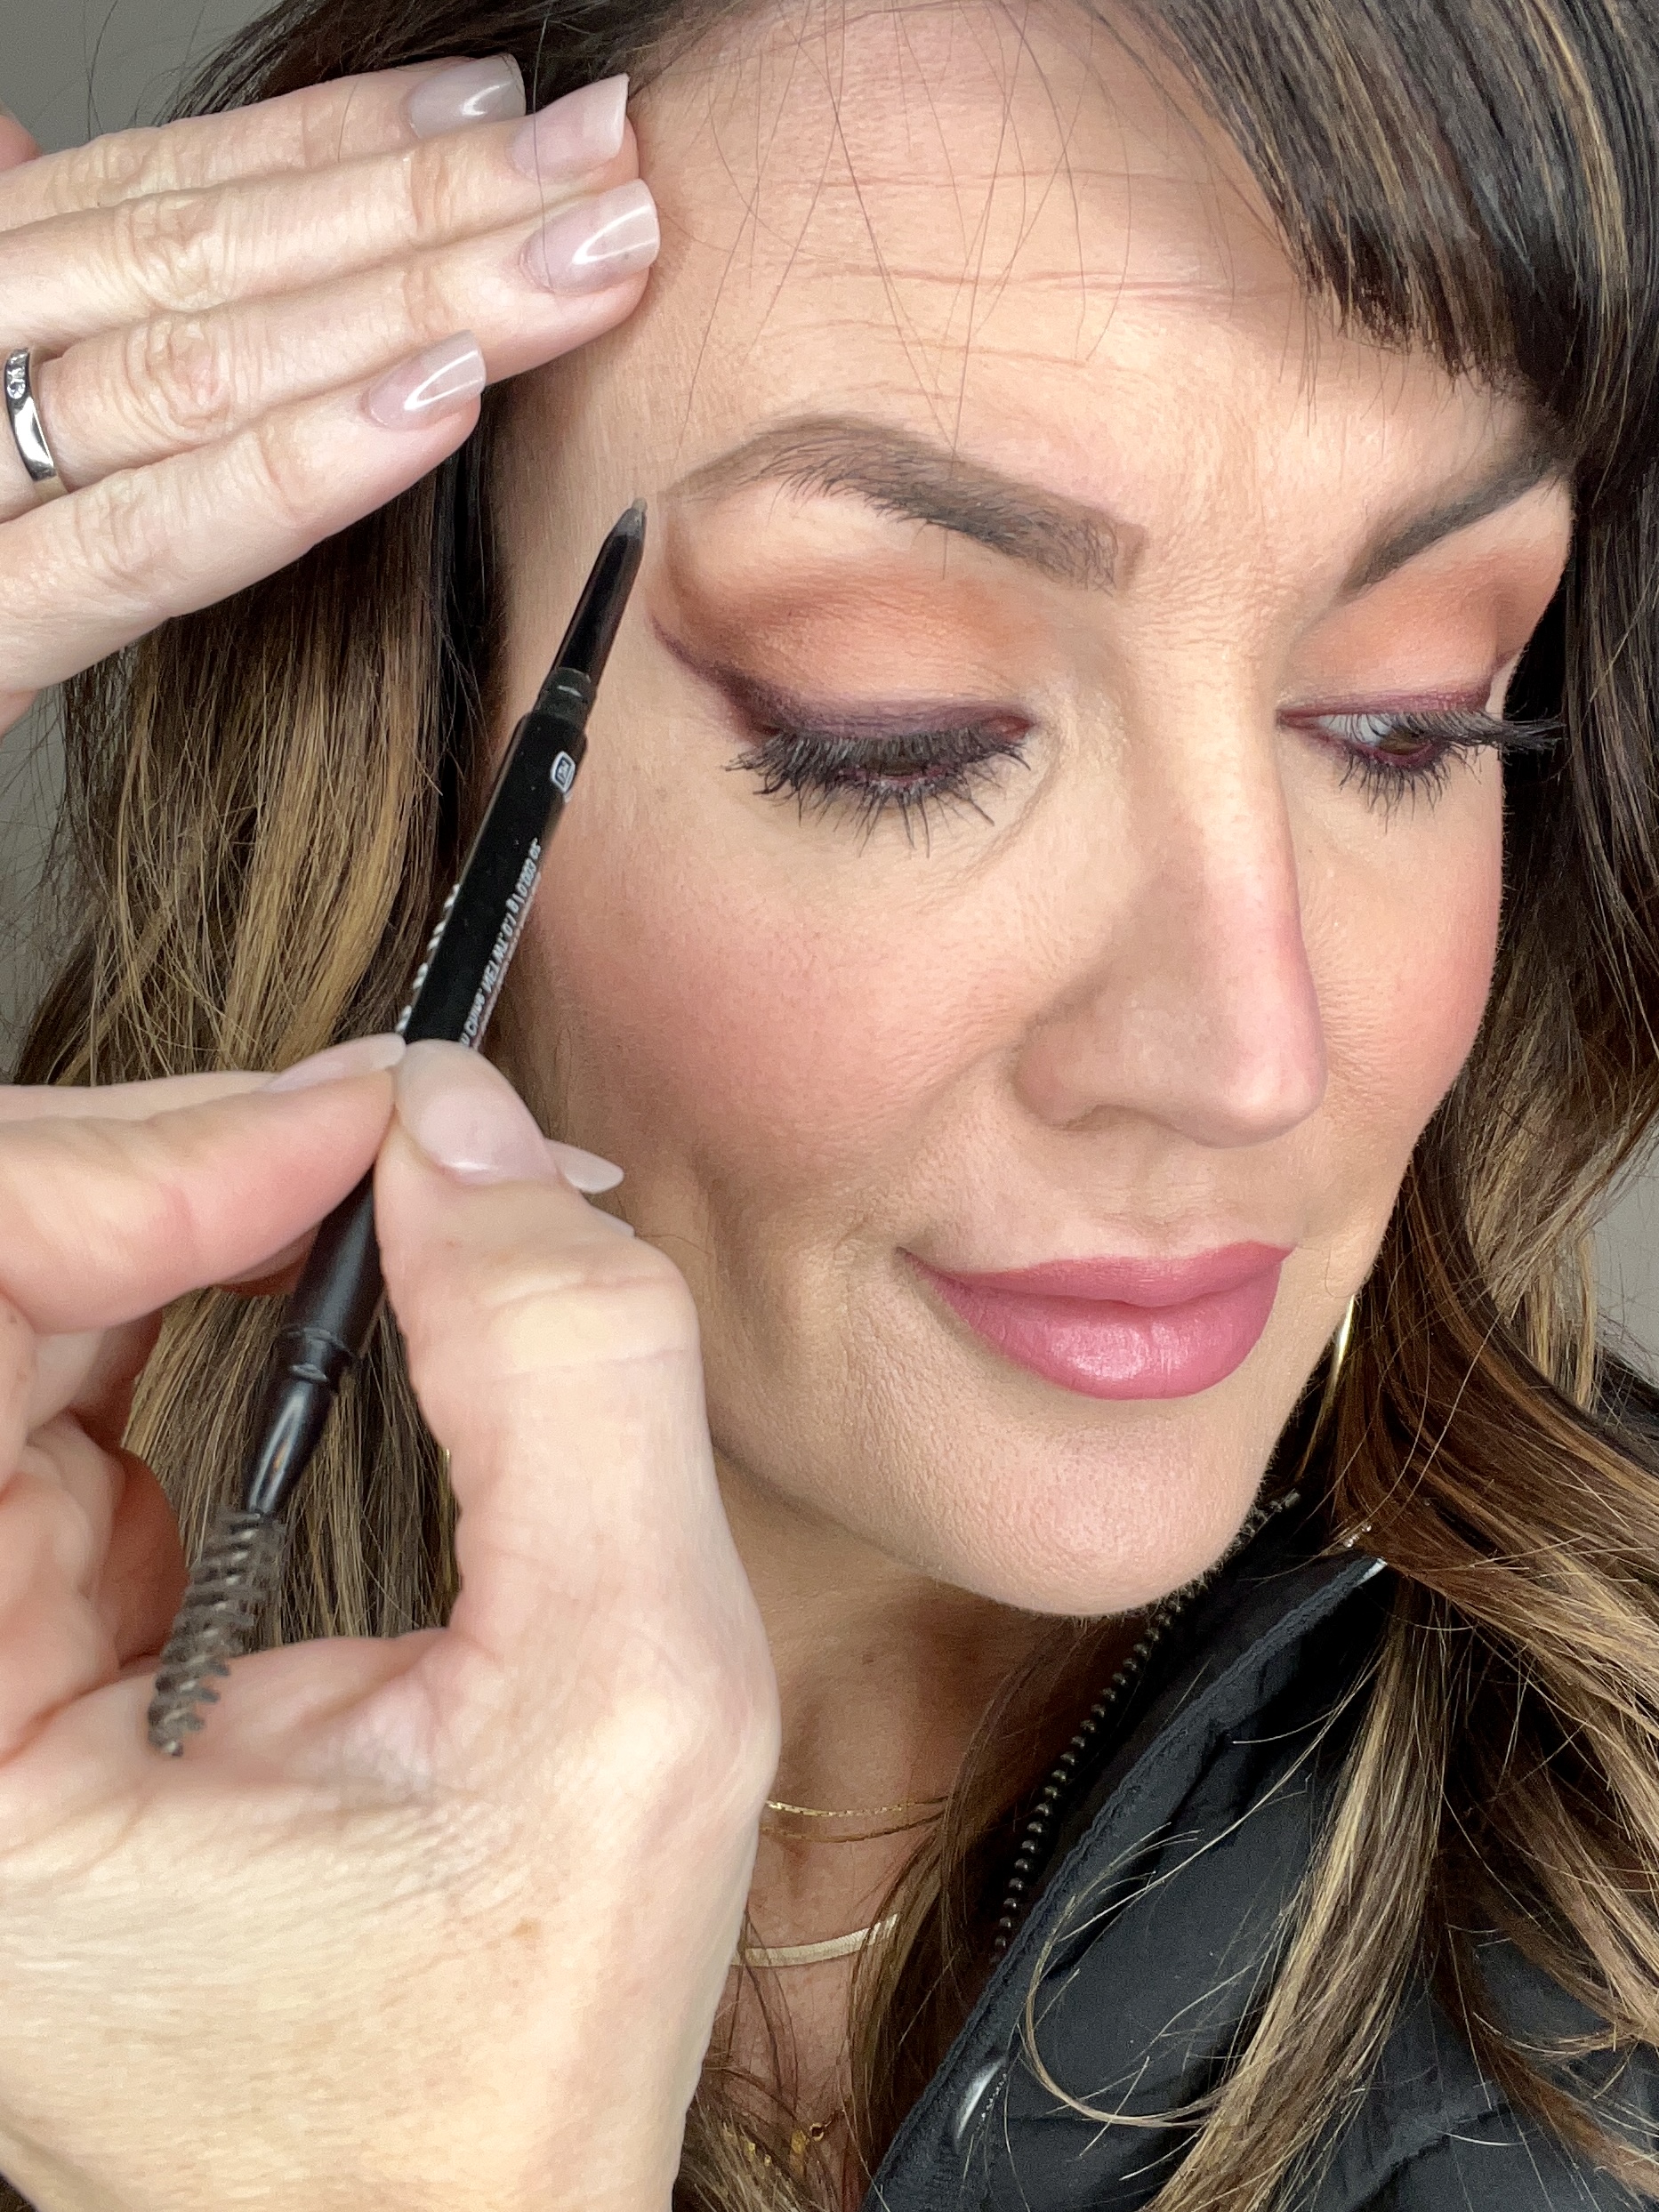
Remember to pay attention to the arch at the top of the brow and focus on emphasizing it’s shape here in an upside down V shape. I also like to square off the beginning side of the brows near the nose with a straight line.
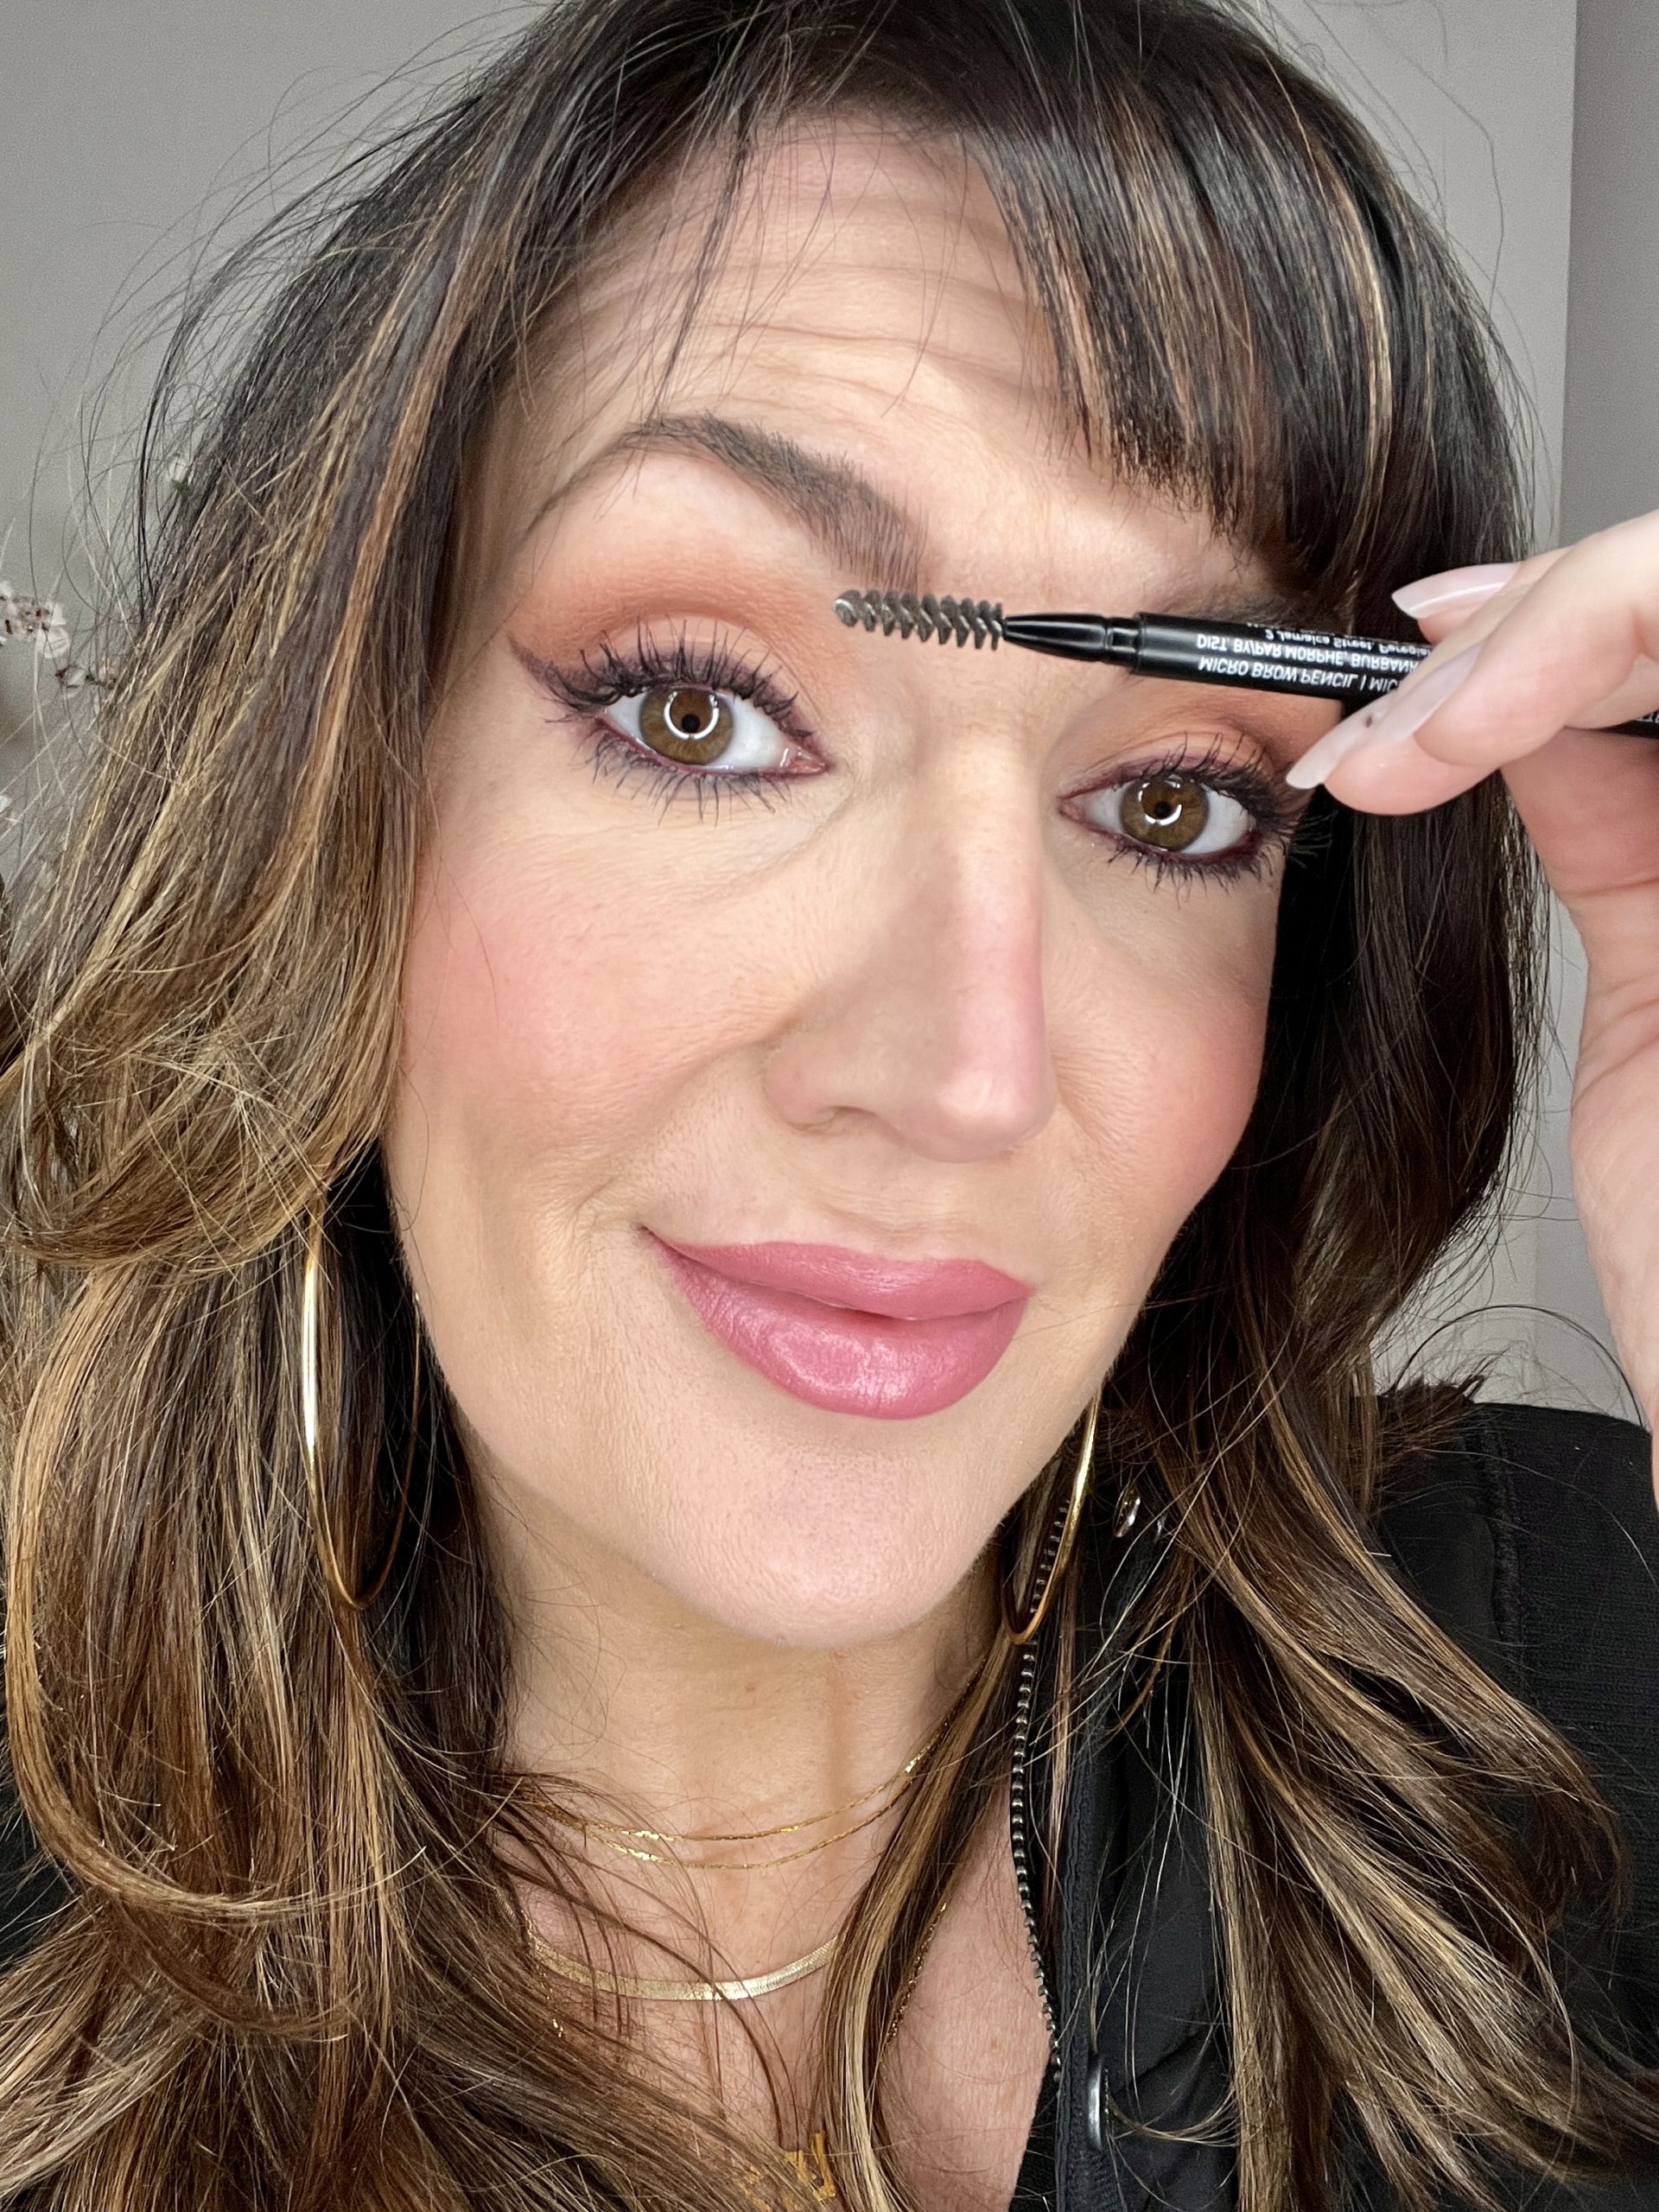
3. Brush Your Eyebrow Hairs Upwards
Now brush those hairs back upward with your spoolie into their natural position. You should notice a nice clean shape is already starting to form along the top of your brows from this initial stencil created.

4. Make Short Hair Strokes
Using the same brow pencil, start creating short brush-like hair strokes in an up and down fashion starting from the underneath side of your brows. Focus mainly on the areas of your brows that are very sparse and you can see lots of skin showing through and fill in appropriately.
5. Switch To Your Brown Pen
Switch to your brow pen. I love love the NYX Lift + Snatch Brow Pen in shade “Ash Brown,” $12. The reason I use a pencil and a pen together, is to create the most realistic brows bc it gives a multi-dimensional feel to the brows unlike one product can. Our hairs on our head are not one flat color, nor should the hairs on your brows be!
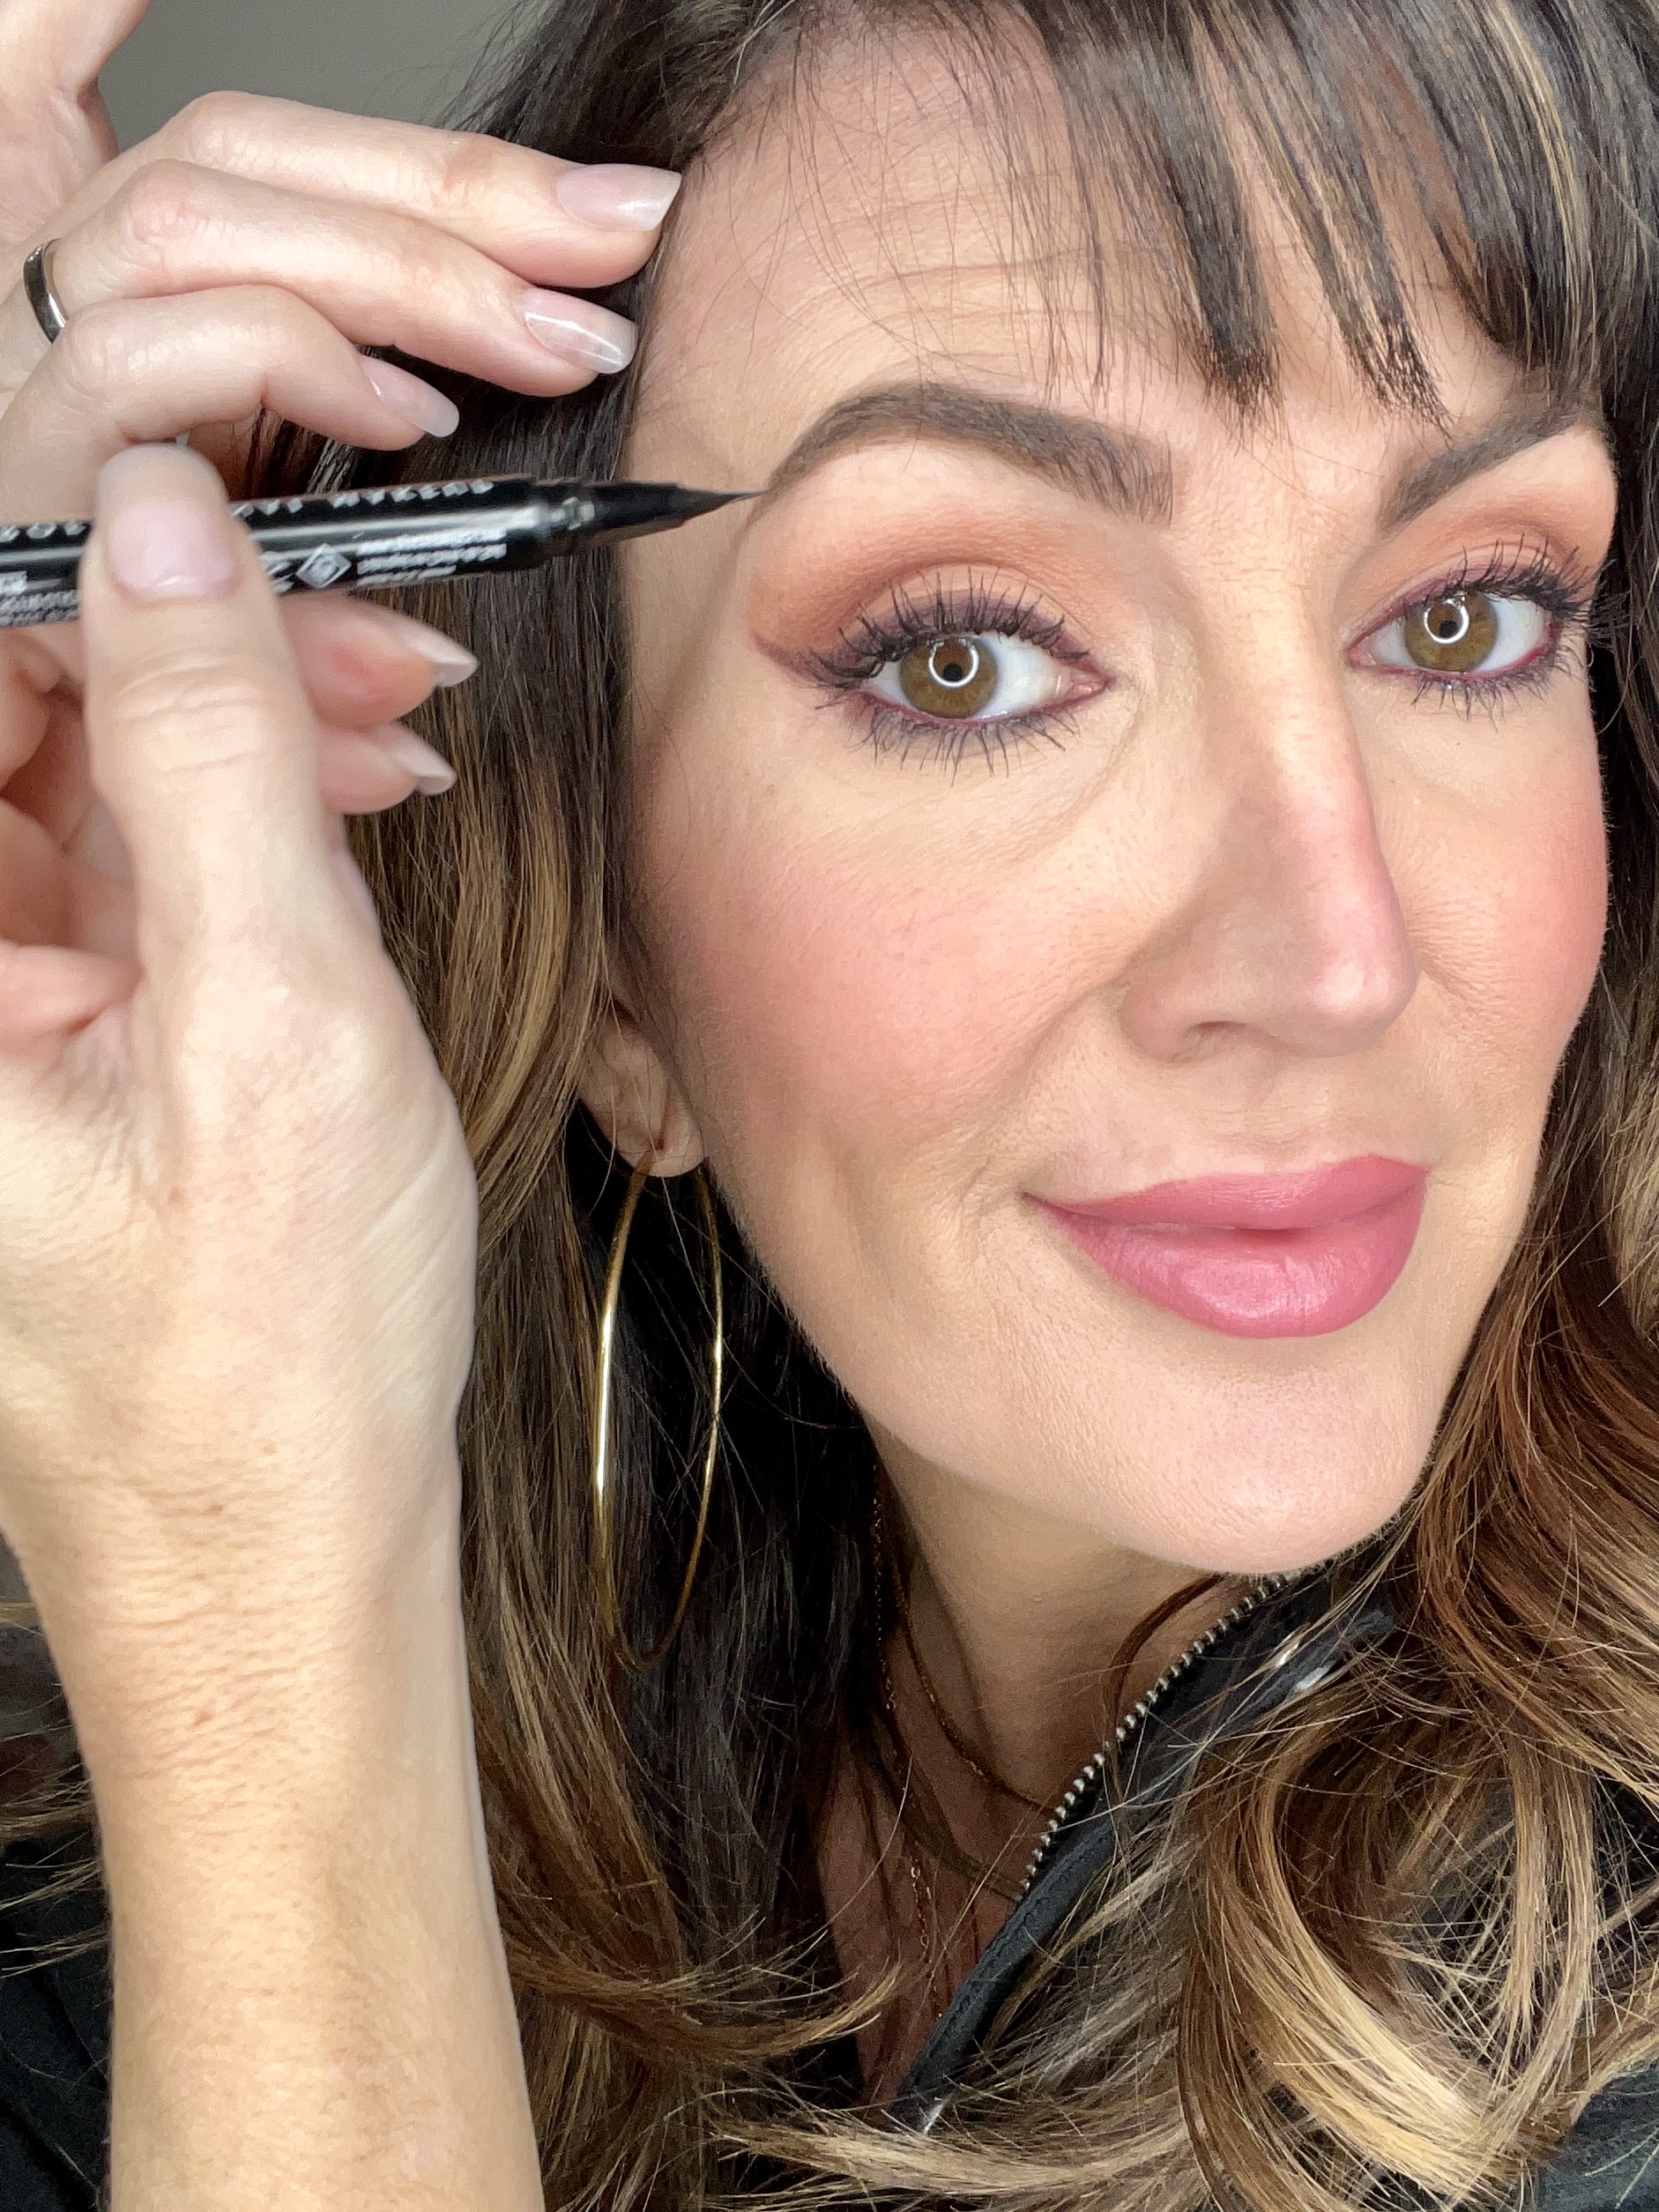
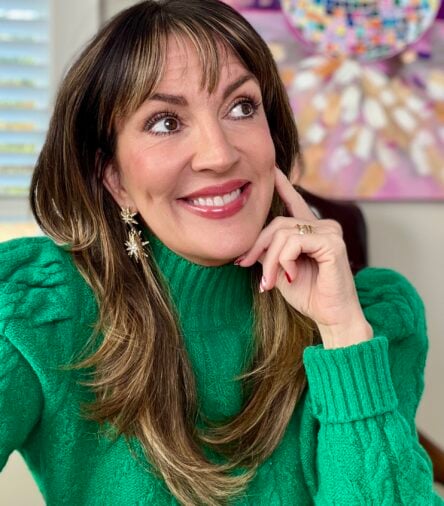
These pens are really useful if you literally have no hair on your face because the pen sinks into the skin very easily and can draw the skinniest of hairs. I use the pen sparingly to draw in a few hair like strokes in between the pencil strokes and love the finish it gives. Look at the image above to see how it really pulls the look together and how full they seem!
6. Use Gel Brow Mascara
Set those brows with your gel brow mascara. This is the finishing touch that helps to hold all of that hard work in place! This Essence Make Me Brow Gel mascara , $4, I am using in shade Browny Brows, has a tint and tiny fibers that add even more volume to barely there brows. The very small brush makes it easy to apply exactly where you need it and not get brow stuff all over your face!
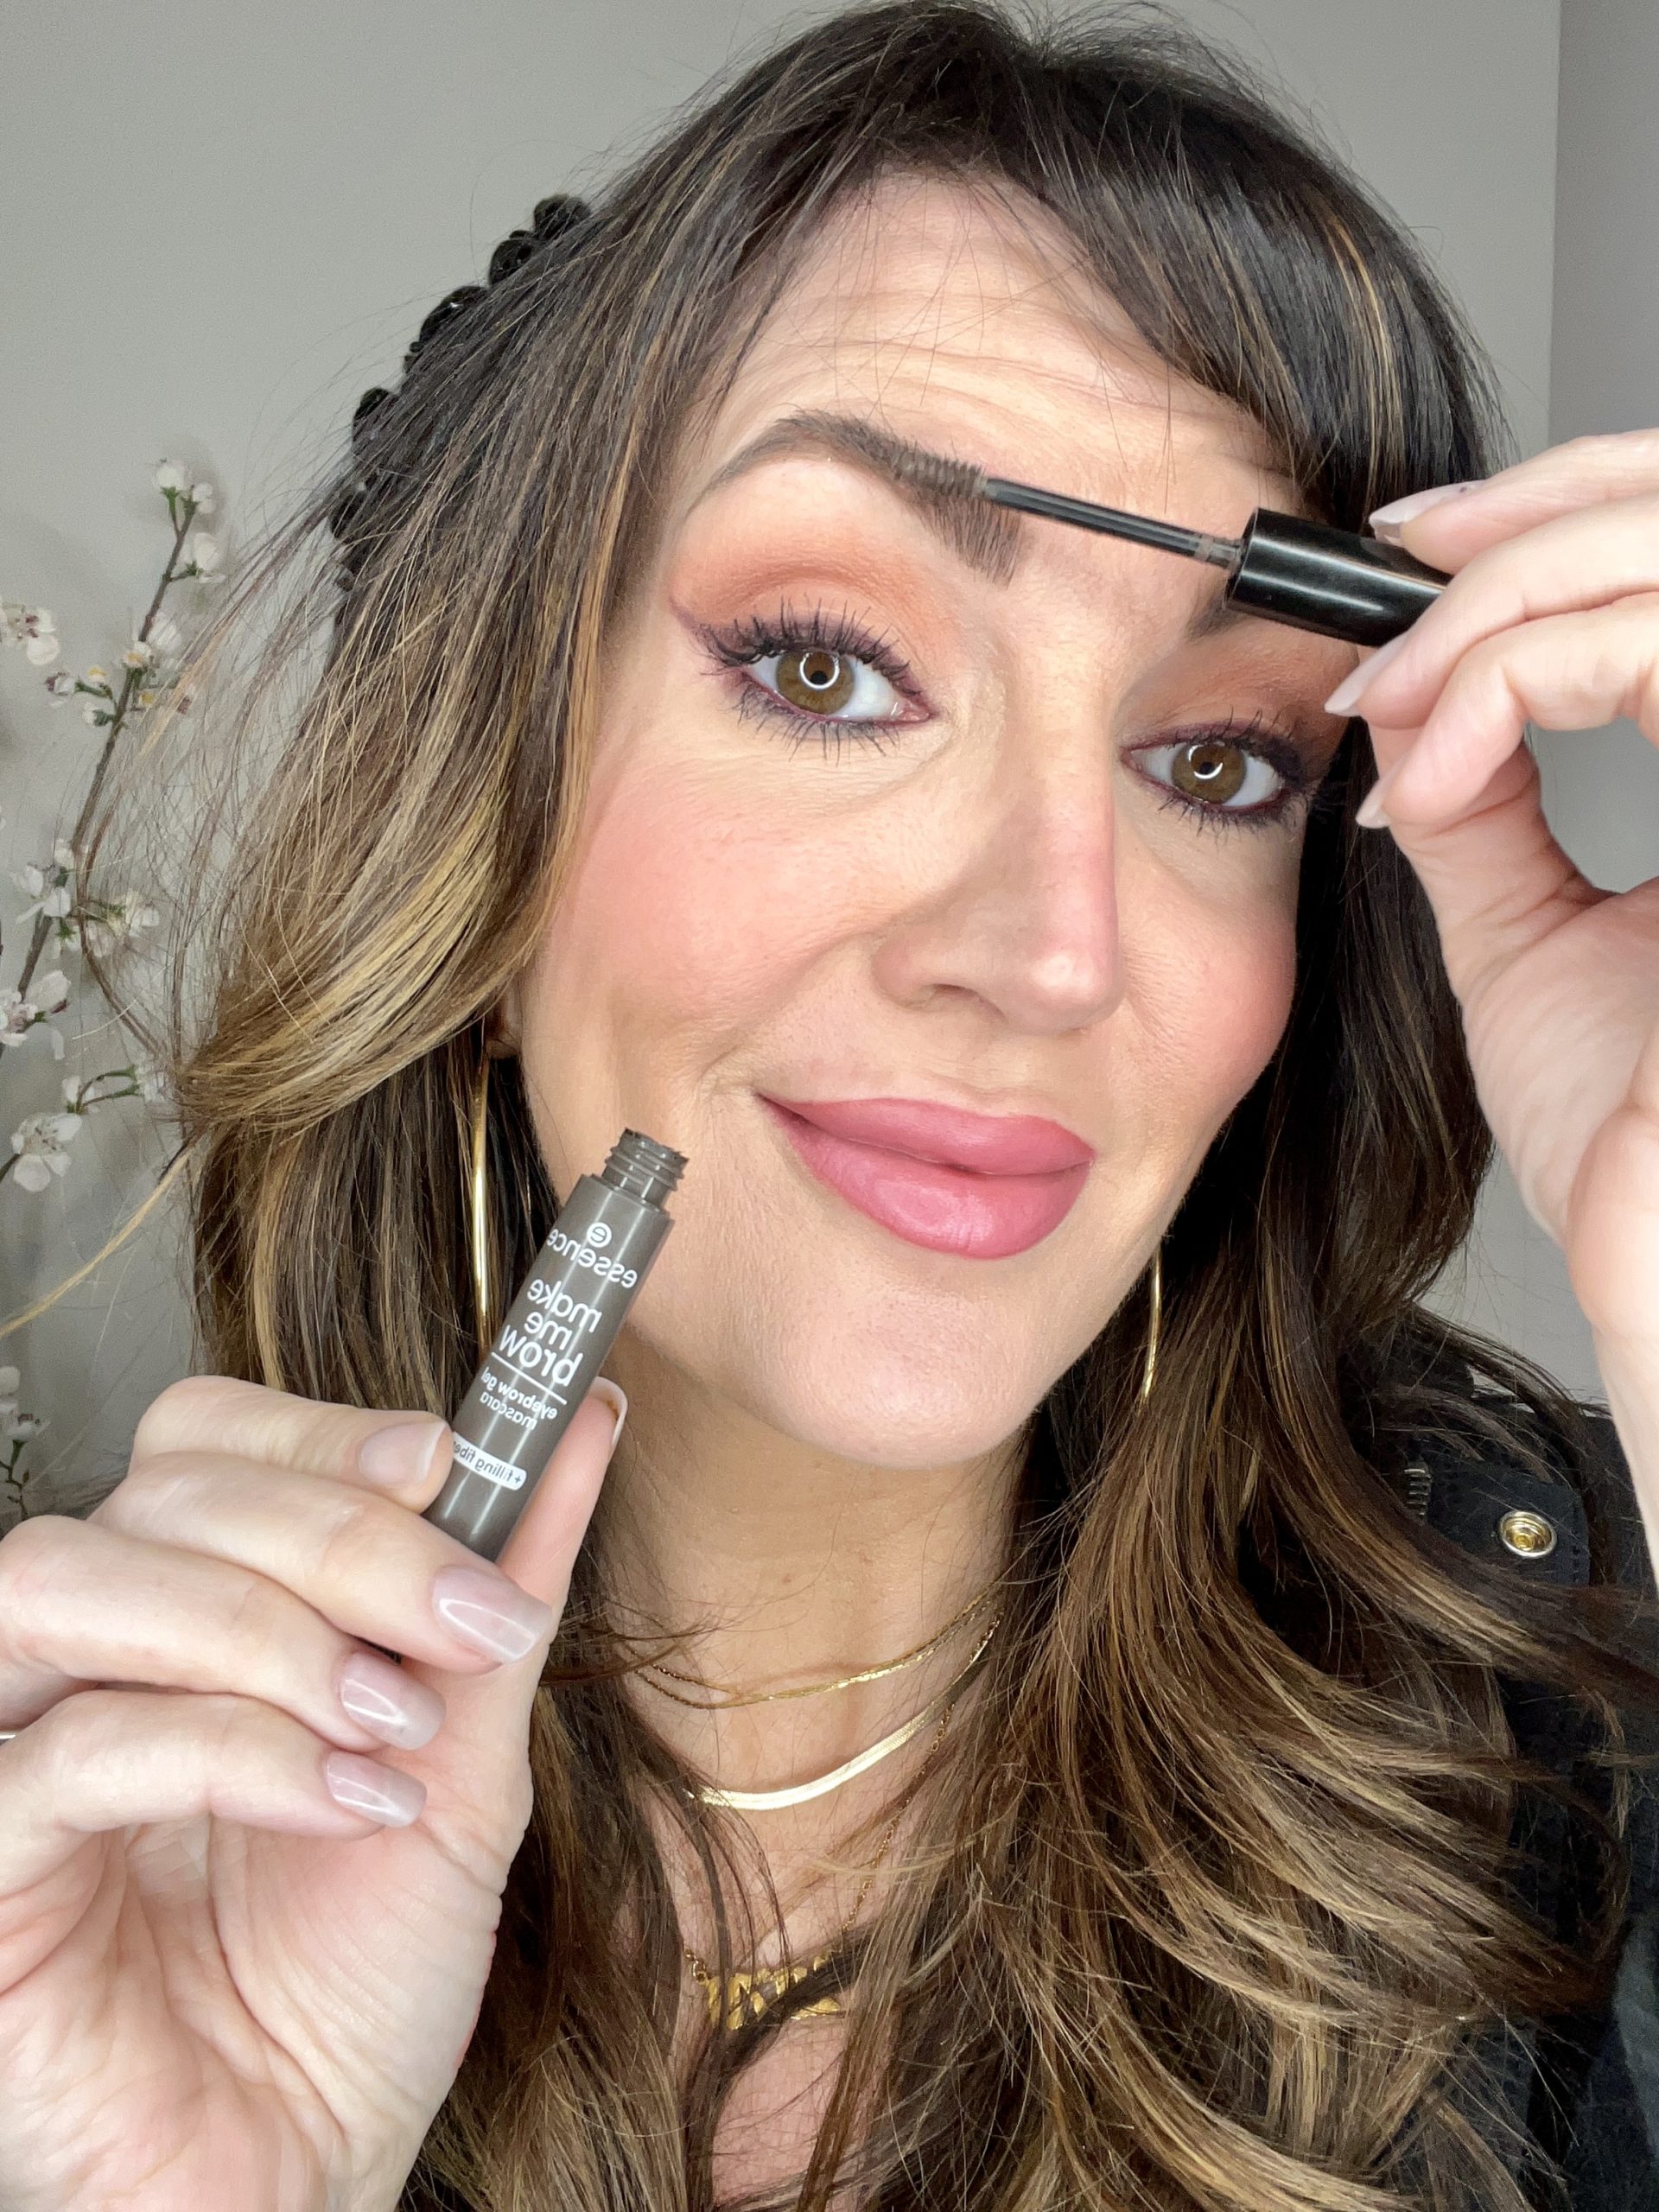
This is also a great product to use if you have no time at all to do the pencil technique, but need to add some color and volume ASAP! Just rake it thru the brows you have and go! If you prefer zero color, but like the idea of glueing those brows to your head because you’ve got crazy ornery ones that like to fly around, get the NYX Brow Laminating Glue, $9, to lock them down.
7. The Clean Up
I like to rake a Qtip right along the top of my brow shape I’ve created to really clean up the shape and make it appear sharp.
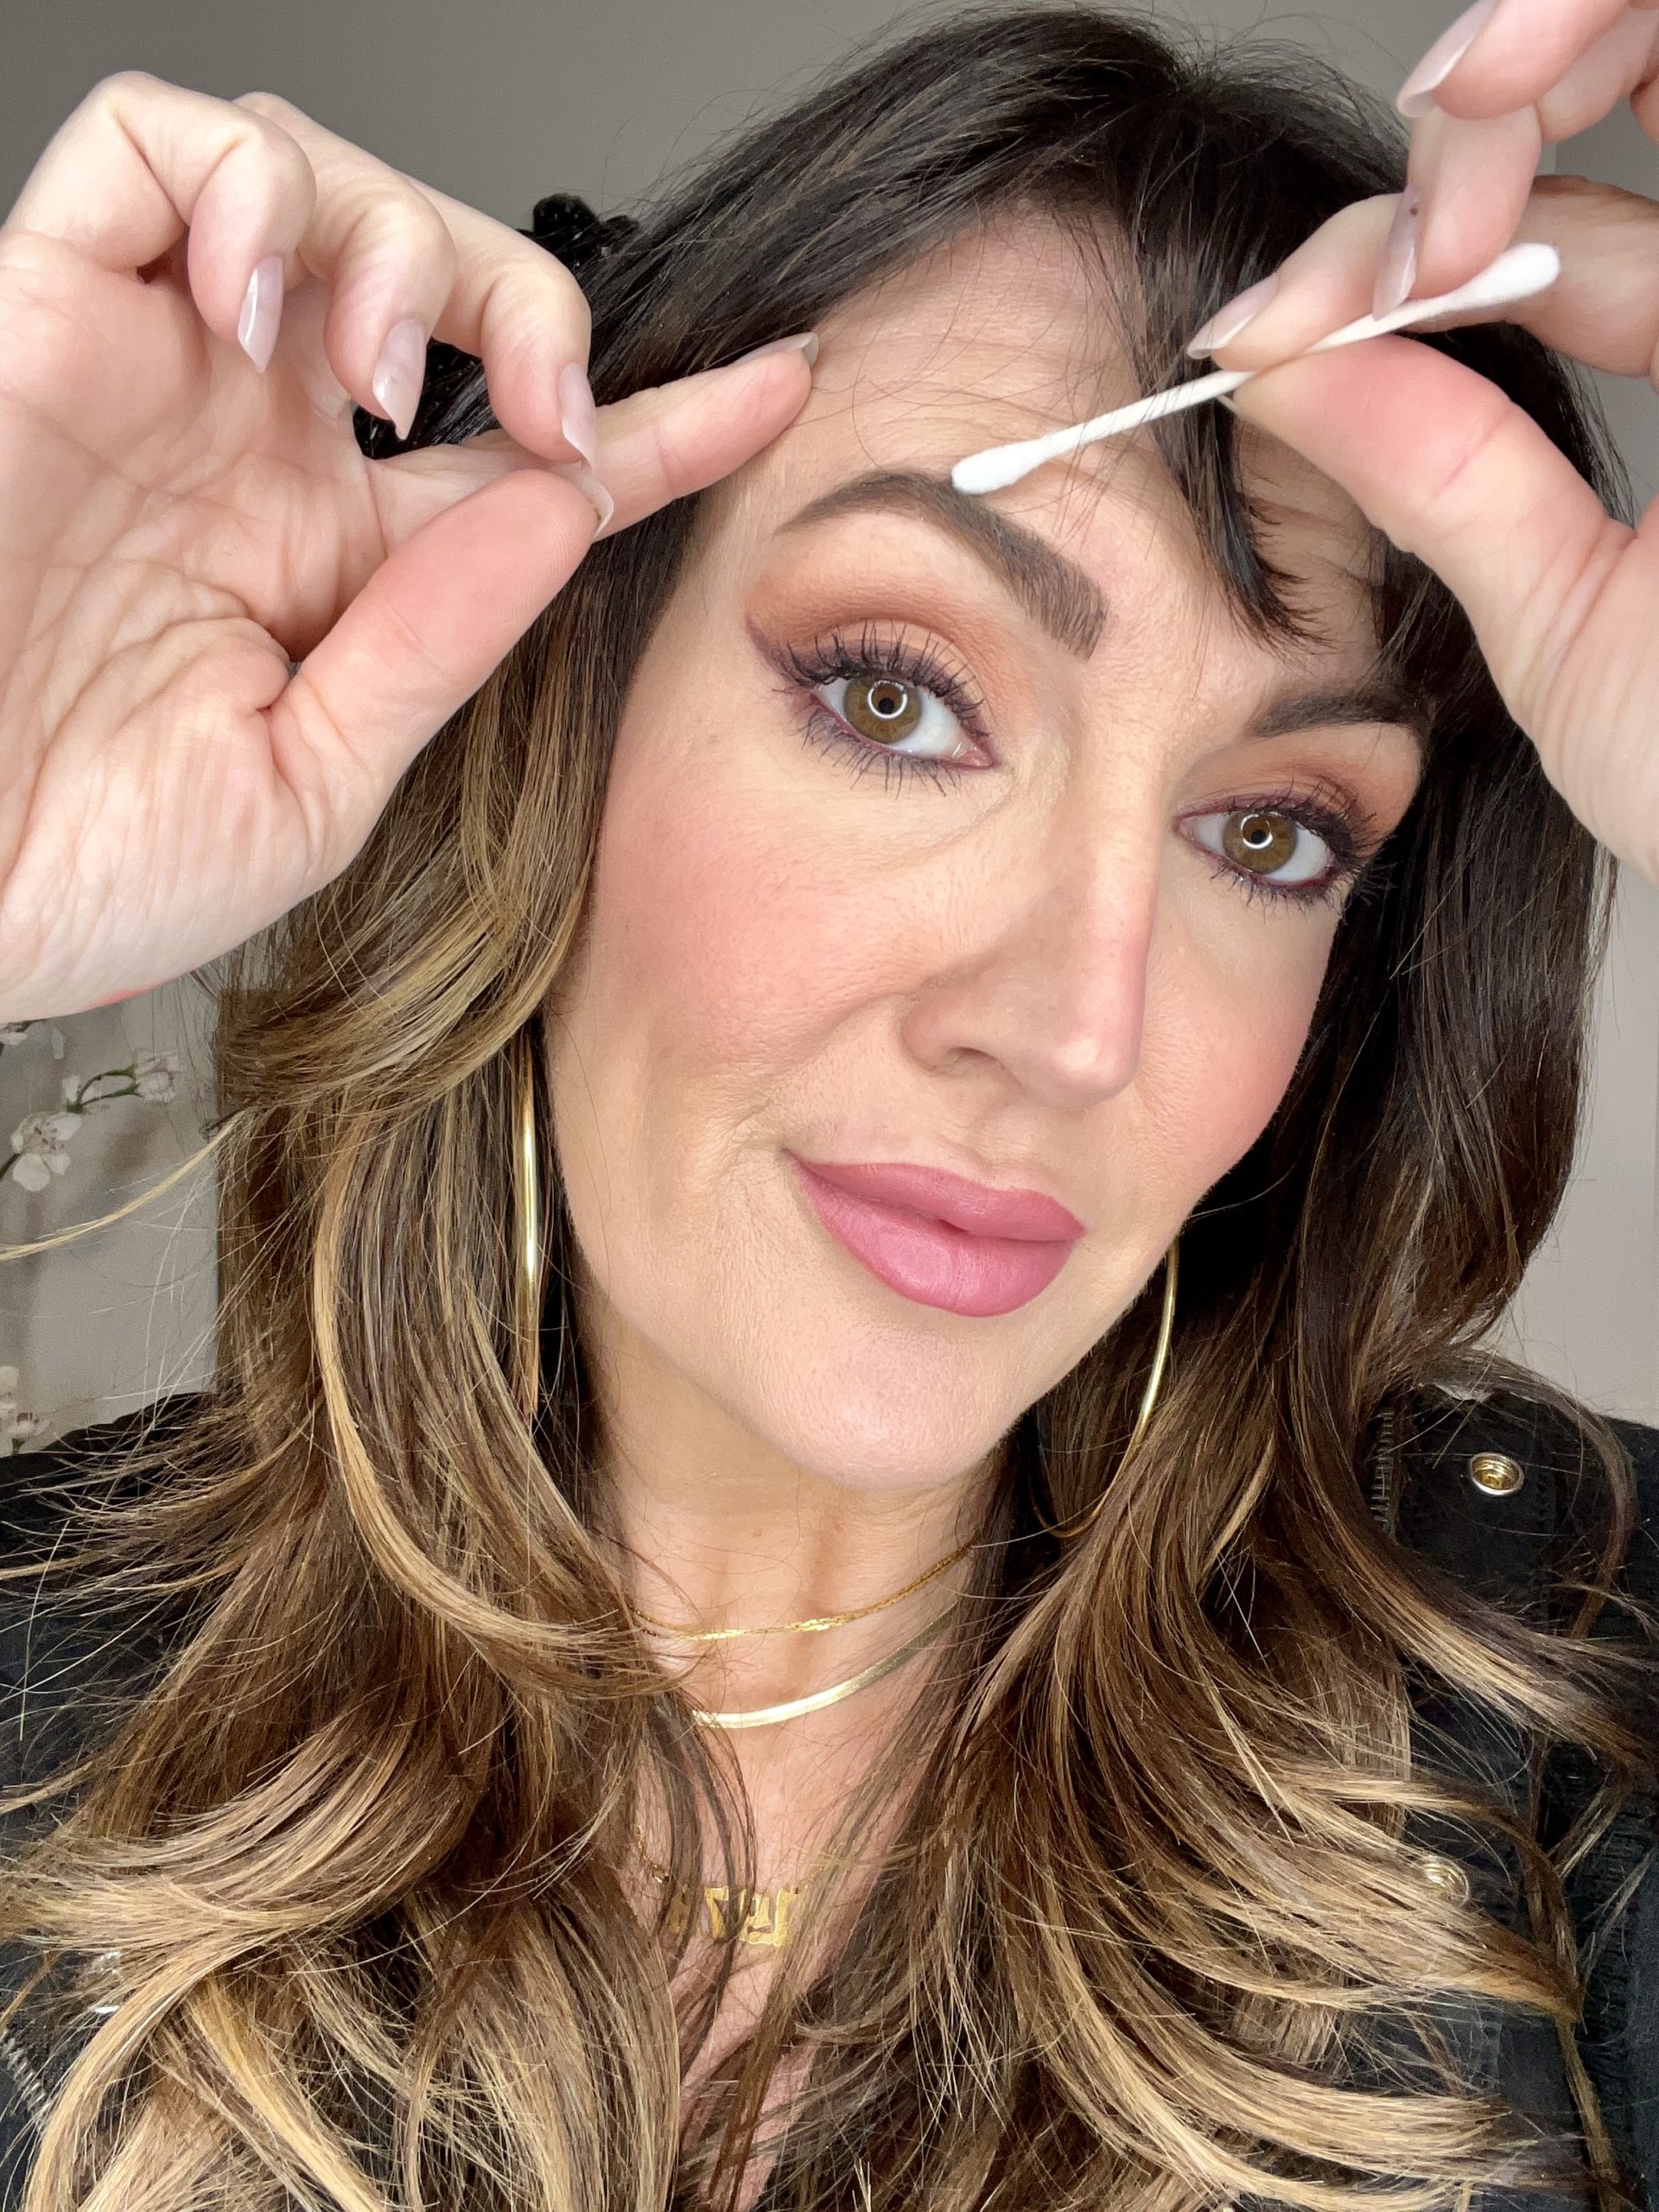
Now stand back and look at your beautiful full eyebrows you’ve created! Be sure to try this technique if you have struggled with how to draw in your brows and let me know if it works for you.
And if you prefer a video to watch and see how this technique works, I’ve got a YouTube Video here you can follow along with.
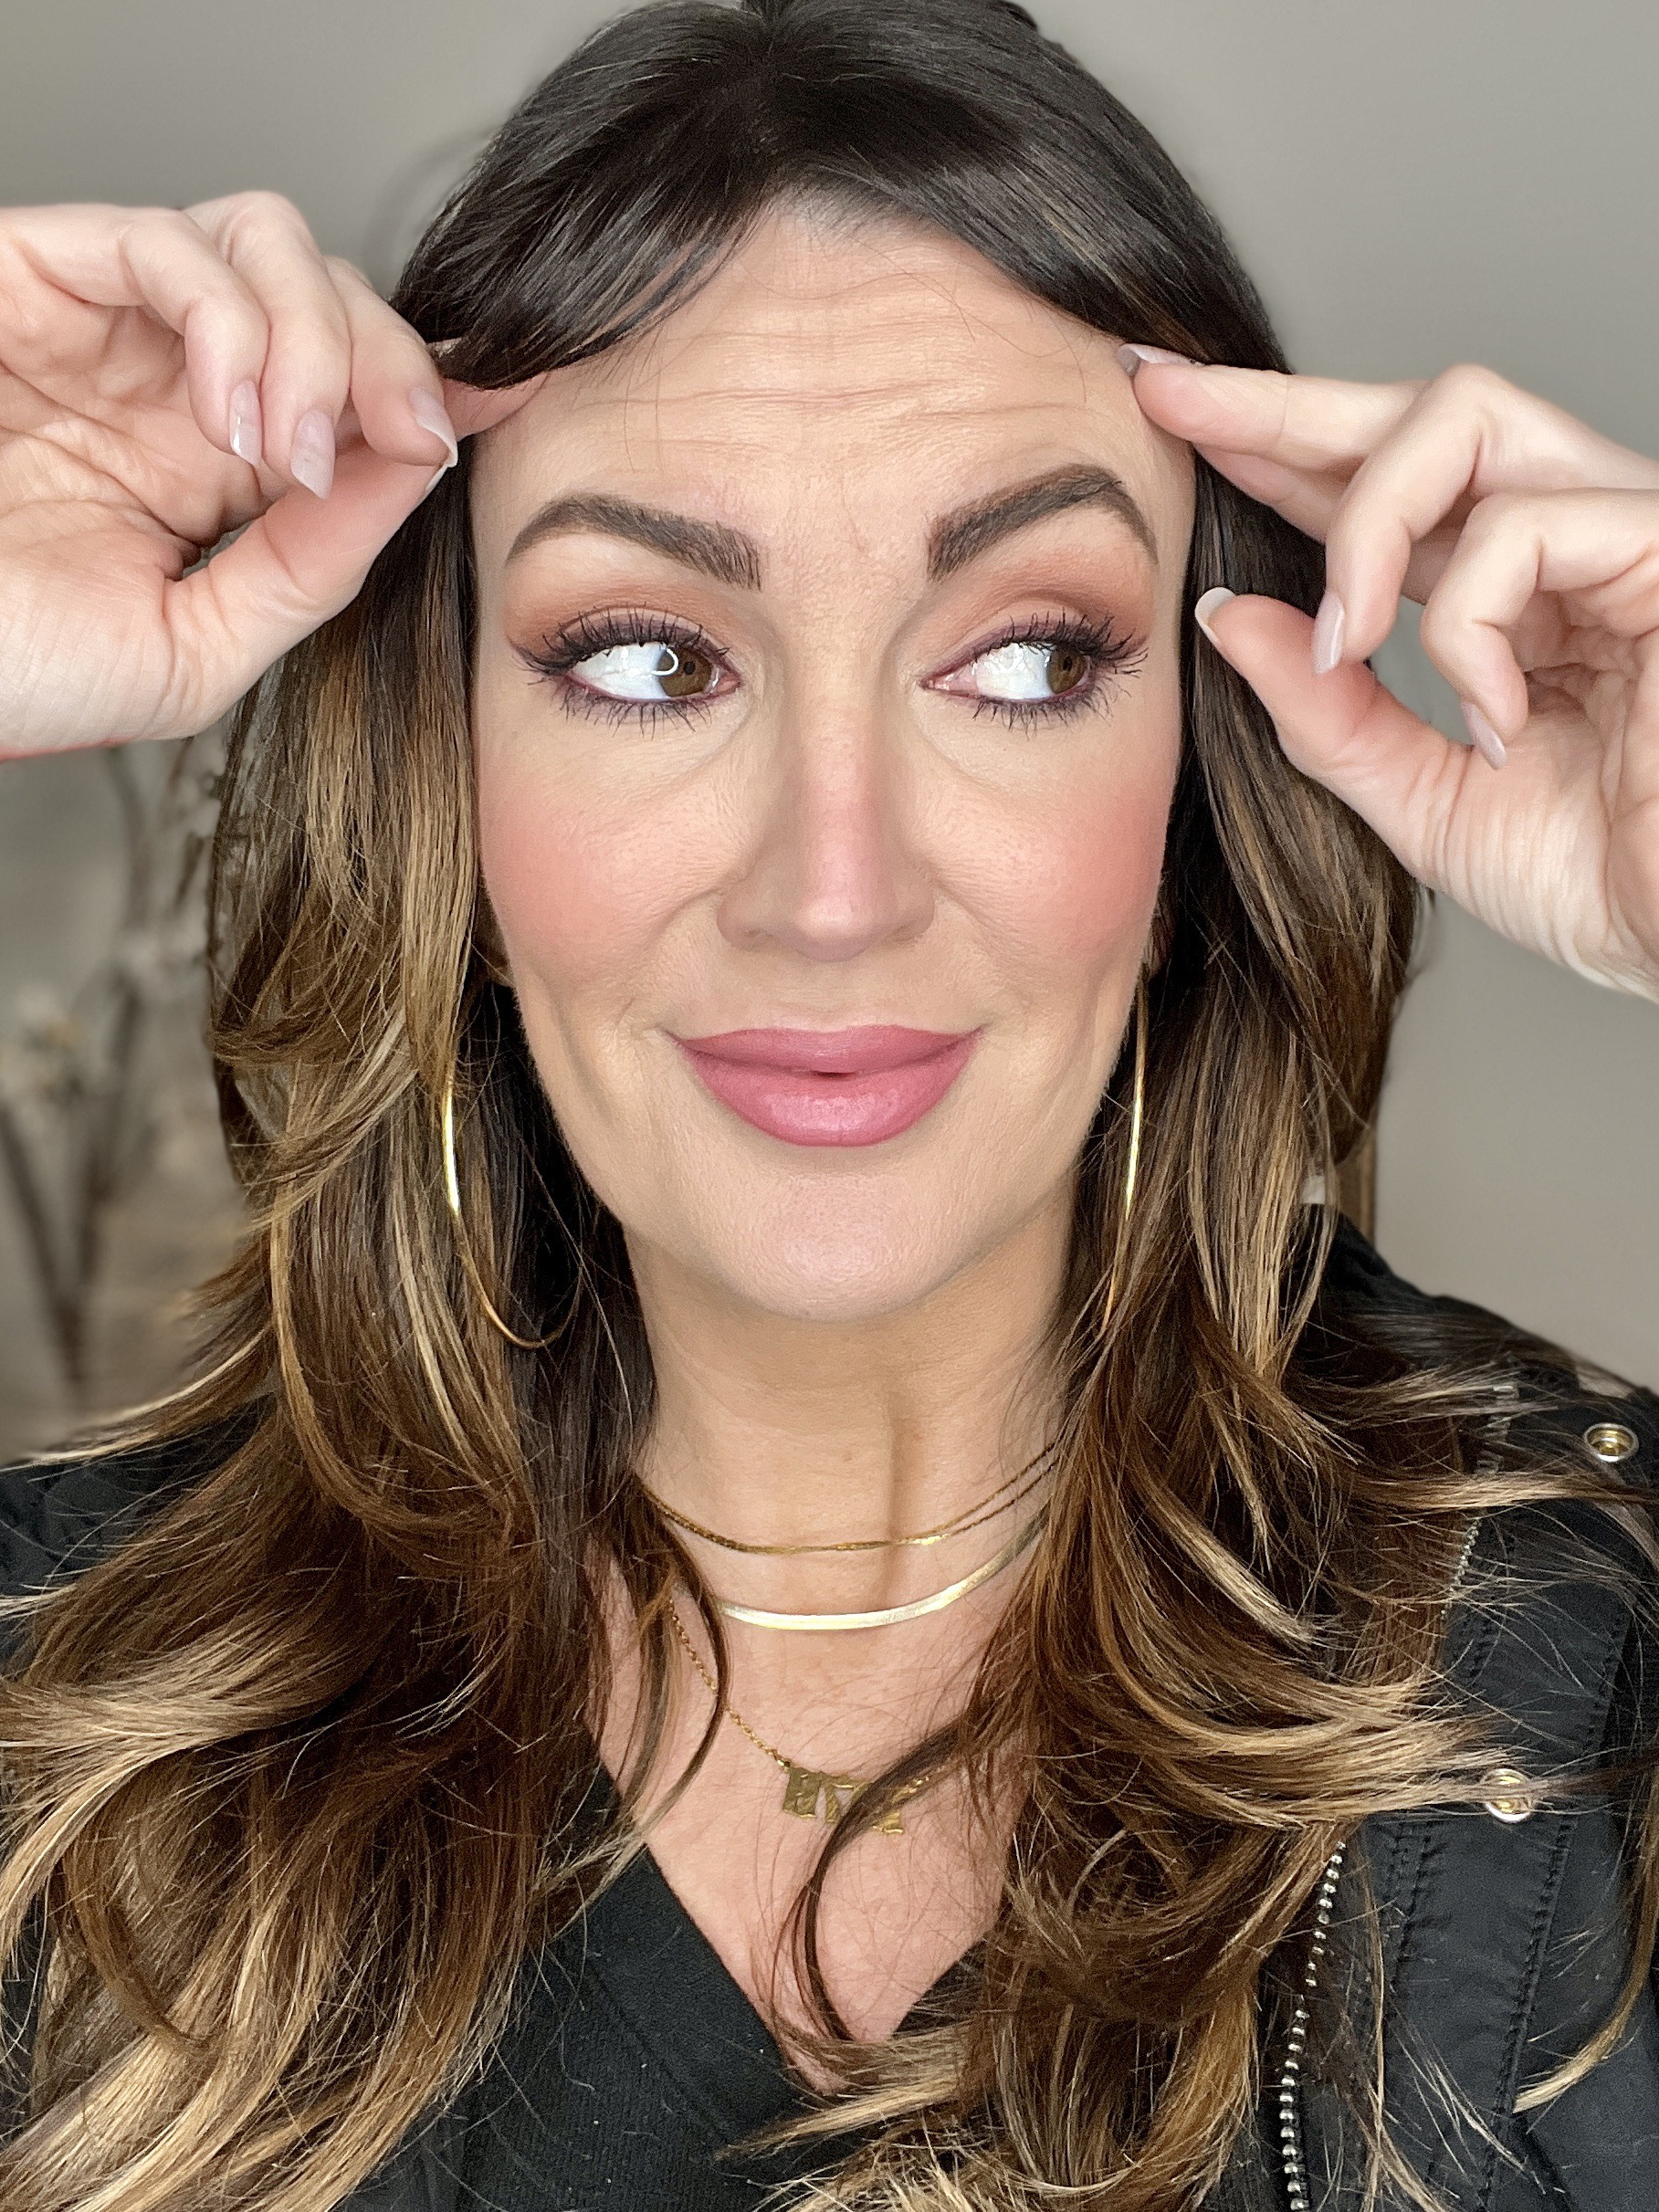
Post Details
My Urban Decay 24/7 Eyeliner in shade “Alkaline” | Wearing Dior Rosy Glow blush | Lips are a combo of Buxom Power Line Liner in shade “Dangerous Dolly” + lipstick is GXVE Beauty “Screen My Phone Calls.”
In Case You Missed It
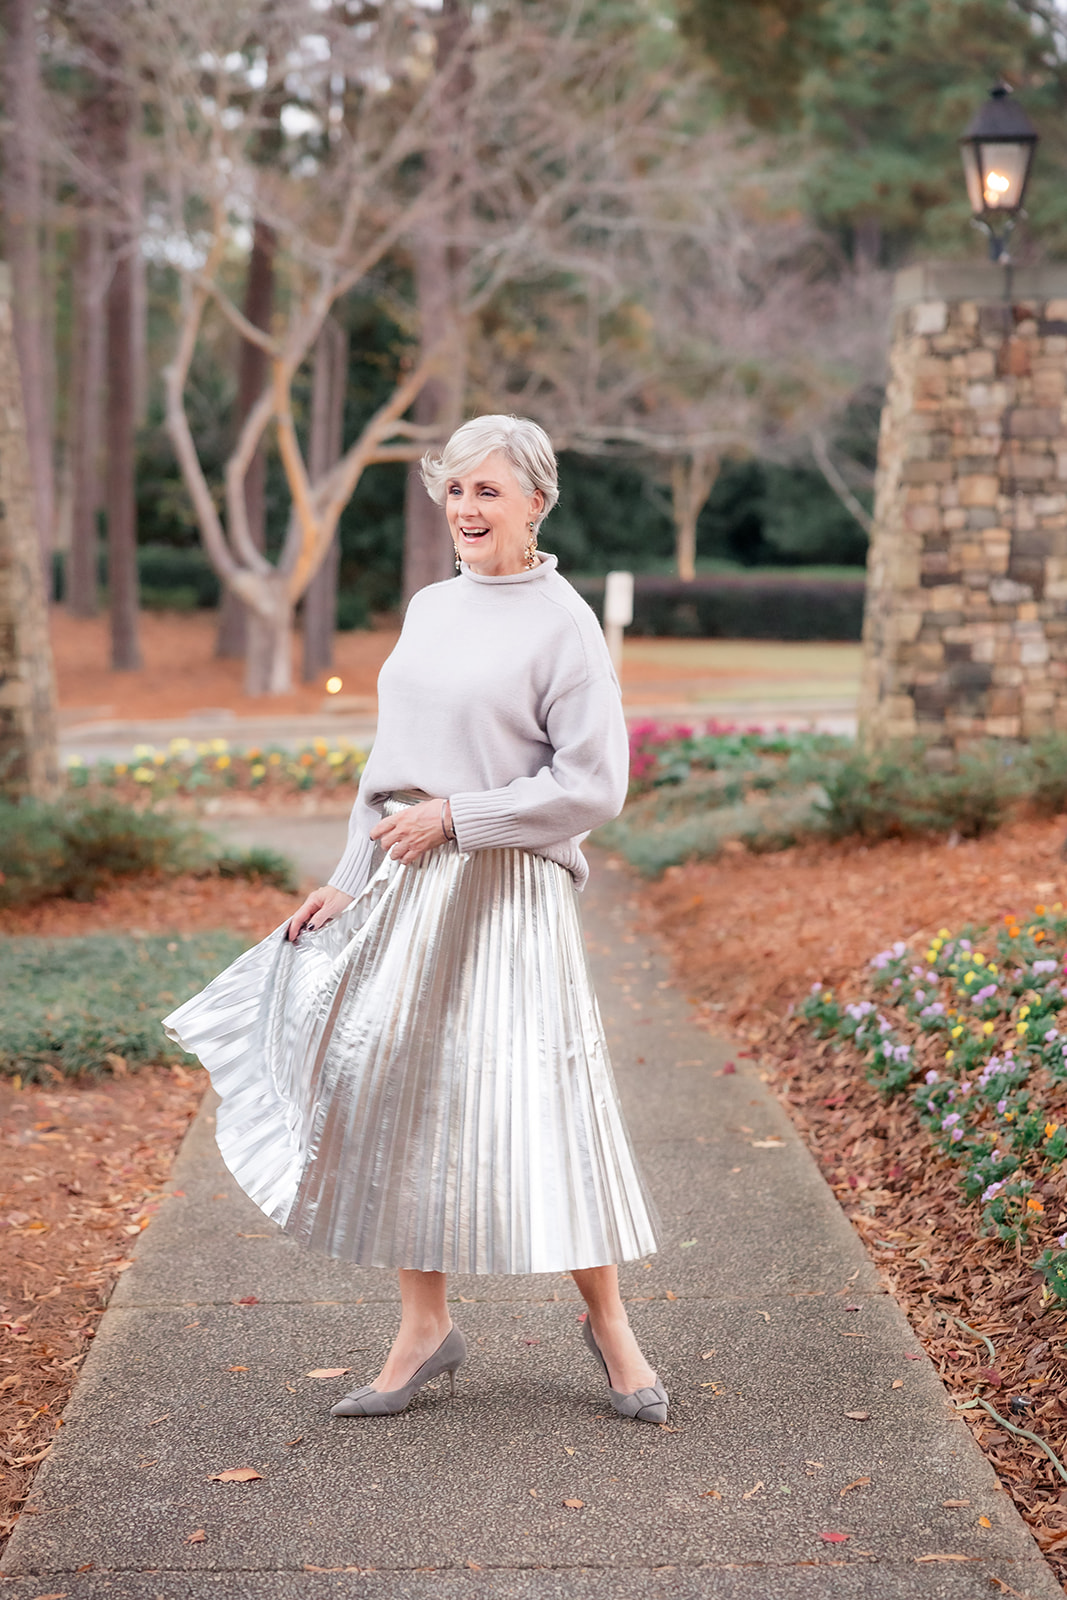
This morning, Beth asked the question, “are fashion investment pieces worth it?”. Click the title or image below to read the article.
Are Fashion Investment Pieces Worth it?





beautiful!!! now going to watch video.
thank you maryann! I hope this post was helpful!